
Are chores in your household a struggle? It can be so hard to get kids motivated to do their chores. I’ve made a lot of DIY Chore Charts in my time. I found the best way to get them to do their chores without complaining is by making it fun. I’ve tried multiple ways to get my kids to do their chores every day. But when it’s too complicated they tend to give up on the system after the first week. As a parent I try my best to teach my kids how cleaning and helping around the house is something that we have to do each and every day. I want them to have good habits, and learn how to become self-sufficient members in our society.
When the house is clean, our life runs smoother, and the kids love it when they can find whatever it is they’re looking for.
In this post I wanted to share with you how I made this easy-to-use magnetic DIY chore chart to make getting our chores done even easier!
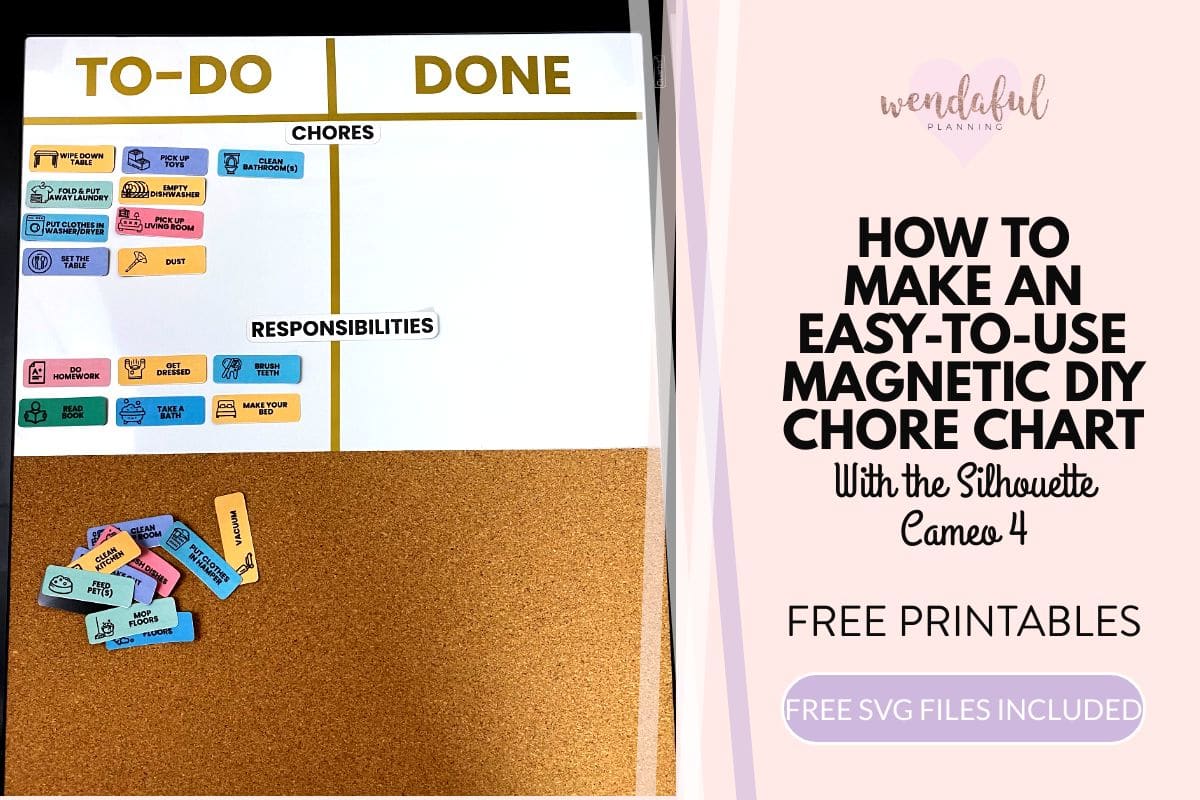
Table of Contents
How to Make A Magnetic DIY Chore Chart
Making your own DIY chore chart with magnets is easy to do with your Silhouette machine, magnet printable paper, a printer and some vinyl.
All you need are some designs, which I am providing to you, completely for free! Just download, print and cut!
The print and cut feature for Silhouette involves printing a project in your regular home printer then sending it to cut in your silhouette cutting machine. Before you print, you need to make sure there are registration marks that will print on your project first. Then you place that printed sheet on a cutting mat and send that to your machine so it knows exactly where to cut.
Once it is done cutting, you should have a whole bunch of magnets ready to to use on your magnetic DIY chore chart or board right away.
Two of the great features of the Cameo 4 are the built-in roll feeder and crosscutter. These make cutting from a roll of material (like vinyl or heat transfer) really easy to work with. In this tutorial, you will find out how you can use them.
Supplies Needed:
- Silhouette Cutting Machine (Cameo/Portrait)
- Cutting Mat
- Cutting Blade (comes with Cameo/Portrait)
- Printer
- Magnetic White Board (mine was from amazon)
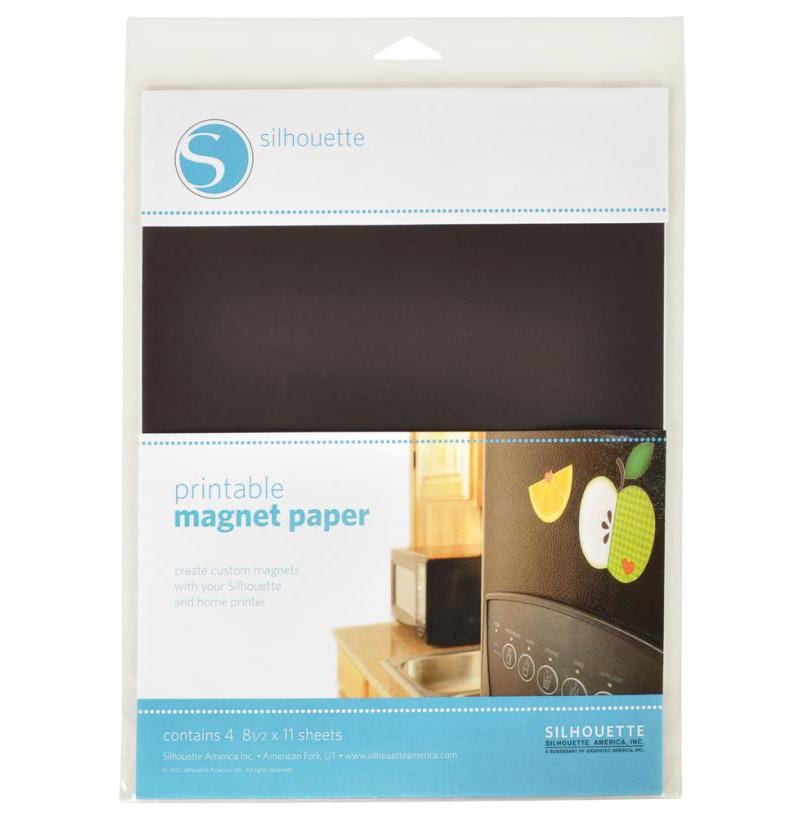
- Silhouette Magnet Paper Printable (4 pack for $9.99)
- Oratape Transfer Tape – $9.99
- Oracal Adhesive Vinyl (any color of your choice) $9.99
- Free Vinyl & Chore Chart Magnets (SVG files, must have Designer Edition or up to open file)

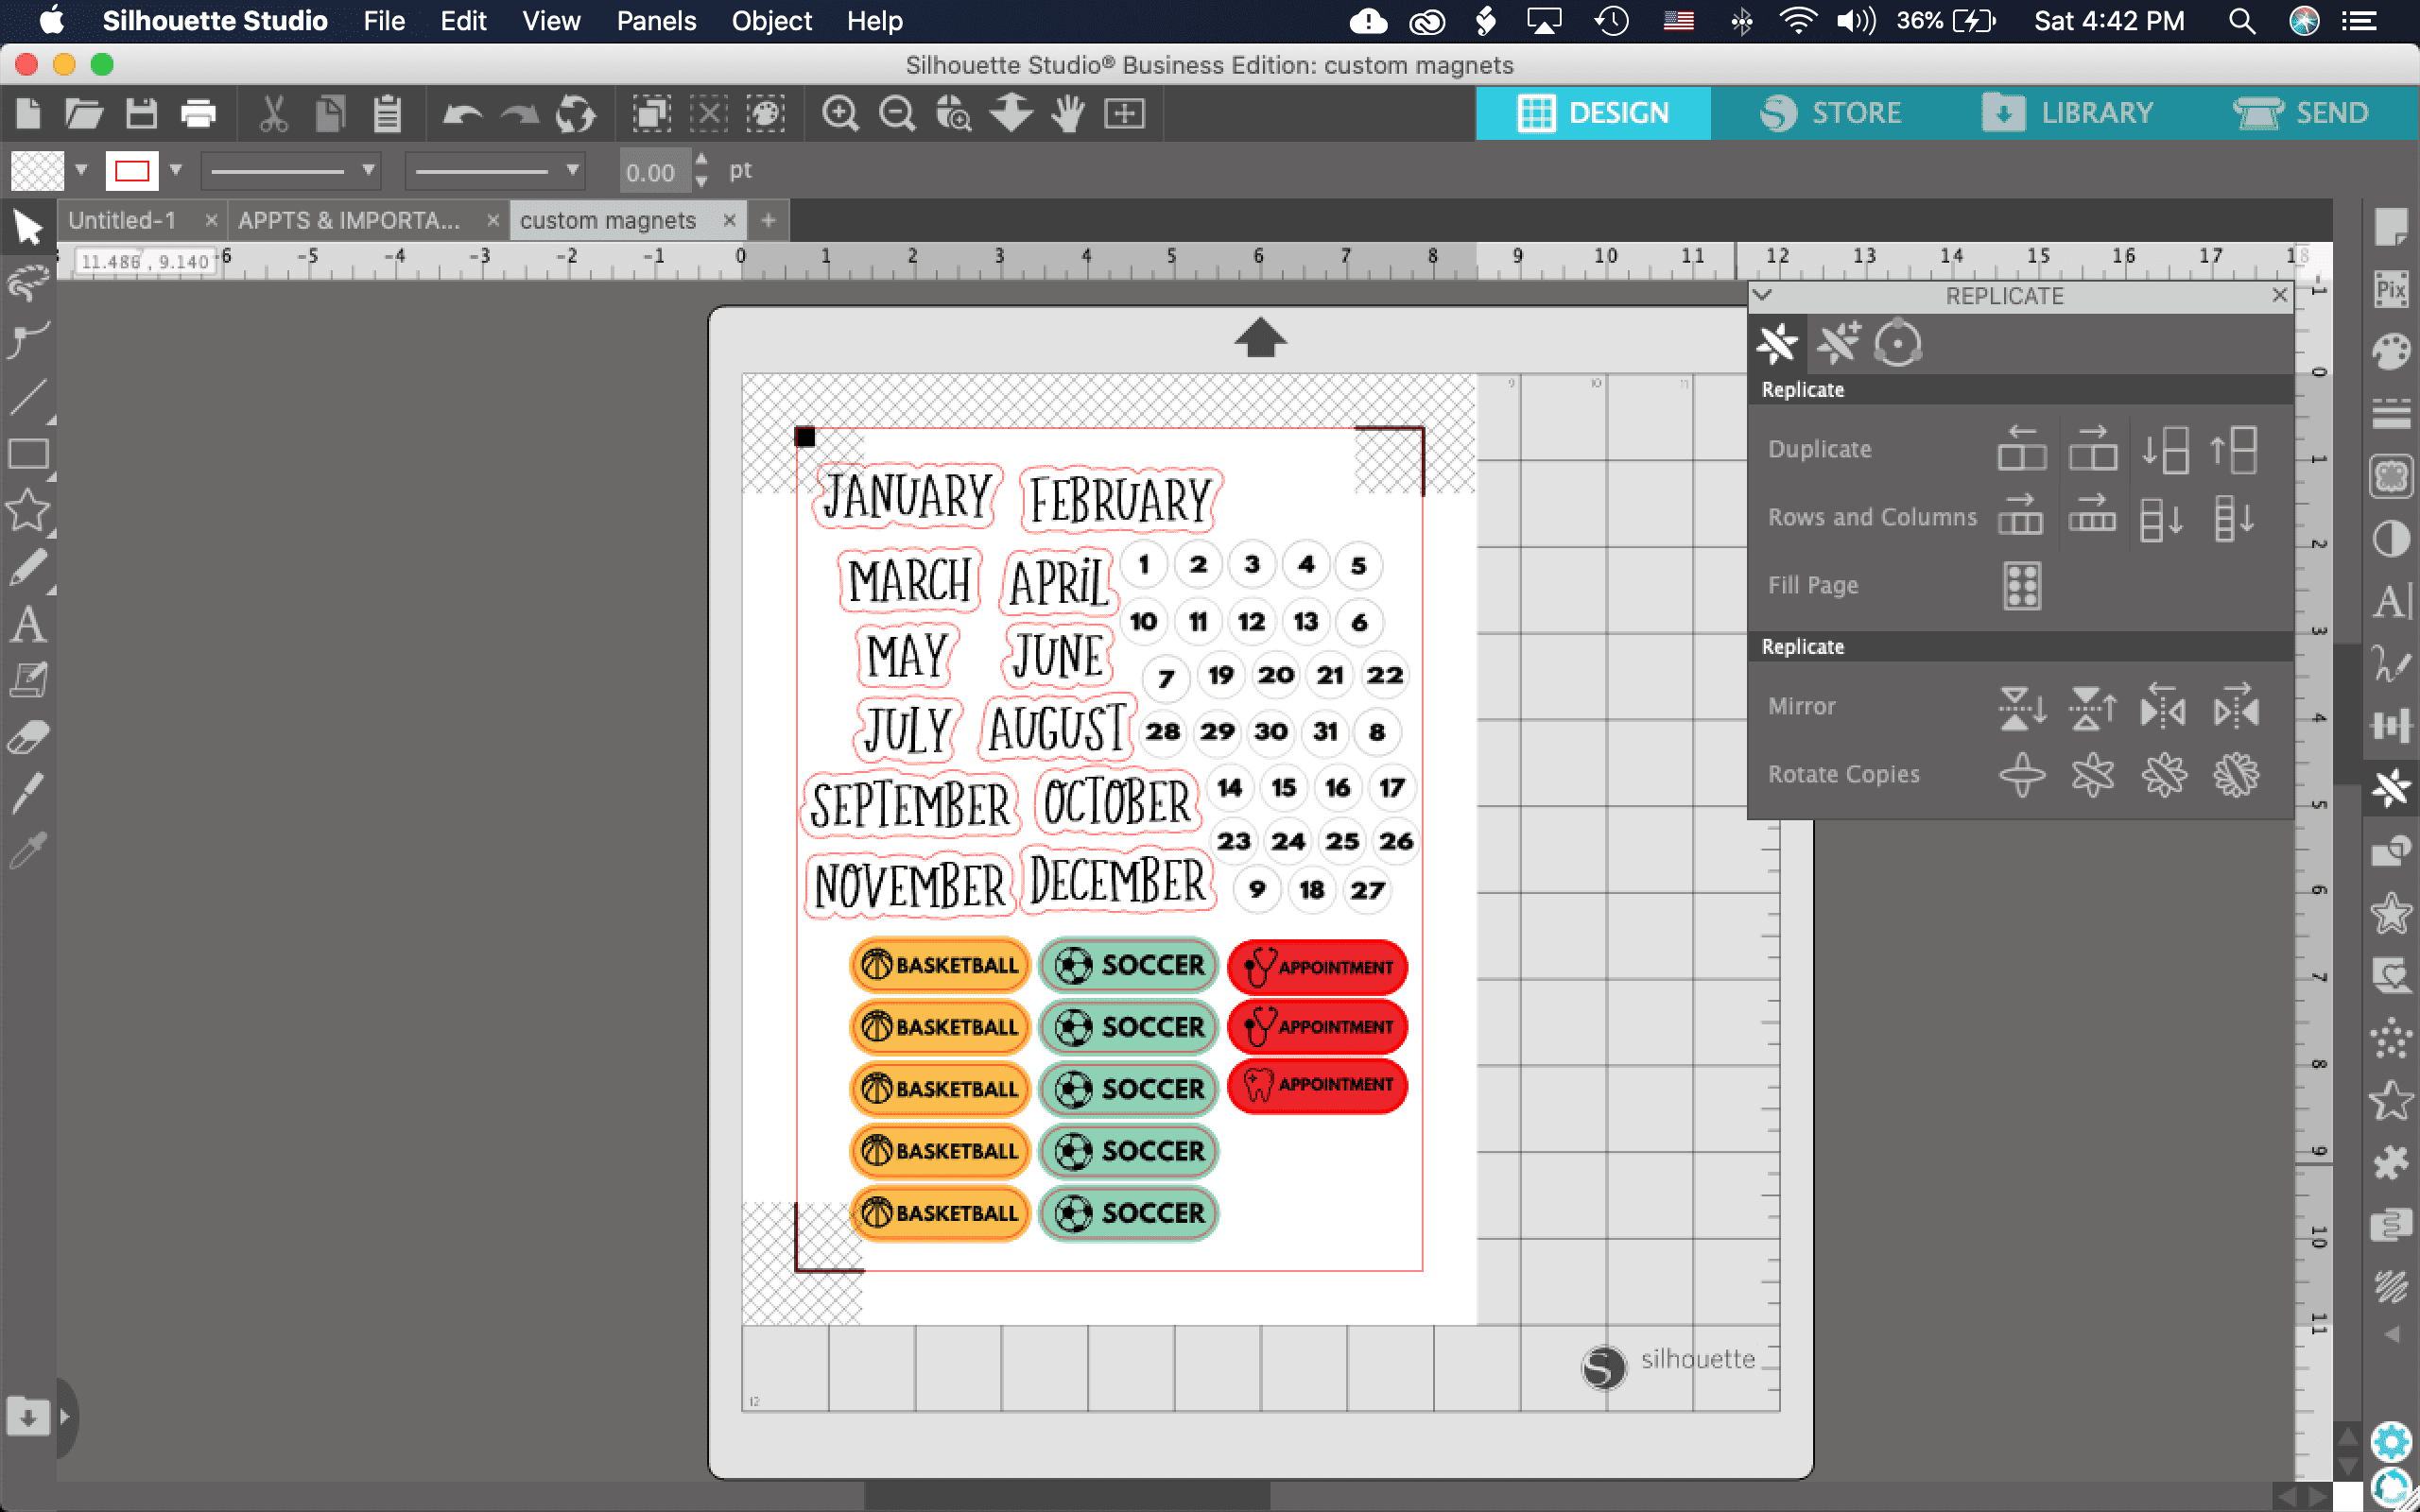
Step 1: Print & Cut the Magnets in Silhouette Studio®
For this tutorial you can simply open up the files I provided. You can start with the magnets file first. Refer to my other Silhouette Magnet Tutorial to see exactly how to print and cut magnets in Silhouette.


STEP 2: Measure Your Board & Adjust Your Vinyl Design
Unless you’re using the exact board I bought, you’re probably going to have to adjust your vinyl size. Measure the board horizontally & vertically. Then adjust your “lines” in the vinyl project to match the board.

STEP 3: Load Your Vinyl
If you are planning on using a roll of vinyl, you can use the built-in roll feeder, that the CAMEO 4 includes, to hold your vinyl. Simply pull out the bottom tray, lift the flap, then lift the side flaps, place your roll of vinyl in between. Slide the right end piece to match the width of your material—either 9 inches or 12 inches. Then run the vinyl through the roll feeder slot and into your machine.


Adjust the rollers in your machine to fit your sheet of vinyl. To do this, just turn the notch on the side down to lift the metal bar and push your rollers to the notch where you vinyl ends, then turn the notch back up.
Place your vinyl into your machine and press the square with the arrow up button to load the vinyl.

STEP 4: Cut Your Vinyl
Now you can go to your computer and adjust the settings to cut your design. Open up the vinyl file and set up your page so that there is no cutting mat, and the size is longer than the lines. Adjust the cut settings to the glossy vinyl settings or whichever vinyl you are using.


STEP 5: Trim Your Vinyl
Now that your design is cut, you can use the built-in cross cutter in your Cameo 4 to trim your vinyl from the rest of the roll. he crosscutter is on the back of the Cameo 4. You can feed your design cut on your rolled material through the back and use the crosscutter to make a clean, straight cut to separate the design from the rolled material.
To do this, simply hold the down arrow button until it feeds all the way through the back past your design. Then release the locks on both sides at the top of the crosscutter cartridge and lower the crosscutter track. Slide the crosscutter across the track to cut your material. When you’re finished, make sure the crosscutter is on either side of the track, lift the track back into place, and fasten both of the locks.


Then trim your designs so they’re easier to work with for the next step. TIP: If your designs were all arranged in one piece you can instead create weed lines so your designs stay in the same place.

Step 6: Weed Your Designs
Since I used a big bold font, this is going to be quite easy. Simply pull away the unwanted vinyl. Don’t forget inside the letters. Don’t pull up any part of the design that should stay on the backing. When you’re done, you should be left with only the design you want on the backing.

Step 7: Use Transfer Tape
Instead of having to place your vinyl one-by-one onto the board and risking it not being aligned perfectly, use transfer tape. The Oratape Transfer tape is clear so it makes it easier to see your design when you place it on your board.
First cut out a piece that is larger than your design. Peel away the backing off the transfer tape and place it on top of your design. Use a credit card or something flat and hard to press down the vinyl onto the transfer tape to make sure it sticks to the transfer tape. Then peel away the backing from the vinyl slowly. The design will come up with the transfer tape.
Repeat this for all of your pieces.
-

Cut pieces of the transfer tape to cover your designs -

Peel transfer tape and place on top of the designs -

flatten it using a scraper tool or credit card -

Peel away transfer tape backing
Step 8: Arrange Your Vinyl Design on Your Board
Now make sure where you will place all of your designs on your board. The clear transfer tape makes this easy to see!
Now press it down onto your board. Flat, smooth surfaces are the easiest to apply vinyl to.
Rub the vinyl firmly against the surface with a scraper tool, and then carefully peel the transfer tape away, leaving the vinyl in place.
If your vinyl design doesn’t stick and lifts up with the transfer tape, then put it back down, rub it some more, then peel away the transfer tape again.
-

Arrange where you’d like your design to go -

Make sure the vinyl design sticks to transfer tape when peeling back the vinyl backing -

Place the vinyl onto your board, pressing it down and lift the transfer tape off. -

All done!
Step 9: Arrange Your Magnets on Your Chore Chart Board
In my magnet design, I provided different labels so you can either arrange your chore chart to be either as “Chores” and “Responsibilities” or you can arrange them to be done “Daily” and “Weekly”. I originally did the chores and responsibilities, but found daily and weekly to be better for the kids.
Then place them under the “TO-DO” side.
When the kids finish a chore, they can simply move it over to the “DONE” side. Each night, put the chores back under the “TO-DO” side, and repeat each day or week!
Customize Your DIY Chore Chart
You can even customize it even further by creating another line, and adding names made from vinyl to your chore chart if they have different chores. My kids share a room and most of the chores they can do together.
So simple! I love how easy and nice this chore chart looks in our living room. The kids are always checking it and making sure they’re doing their chores. My oldest son is a bit of an organized persona like myself, and loves doing the chores just for the sake of moving it over to the “DONE” side. My other son doesn’t care too much about it, but when he wants to play games, I always ask him if he’s done his chores yet, and he will go look at what’s left and finish it just so he can play.
-

Arrange your magnets
You’ll see in the dropbox folder, that I also provided another chore chart variation. A weekly chore chart which you can check off each day. You can either write your chores on the lines or you can use the magnets on those too. For this file you would have to use weed lines in your design and use a big piece of transfer tape so that it would look like your design on your board.
I hope this little tutorial was helpful for you! Have you tried to make your own magnets with your Silhouette yet? Give it a try and let me know below!

Get a great deal on this Valentine’s Day Bundle before February 15th! You can find the details here at this link: http://www.silhouetteamerica.com/bemine.

Silhouette is also having a 30% off sale almost everything! Just use the code WENDA at checkout. Now’s a great time to stock up on your favorite Silhouette supplies or to give something new a try. We recommend taking a look at the New Products section on http://www.silhouetteamerica.com to find items that will pique your interest. Remember to get the discount just use the code WENDA.
*Exclusions apply to the 30% off which include: Silhouette hobby machines, Silhouette machine bundles, other special bundles, website gift cards, Club Silhouette memberships, downloads, commercial licenses, download cards, and Silhouette Design Store subscriptions.