
This post is sponsored by Silhouette America and contains affiliate links, which allow me to earn a small commission at no extra cost to you.
Silhouette America doesn’t only make cutting machines. One of their smallest machines is able to make custom stamps! In this post I’ll be sharing how to make custom planner and bullet journal stamps with the Silhouette Mint.
You can turn any text, design, shape or even a photo into a totally unique custom stamp! It uses its own software called Mint Studio where you can design and print directly to the Mint.
You can create custom address labels, branding for your shop, and more. It takes just a few minutes to design and print!
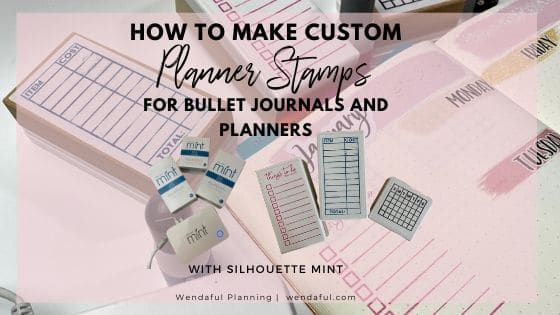
Table of Contents
How the Silhouette Mint works
The machine uses thermal printing to create the stamp impressions. When you insert the Mint stamp sheets, it will react to the heat, creating 3D reliefs.
Another great feature of the Silhouette Mint is that you can ink your stamp and use it up to 50 times before re-inking it again! The ink comes in little bottles where you just squeeze onto your stamp and let dry. The best part of this is that you can use multiple colors this way! You can have nice colorful stamps without having to deal with messy ink pads!
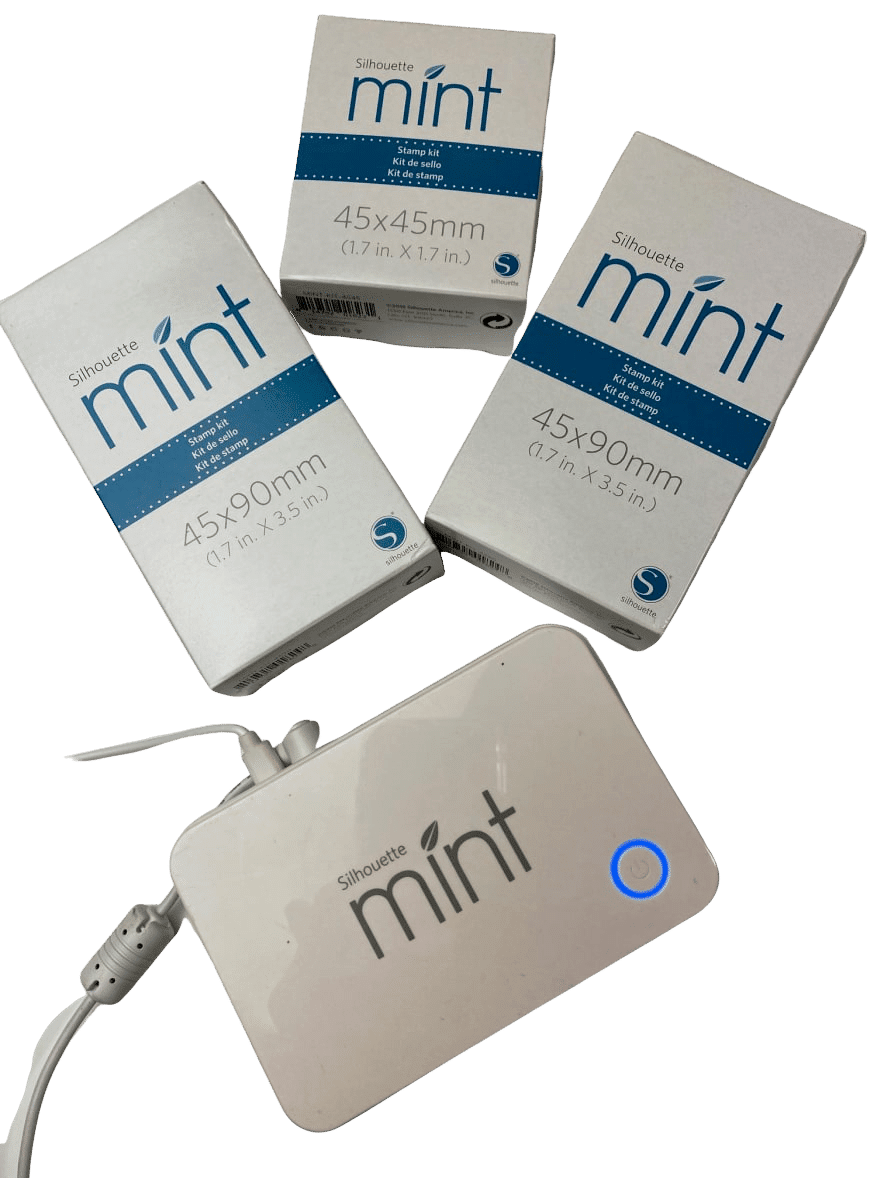
Supplies Needed:
- Silhouette Mint
- Mint Stamp Kits
- Mint Ink
- Mint Studio Software (free to download)
- Your Custom Planner or Bullet Journal Design
how to make custom planner stamps
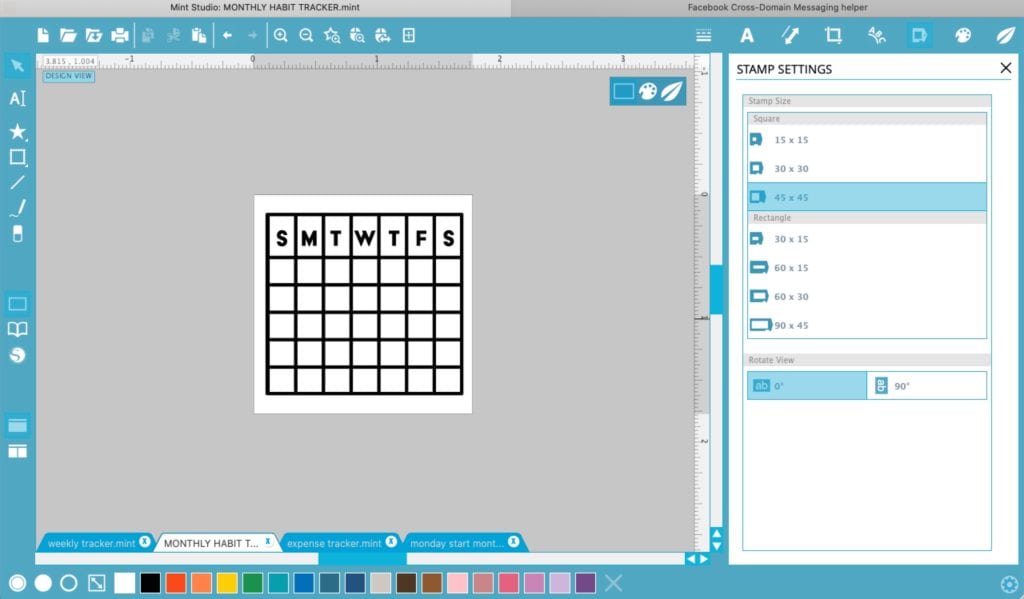
Step 1: Design your stamp in mint Studio®
First open up Mint Studio & Set up your workspace to match your stamp kit. For the habit trackers I used the 45×45, for the weekly tracker and to do list I used the 90×45 sizes. Watch the video below to learn how I designed these custom bullet journal and planner stamps easily in Mint Studio.
For a picture tutorial on how to use the mint, be sure to check out this post here.
watch the video tutorial here:
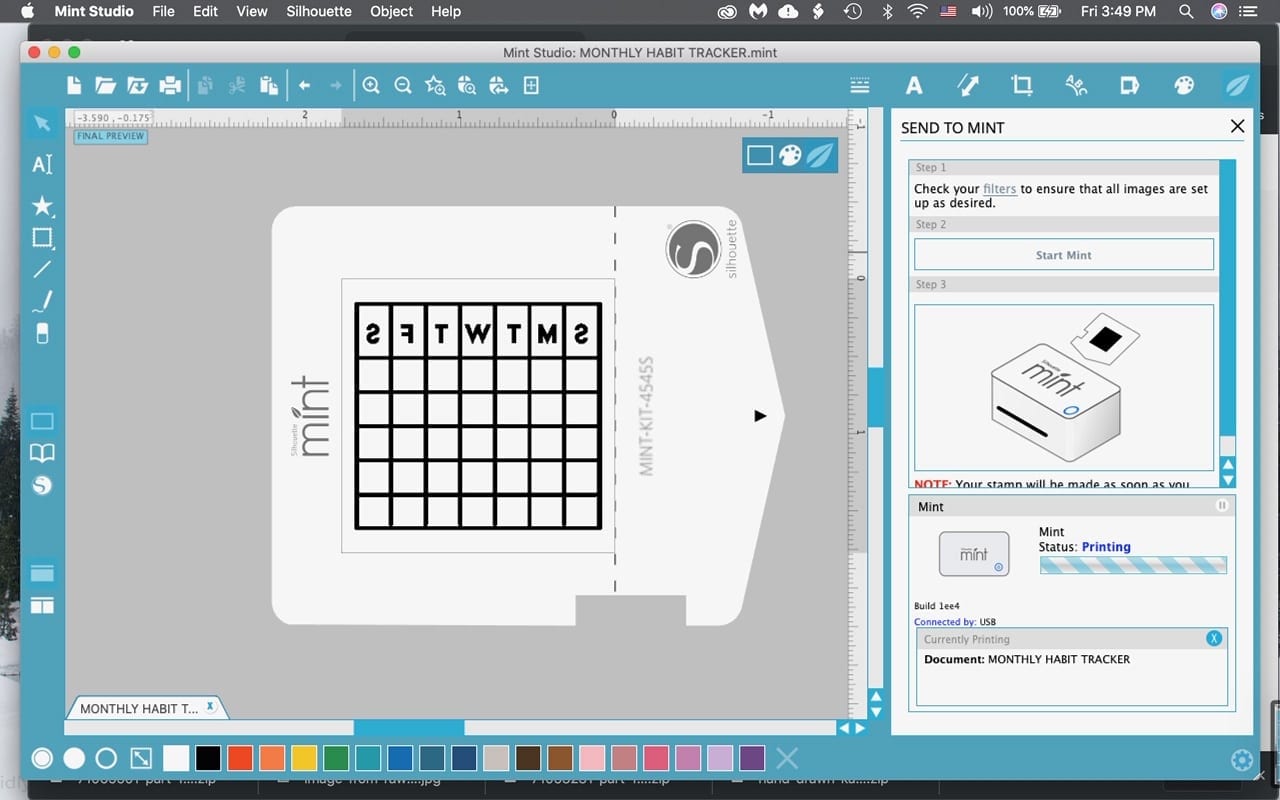
STEP 2: send to mint
Now that you have your design, all you have to do is open up your boxed stamp kit, take out the stamp sheet and insert it into your machine. Then on your computer click on the leaf tab to send to mint.
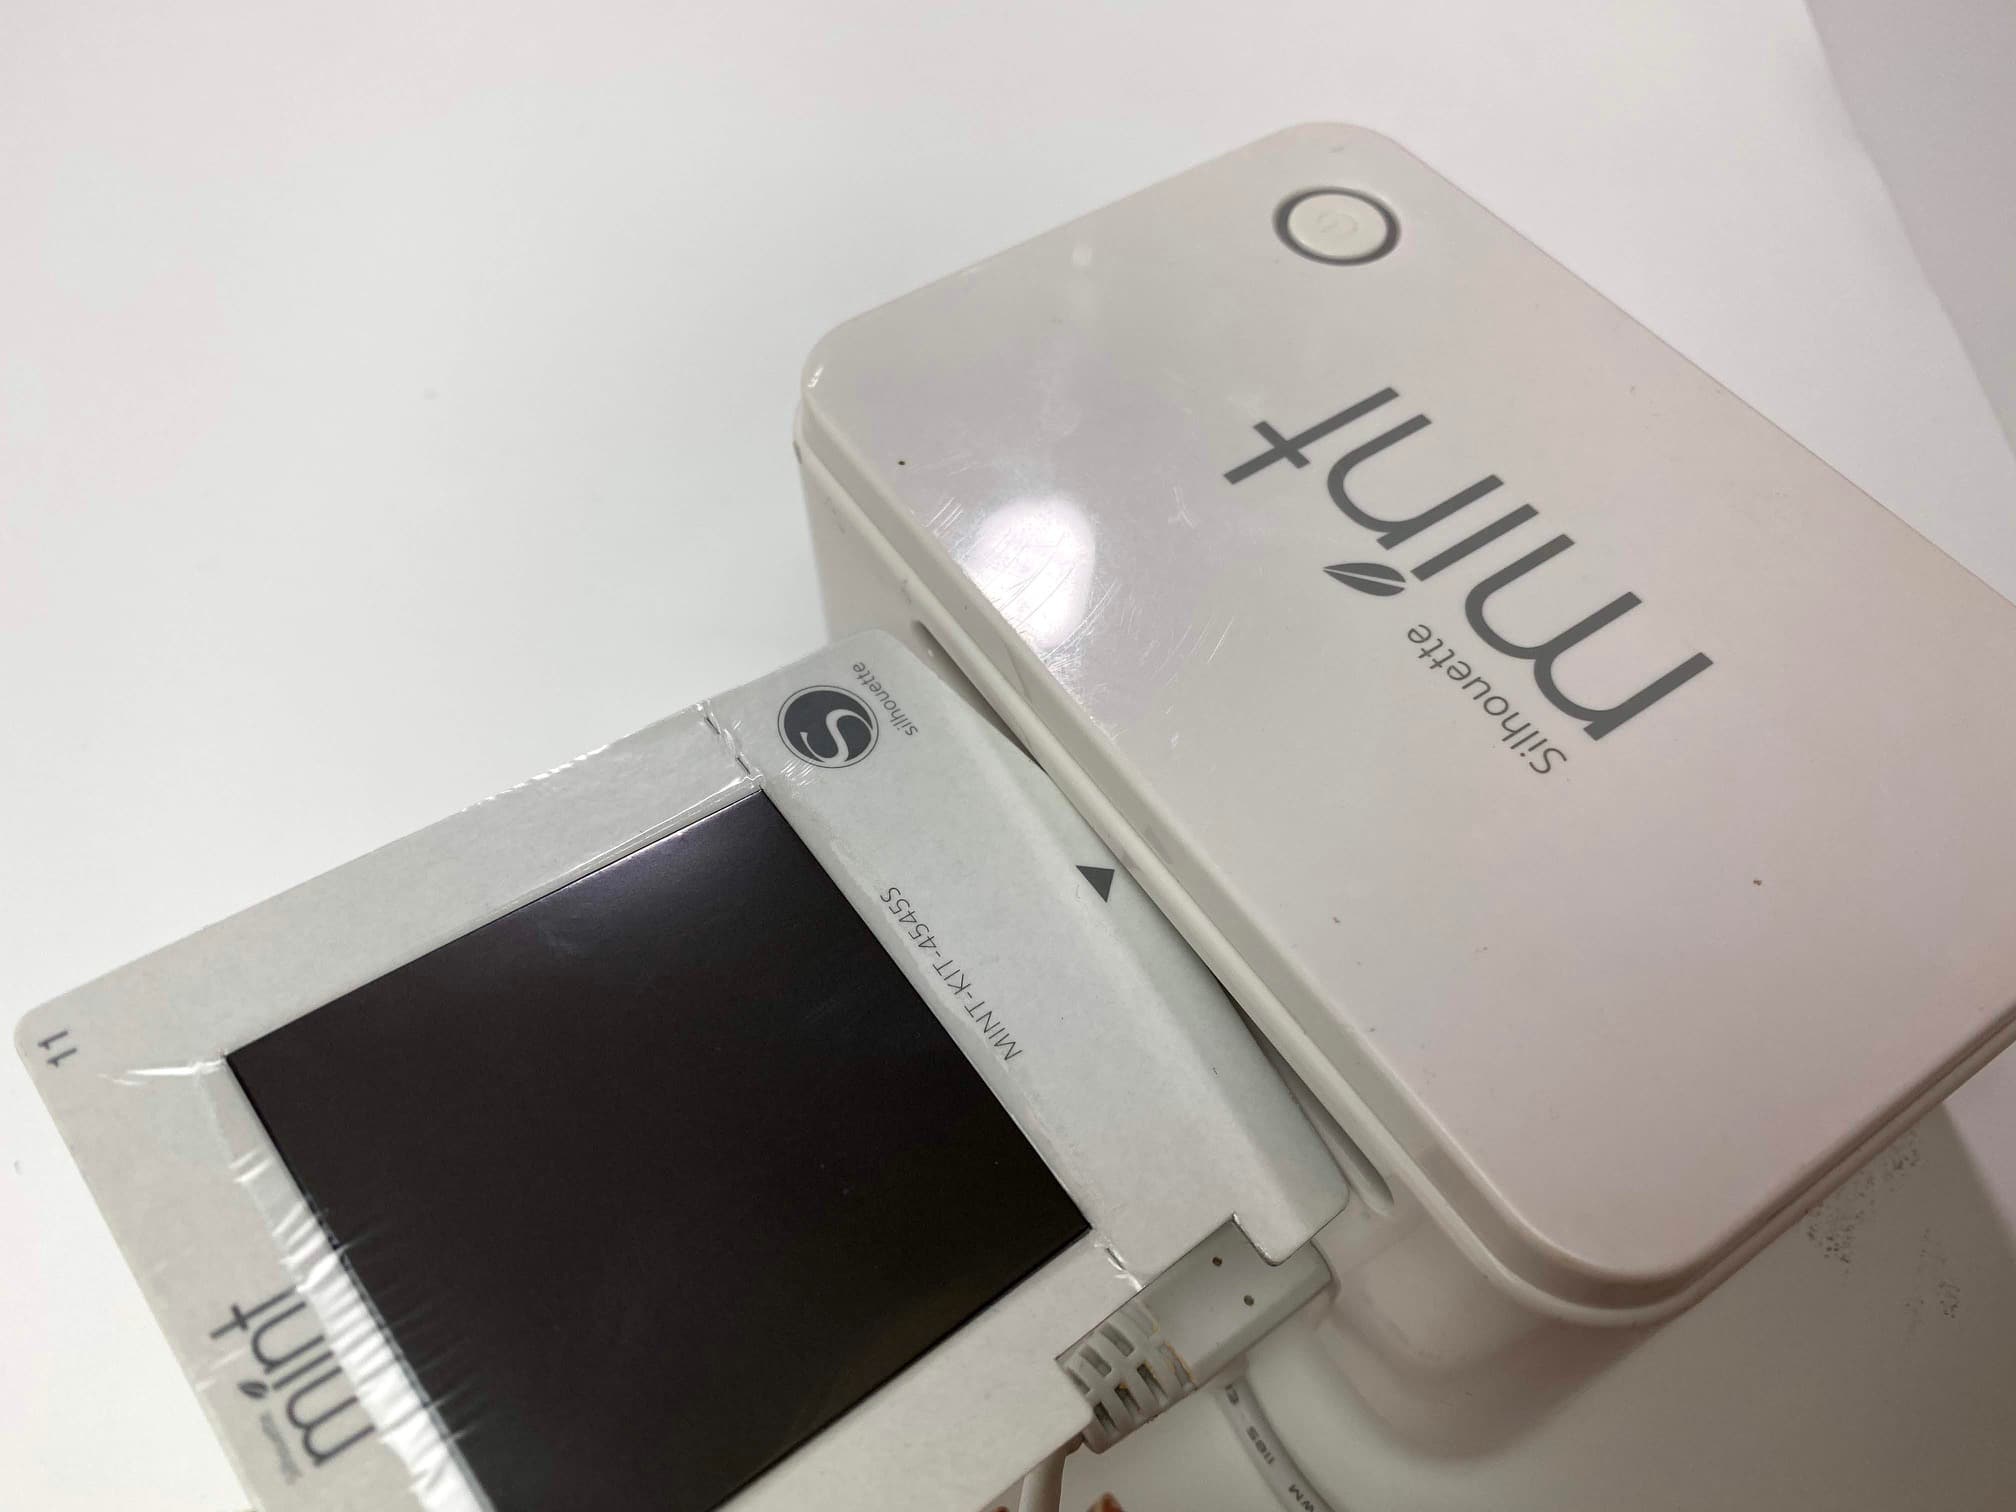

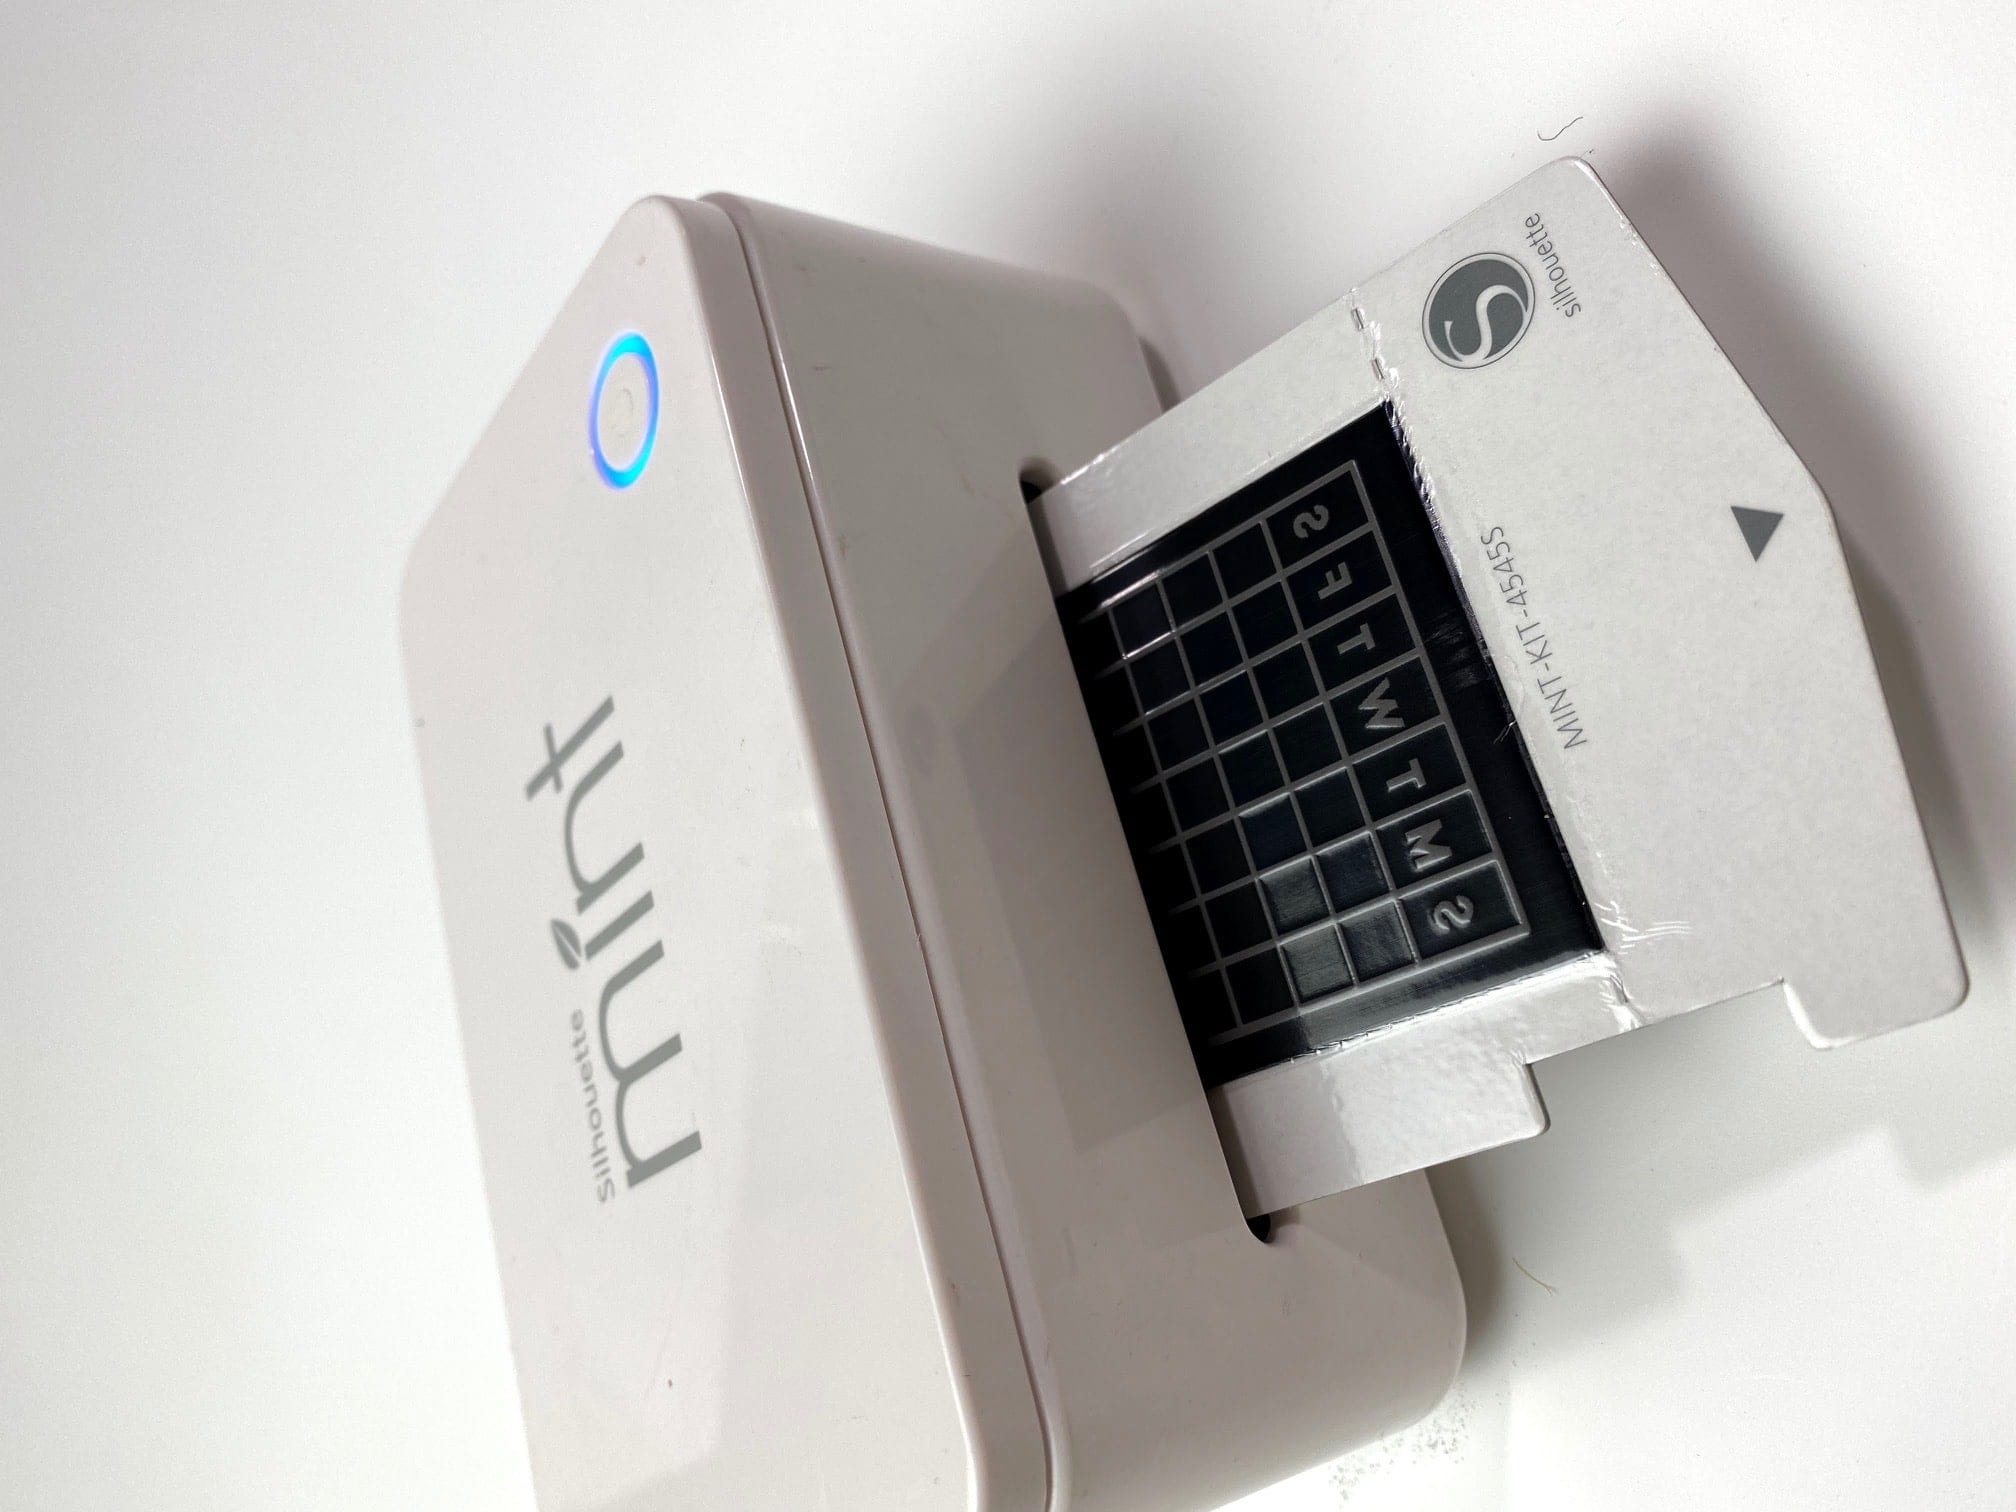
STEP 3: Load your stamp sheet to Print your design
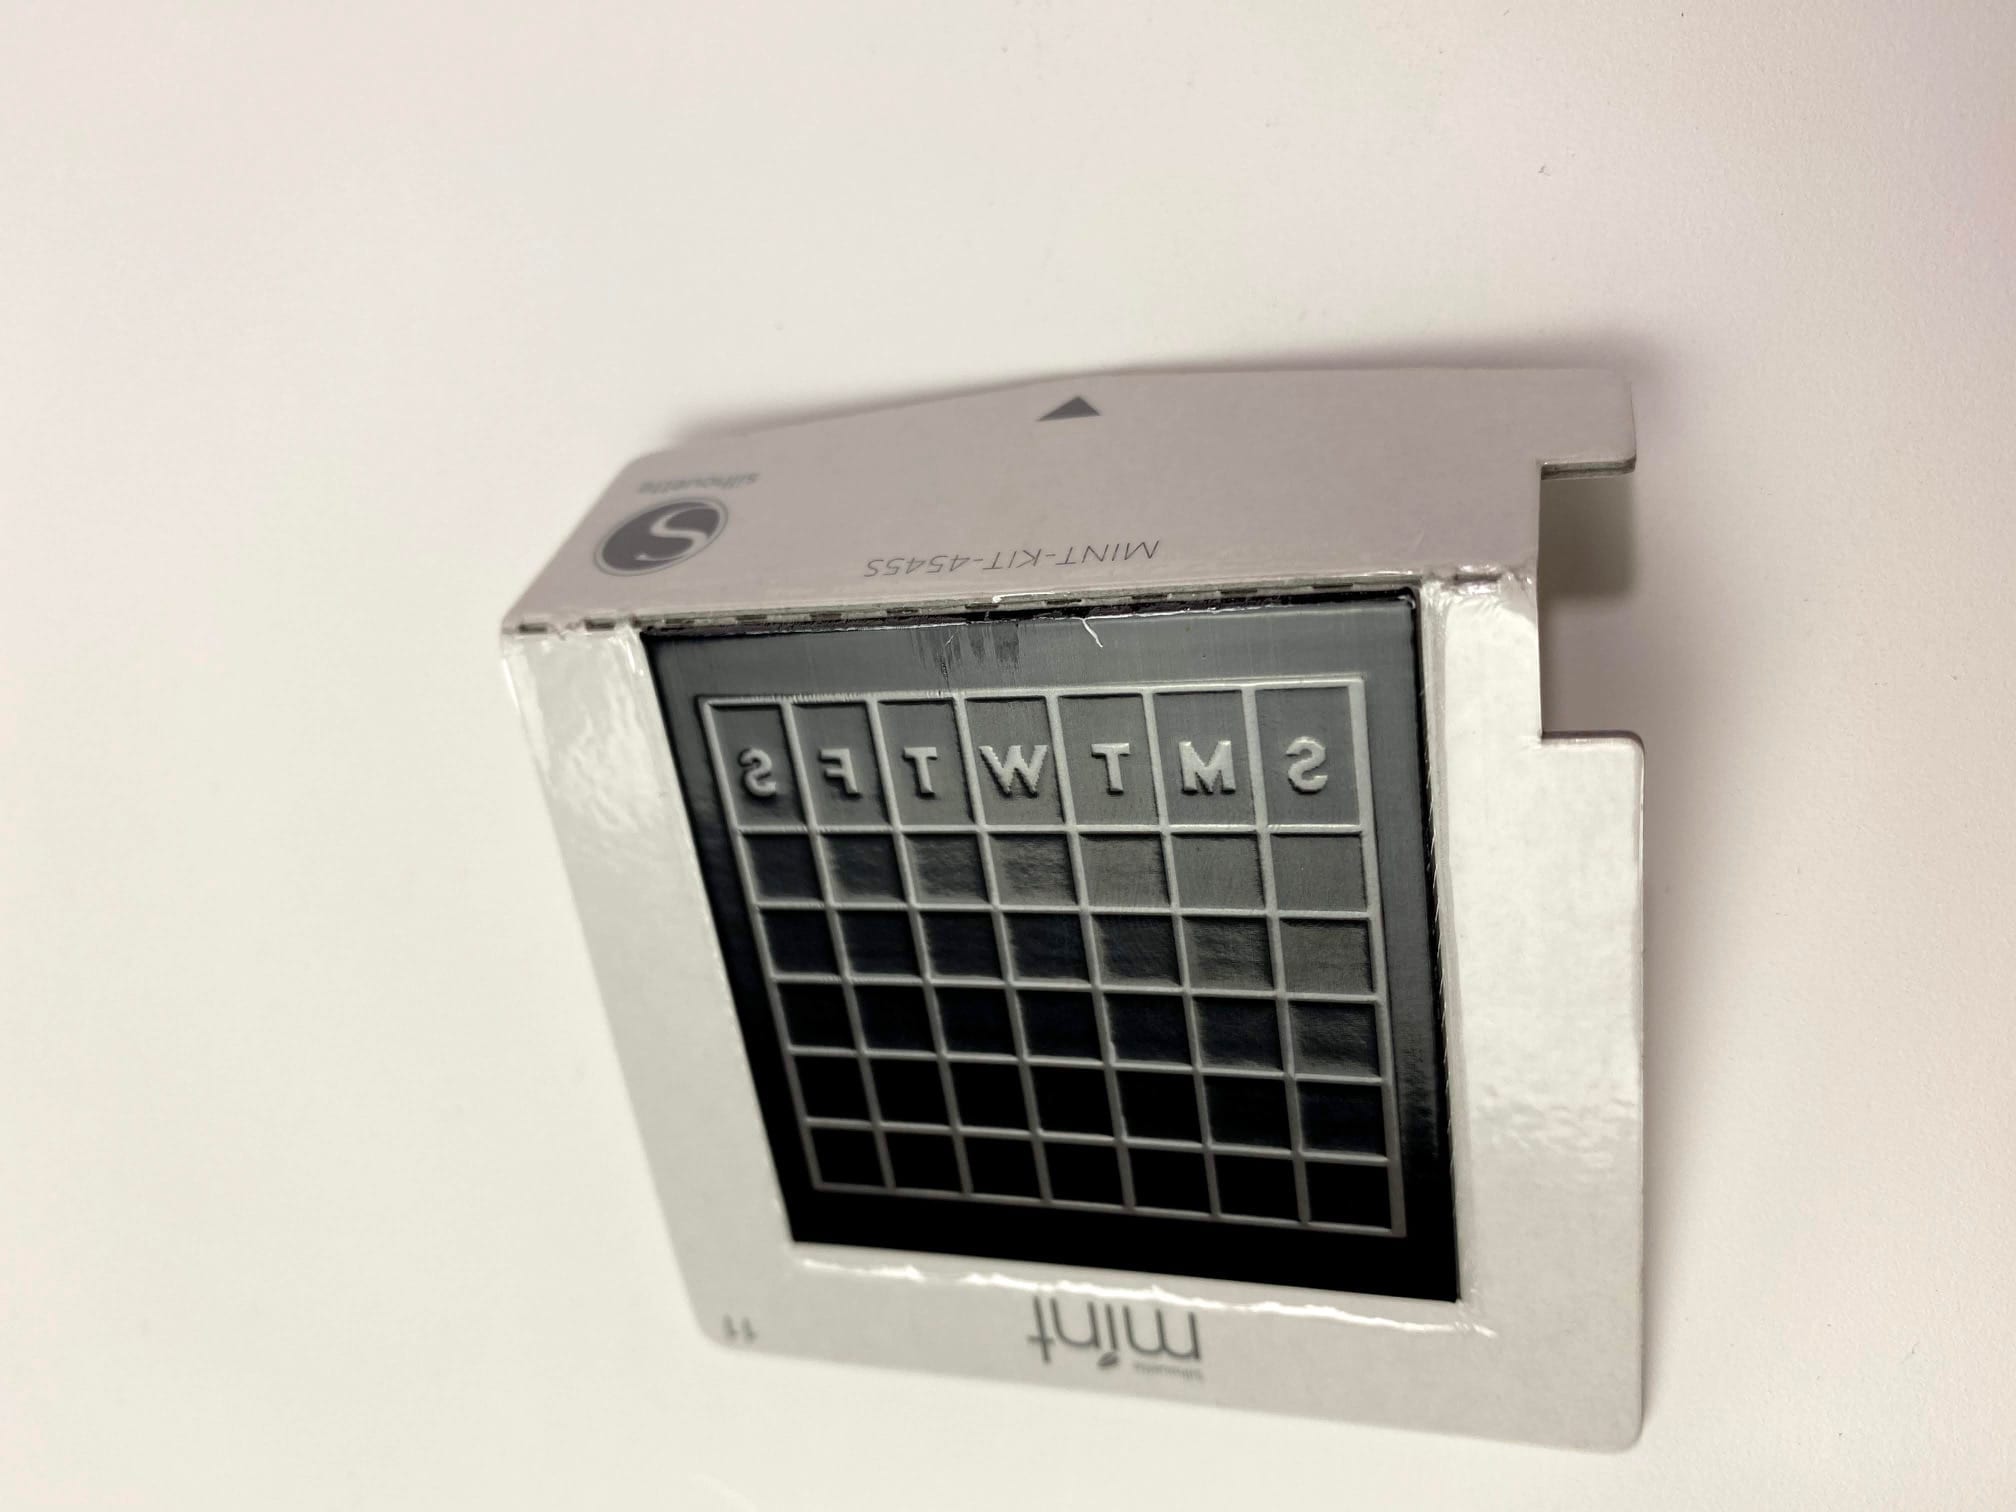
Now your stamp design is ready to print! Make sure you insert the stamp sheet with the arrow pointed into the back of the mint machine. Click on the start mint and follow the on screen instructions.
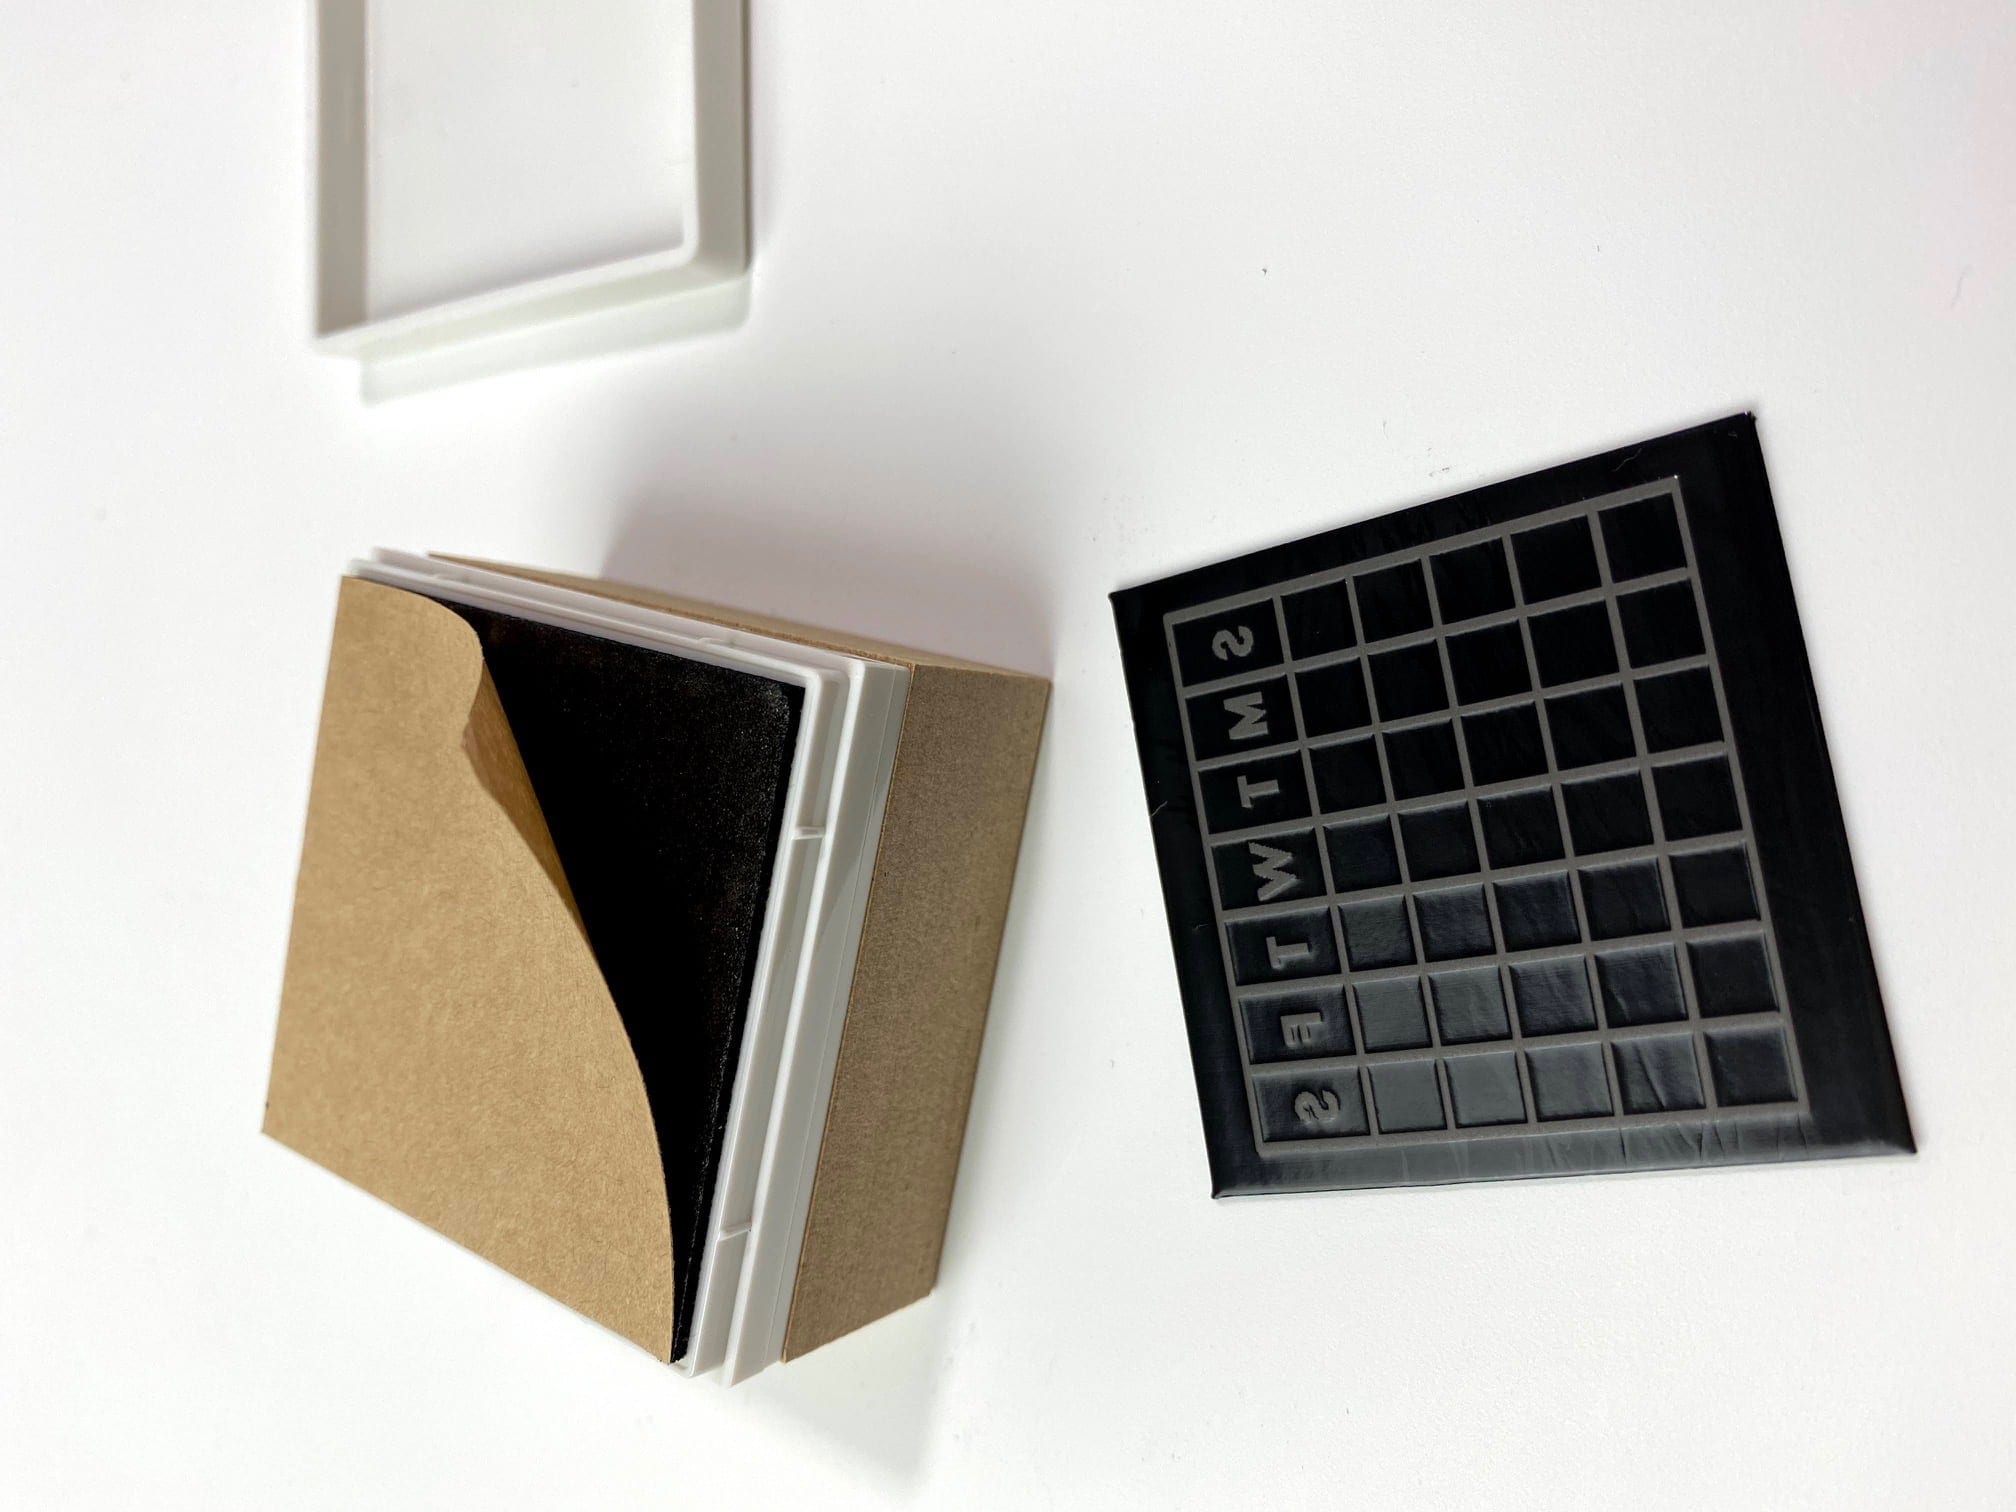
Step 4: assemble your stamp kit
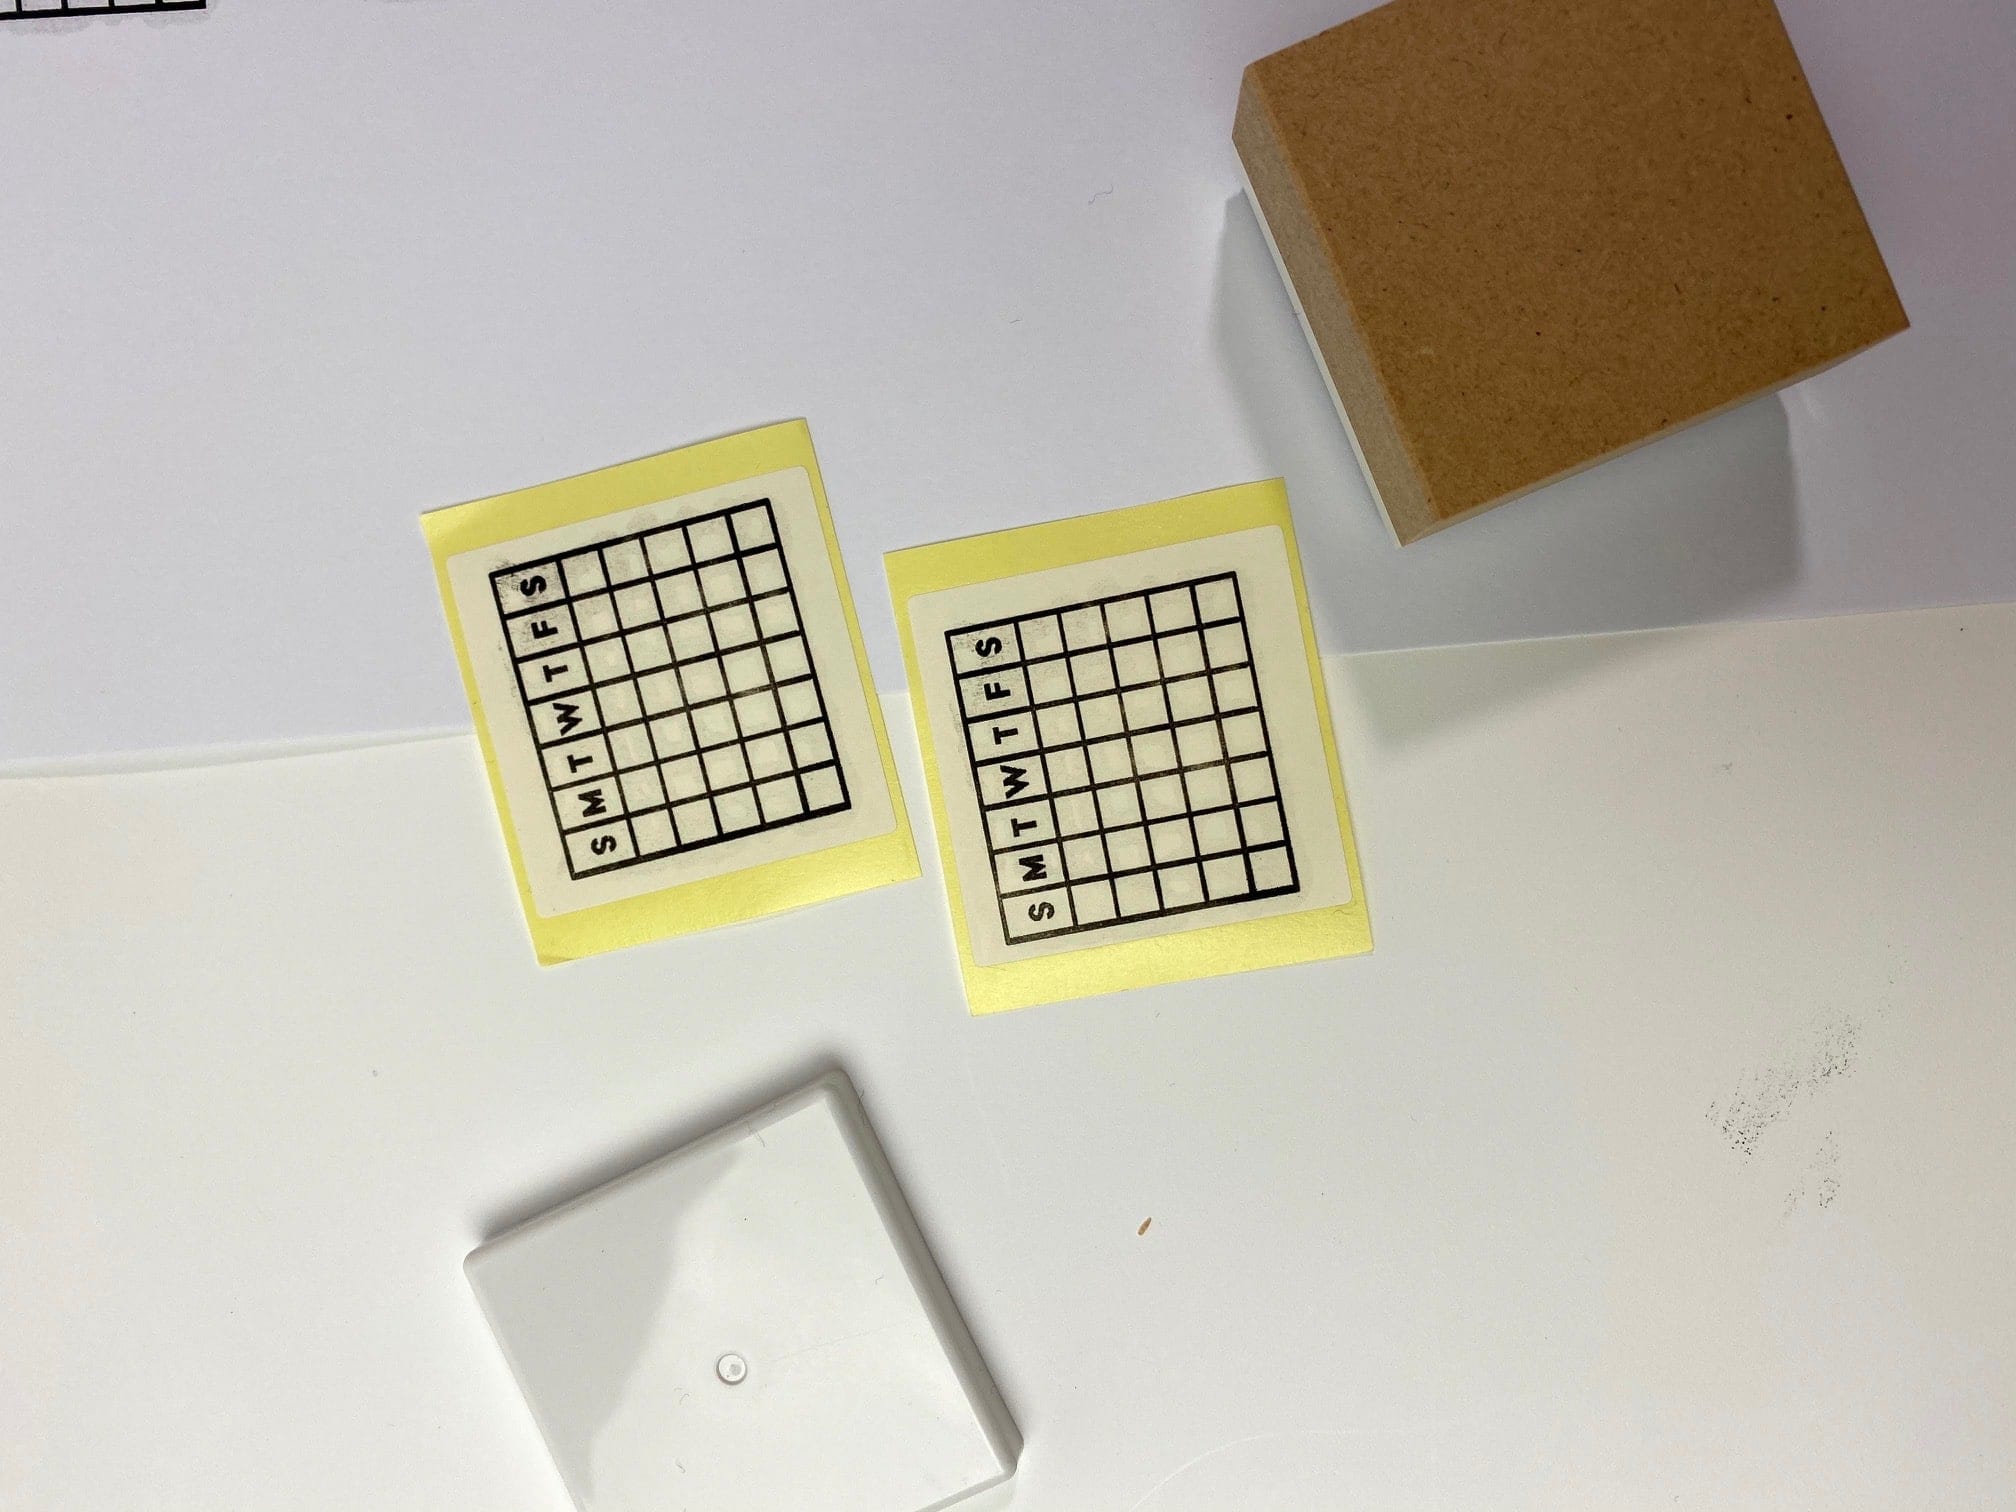
After printing your stamp, take your stamp sheet and bend at the perforated line. The plastic should peel off with it.
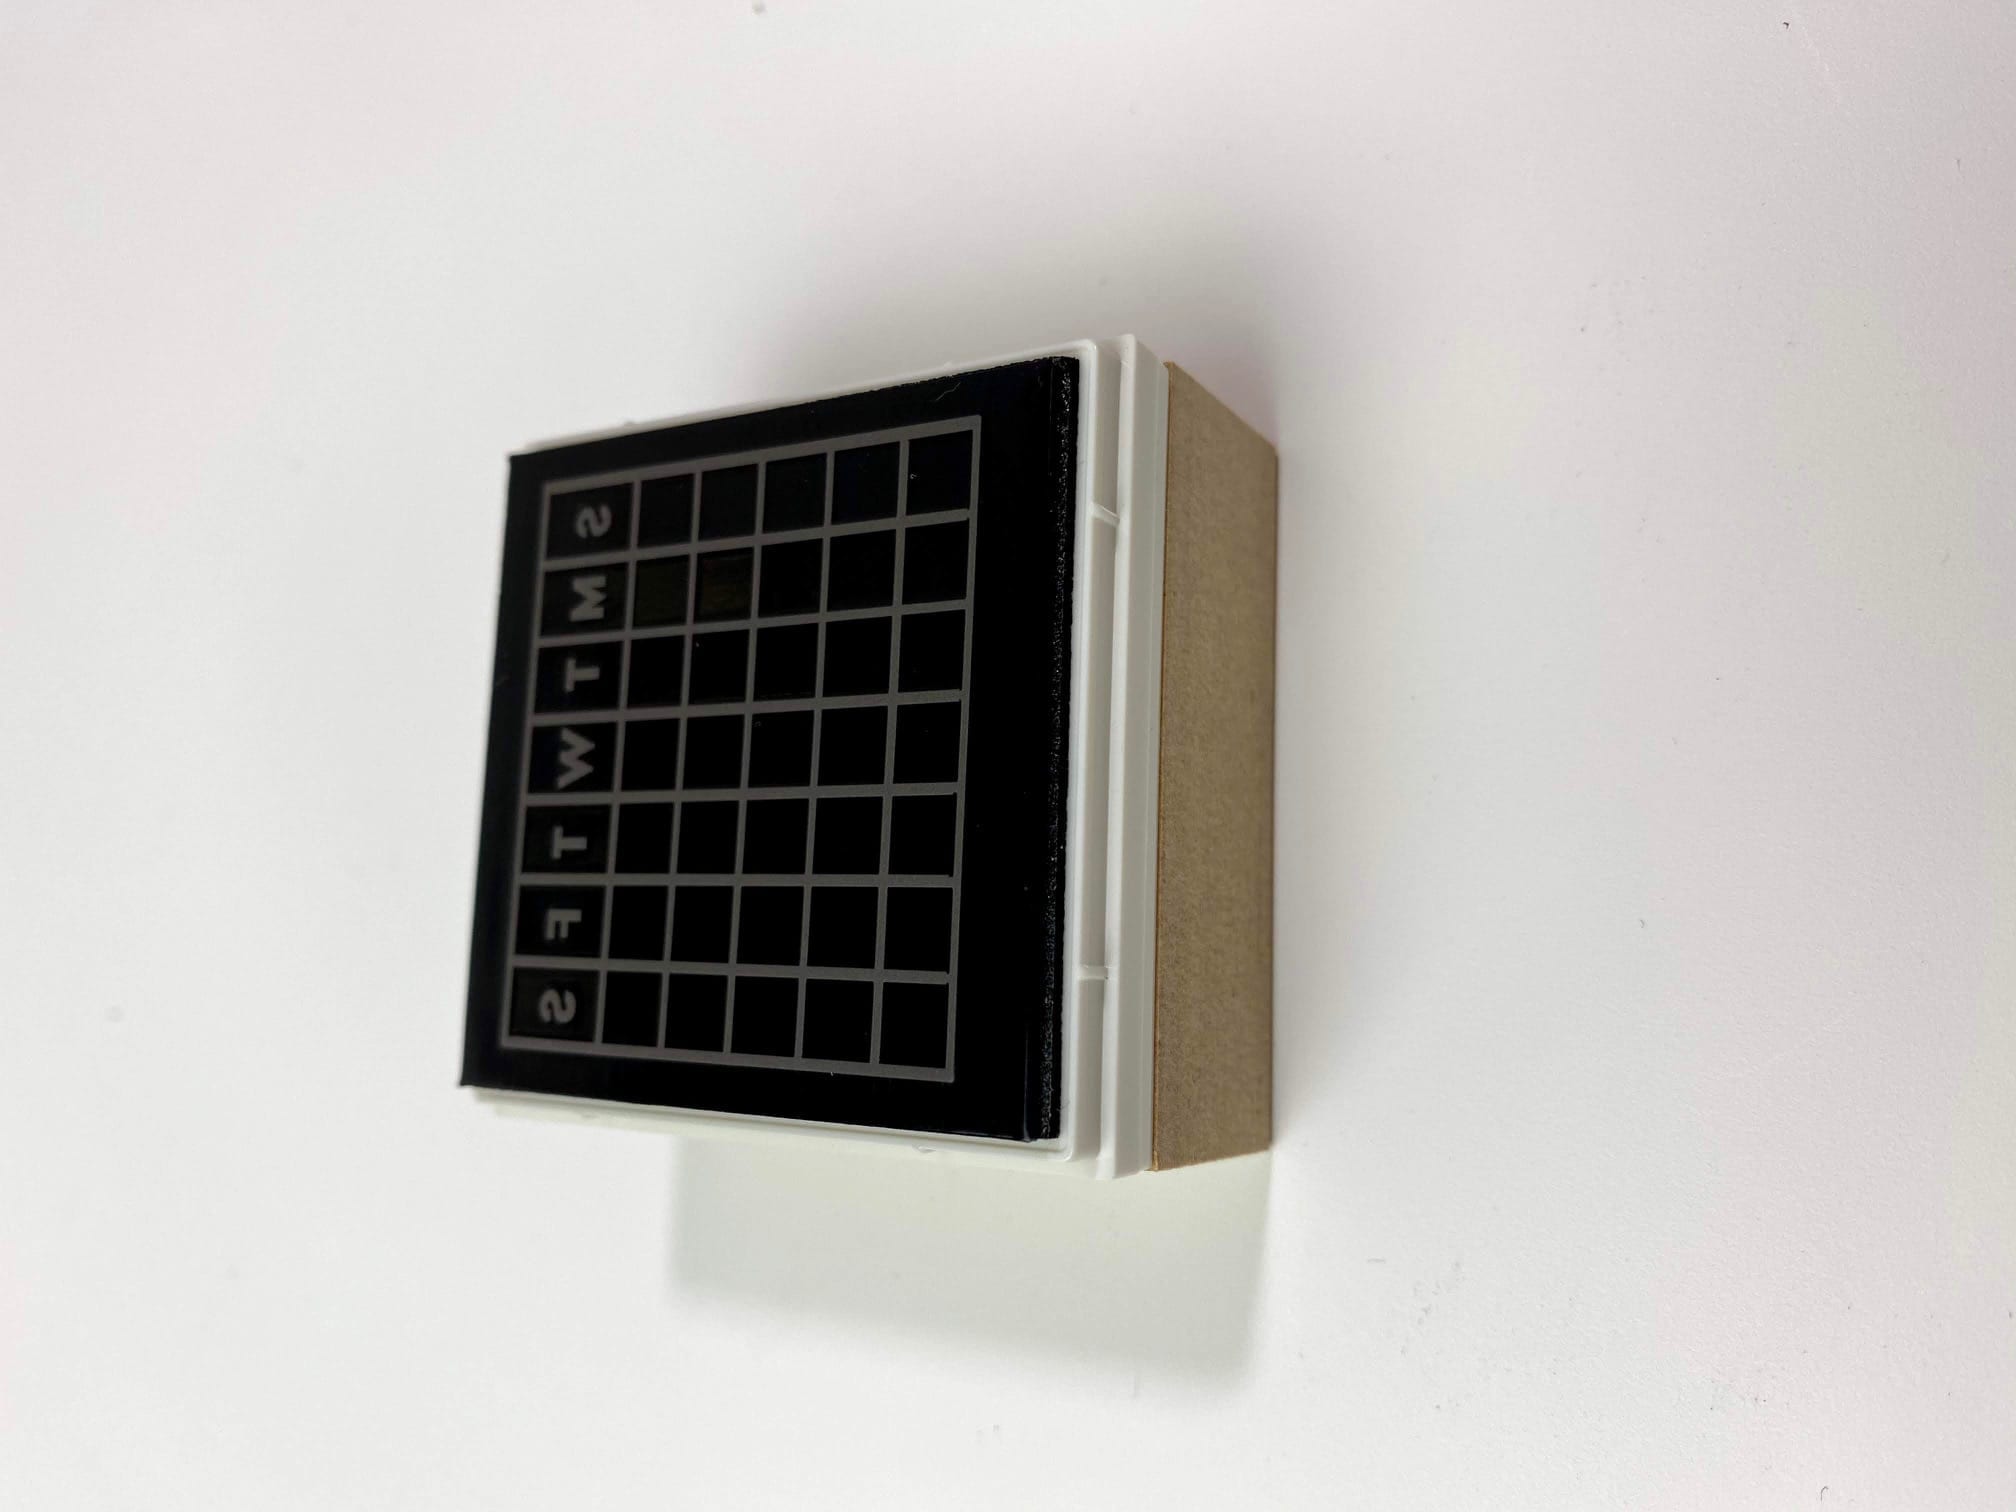
When you open your stamp kit, you will see that it comes with a large kraft box, and a white box. You simply slide and snap in the white box on the bottom of the kraft box.
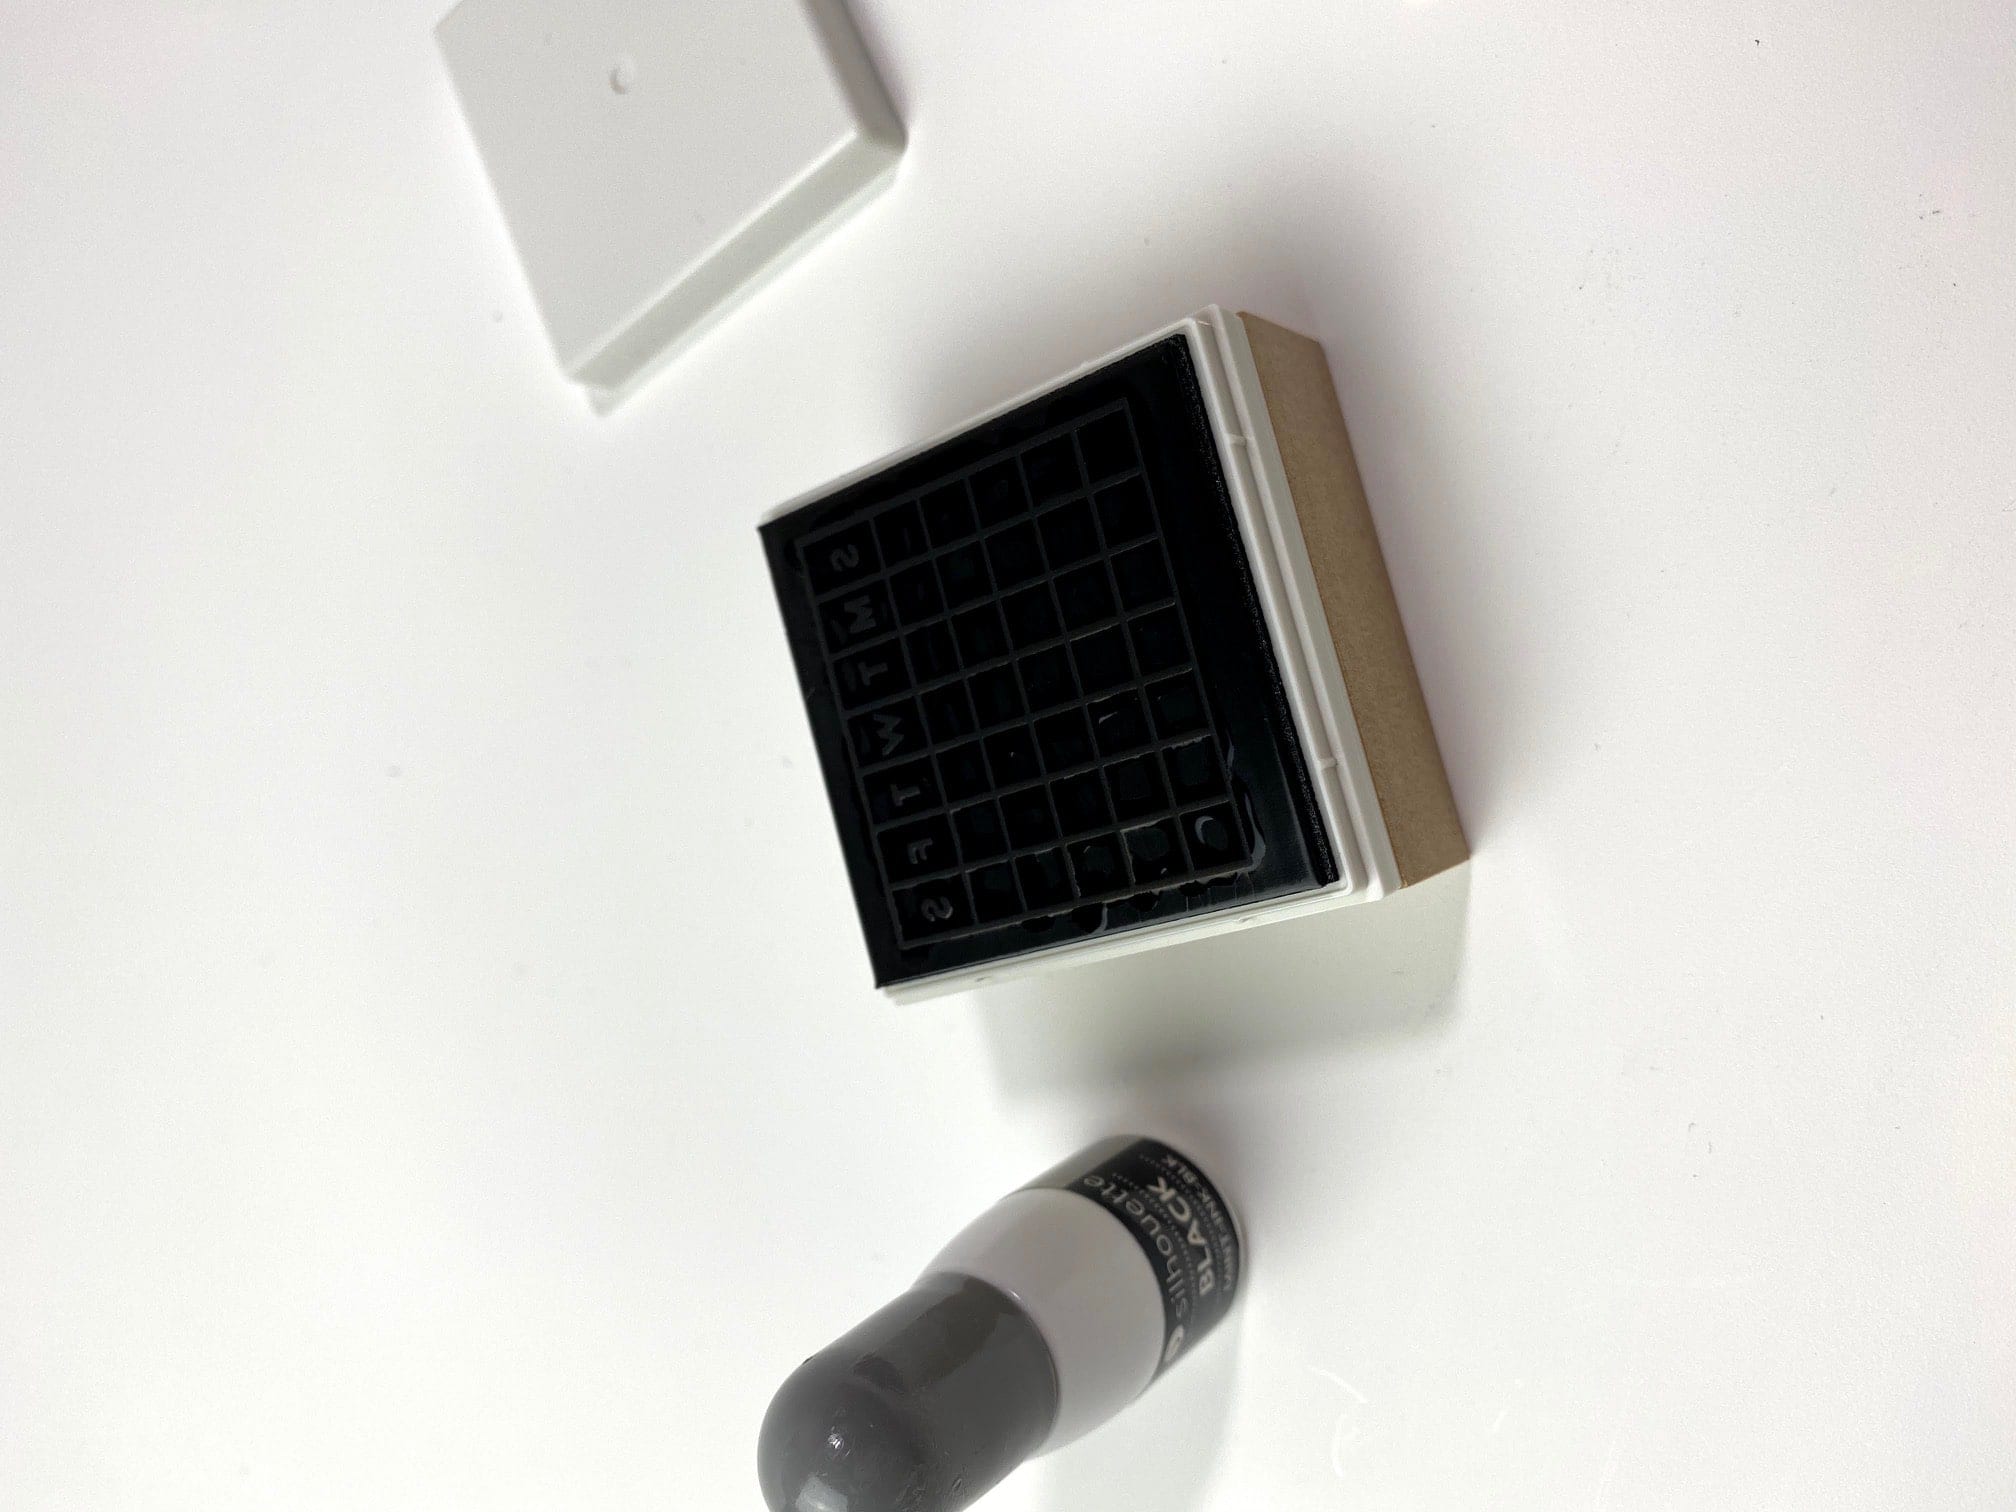
Now grab your white stamp block, remove the cap and there should be an adhesive tape pad.- peel that off to reveal a sticky top. Place your printed stamp and place it right on top of that. Save the yellow sticker papers for the next step.
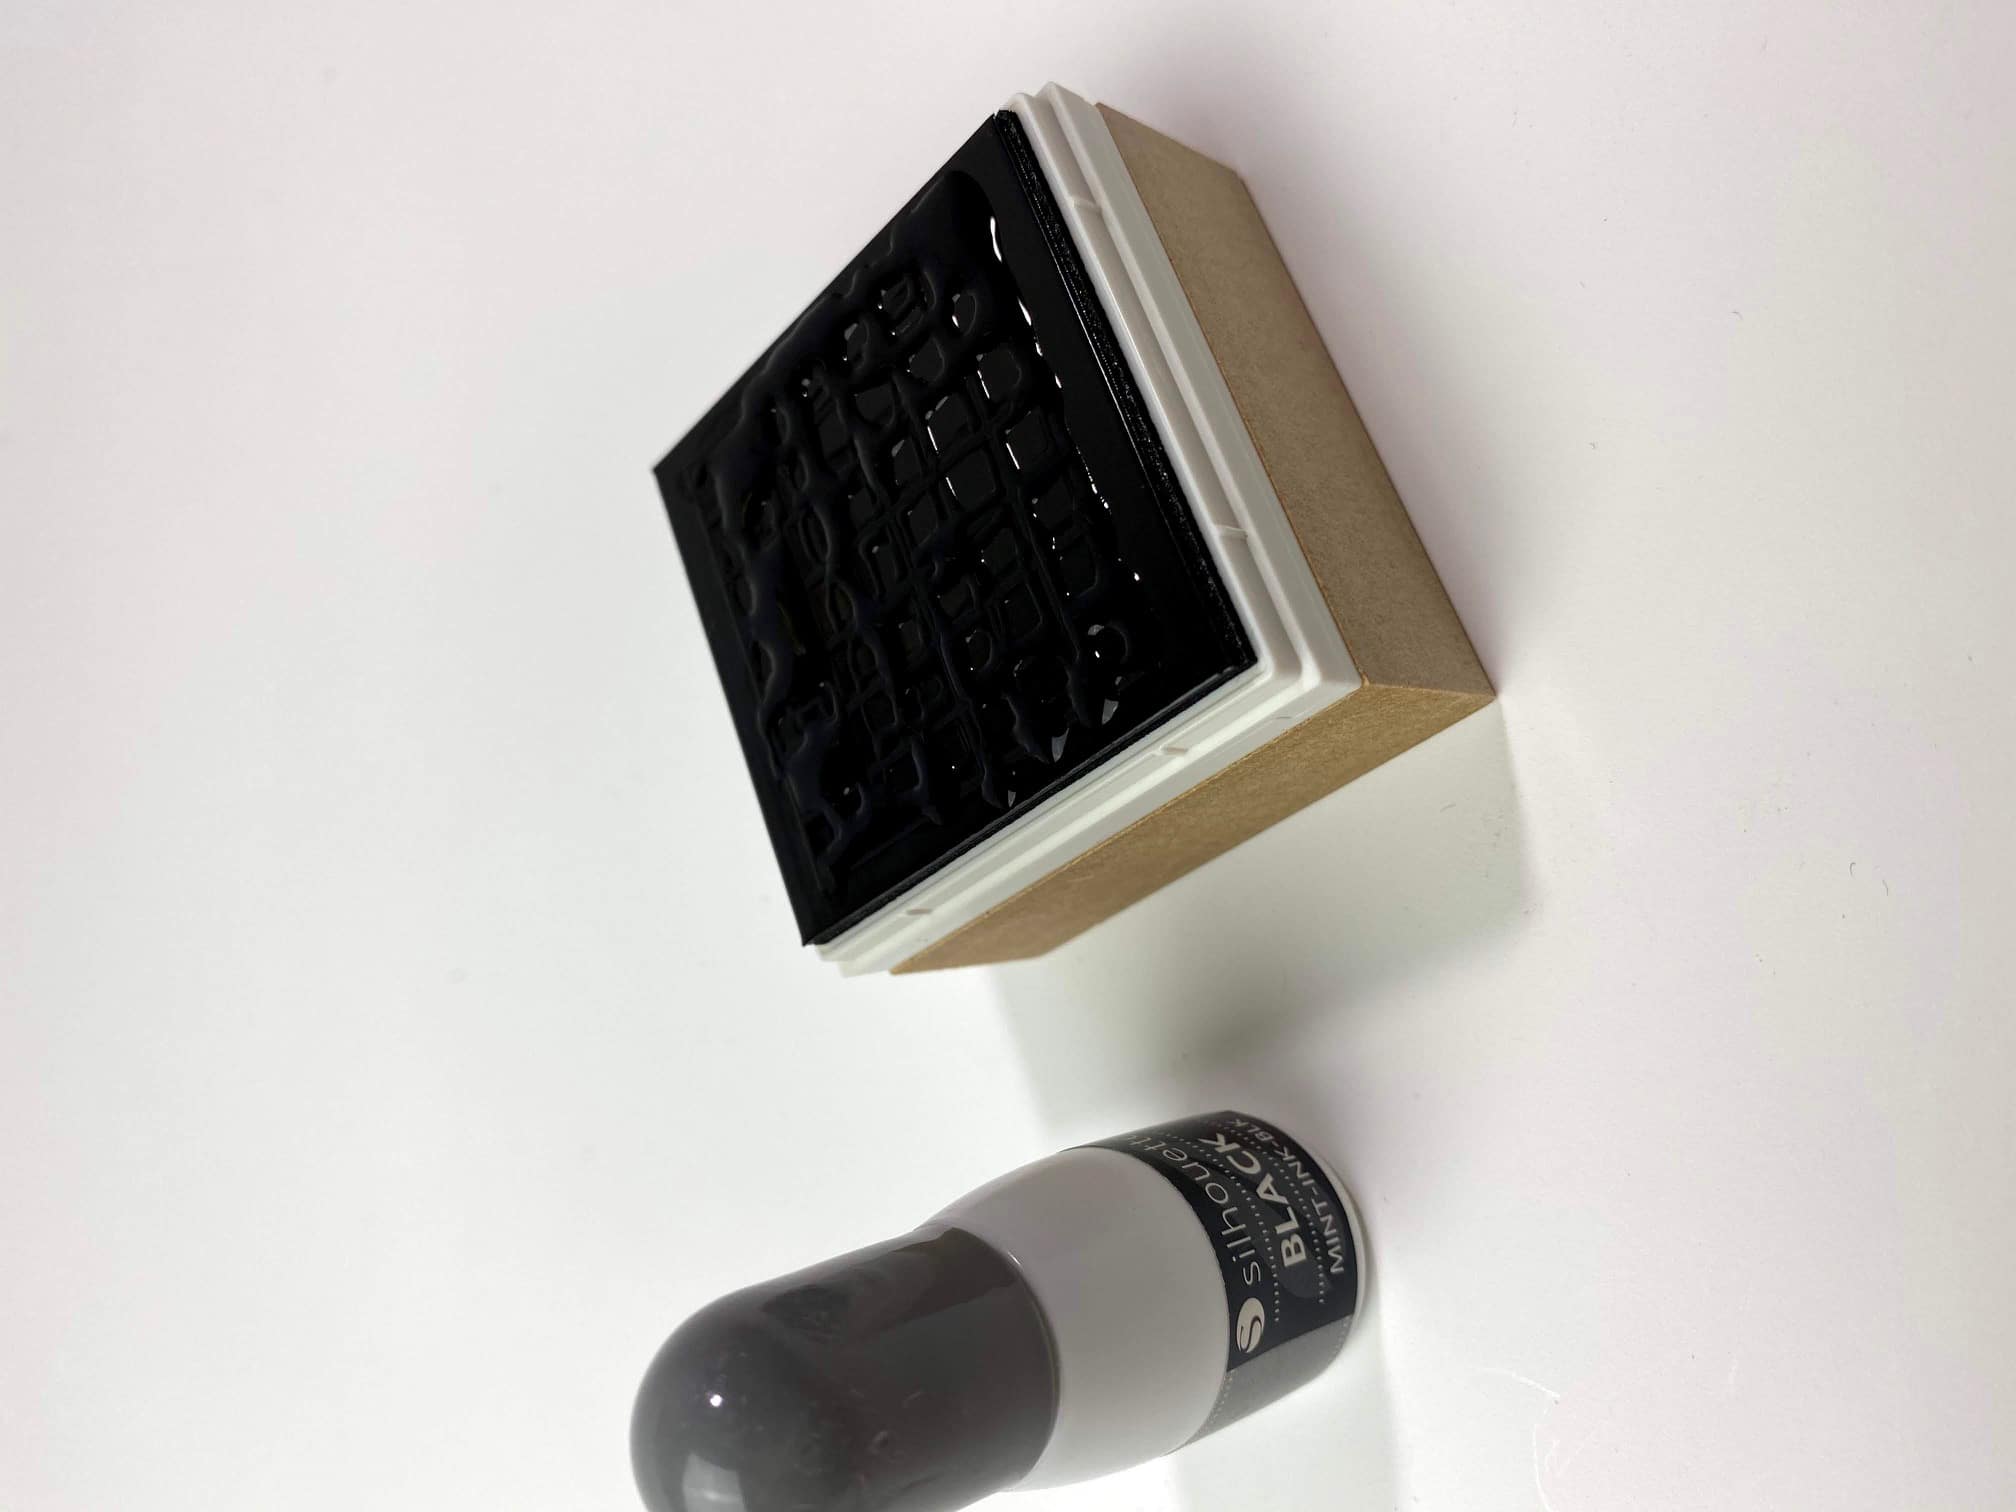
Step 5: Ink your stamp
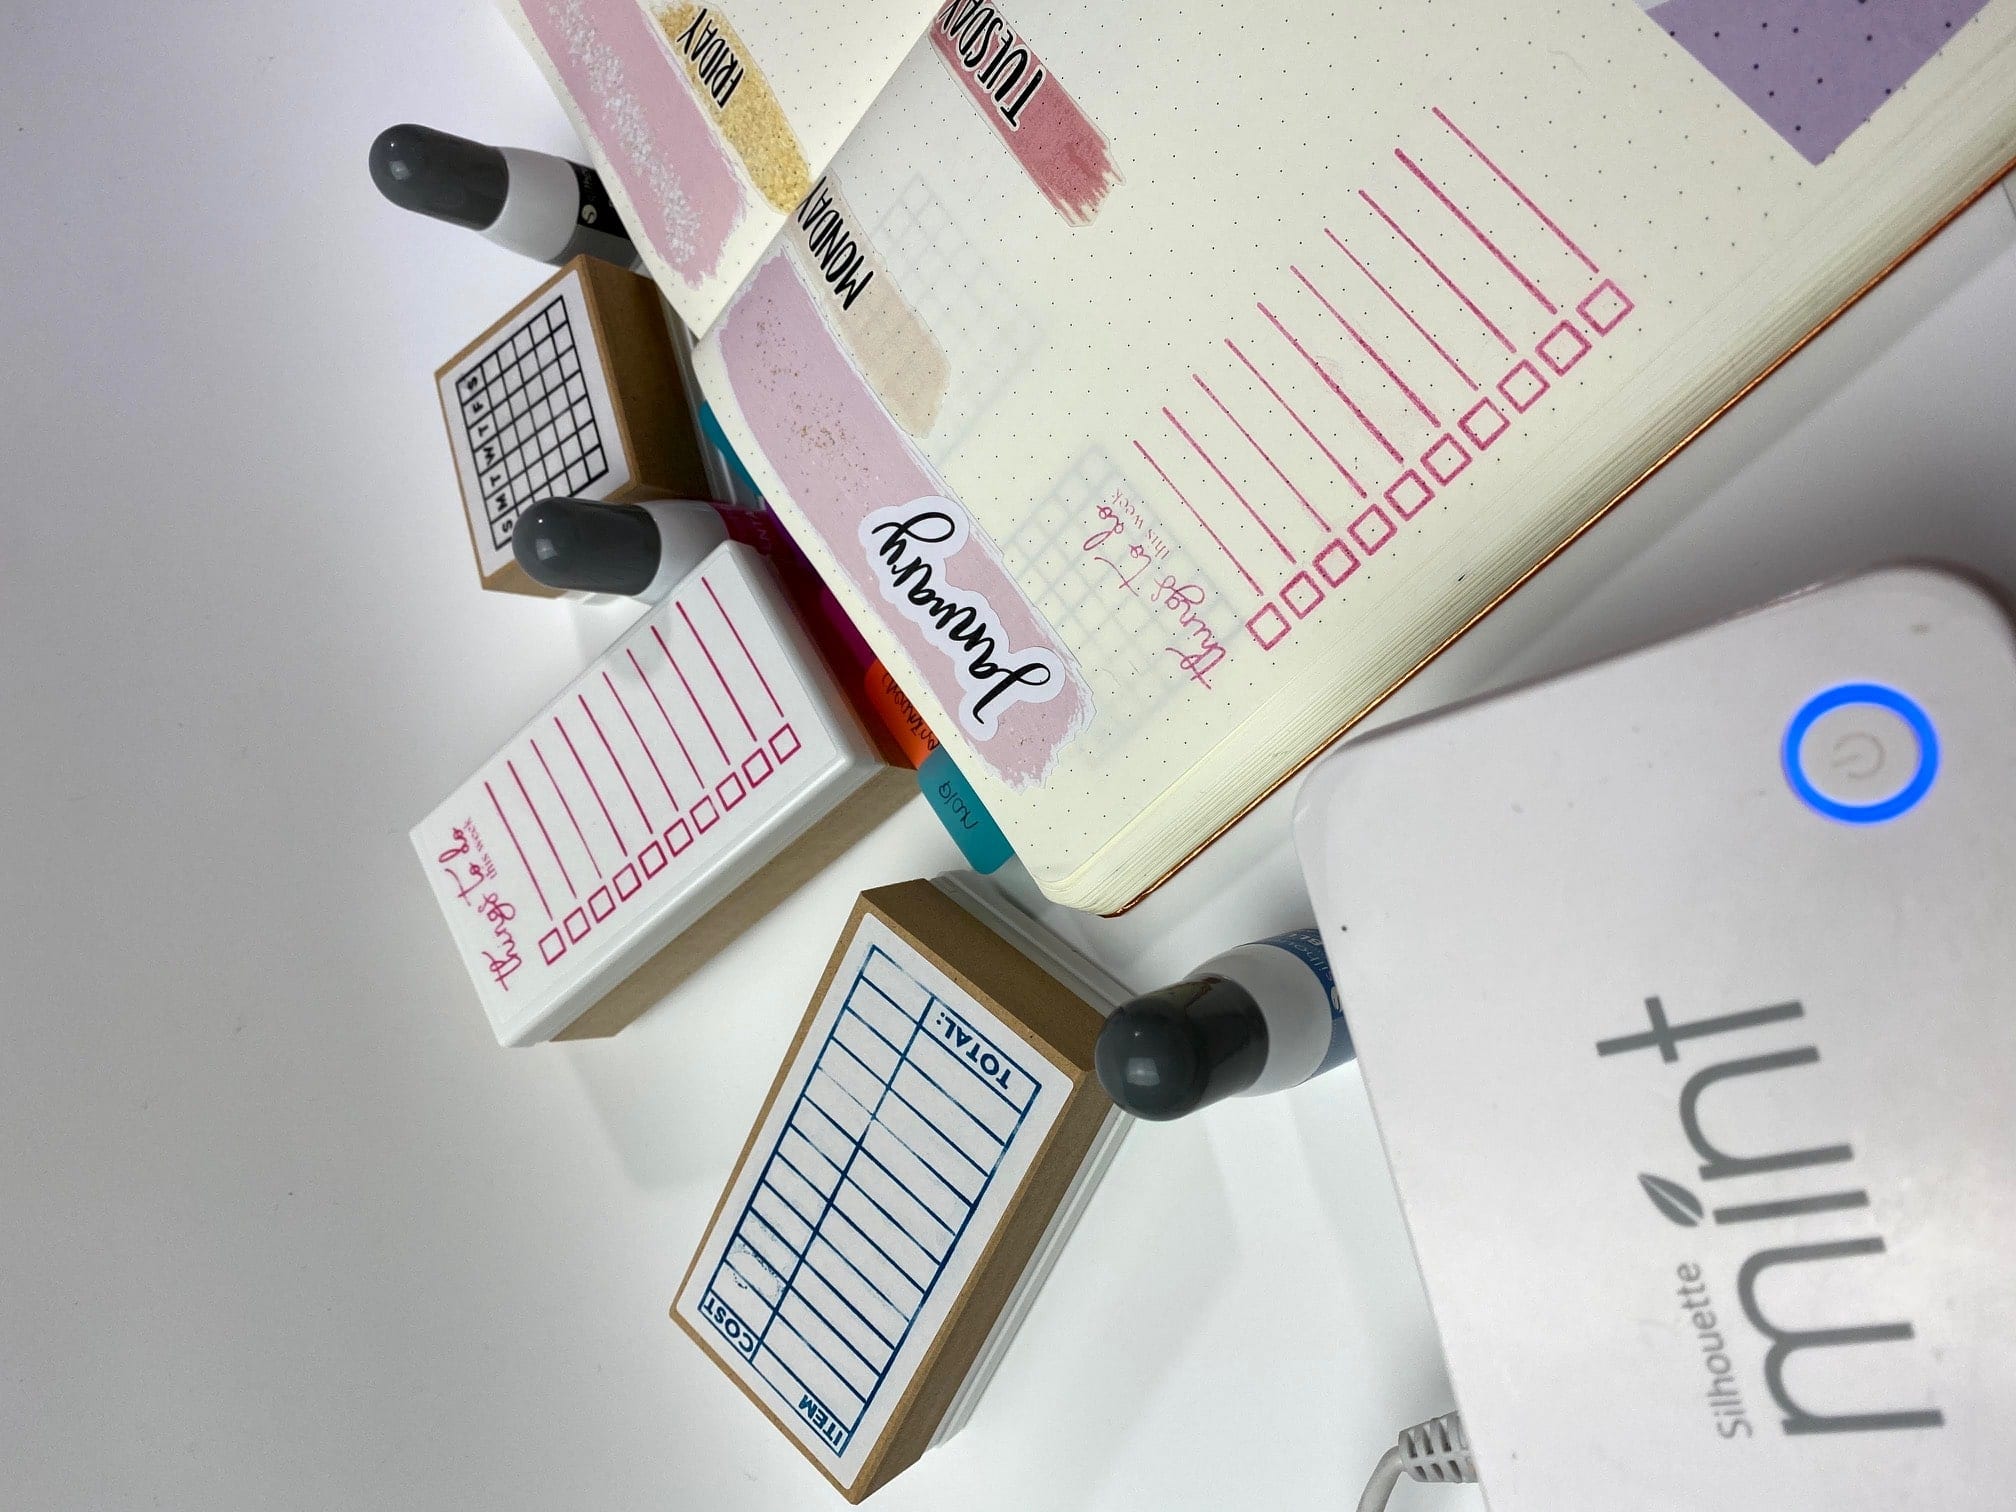
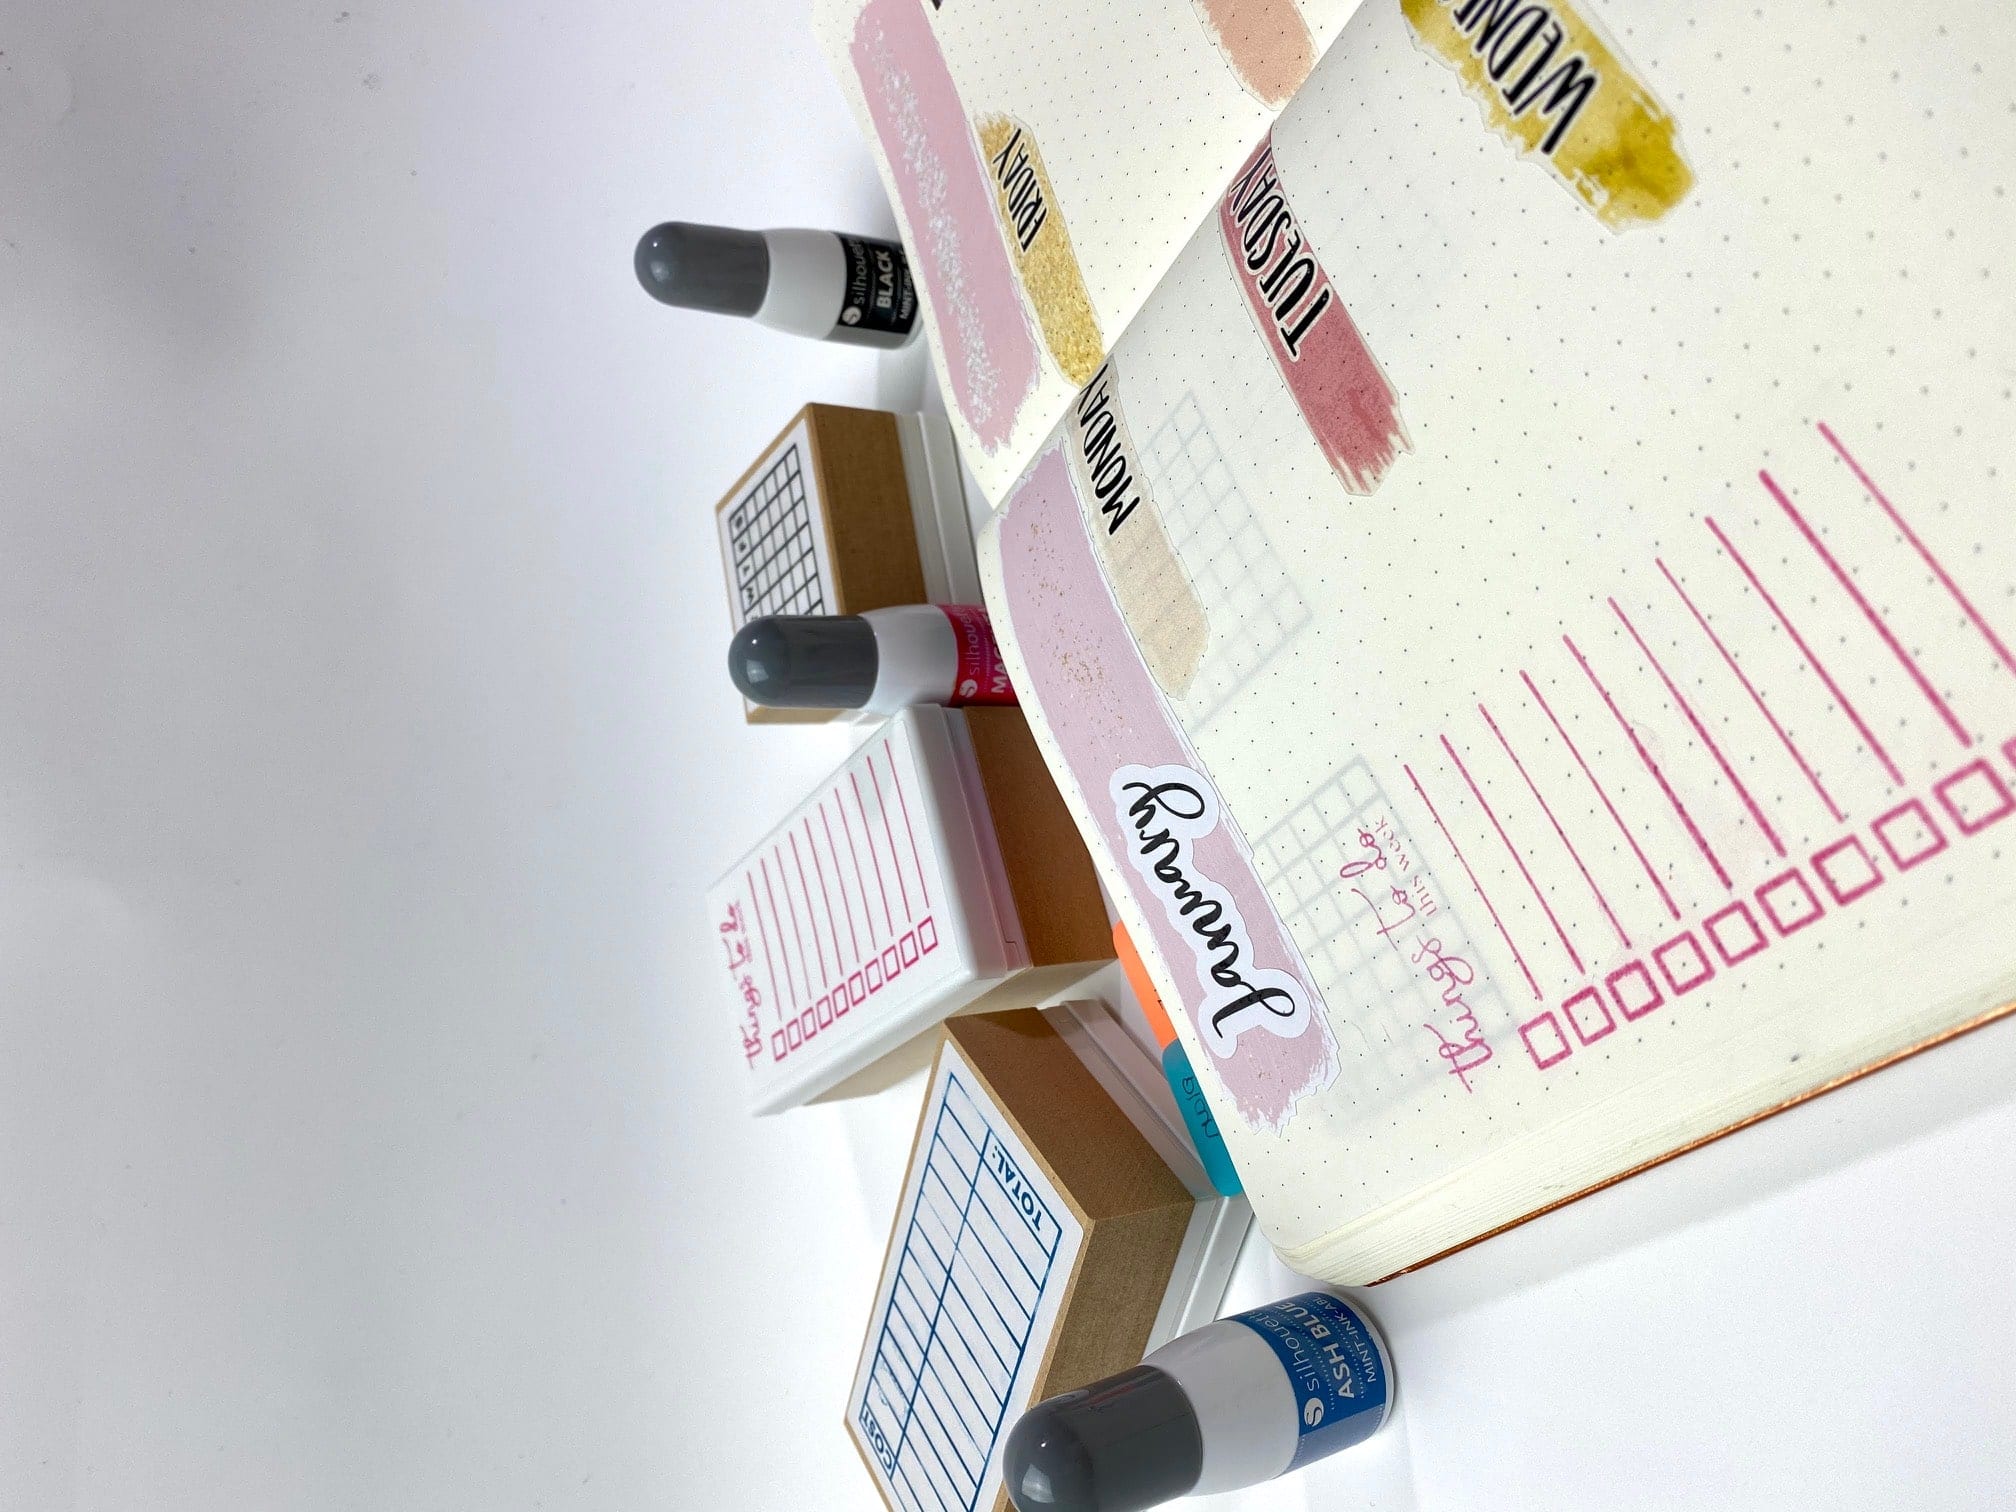
After assembling your stamp kit, it’s time to ink your stamp. Grab your ink bottles in your color of choice and squeeze ink directly onto the stamp sheet. Let the ink seep into the stamp sheet for about 10 minutes.
-
ink stamp sheet – -
let dry for about 10 minutes


The next step is to clean off the excess ink. To do this, just stamp on a scratch paper multiple times until stamp is clear and isn’t blobby looking anymore. Then stamp onto the yellow stickers to place on top of the stamp block and on the cap.
-
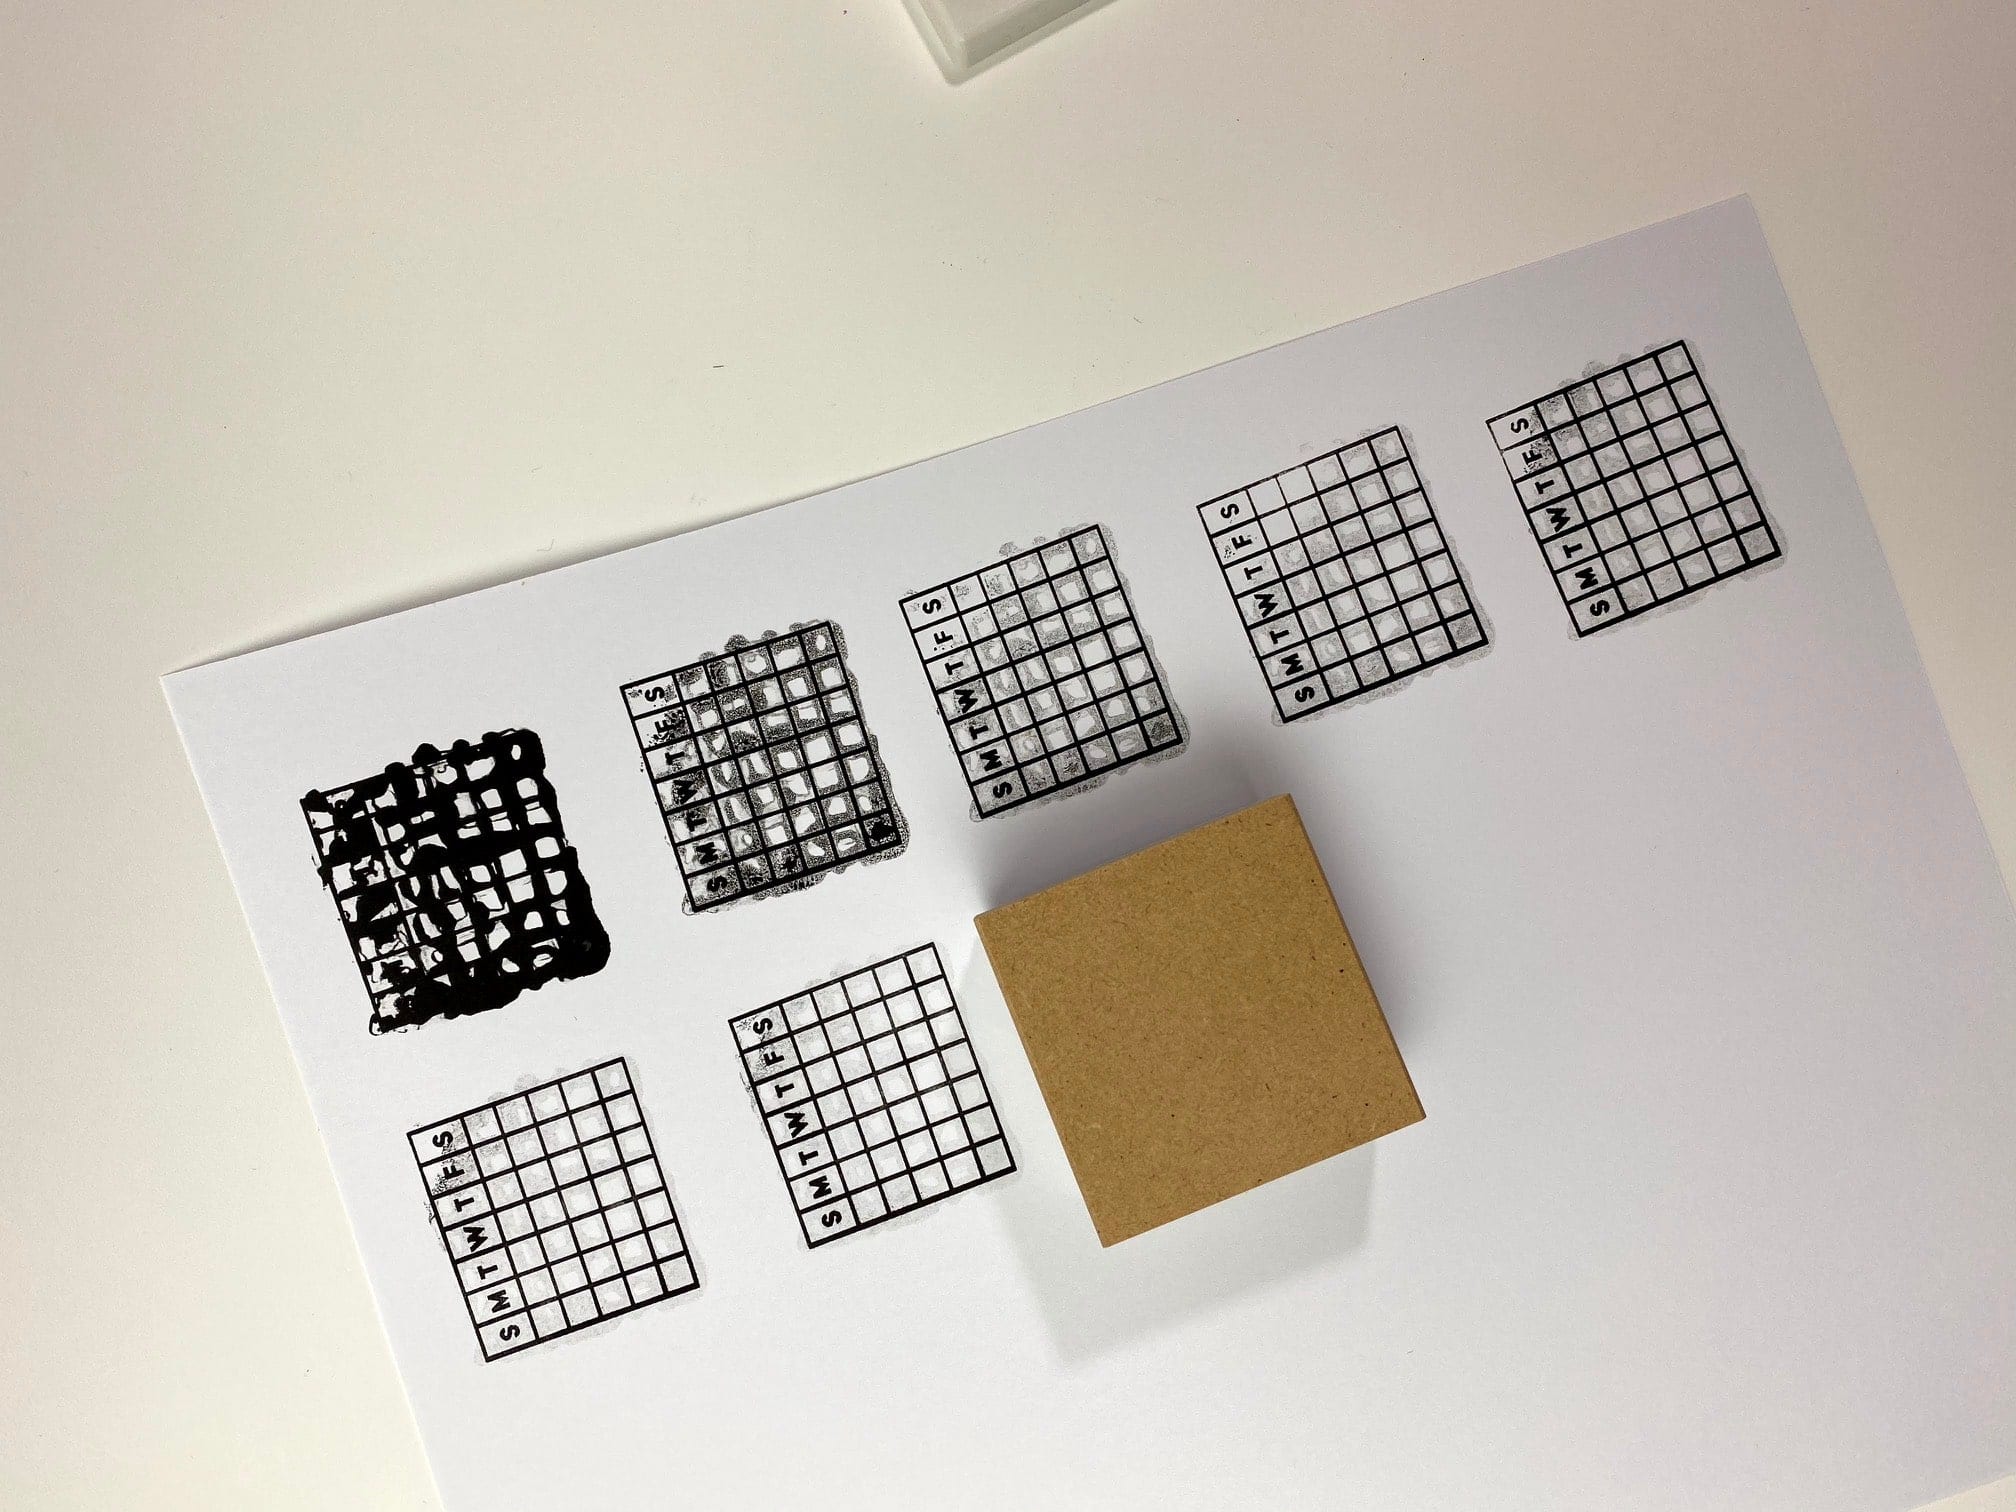
Stamp on a scratch paper multiple times until stamp is clear -
now stamp stickers to place on top of the stamp block and on the cap
step 6: stamp your bullet journal or planner!
Now use your stamps in your bullet journal or planner. These stamps can be used up to 50 times before you need to re-ink it again.

Enjoy using your custom planner stamps
I hope this little tutorial was helpful for you! Have you tried to make your own stamps with your Silhouette yet? What would you make for your bullet journal or planner?

Click here and use code 10OFF to get 10% off regular priced items (bundles and promo items not included).