This post is sponsored by Silhouette America and contains affiliate links, which allow me to earn a small commission at no extra cost to you.
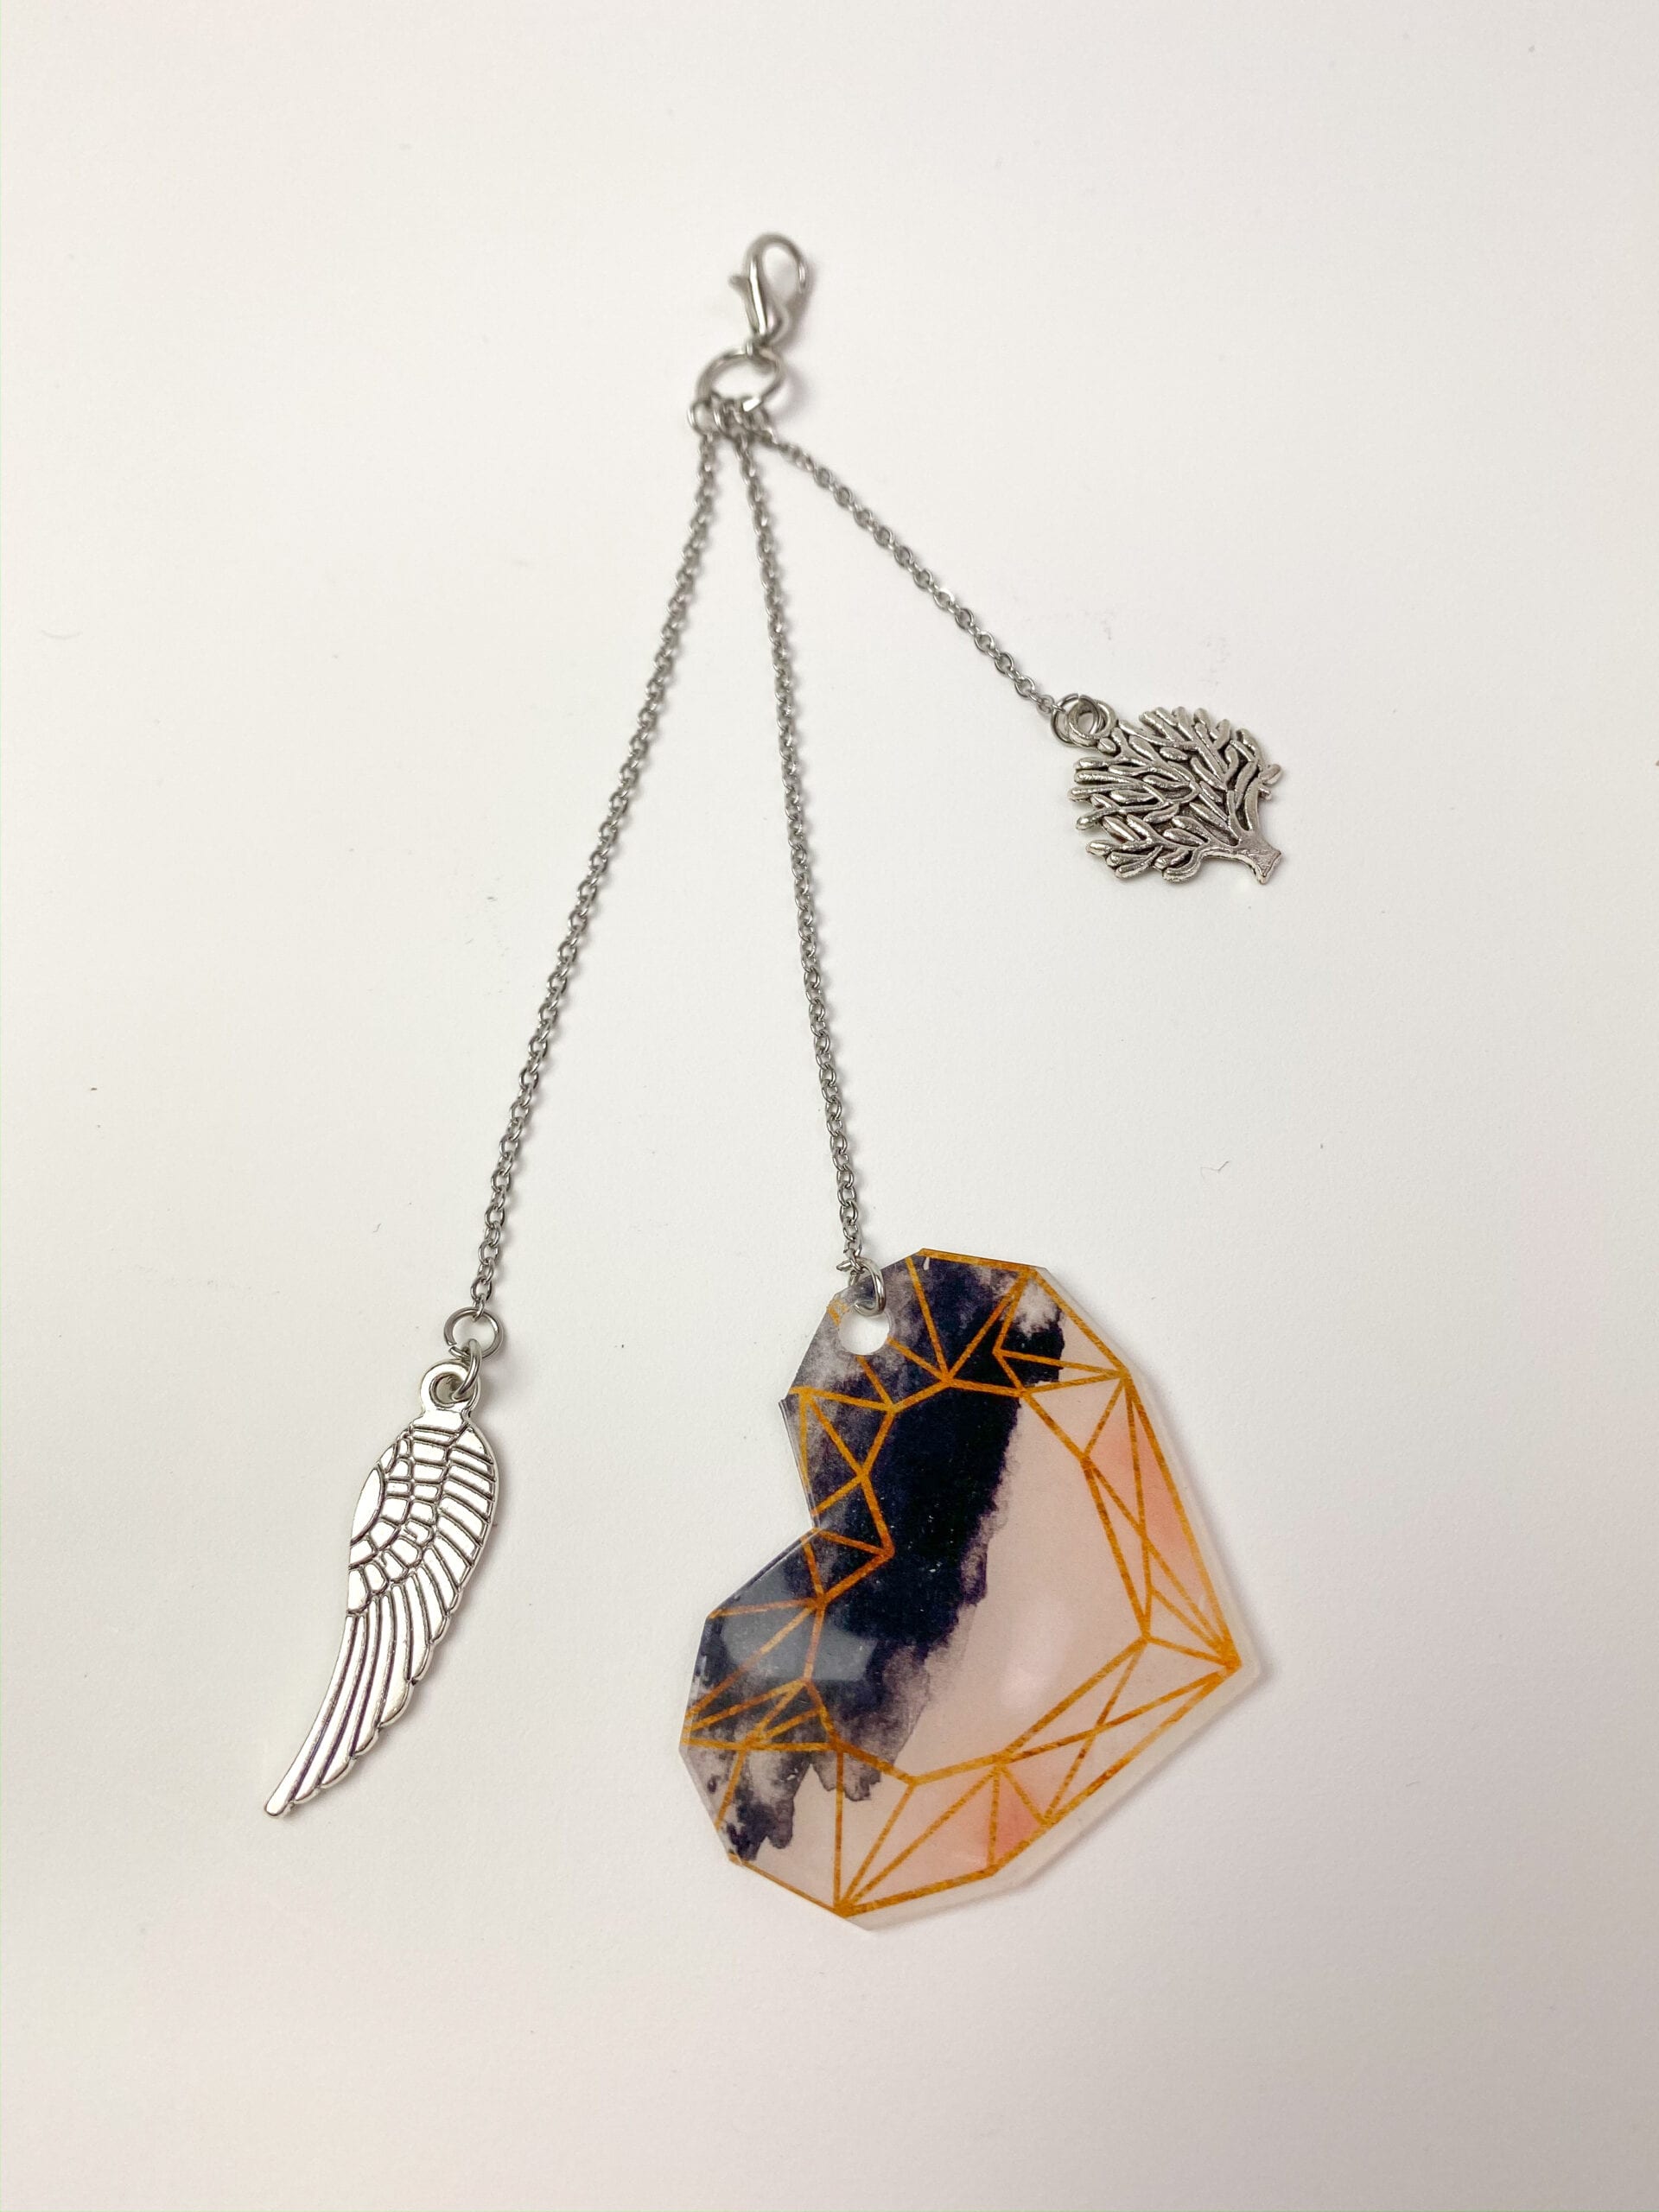
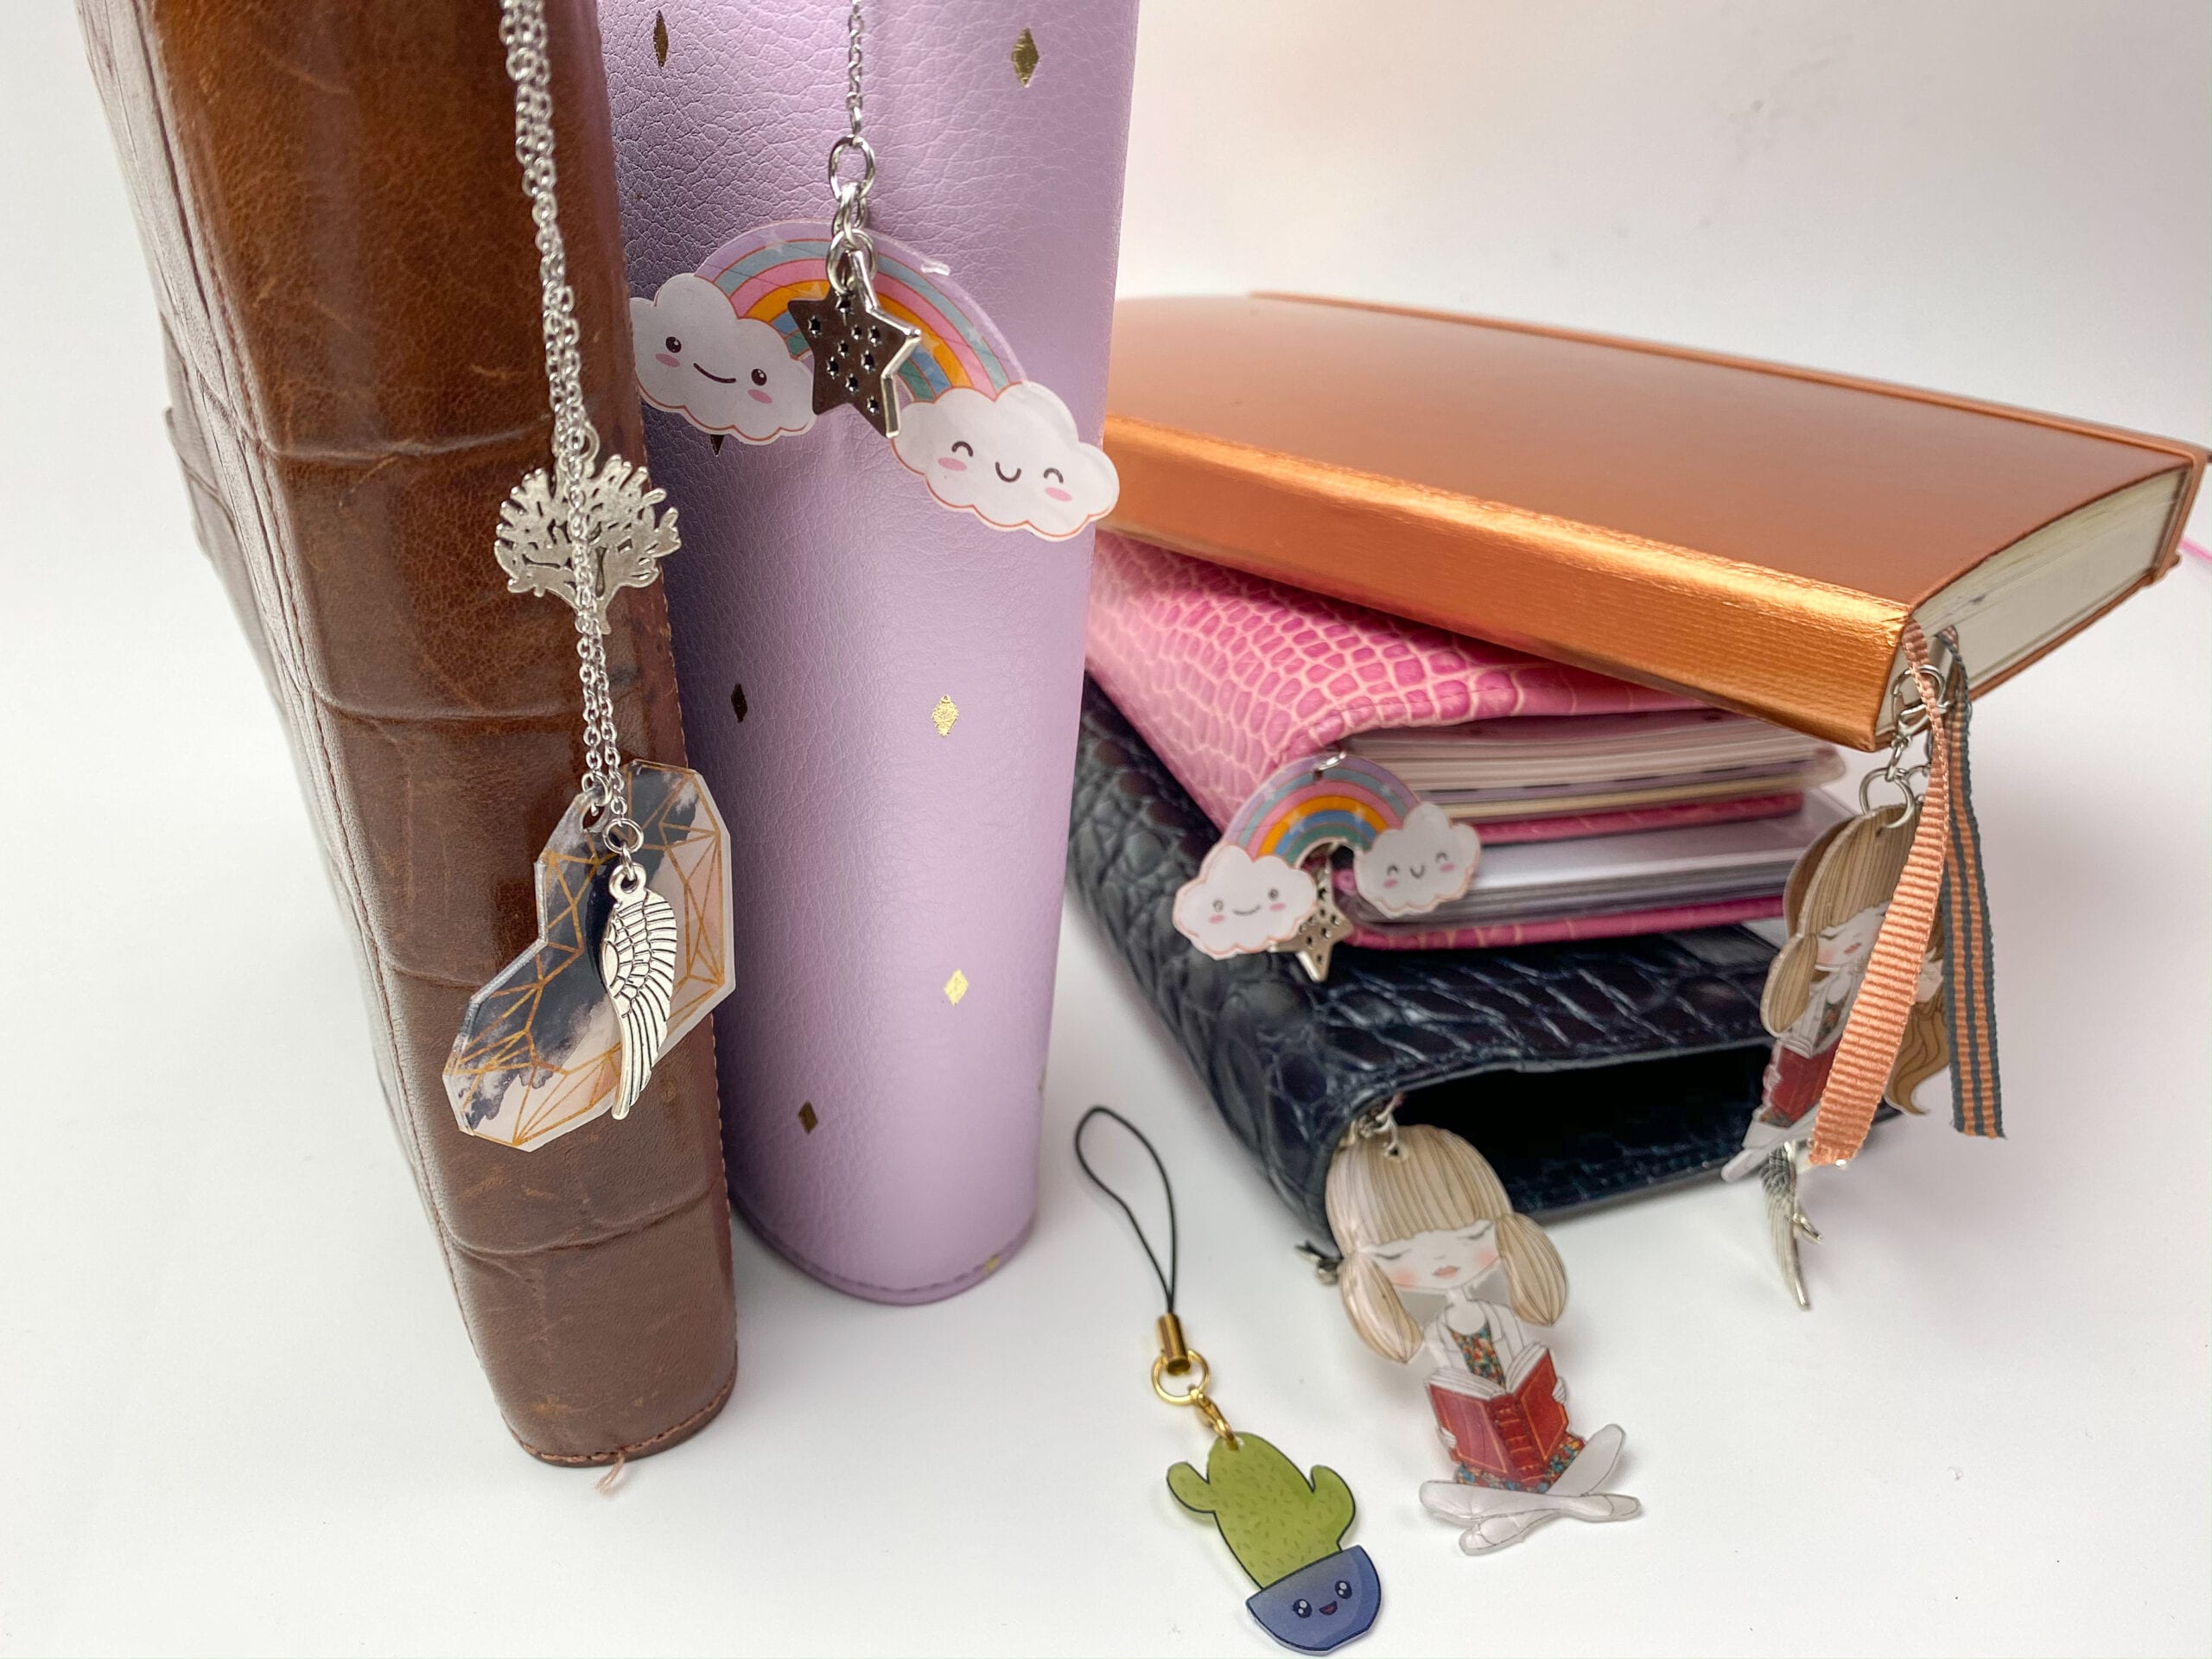
Planner charms are another way to make your planner fun and cute. I love having tassels or charms hanging from my notebooks and planners. They definitely make me want to pick up my planner more often.
In this tutorial I will be showing you how you can make little charms for your planners using Shrink Plastic Sheets from Silhouette.
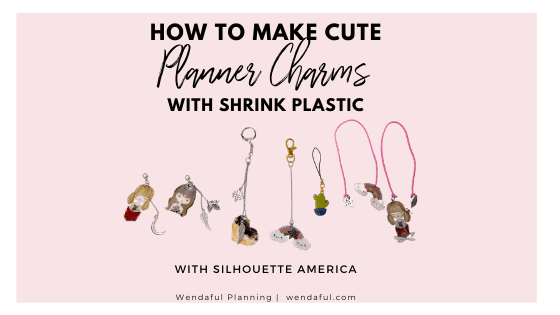
Table of Contents
How to Make Cute Planner charms with Shrink Plastic
Shrink plastic is awesome. You can create any design you want, and turn it into a sturdy, 3D little plastic charm!
The Shrink Plastic Sheets from Silhouette uses the print & cut feature for Silhouette. It involves printing a project in your regular home printer then sending it to cut in your silhouette cutting machine. Before you print, you need to make sure there are registration marks that will print on your project first. Then you place that printed sheet on a cutting mat and send that to your machine so it knows exactly where to cut.
Once it is done cutting, you should have your shrink plastic ready for you to bake!
Supplies Needed:
- Silhouette Machine (Cameo/Portrait)
- Silhouette Cutting Mat
- Silhouette Cutting Blade
- Printer
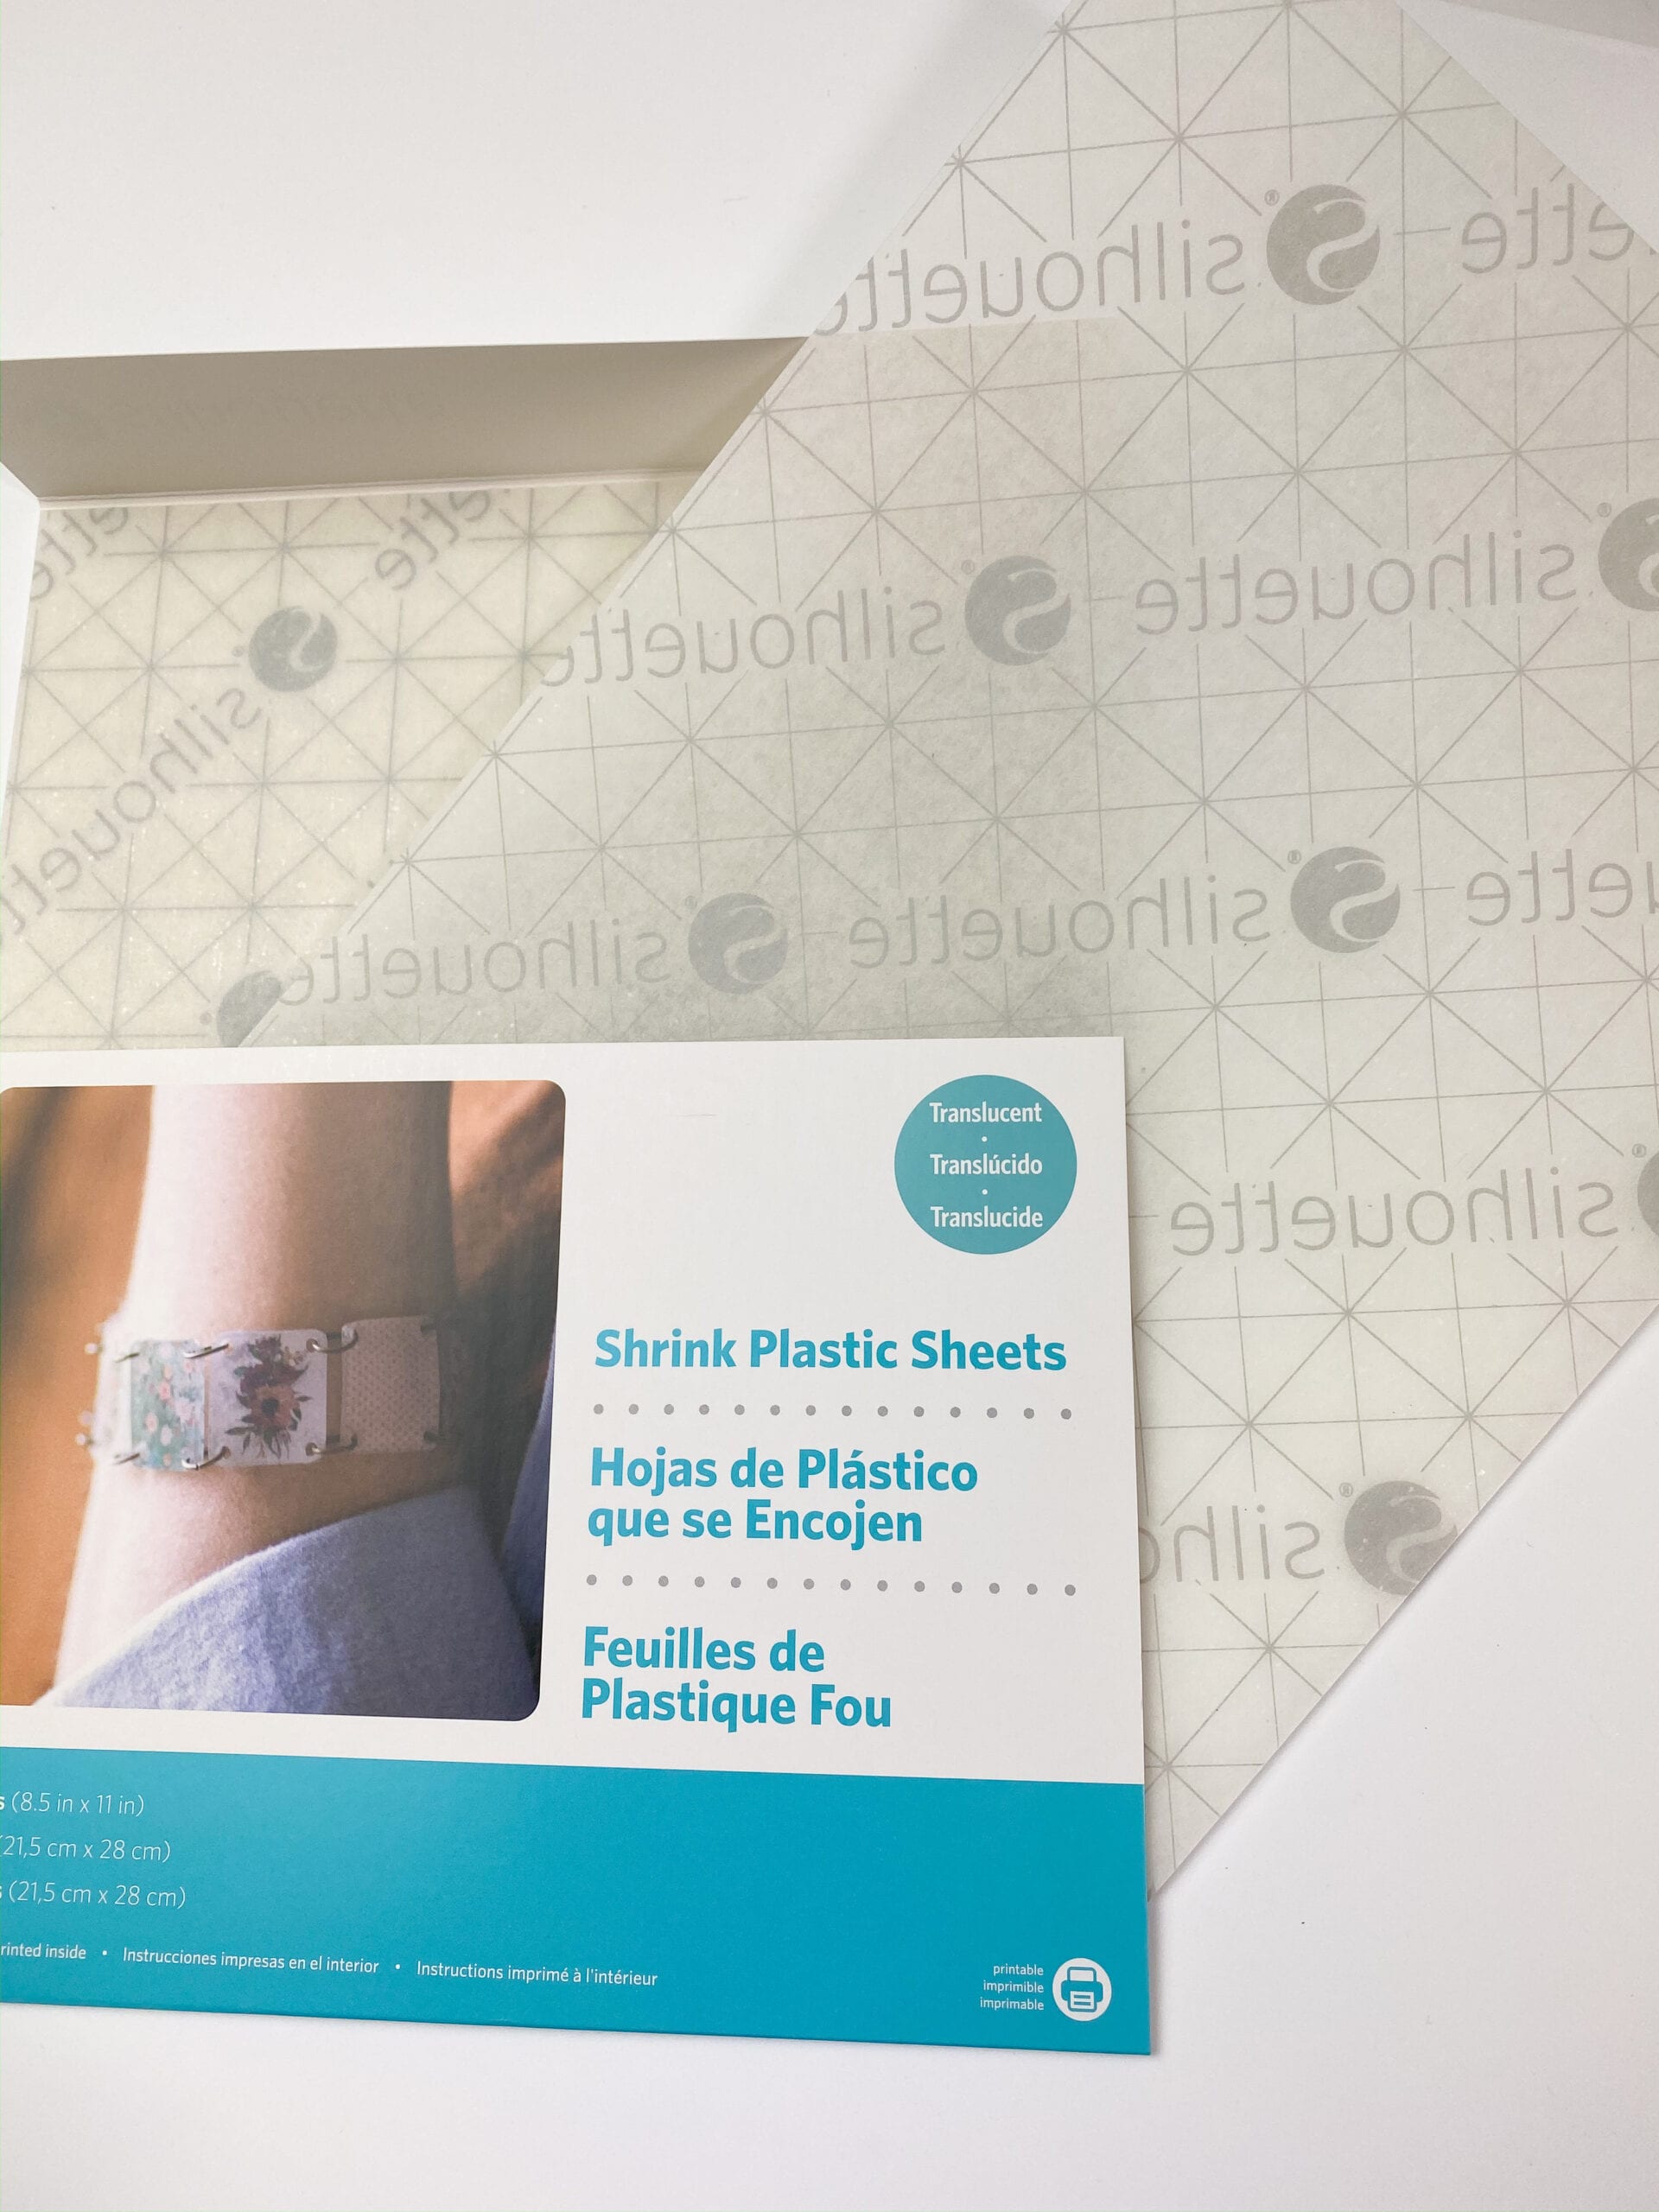
- Silhouette Shrink Plastic (White or Clear)
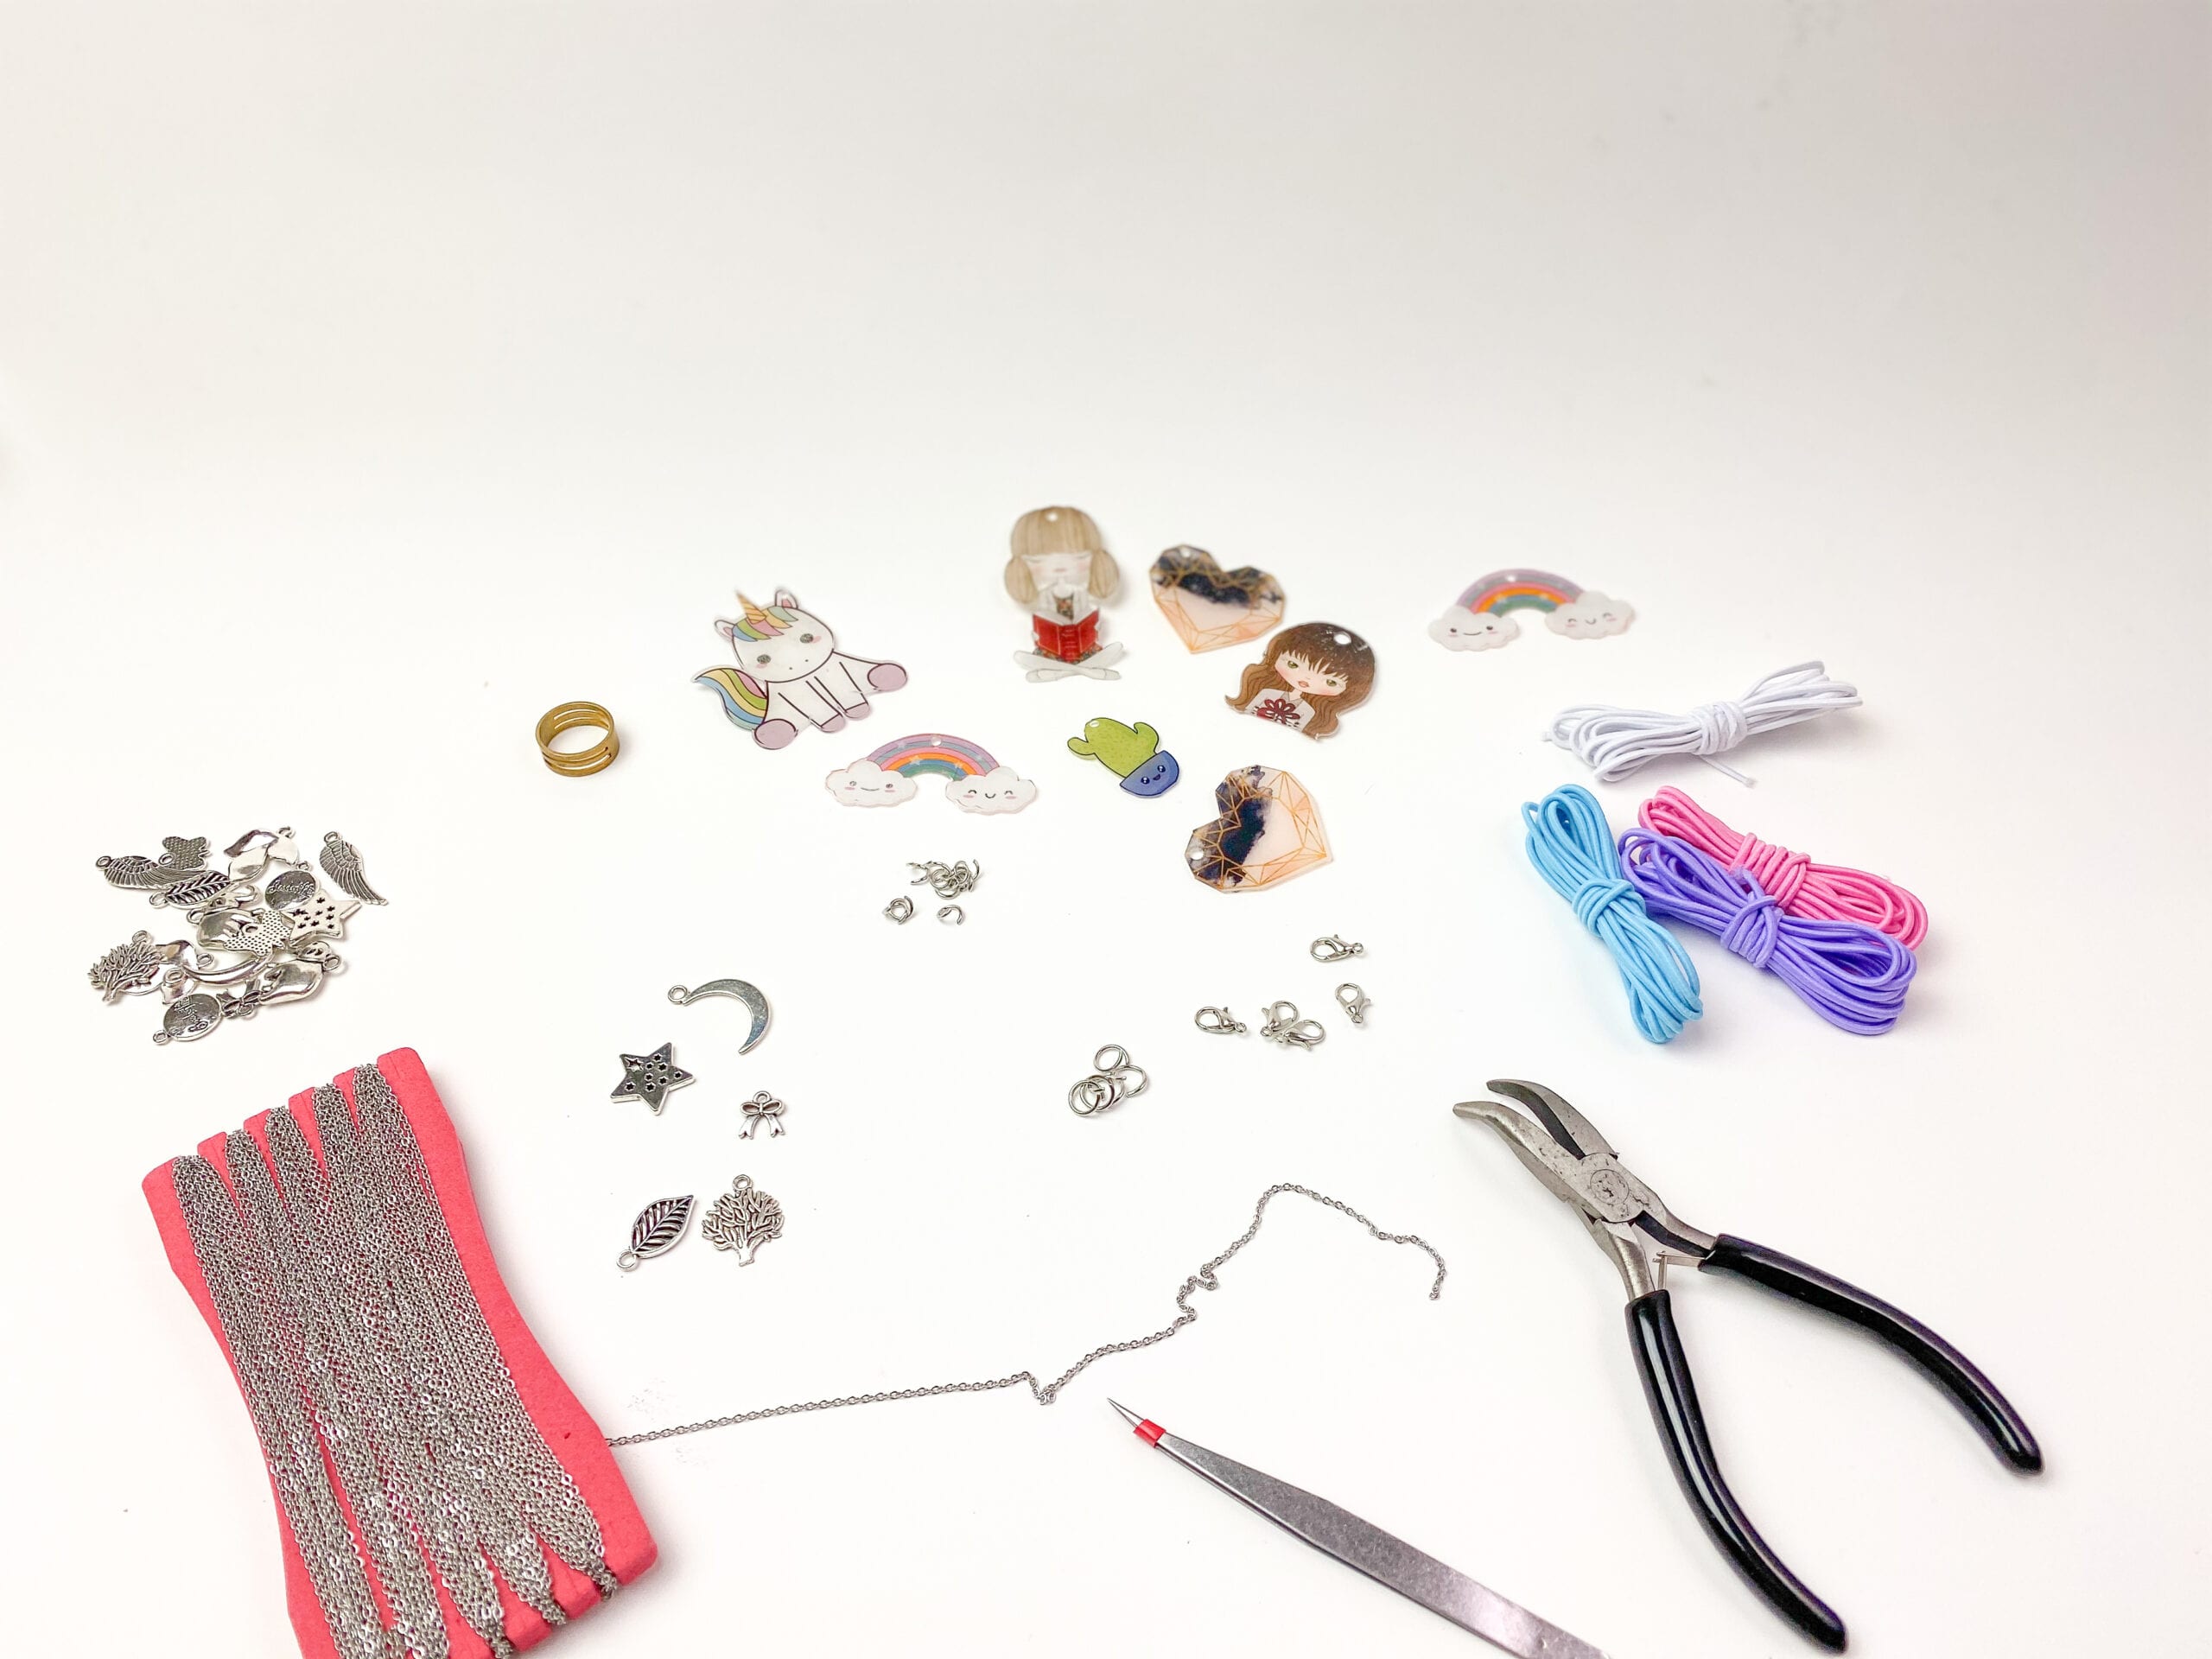
- Jump rings (see below for the kit I bought from Amazon)
- Jewelry pliers
- Elastic String or Chain
- Keychains or Hooks
- Designs of your choice. Designs I used in this project include mostly print and cut designs:
Step 1: Open or Create your design in Silhouette Studio®
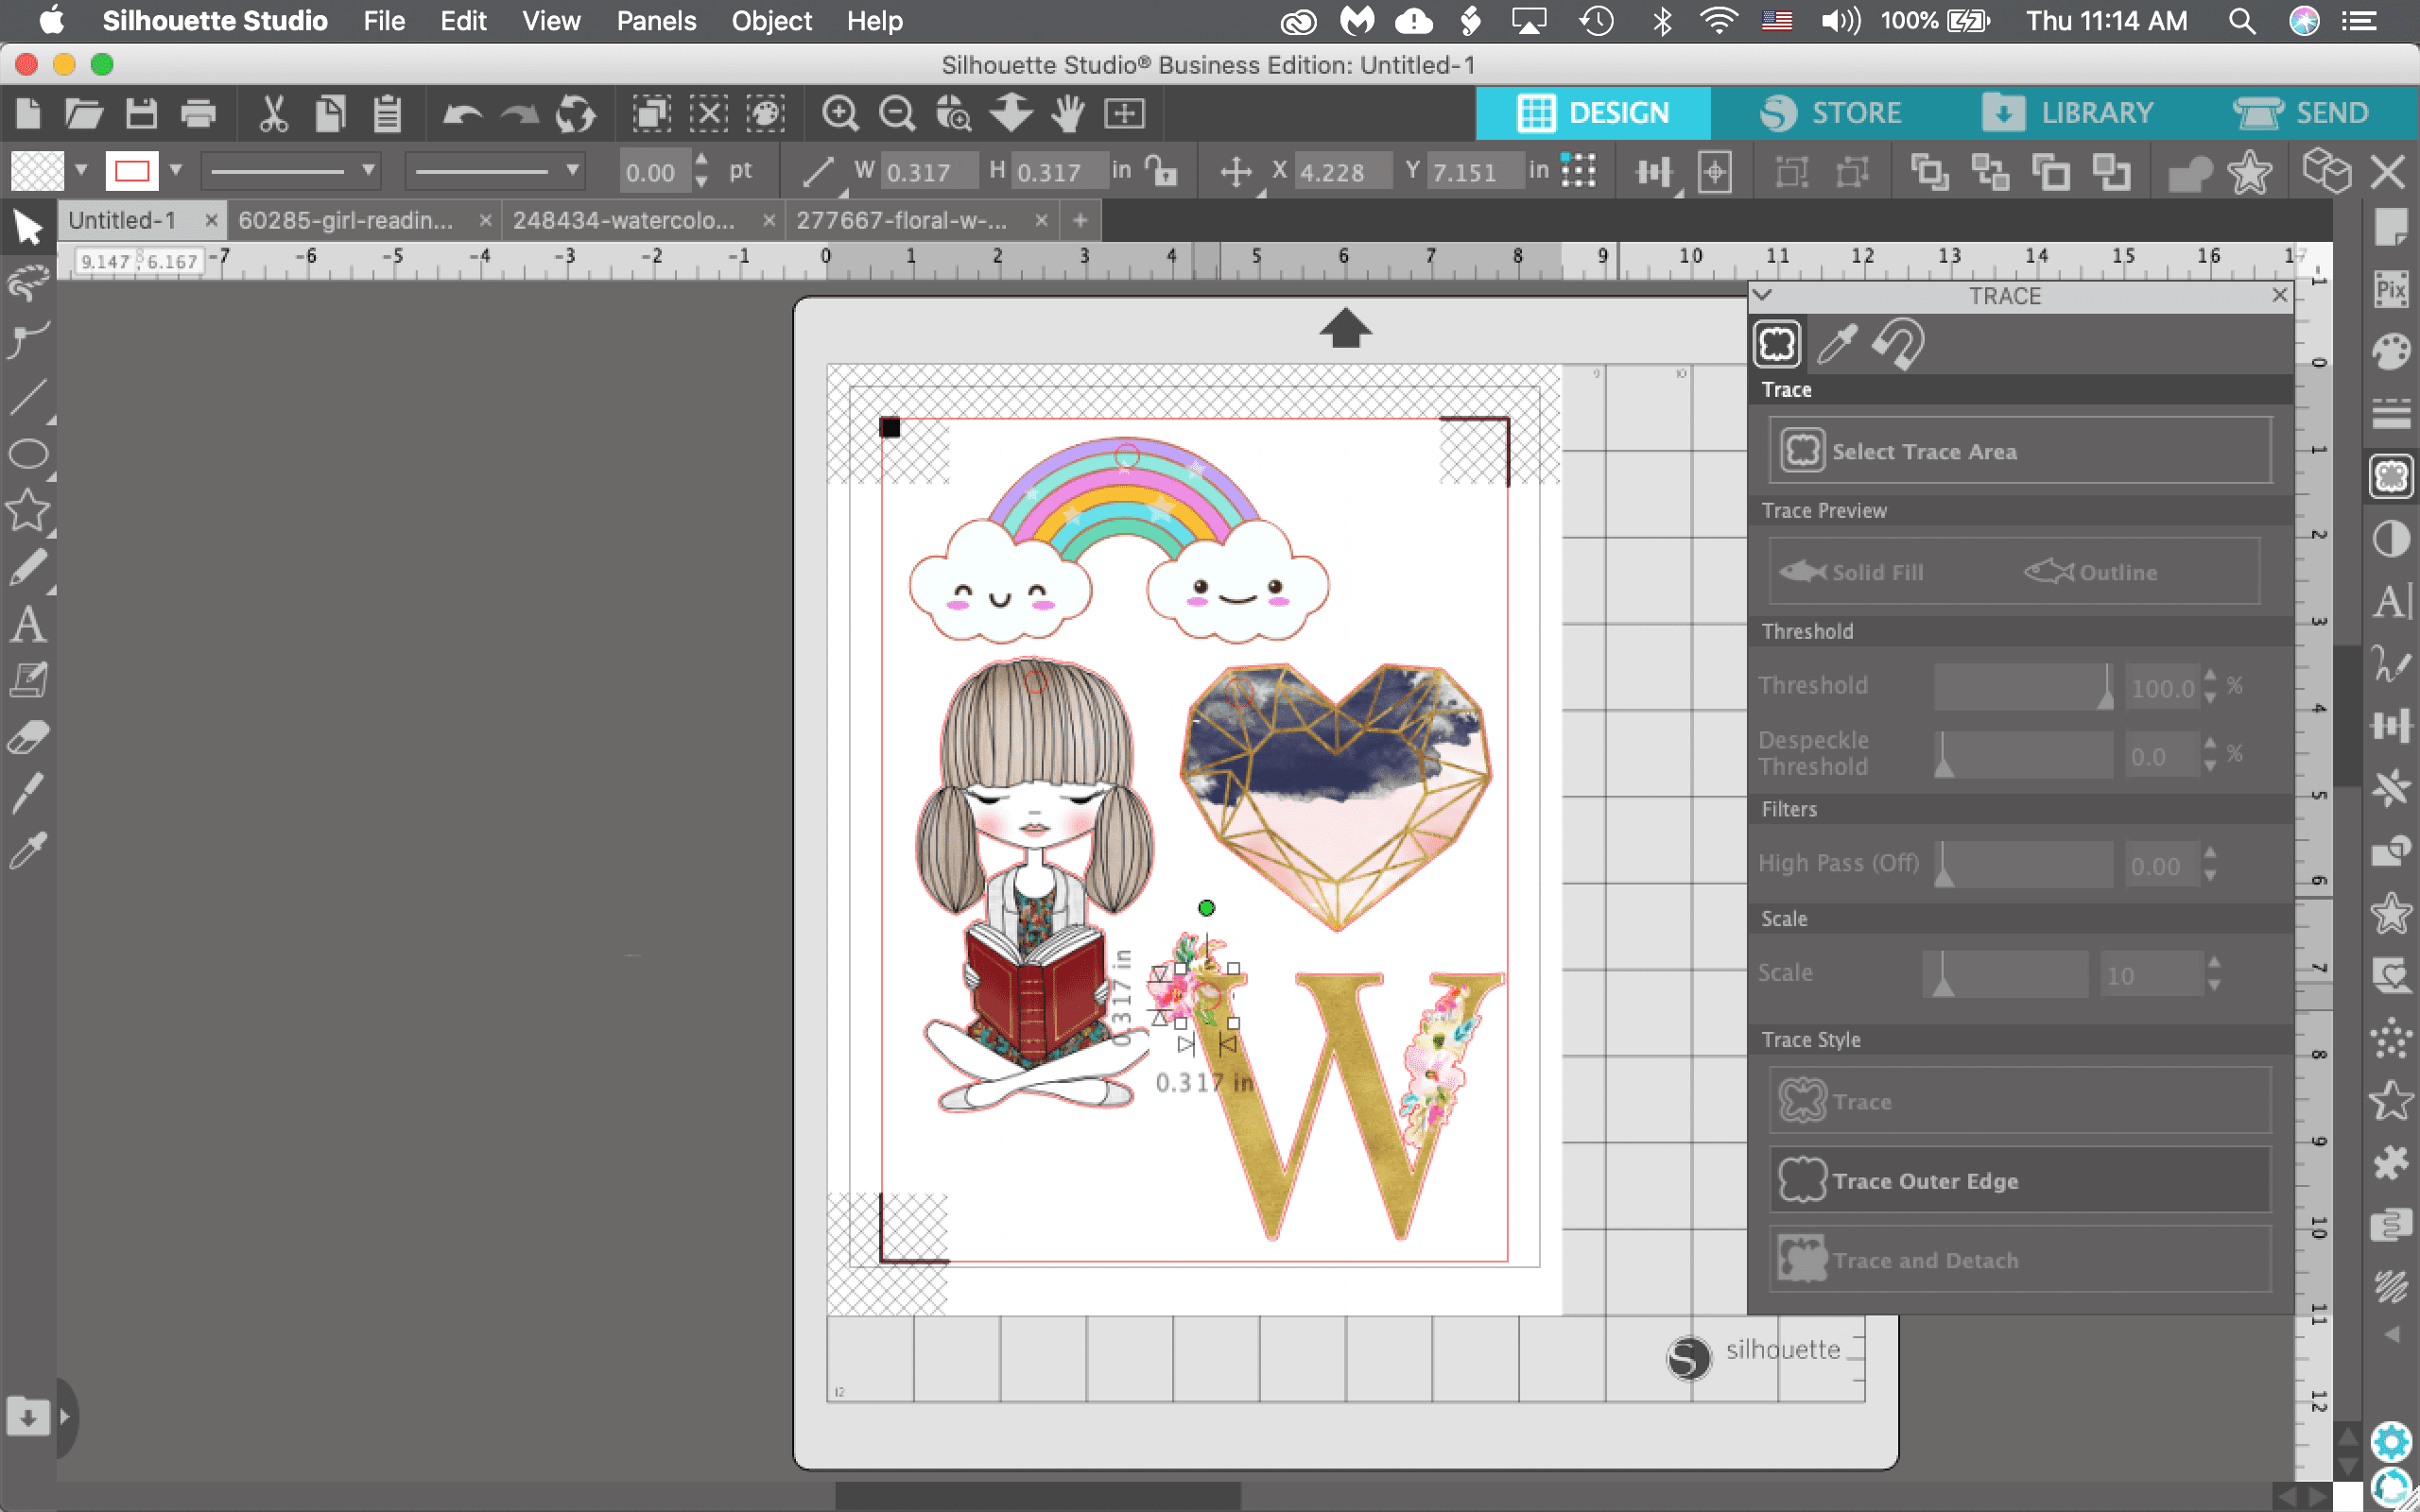
Open or create your designs in Silhouette Studio®. Charms are very customizable so you should definitely find your own and choose the designs that stand out for you. I love using freepik.com for cute free designs. If you want cute kawaii ones just search for that. If you want to make a custom one like a picture of your family or your pet you can simply use the trace feature and create a cut line around it (see below for the pictorial).
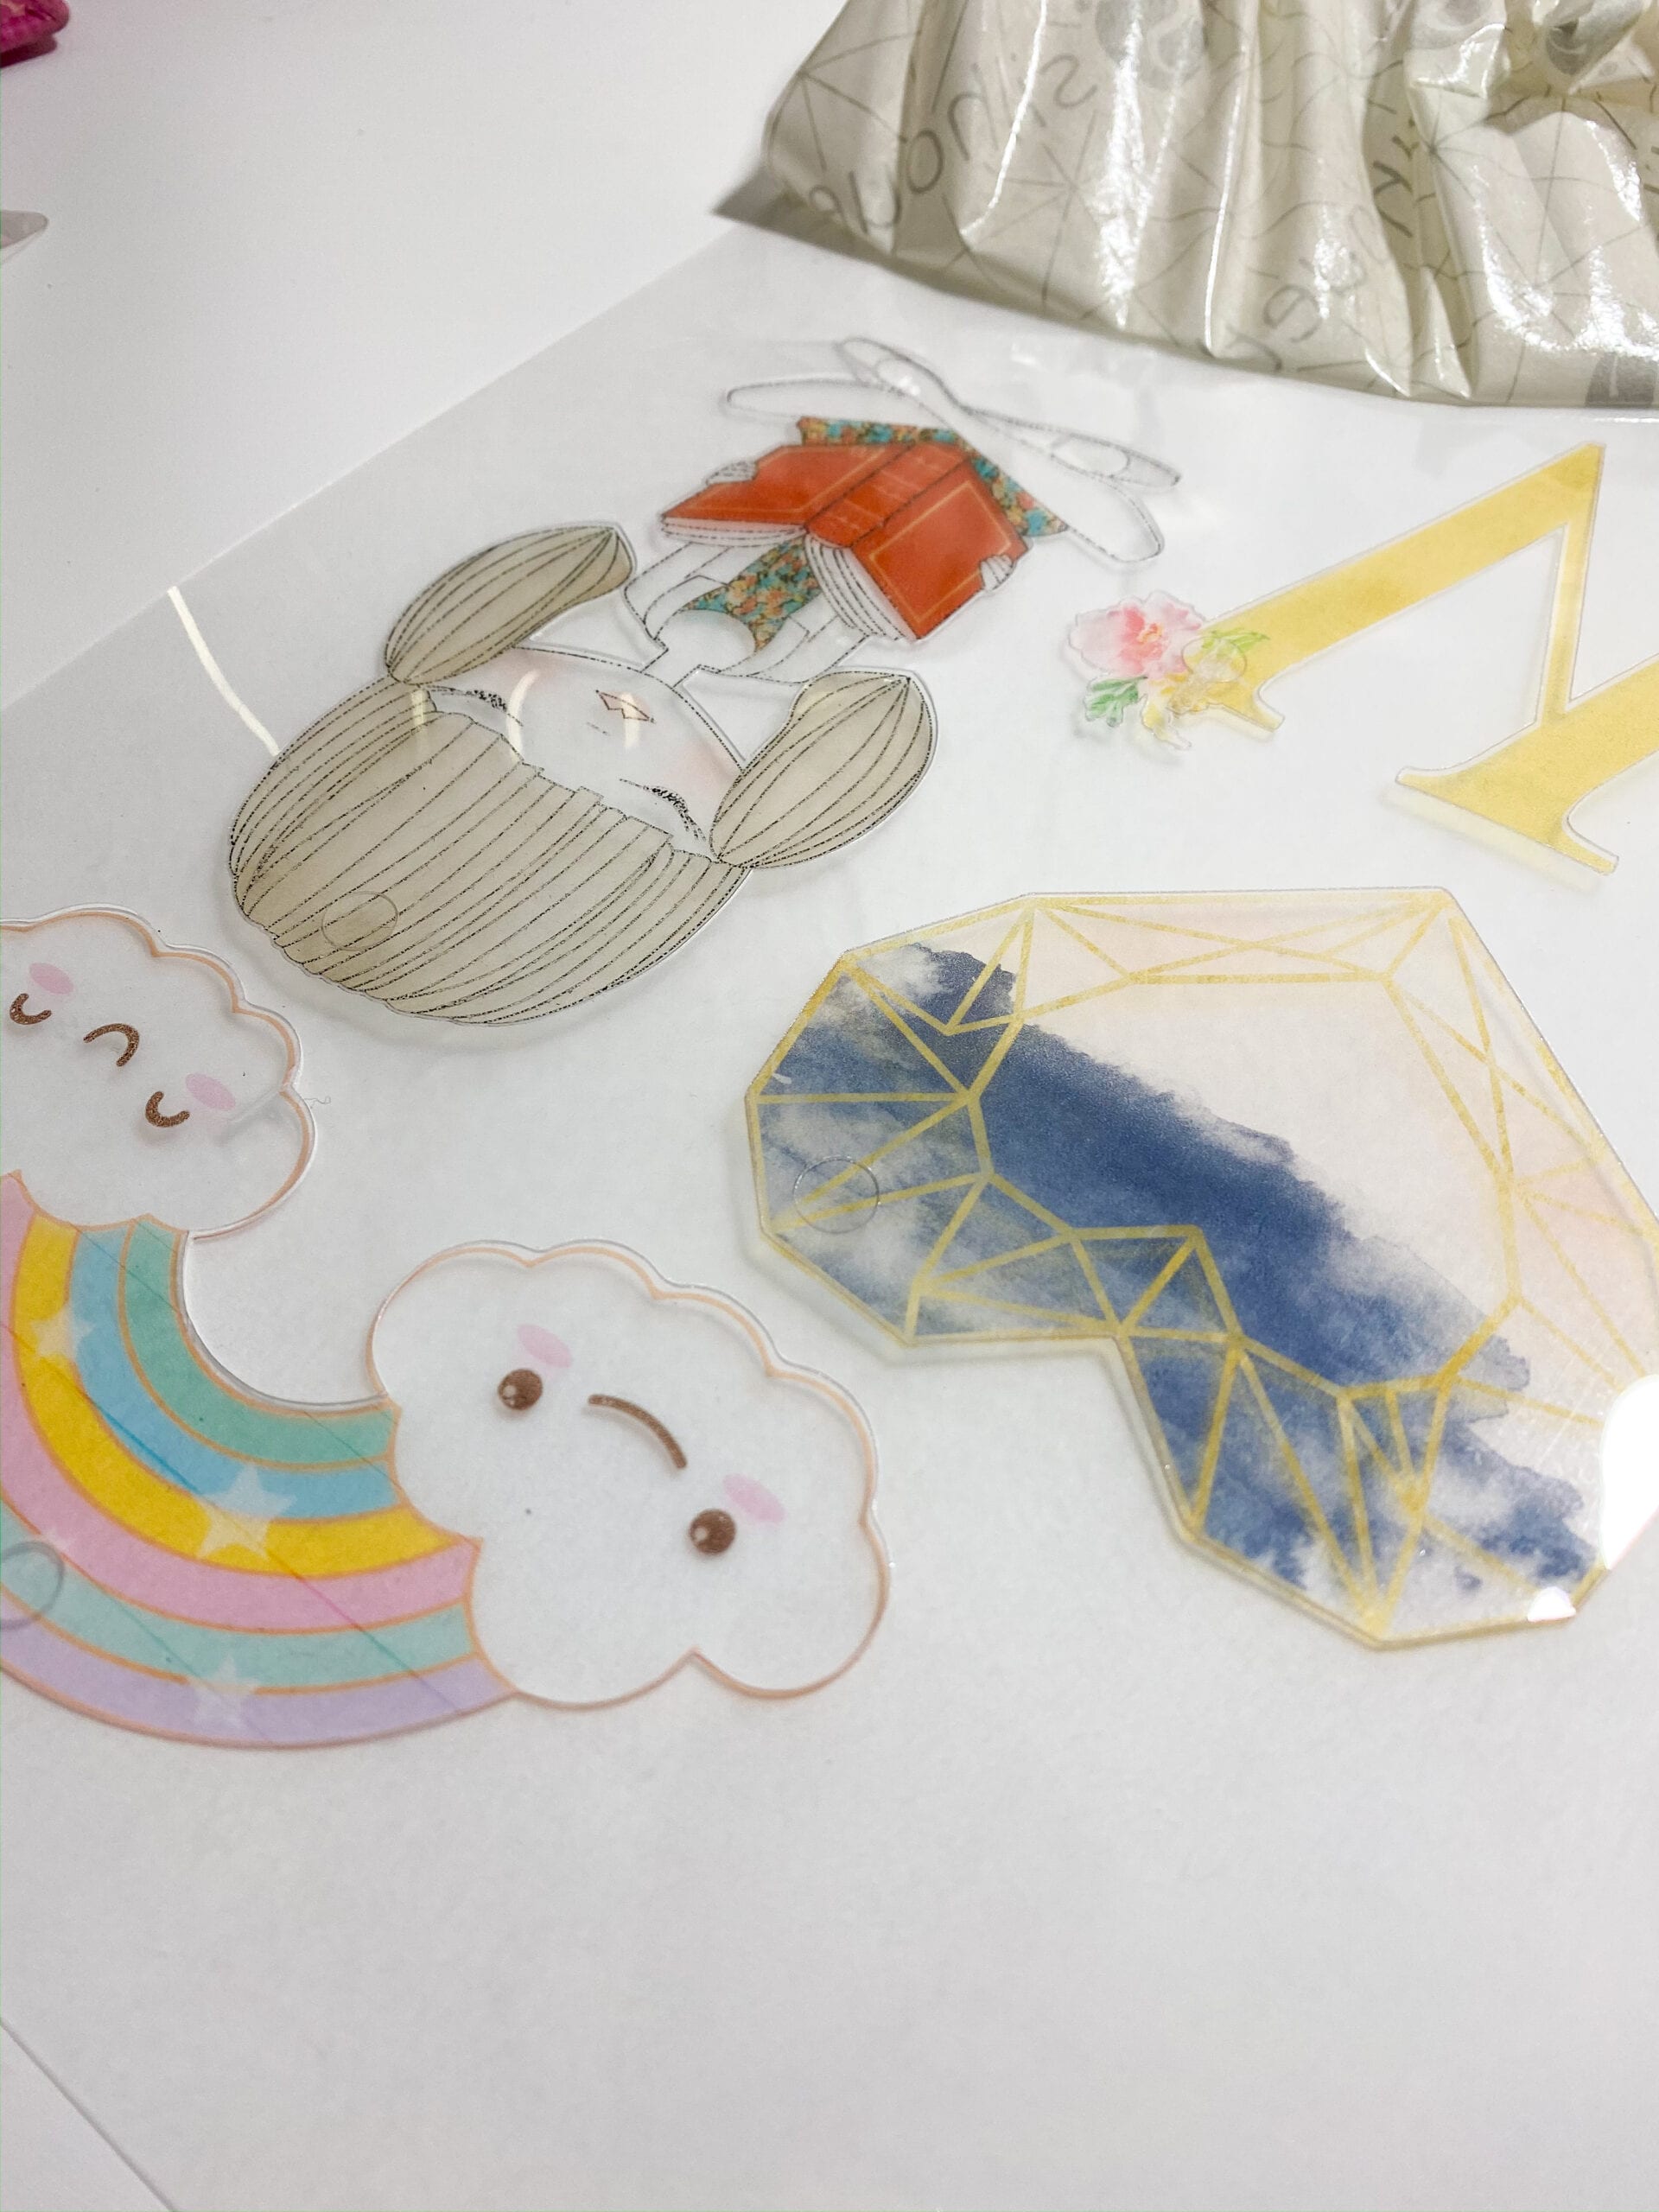
You can also find some cute ones in the Silhouette Design Store. Here are some of the ones I used for this project:
- Floral Monogram from Angie Makes
- Watercolor Geometric Heart from Rhonna Farrer
- Girl Reading Illustration from Rivka Wilkins
- Kawaii Designs
- Girl with Present from Rivka Wilkins
-
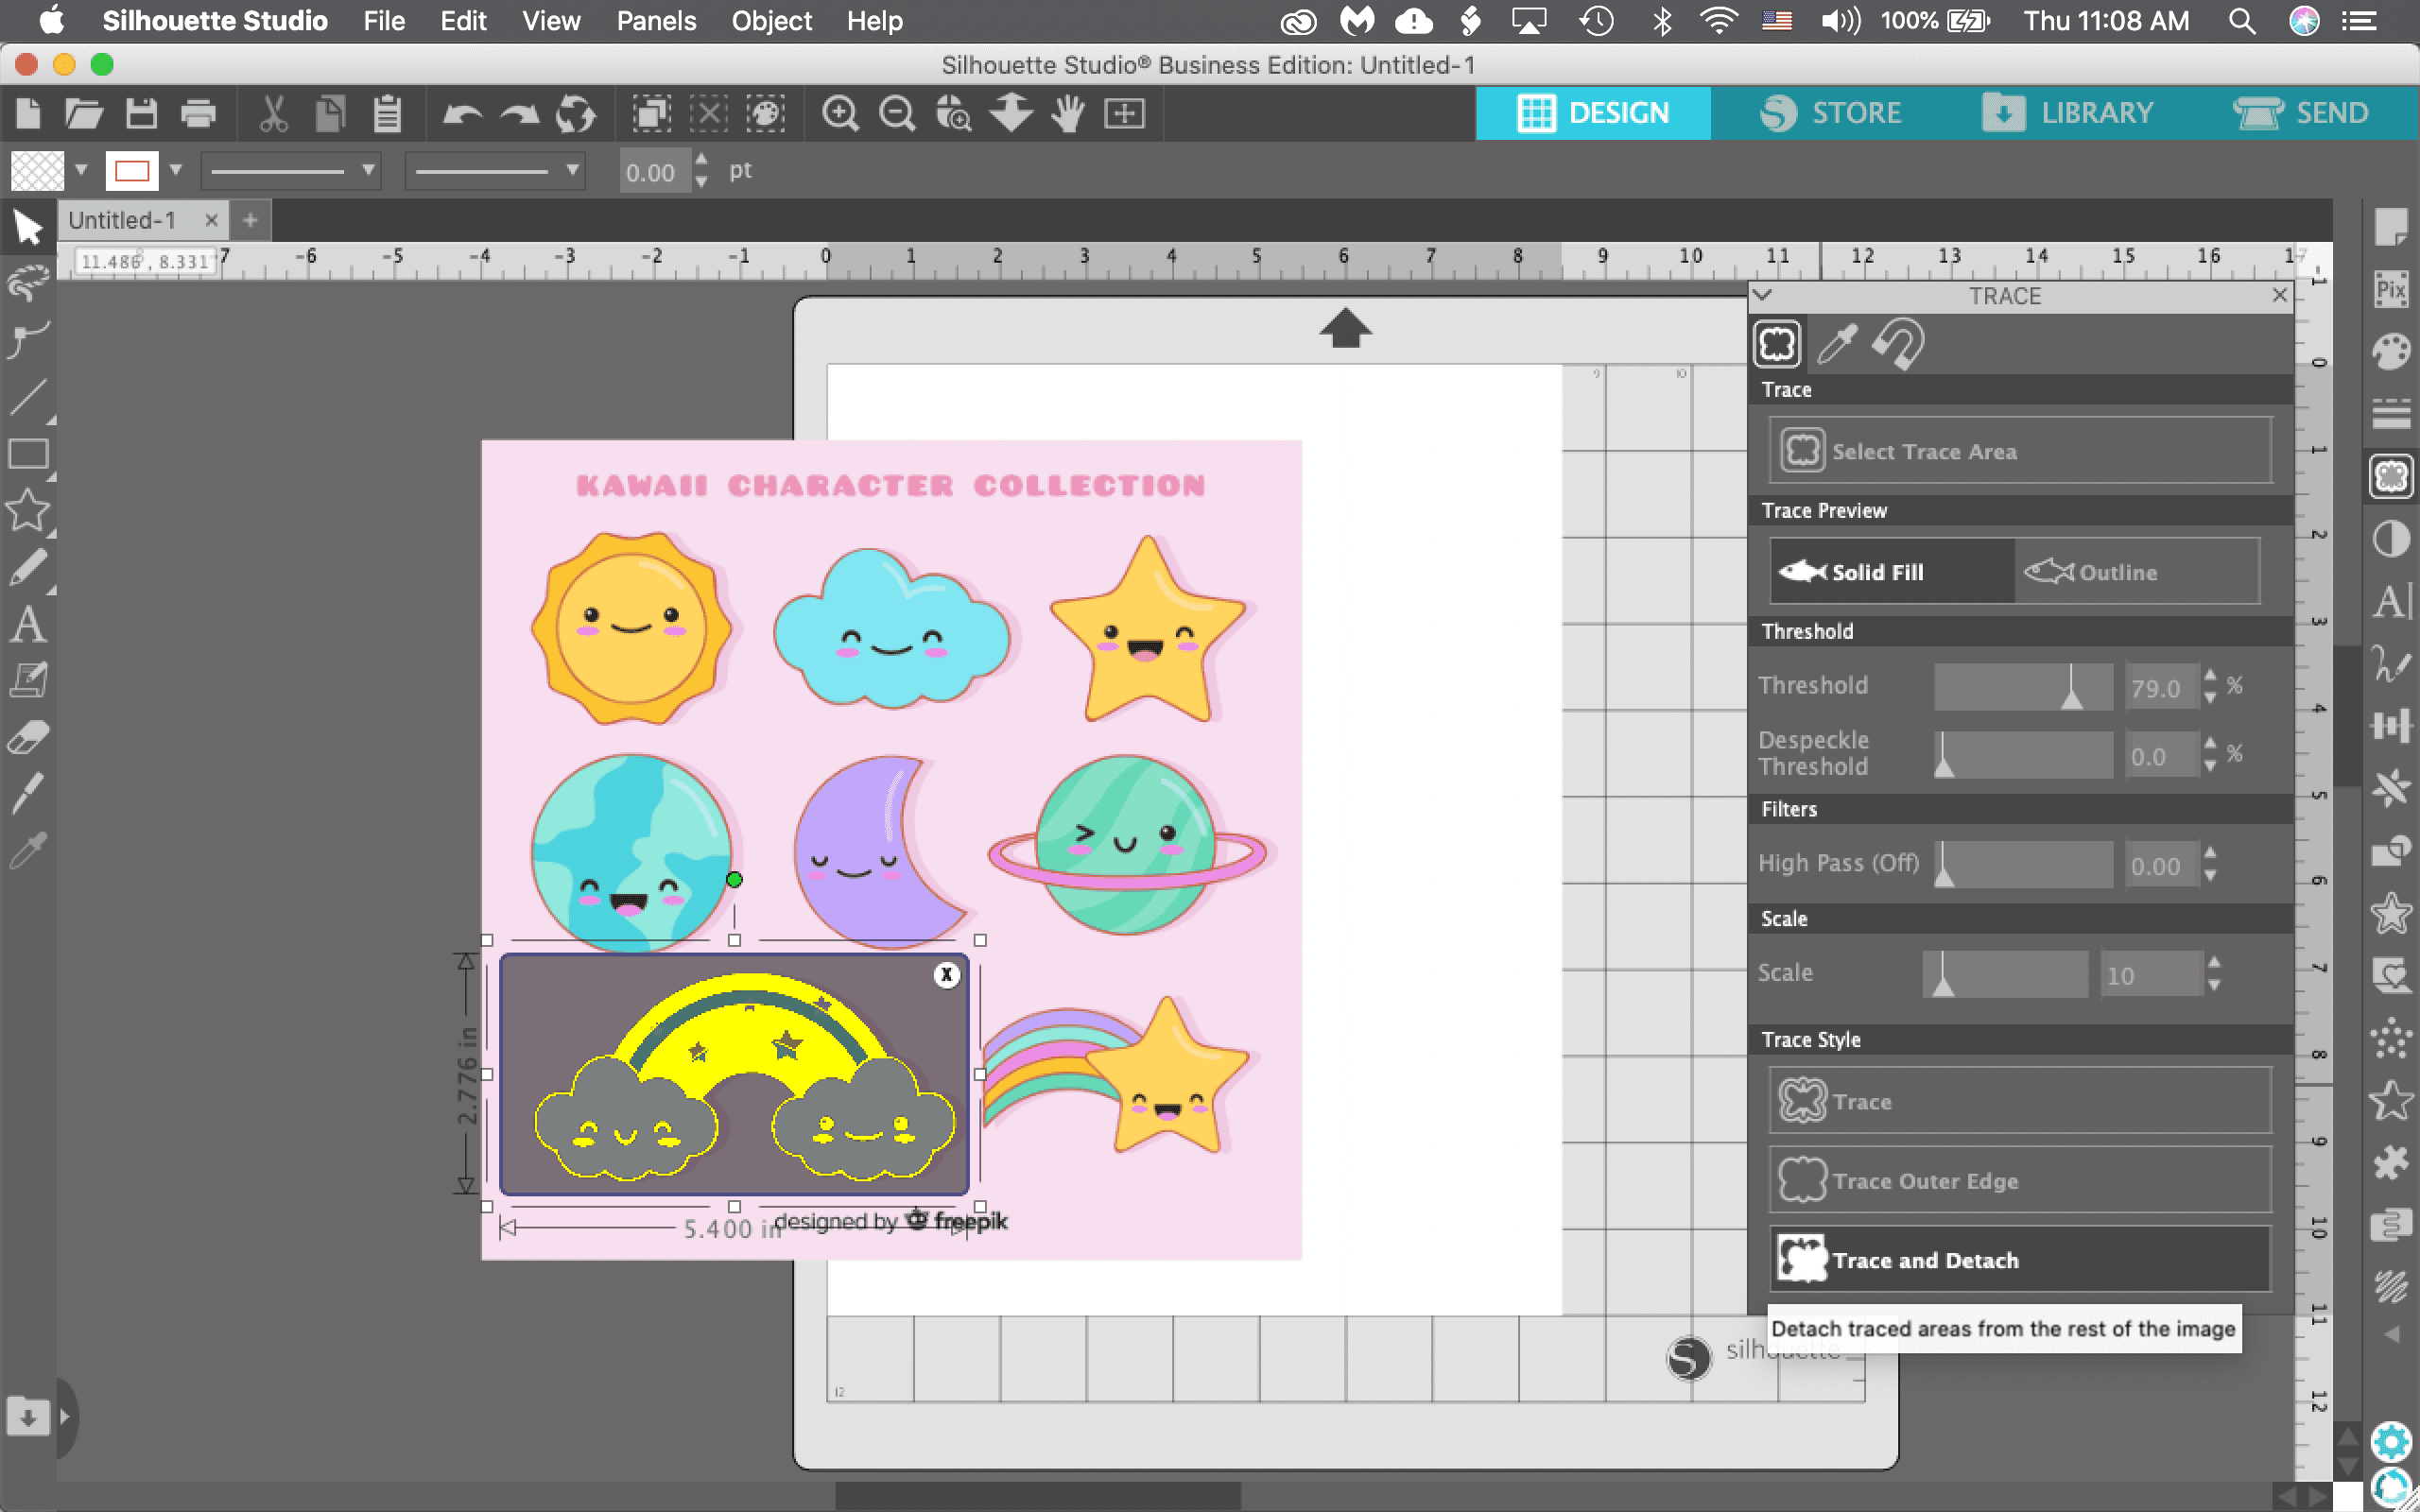
Use trace tool and highlight over image you’d like to cut out, then mess with threshold and other settings until the image is cut out around it and click on trace and detach -
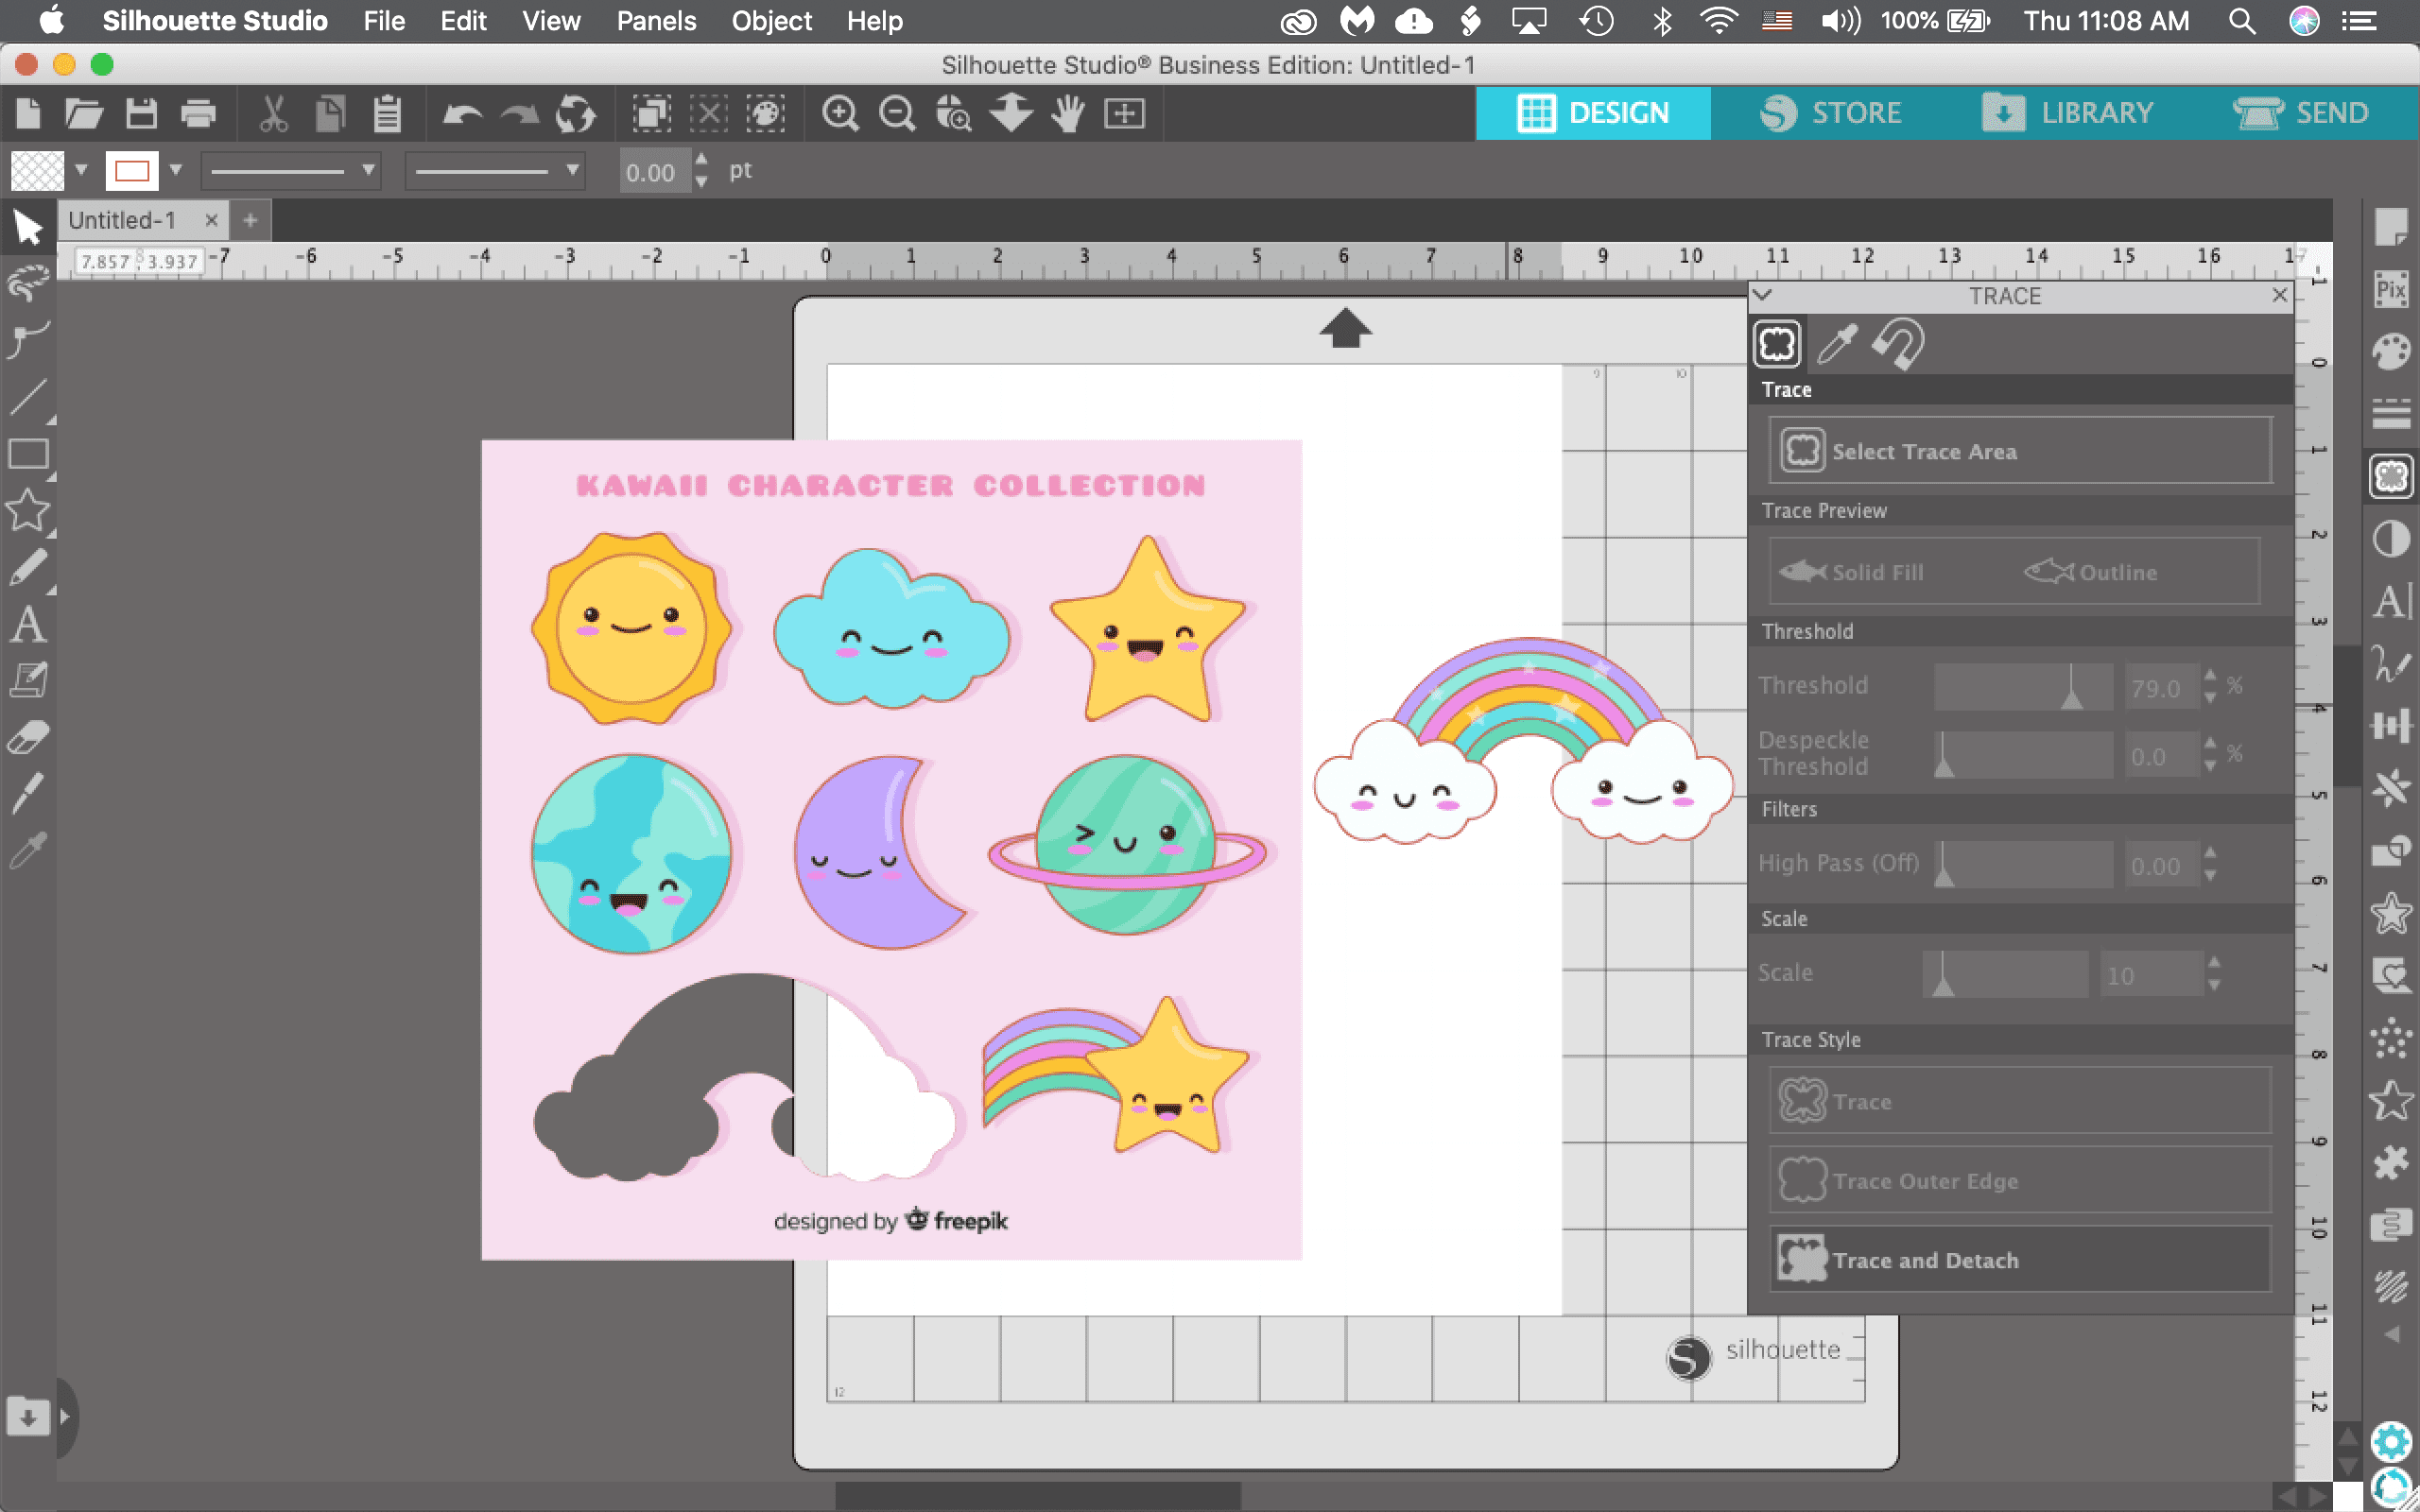
Then just drag out the image you just traced and make sure it is cut around. If you want an offset, create an offset.
Resize them. Keep in mind that a baked piece will be approximately three times smaller than a printed one.
When you download the SVG file or your studio file from the Design Store, be sure to click open with and select Silhouette Studio. Or you can open up Silhouette Studio and open the file directly by going to File>Open and finding where you downloaded the SVG file. Please note that you will need the Designer Edition to open the SVG file.
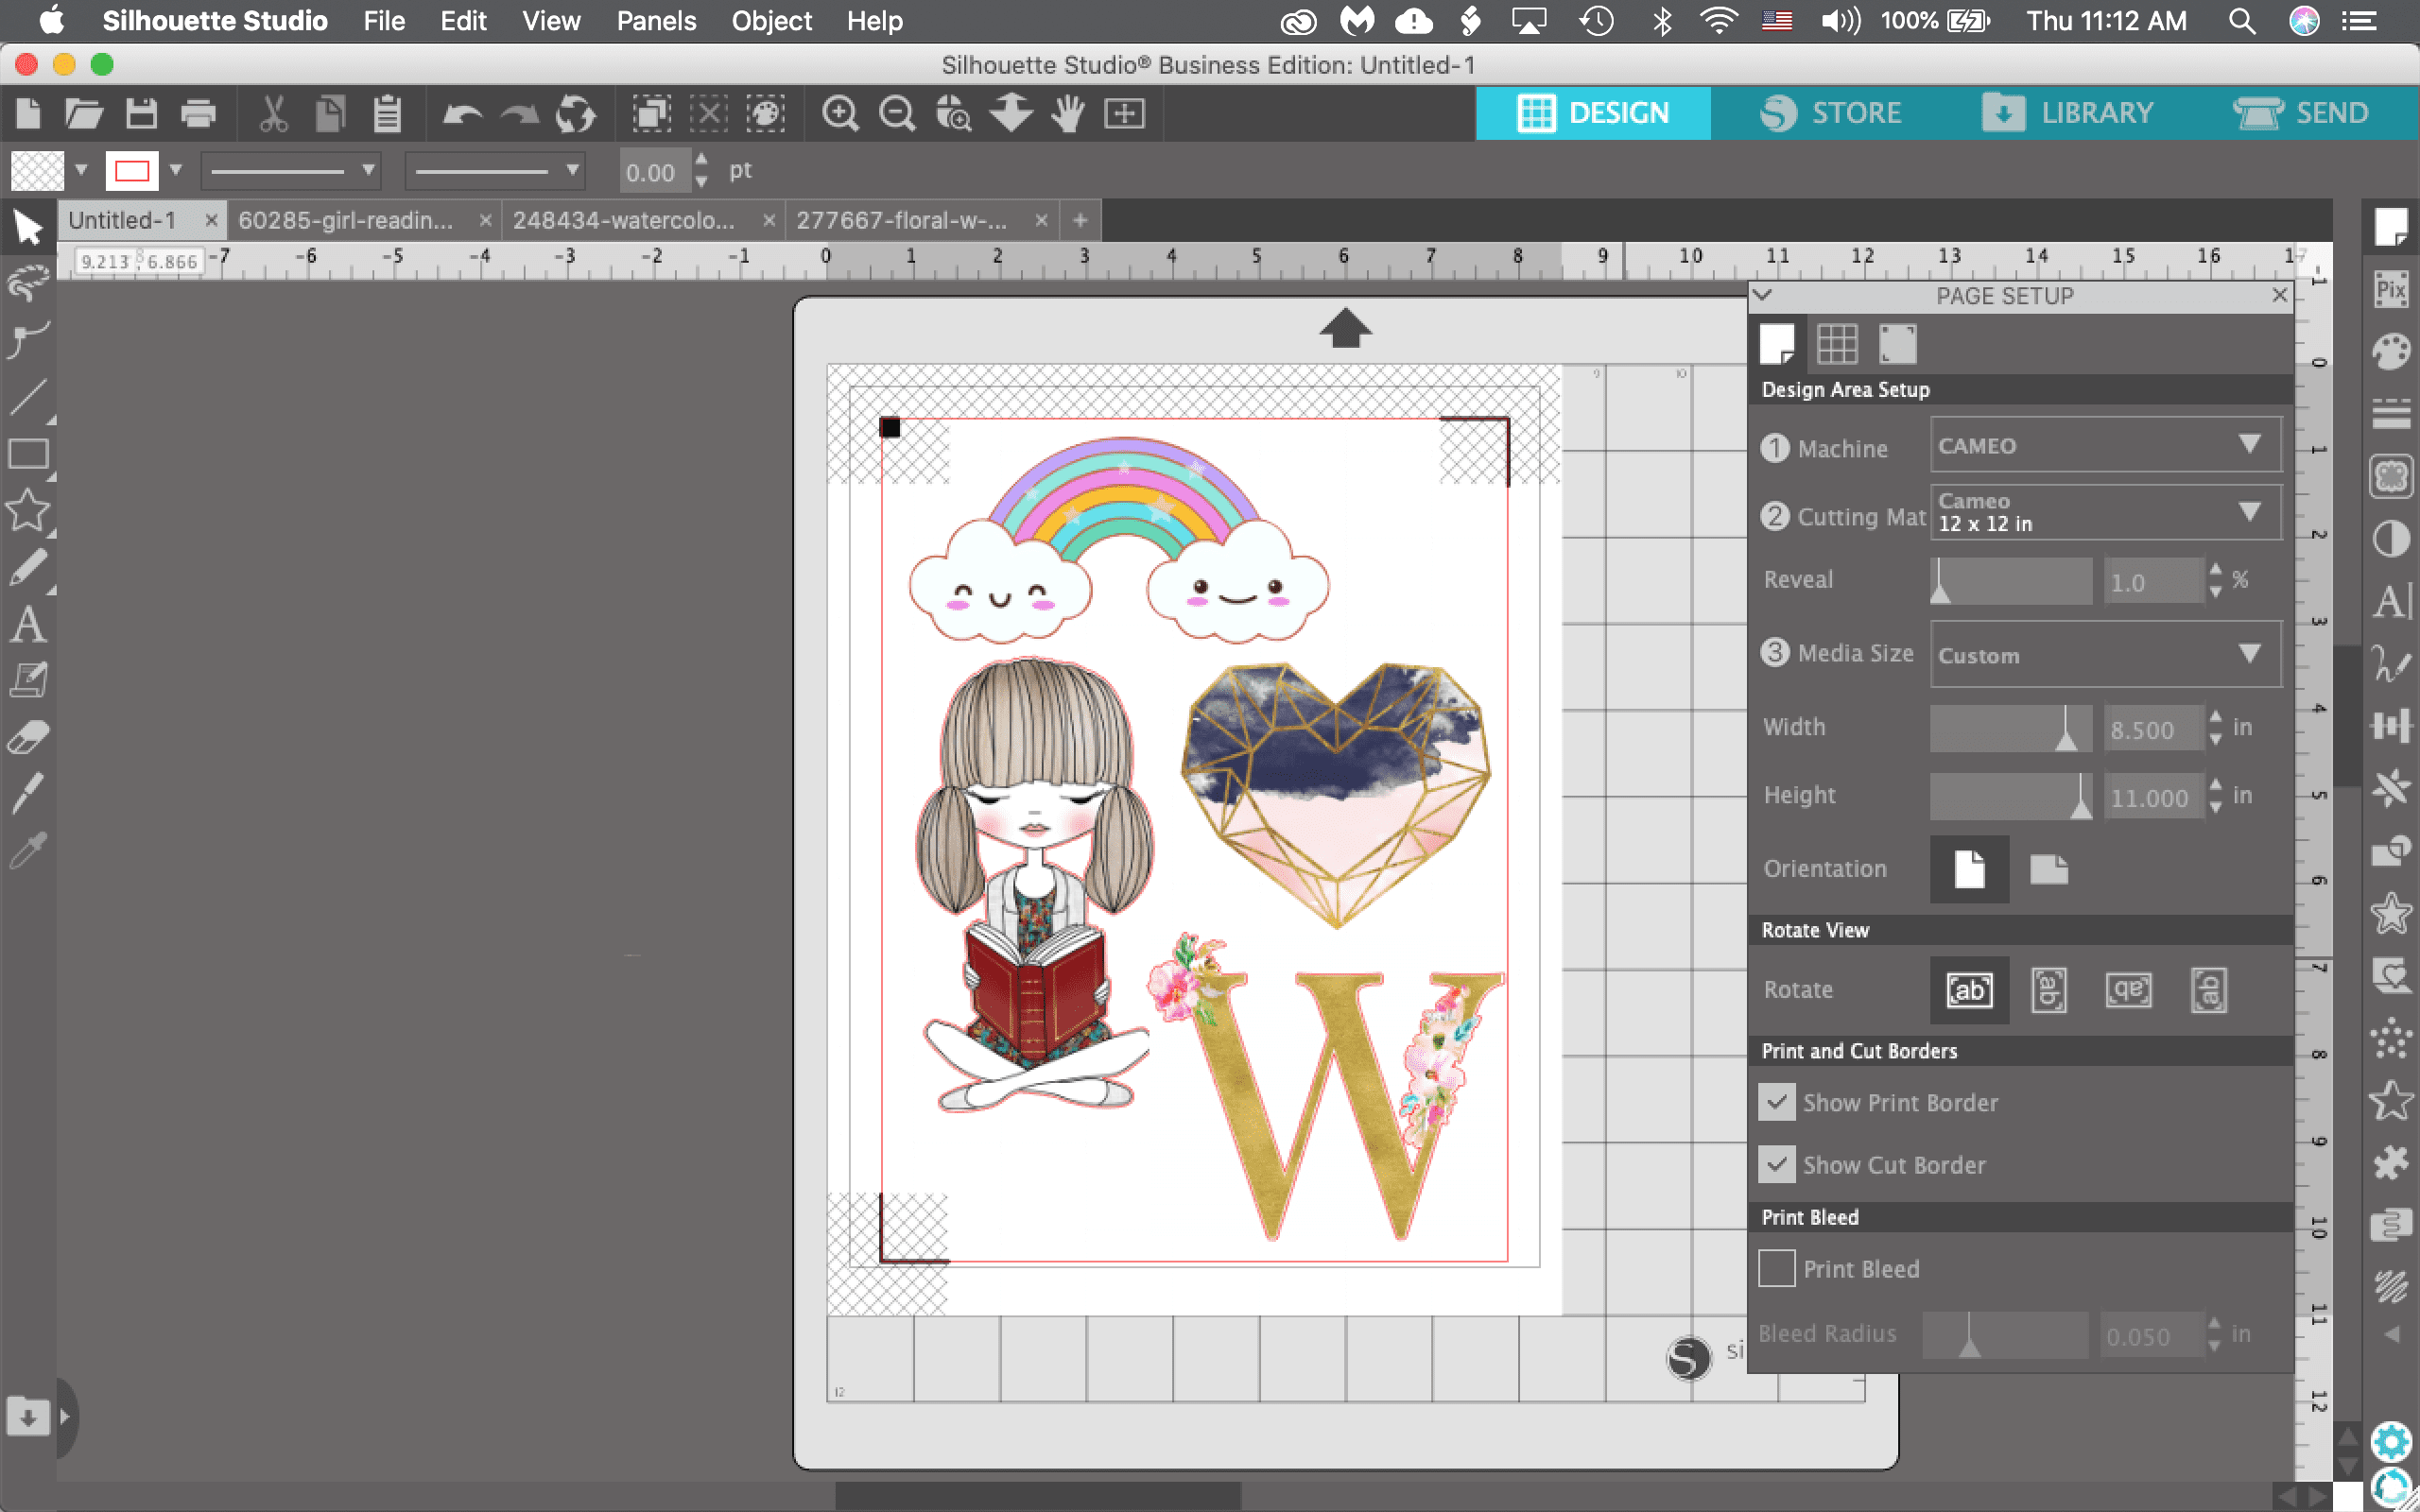
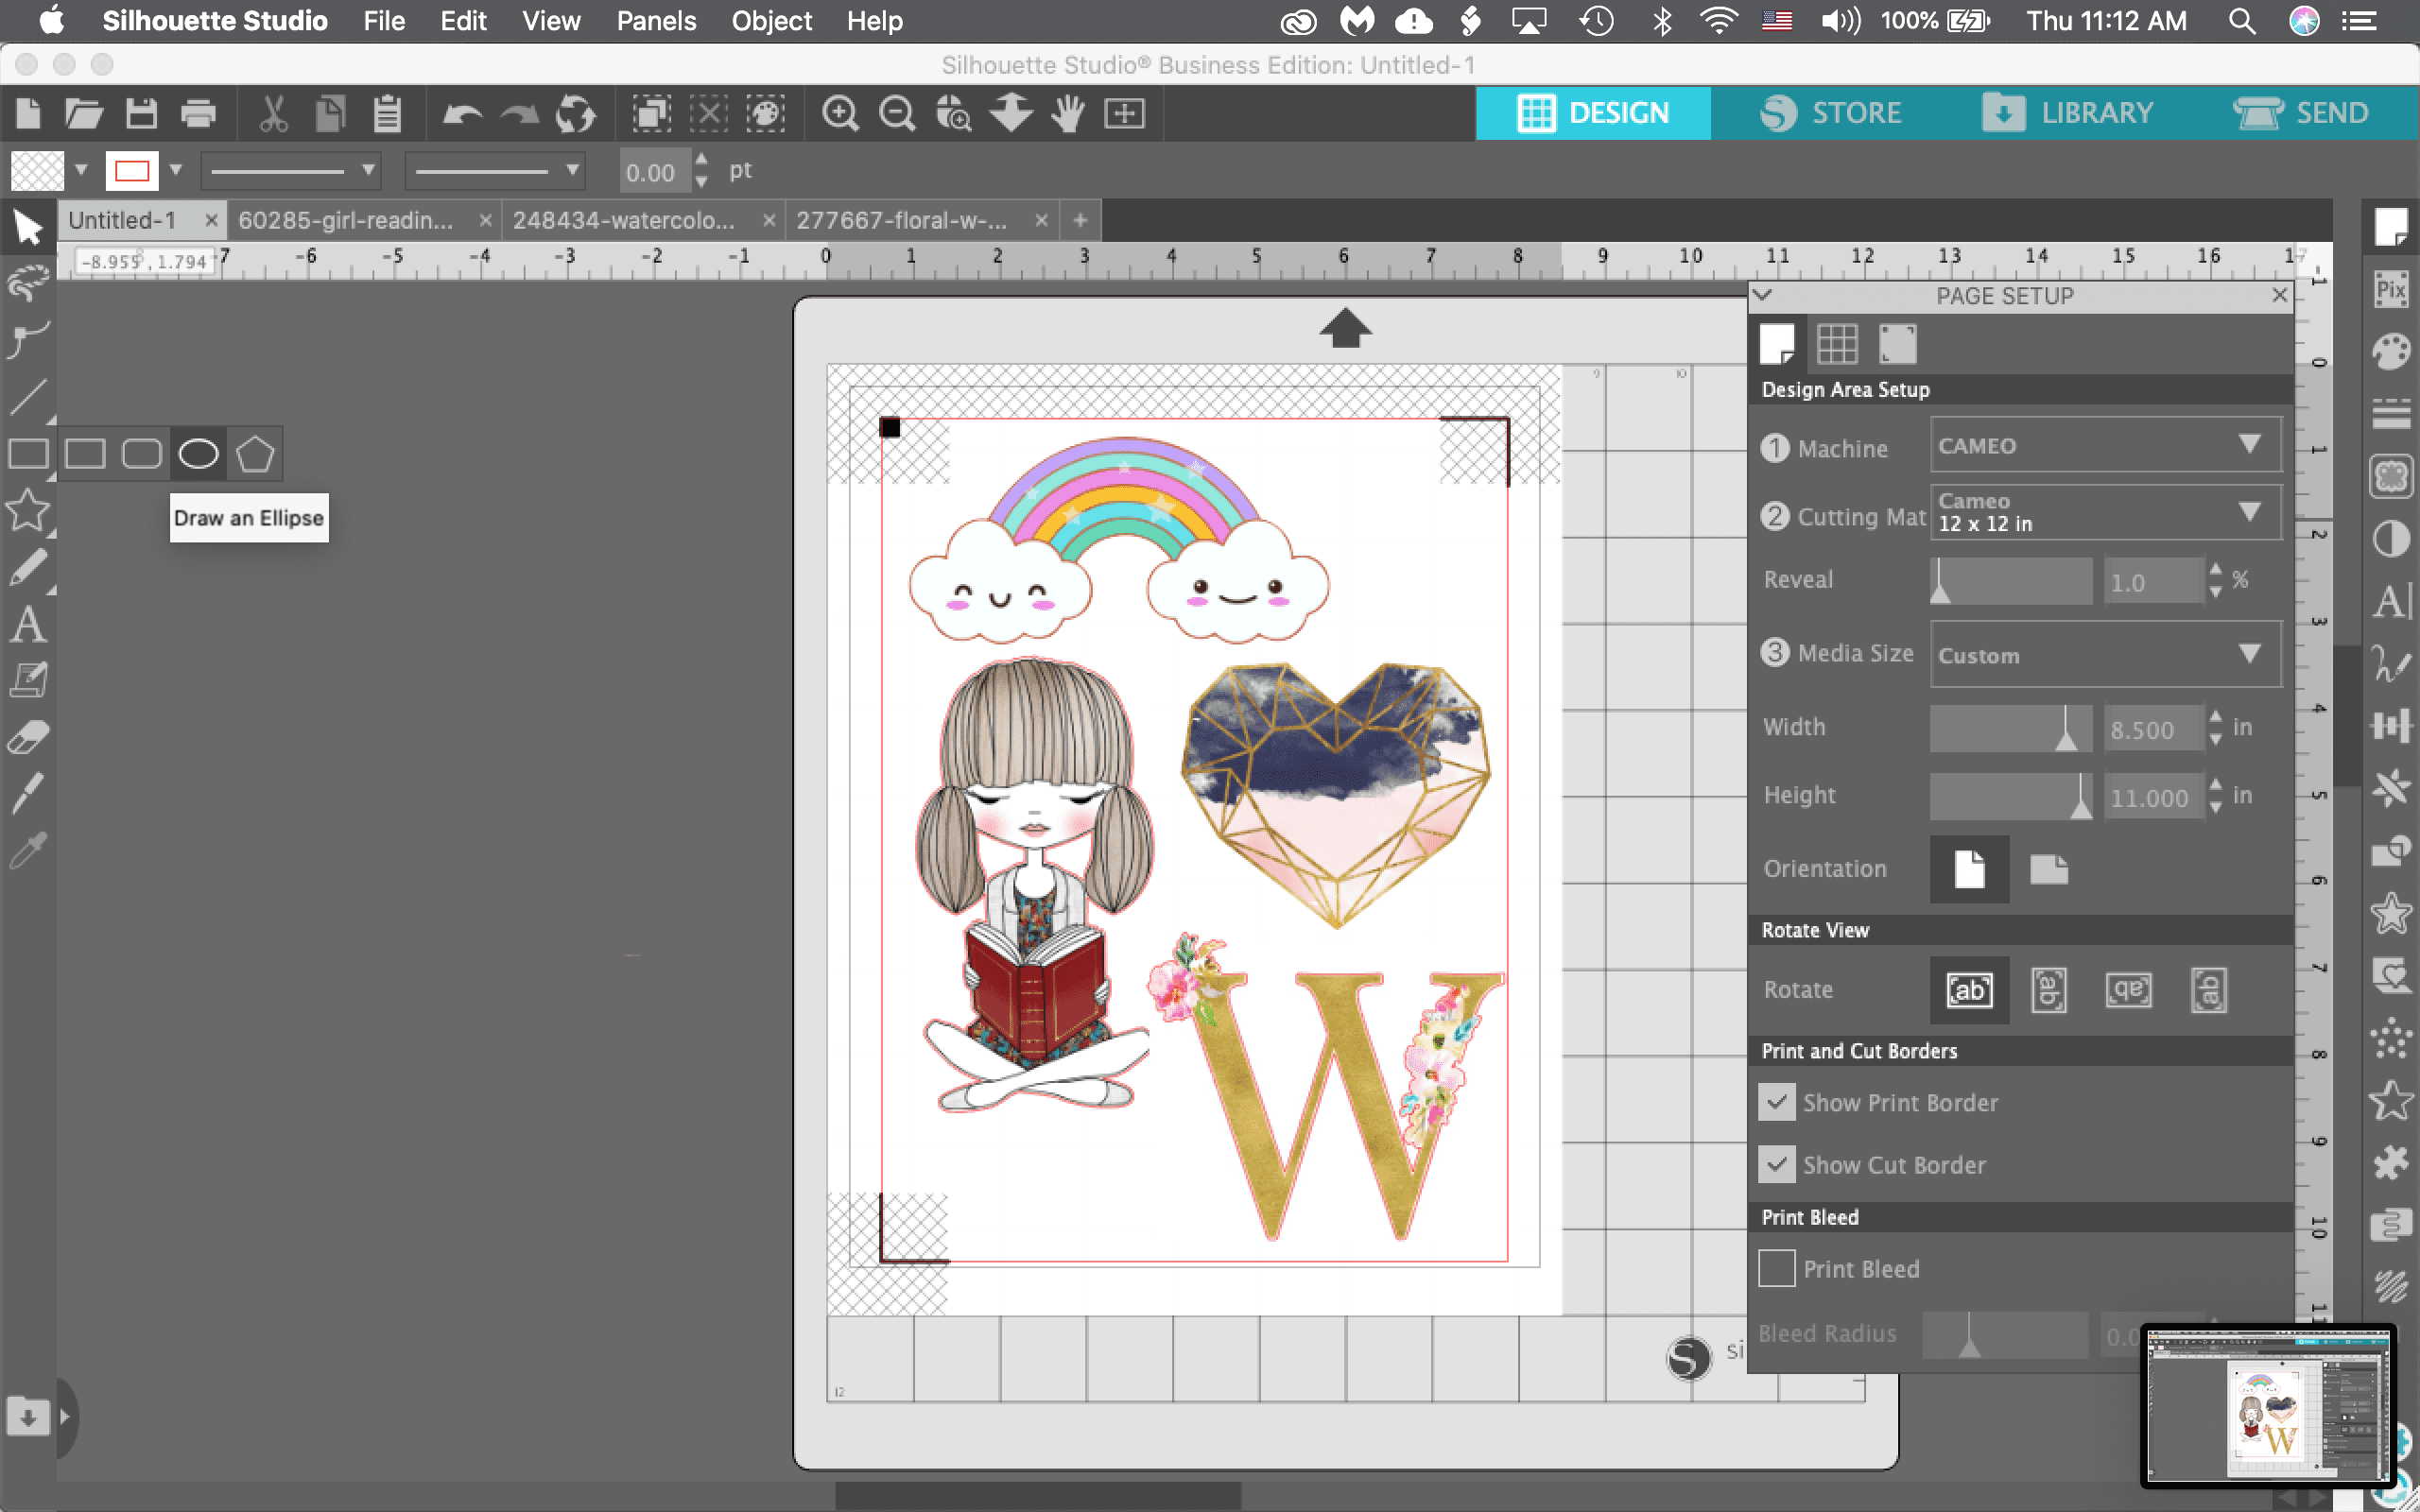
Go to “Page Setup” and make sure your workspace matches the size of paper you will be printing on (should be 8.5 by 11 inches) and the cutting mat you will be using (I am using a cameo mat).
Use the shape tool and add a circle to each design for the jump rings to go through. If you are using shrink plastic for the first time, add a couple of extra designs that you can use as test items.
Finally, be sure to add registration marks. You will find it in the 3rd tab of the Page Setup panel. Click on the Type 1 Style and you can keep everything else as is. Once the registration marks are on, you should see a box and two L shaped marks in three corners of your project. Make sure that your design is not touching any of the grey cross-hatched areas
STEP 2: Print your design
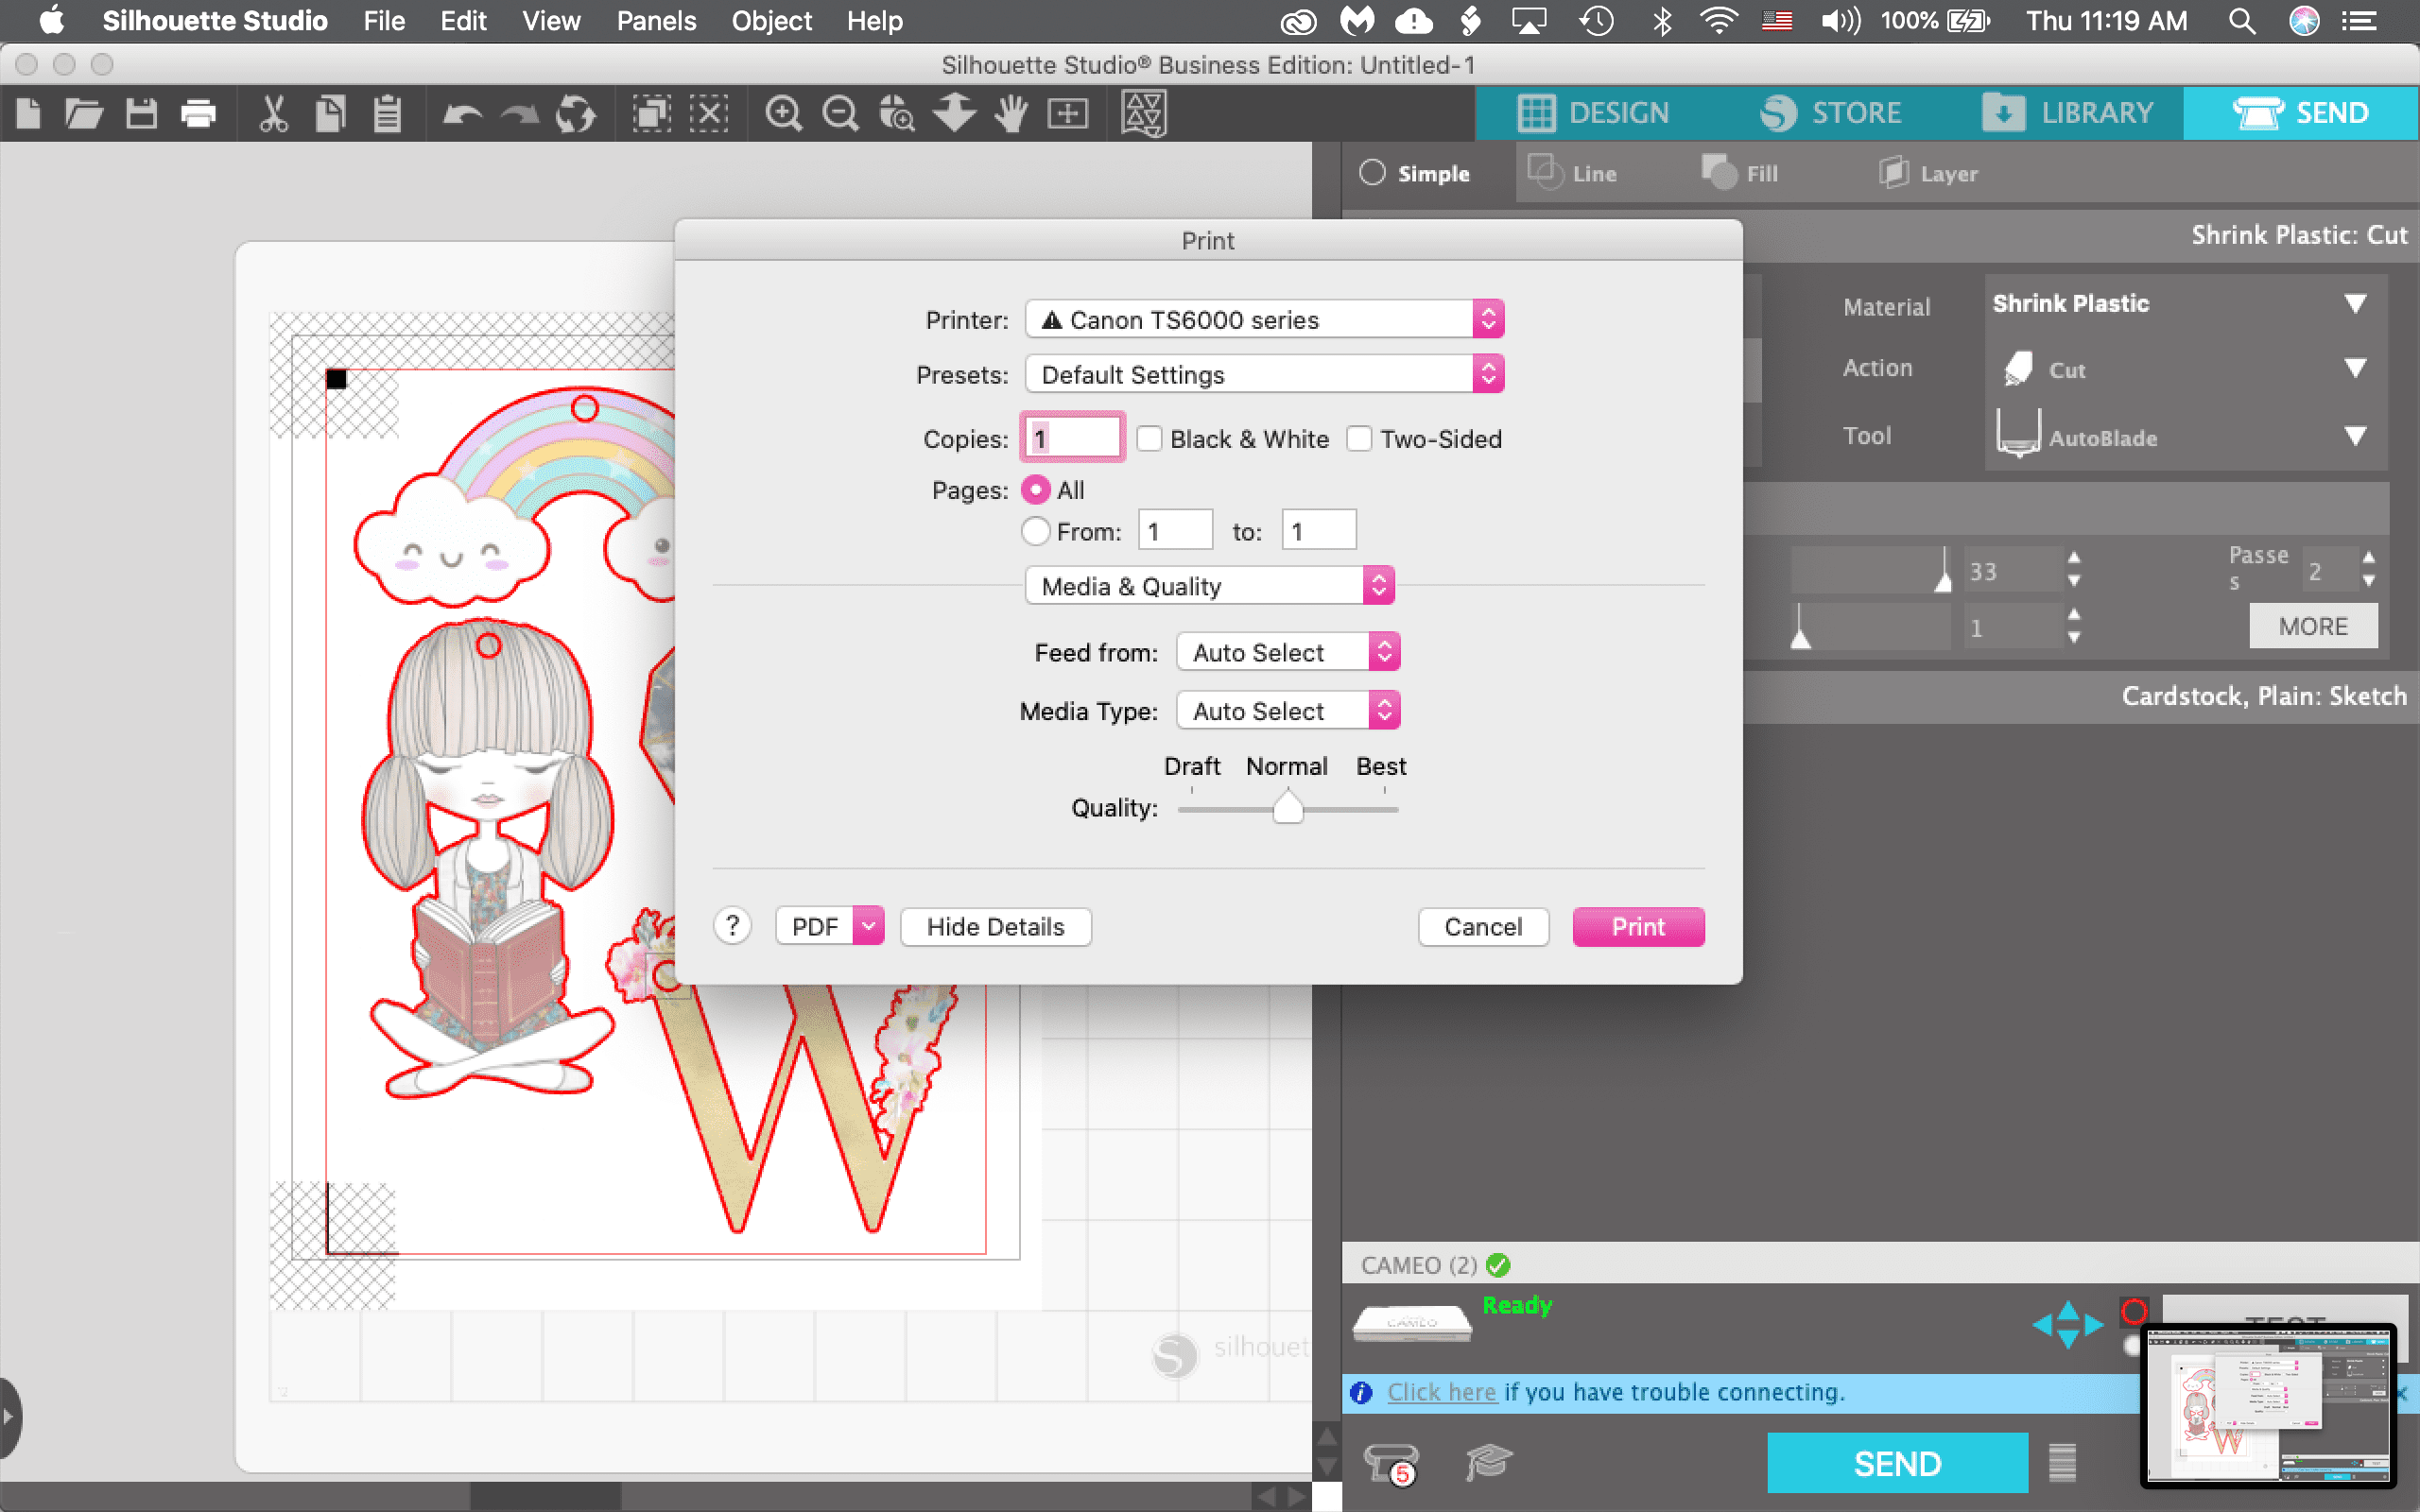
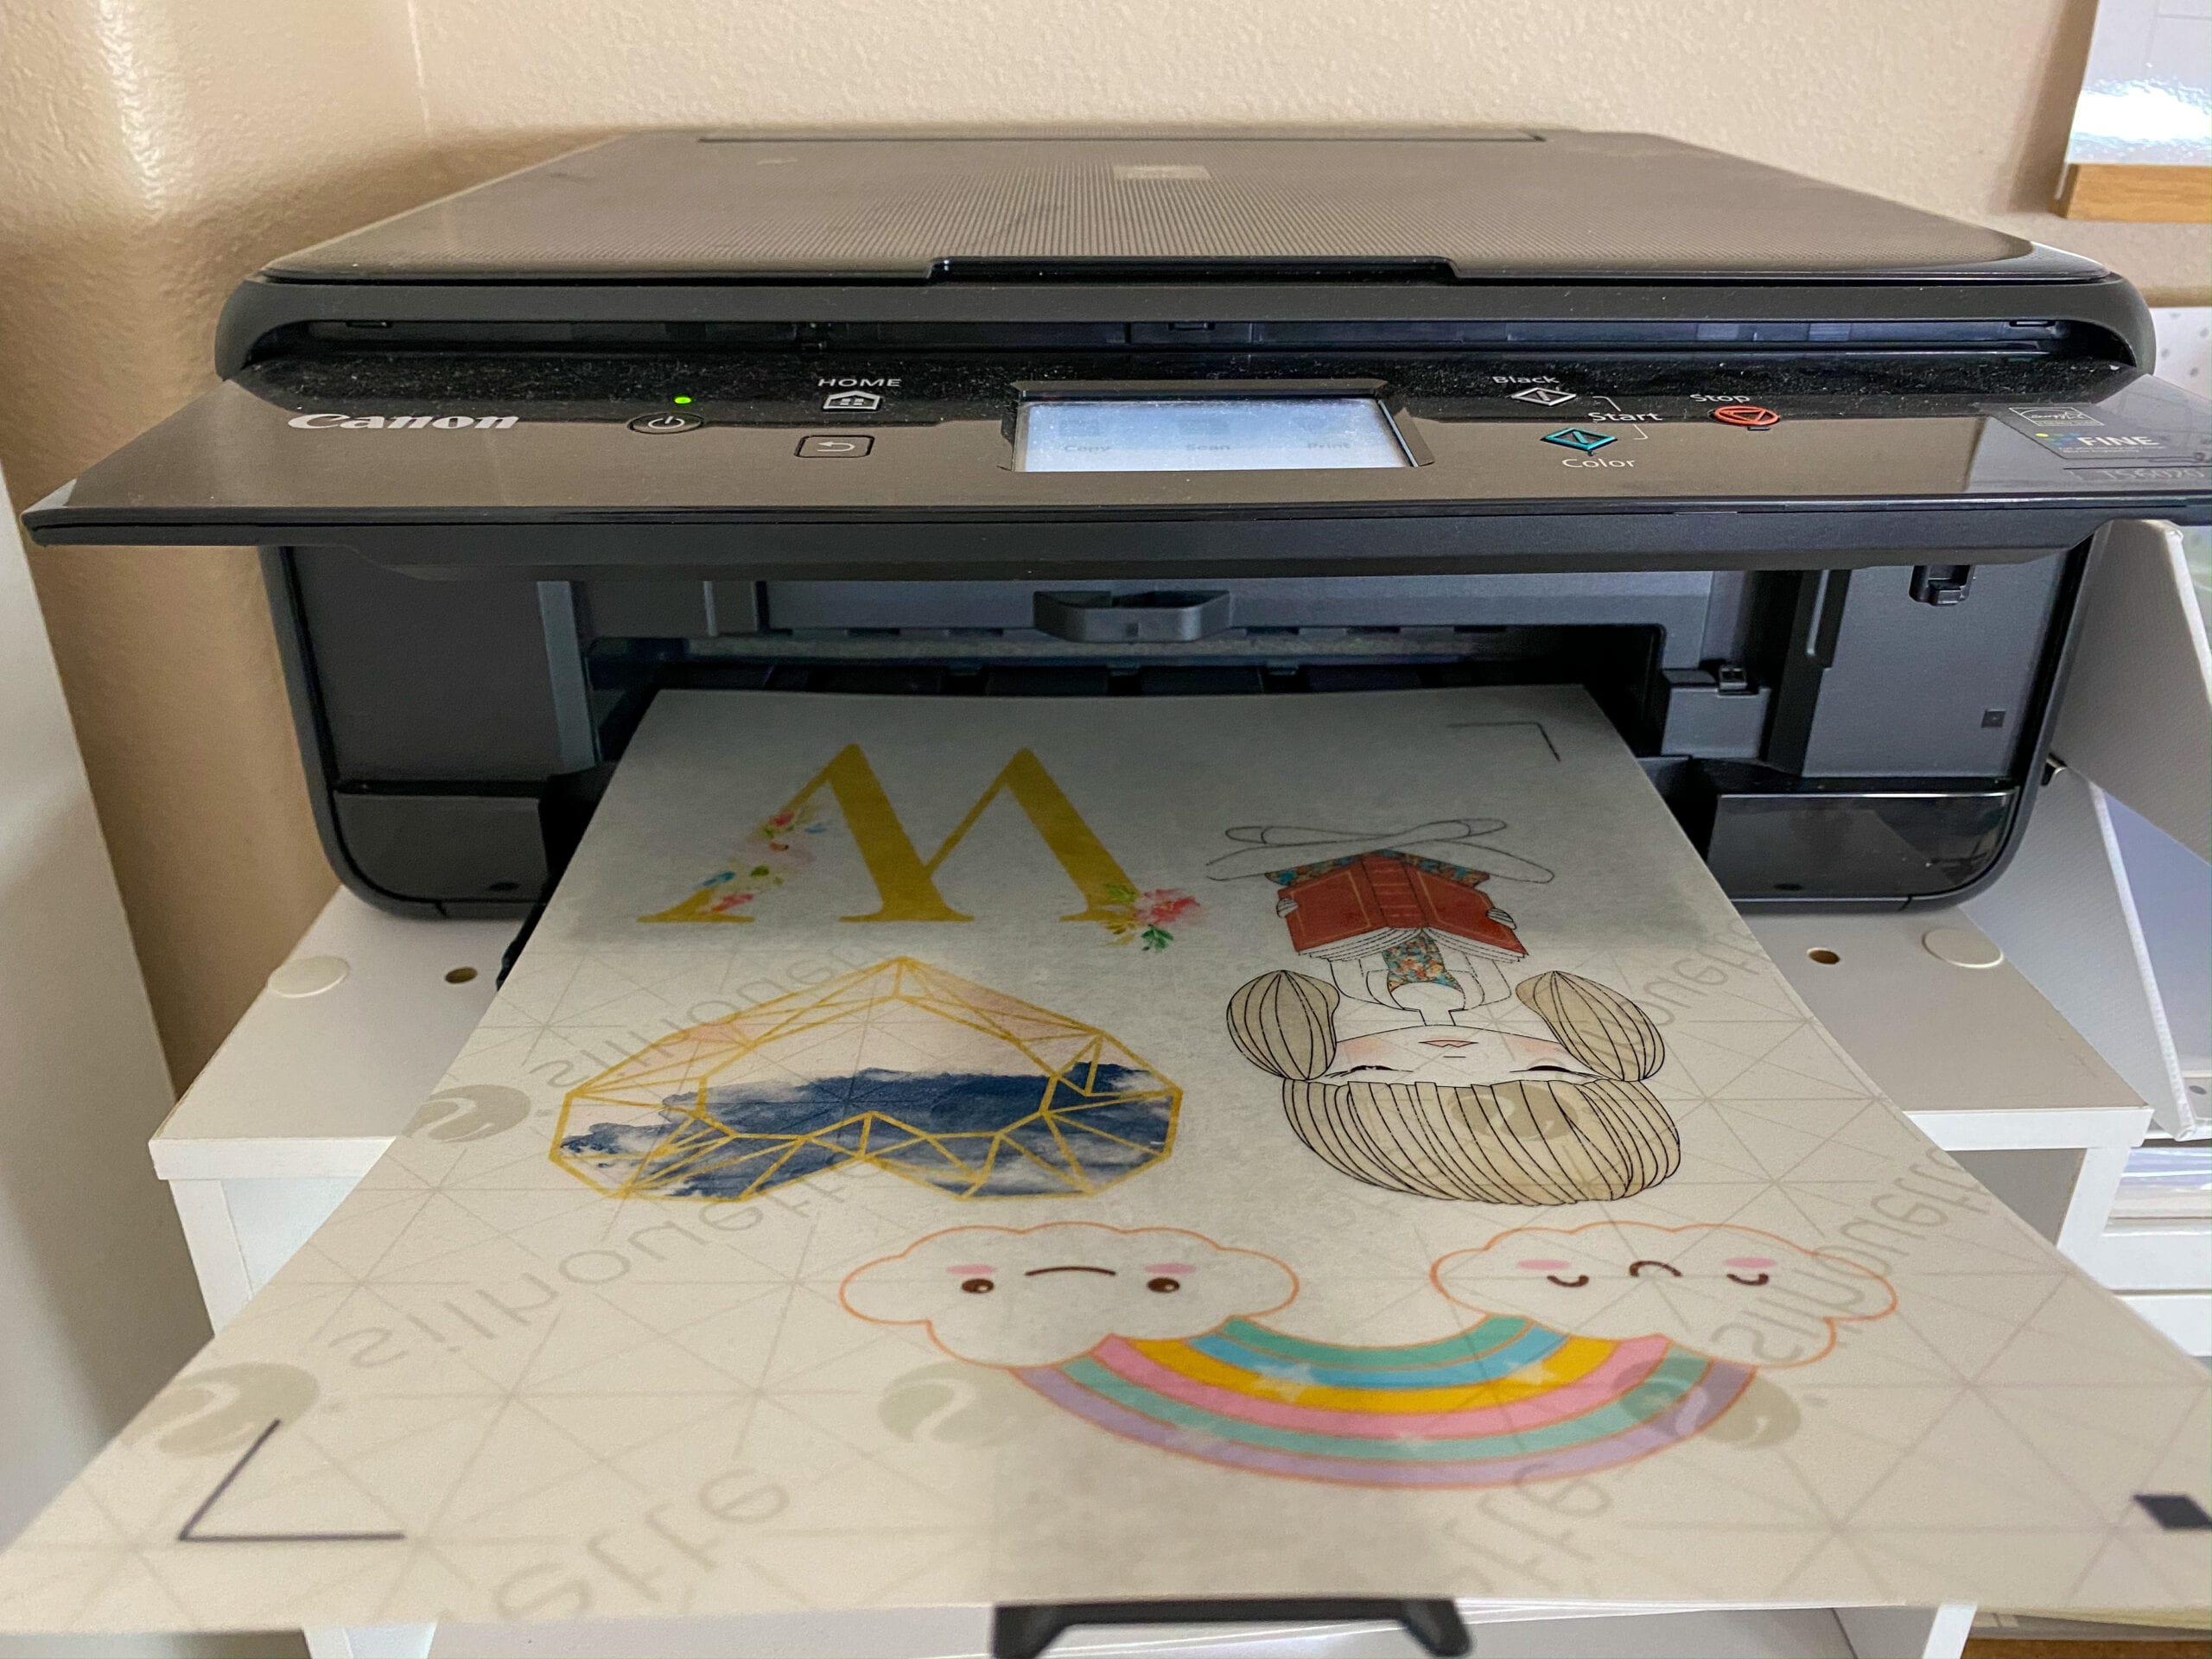
Now your design is ready to print! Make sure your shrink plastic sheet is loaded in your printer the correct way. If you are using the white shrink plastic, print on the matte side. If you are using the clear shrink plastic, print on the side with no Silhouette watermark. If you don’t know which way your printer prints loaded paper I highly suggest testing it out first. I typically like to put a mark on the top of the paper I loaded and then print to see.
After loading your material in your printer, click the print icon to send it to your printer.
I’m not sure why but when I printed with my inkjet on the translucent shrink plastic, the black wouldn’t print right. It was pretty faded looking, but luckily the machine was still able to read it.
Step 3: Load it onto your cutting mat & load it into your machine
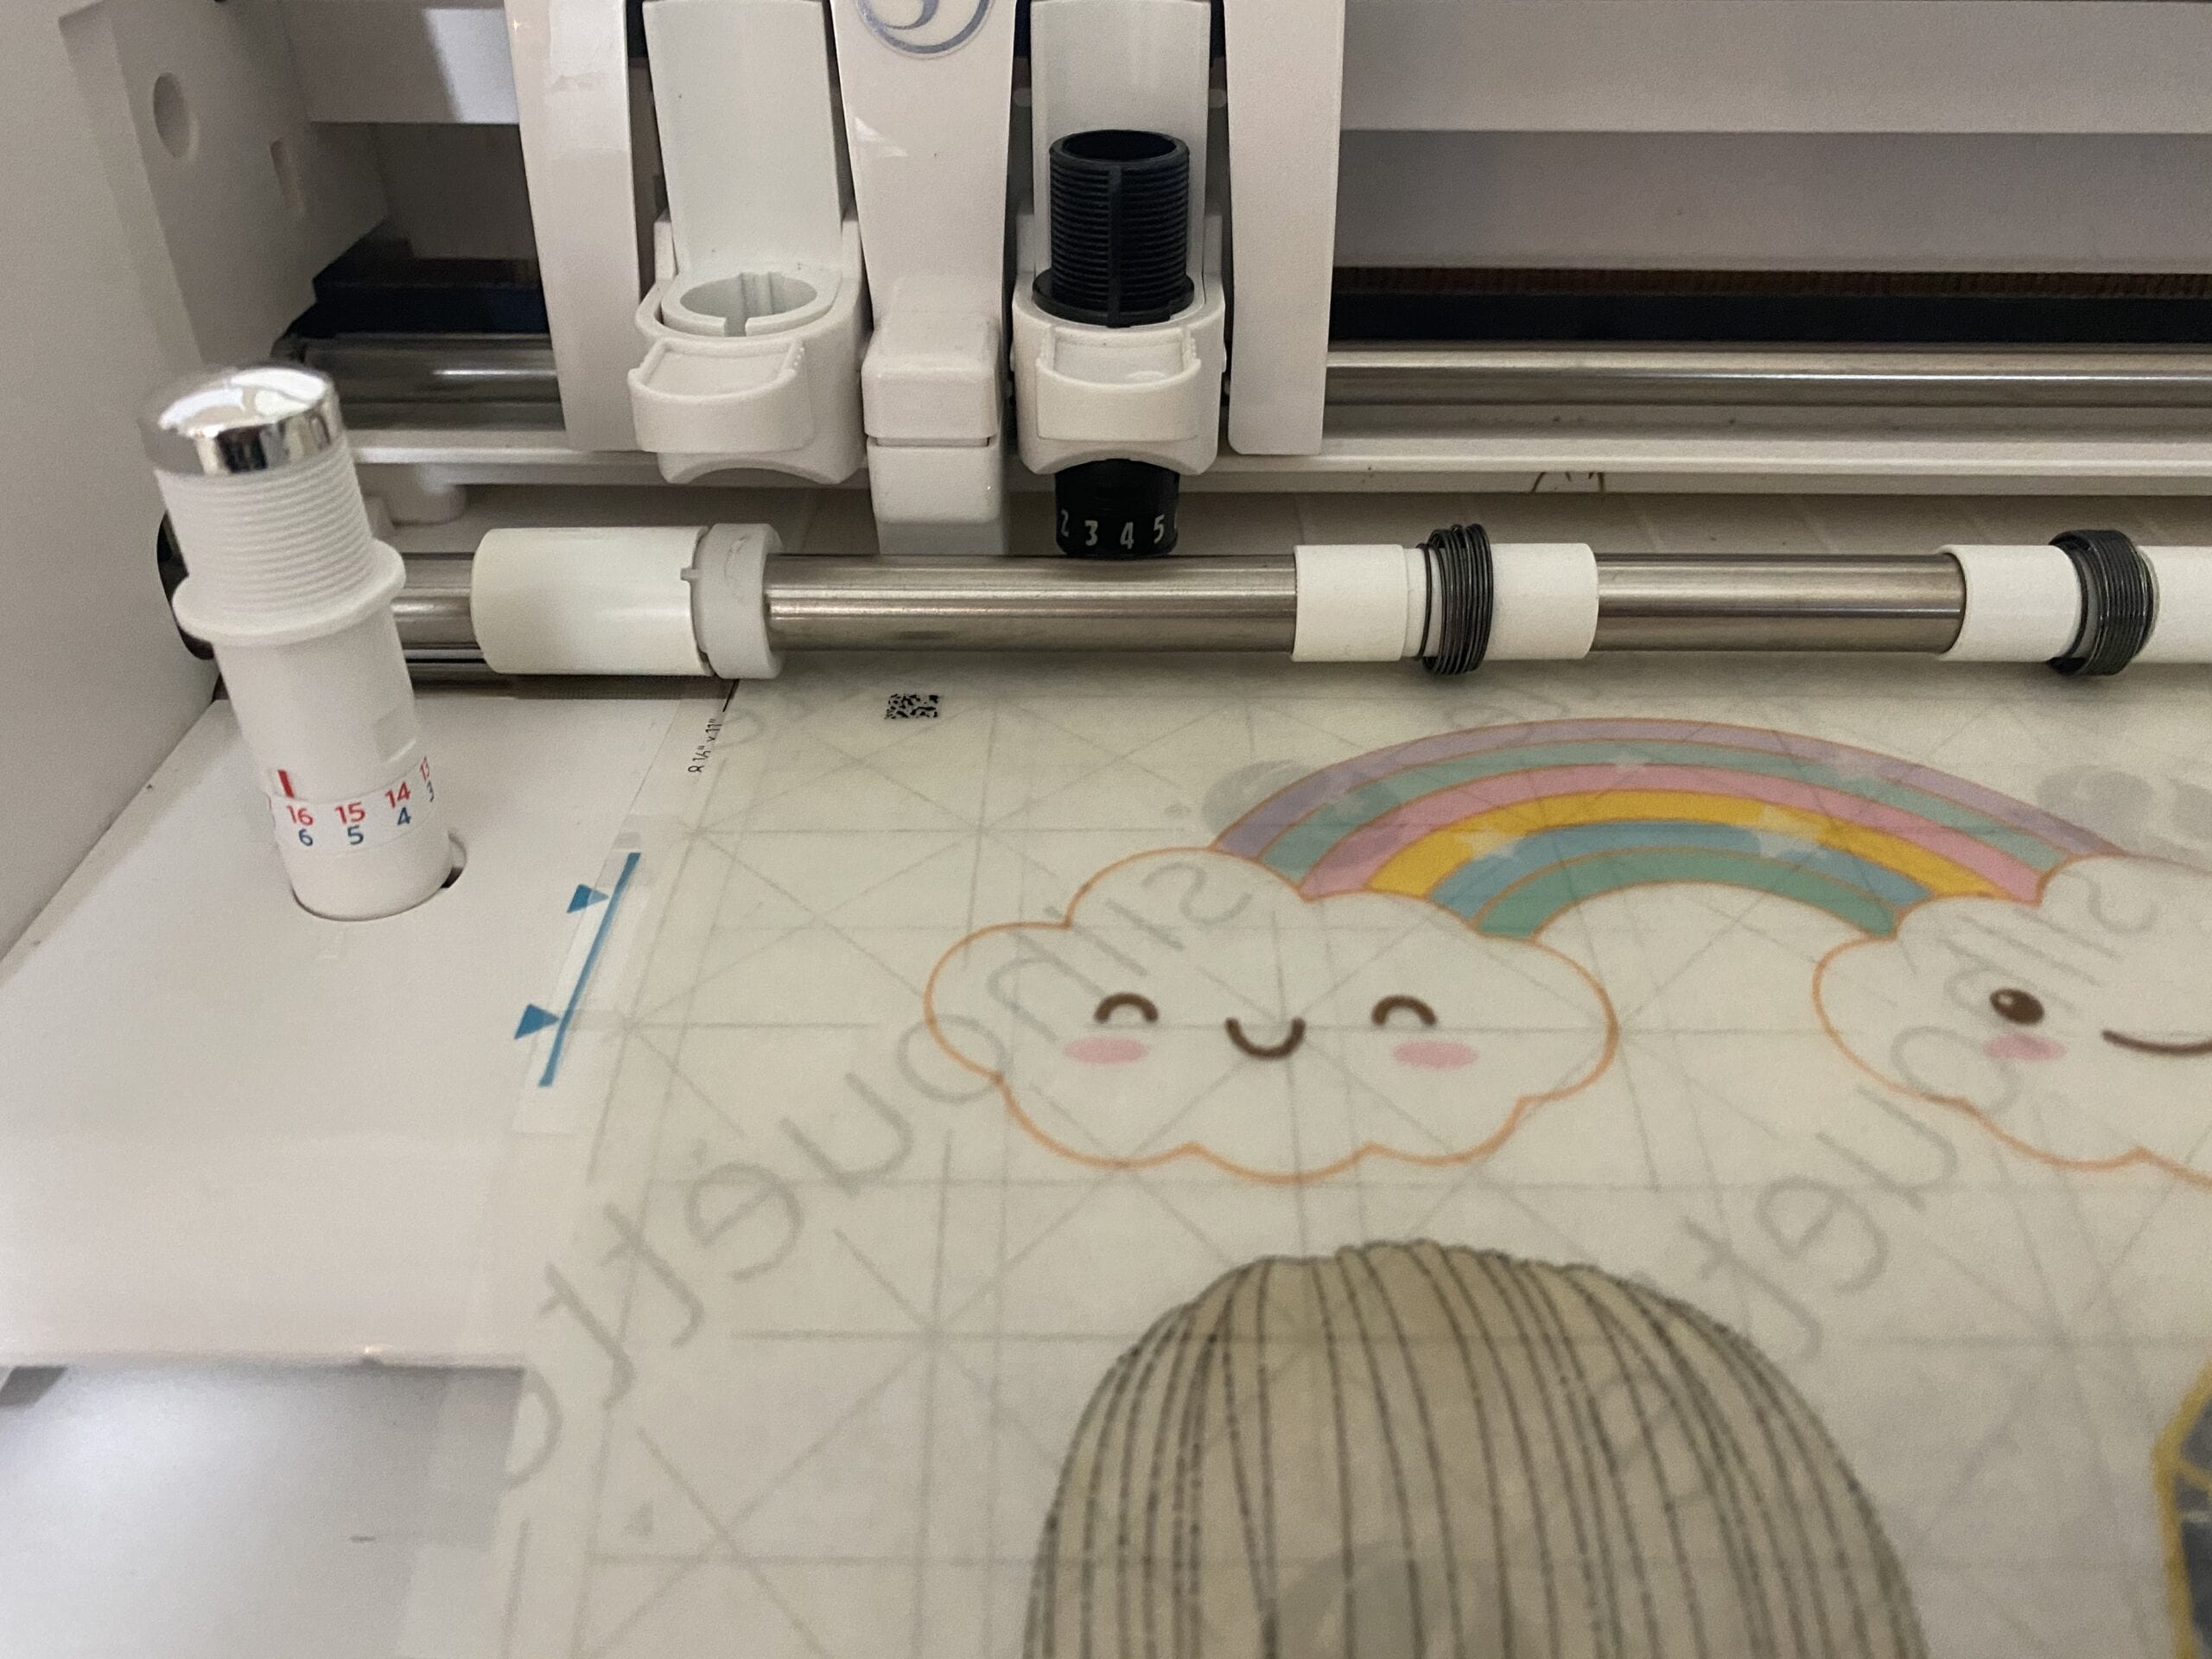
After printing, take your shrink plastic sheet and place is on your cutting mat. Be sure it matches your workspace design just like in Step 1. Align the printed sheet of paper to the left side of the mat. Then load your mat into your Silhouette Machine. The mat needs to align with the blue line with the arrows. Place the edge of the mat along the blue line. Once aligned, press “Load” on your Silhouette.
Check your cut lines. Make sure your Silhouette machine will just cut out the outline and the inside circle of your shapes.
Then go to the “Send” tab and click on the material for – Shrink Plastic Sheets (this may or may not work for you, I think if you had the white shrink plastic it may work. However, for me it didn’t. I have the translucent shrink plastic and had to keep adjusting the blade depth and number of passes. Eventually these were the settings that worked for me: Blade:10, Force:33, Speed:1, Passes:4, & overcut: checked on and cutting it multiple times. With these settings, it didn’t cut all the way through to the backing, but I was able to peel them off the sheet very carefully.
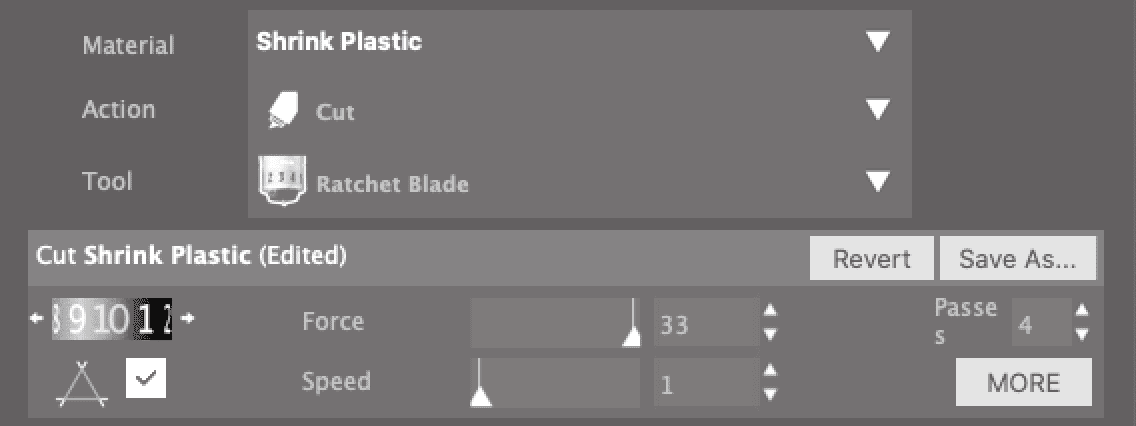
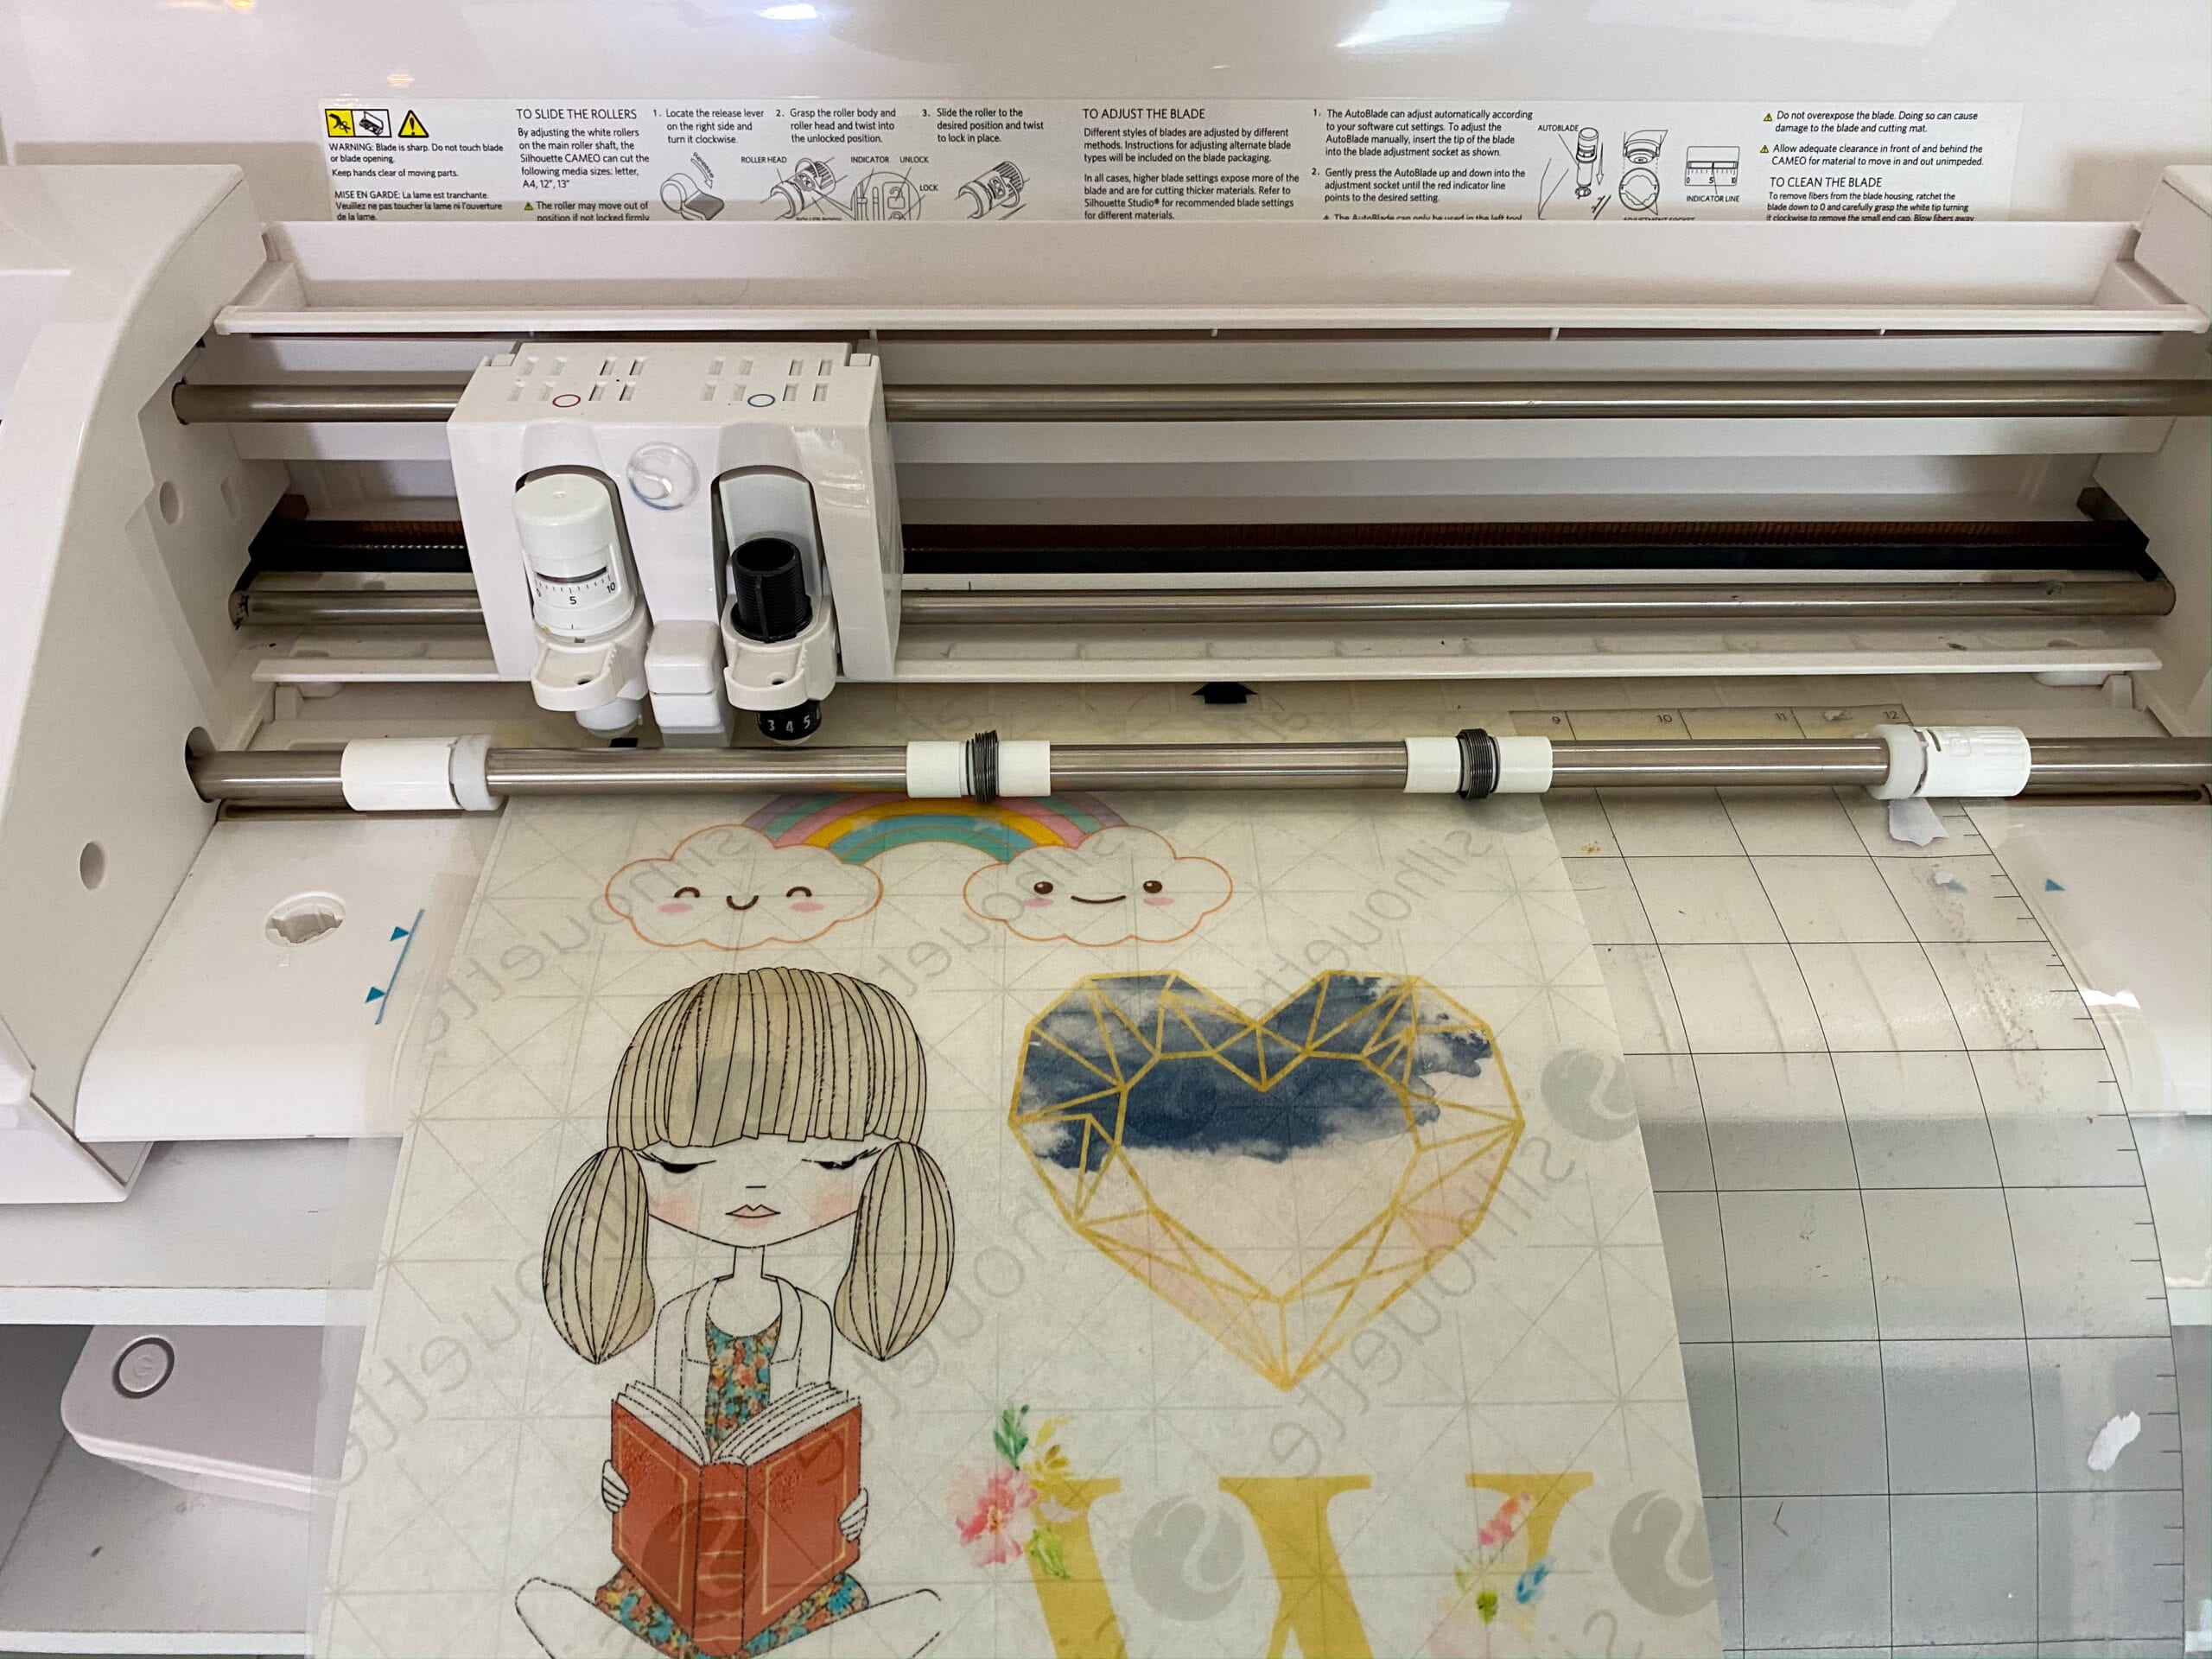
Adjust your blade so it matches, or skip if you are using an autoblade. Then hit Send to start cutting.
Step 4: Let the Silhouette start cutting
After hitting send, your Silhouette will scan the page for the printed registration marks. Then it will start cutting.
Step 6: check & peel the designs off the mat
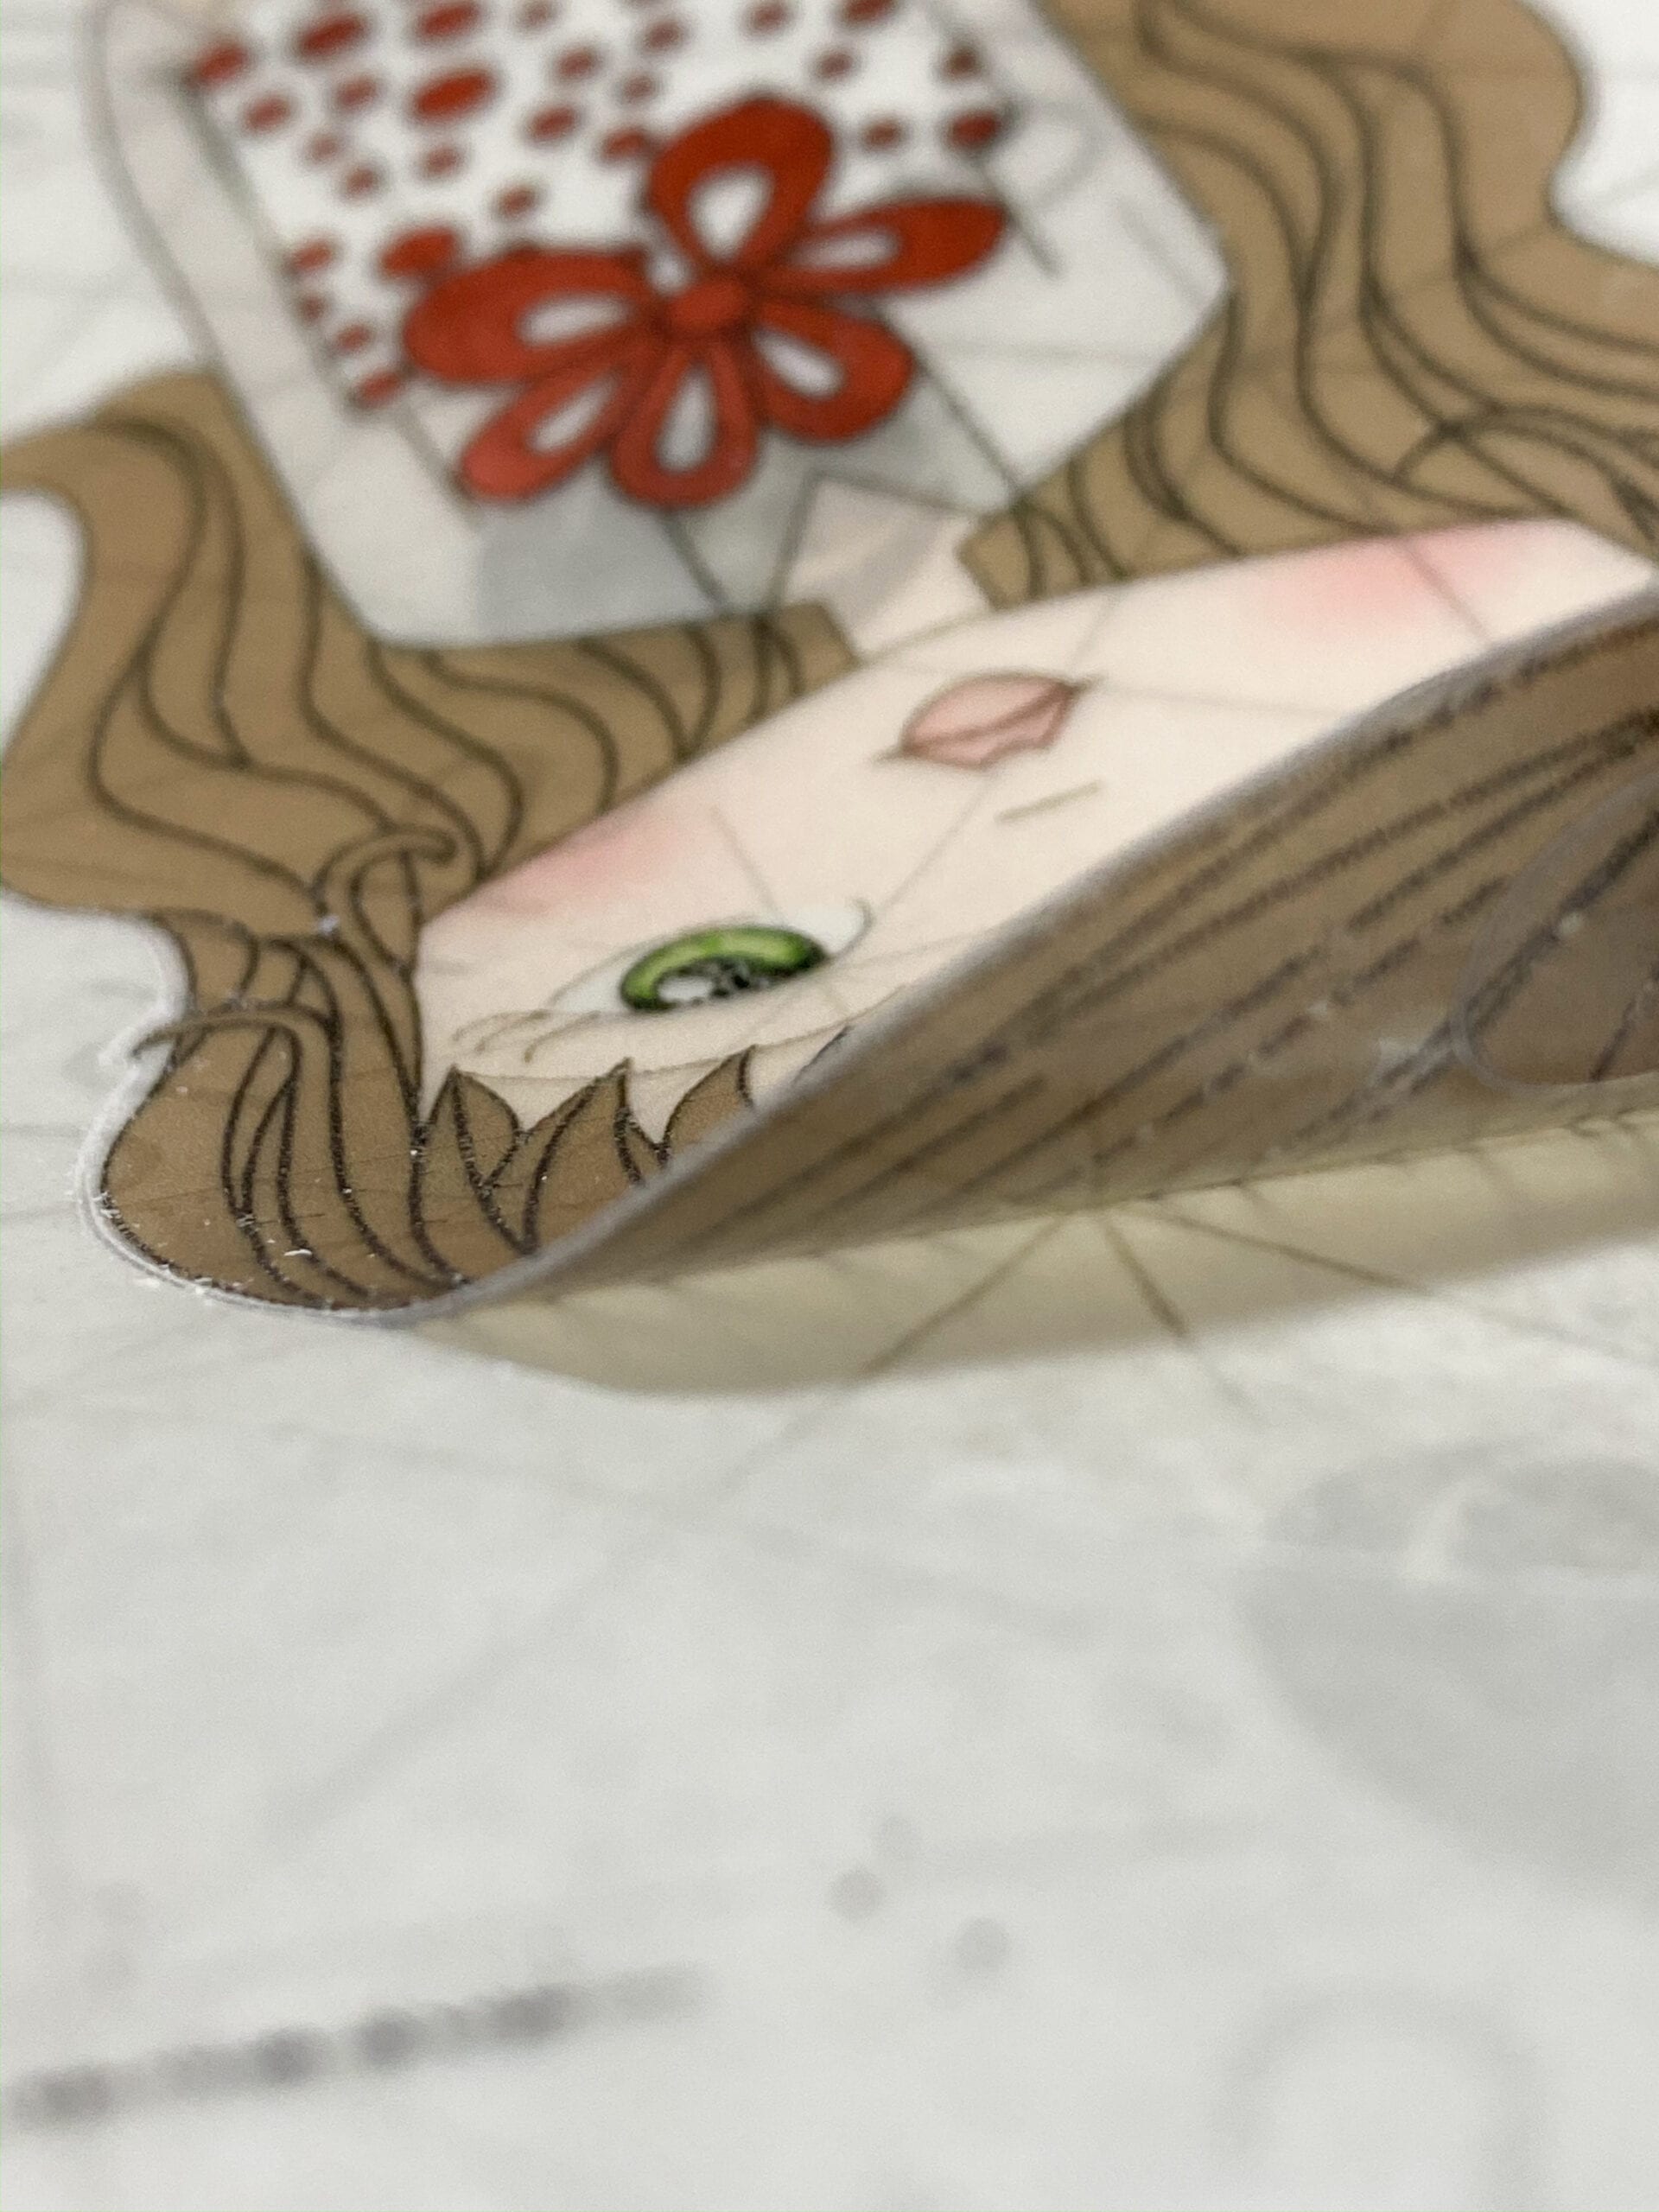
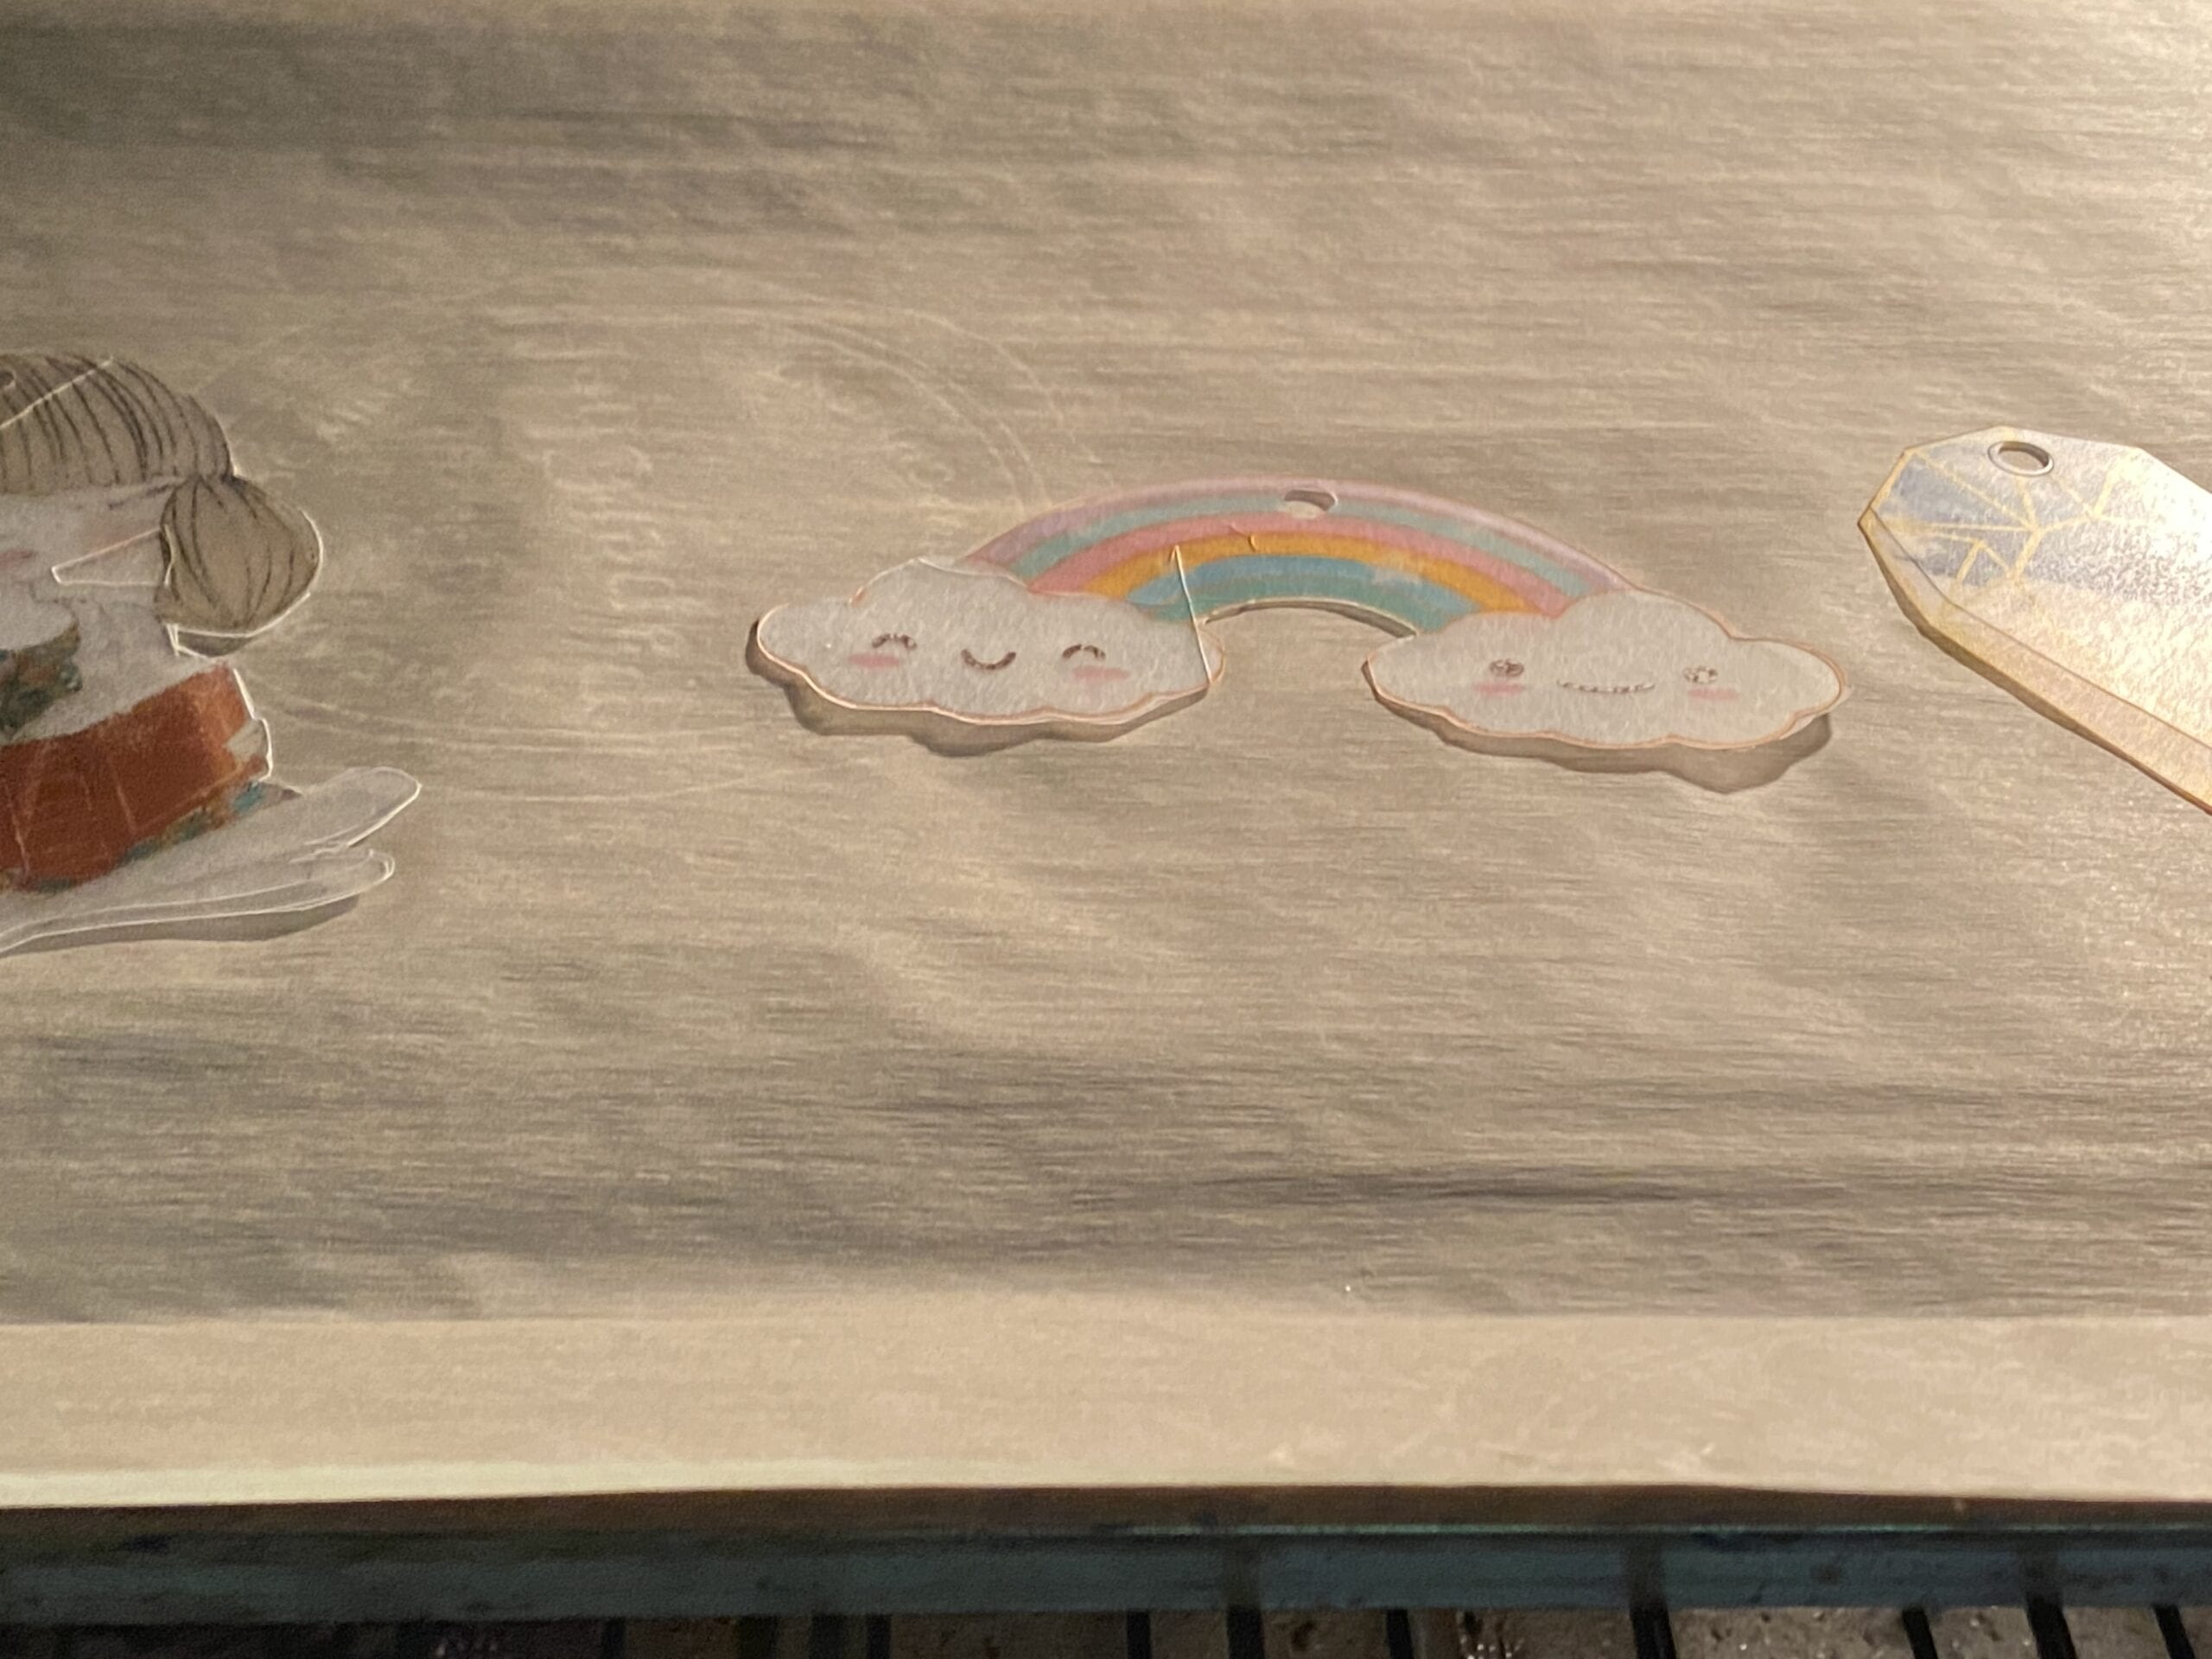
After it is done cutting, unload your mat. Check if it has cut correctly, it should be cut through the plastic.
For the clear shrink plastic I had to peel if off from the sticky watermarked backing. When I did this, some of my smaller designs ripped. I had to be extra careful not to rip the design. I found it easier to peel the sticky backing from the design rather than peeling the shrink plastic design from the backing. (One of my designs did end up breaking in half 🙁 but it still worked out to be a good looking charm!)
step 7: Preheat your oven
Now we need to heat up our designs. Preheat the oven to 290–325° F (140–160° C). I did 325°.
step 8: Place your designs on a baking pan & Bake your designs
If you use the clear shrink plastic, remove the Silhouette-branded liner and place the shapes printed side up onto a parchment-lined cookie sheet.
If you use white shrink plastic, place the printed shapes printed side up onto a parchment-lined cookie sheet.
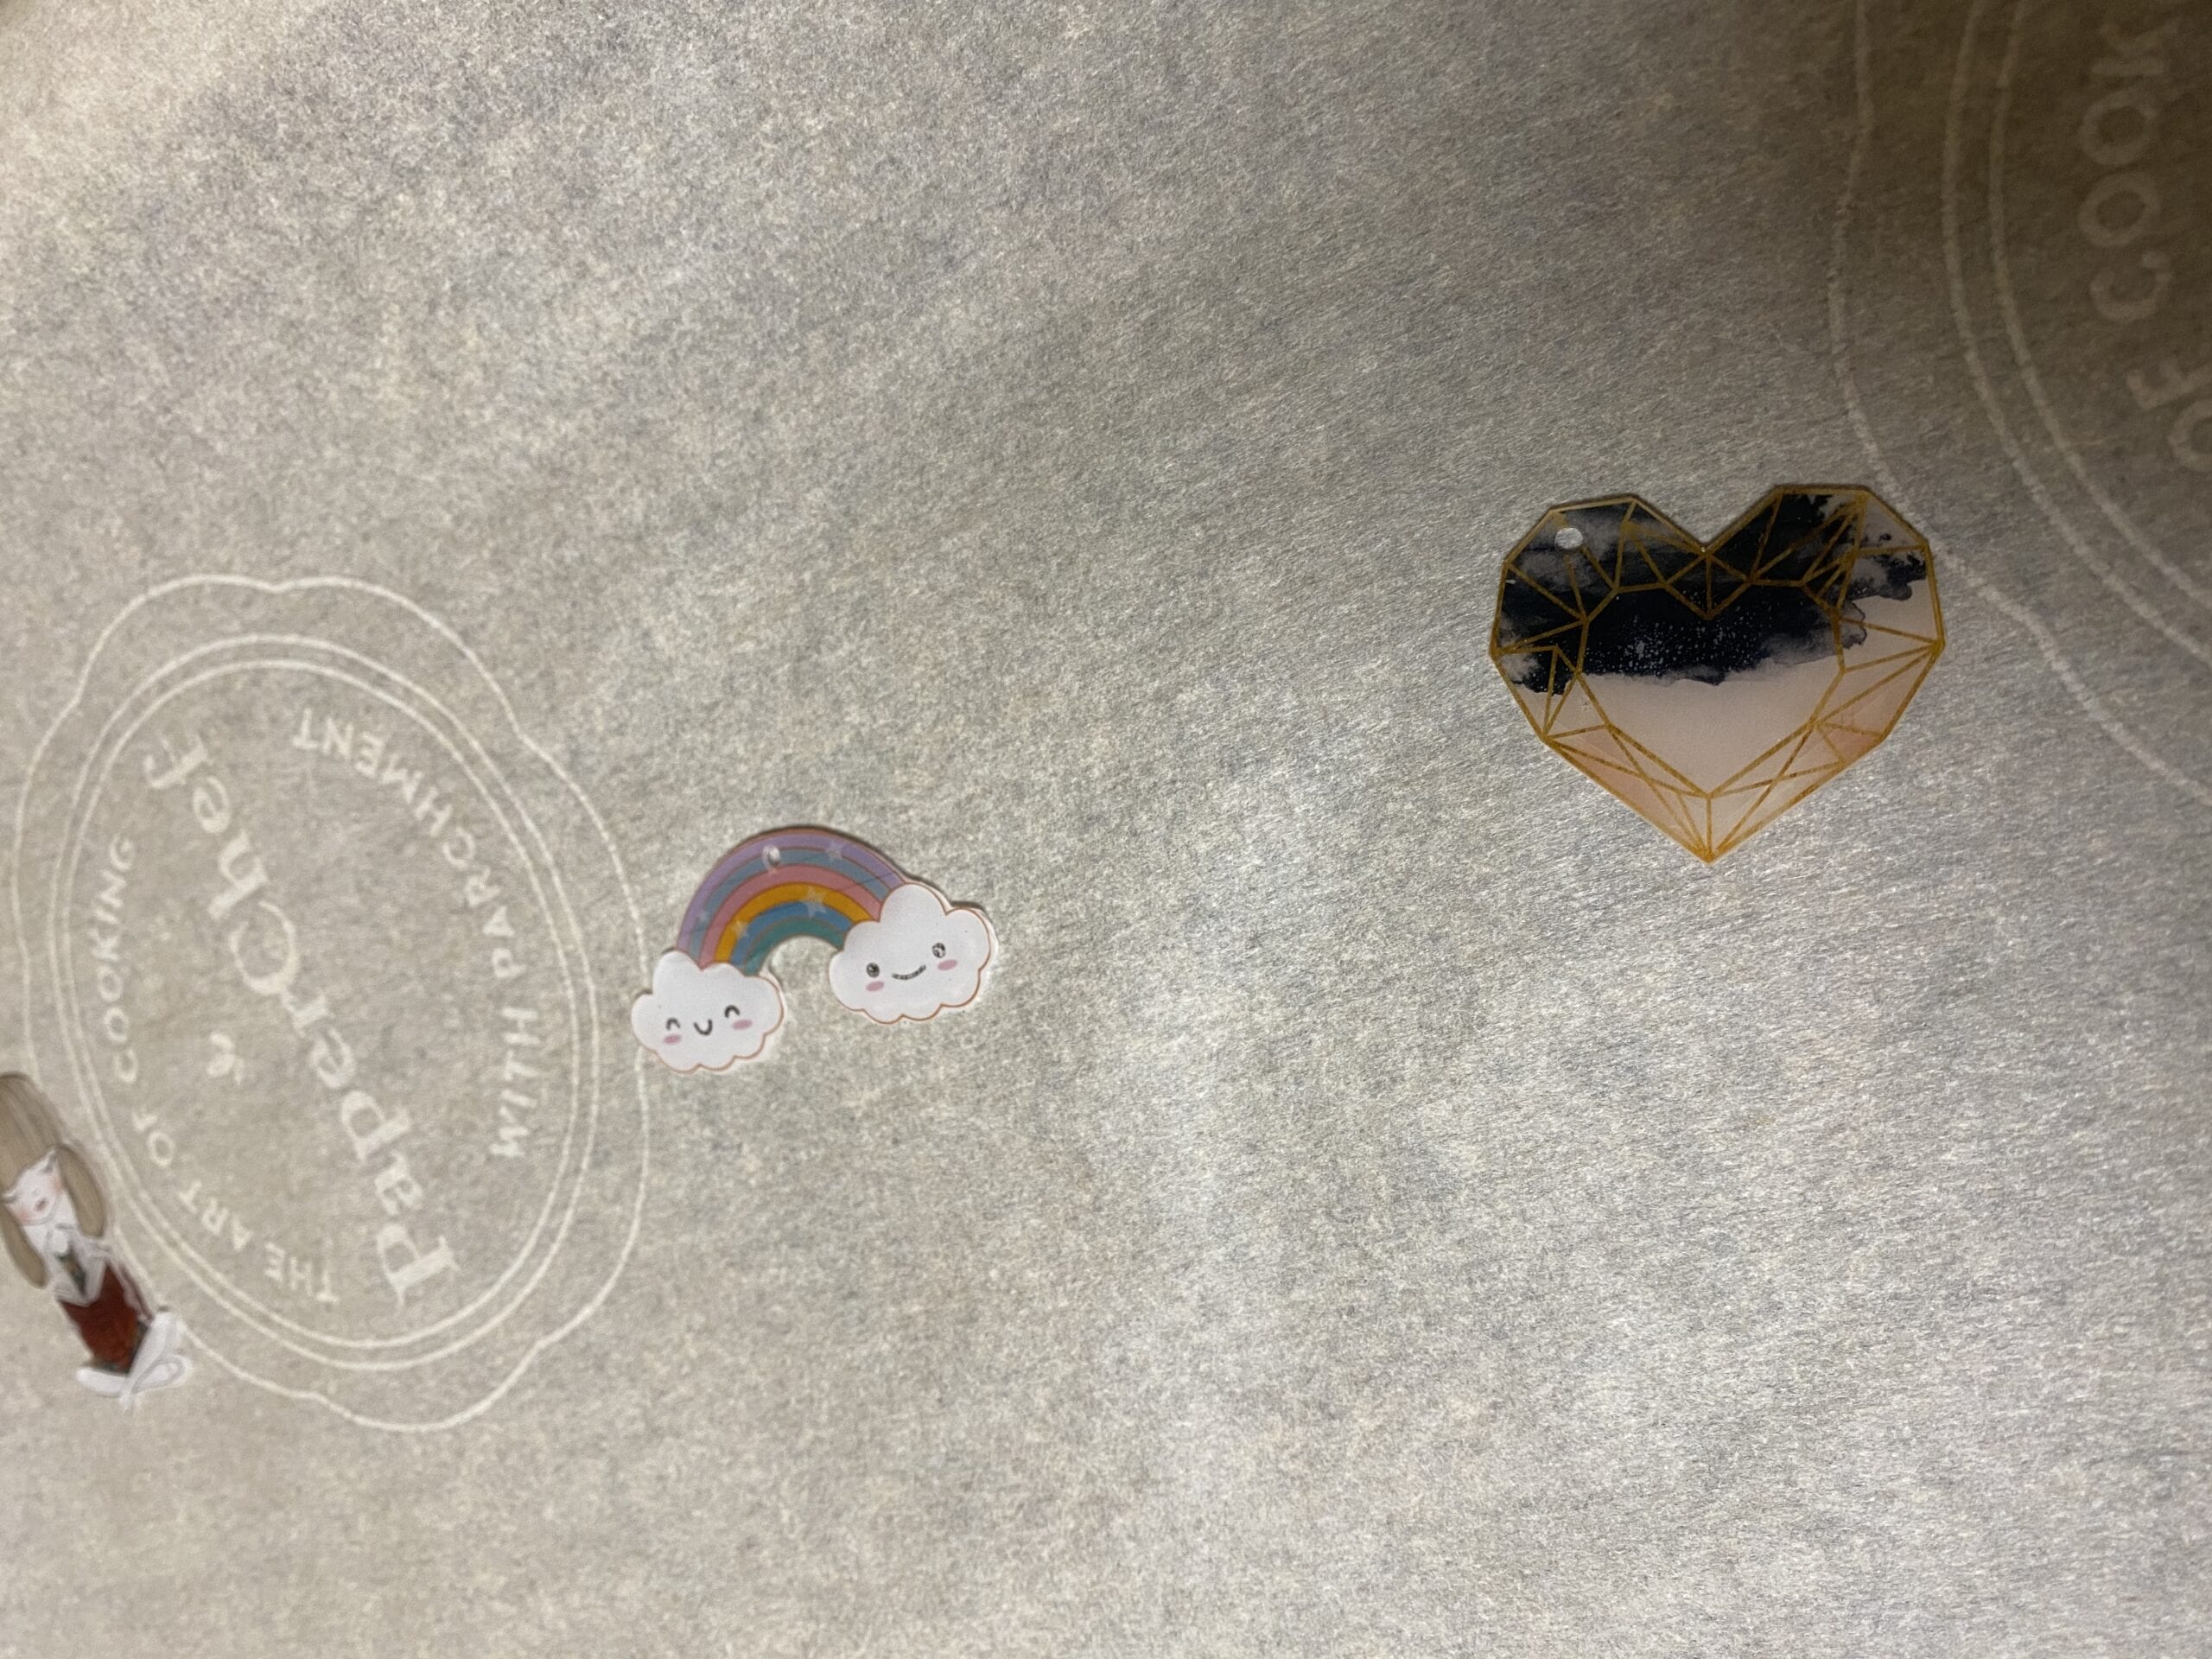
The baking process takes approximately two minutes. Stay close cause it might be faster! Watch as the piece shrinks (it will curl and move and then lay flat again). The shapes will be much smaller and thicker than the shapes you started with.
When you see that your piece is flat (or almost flat if you bake a bigger piece), quickly but carefully remove the cookie sheet from the oven.
Right away, gently press the piece flat using a flat tool. You have a couple of seconds to flatten the piece because the plastic cools down pretty quickly. The piece may stay slightly curled around the edges if you don’t flatten it fast enough.
step 9: assemble your planner charms
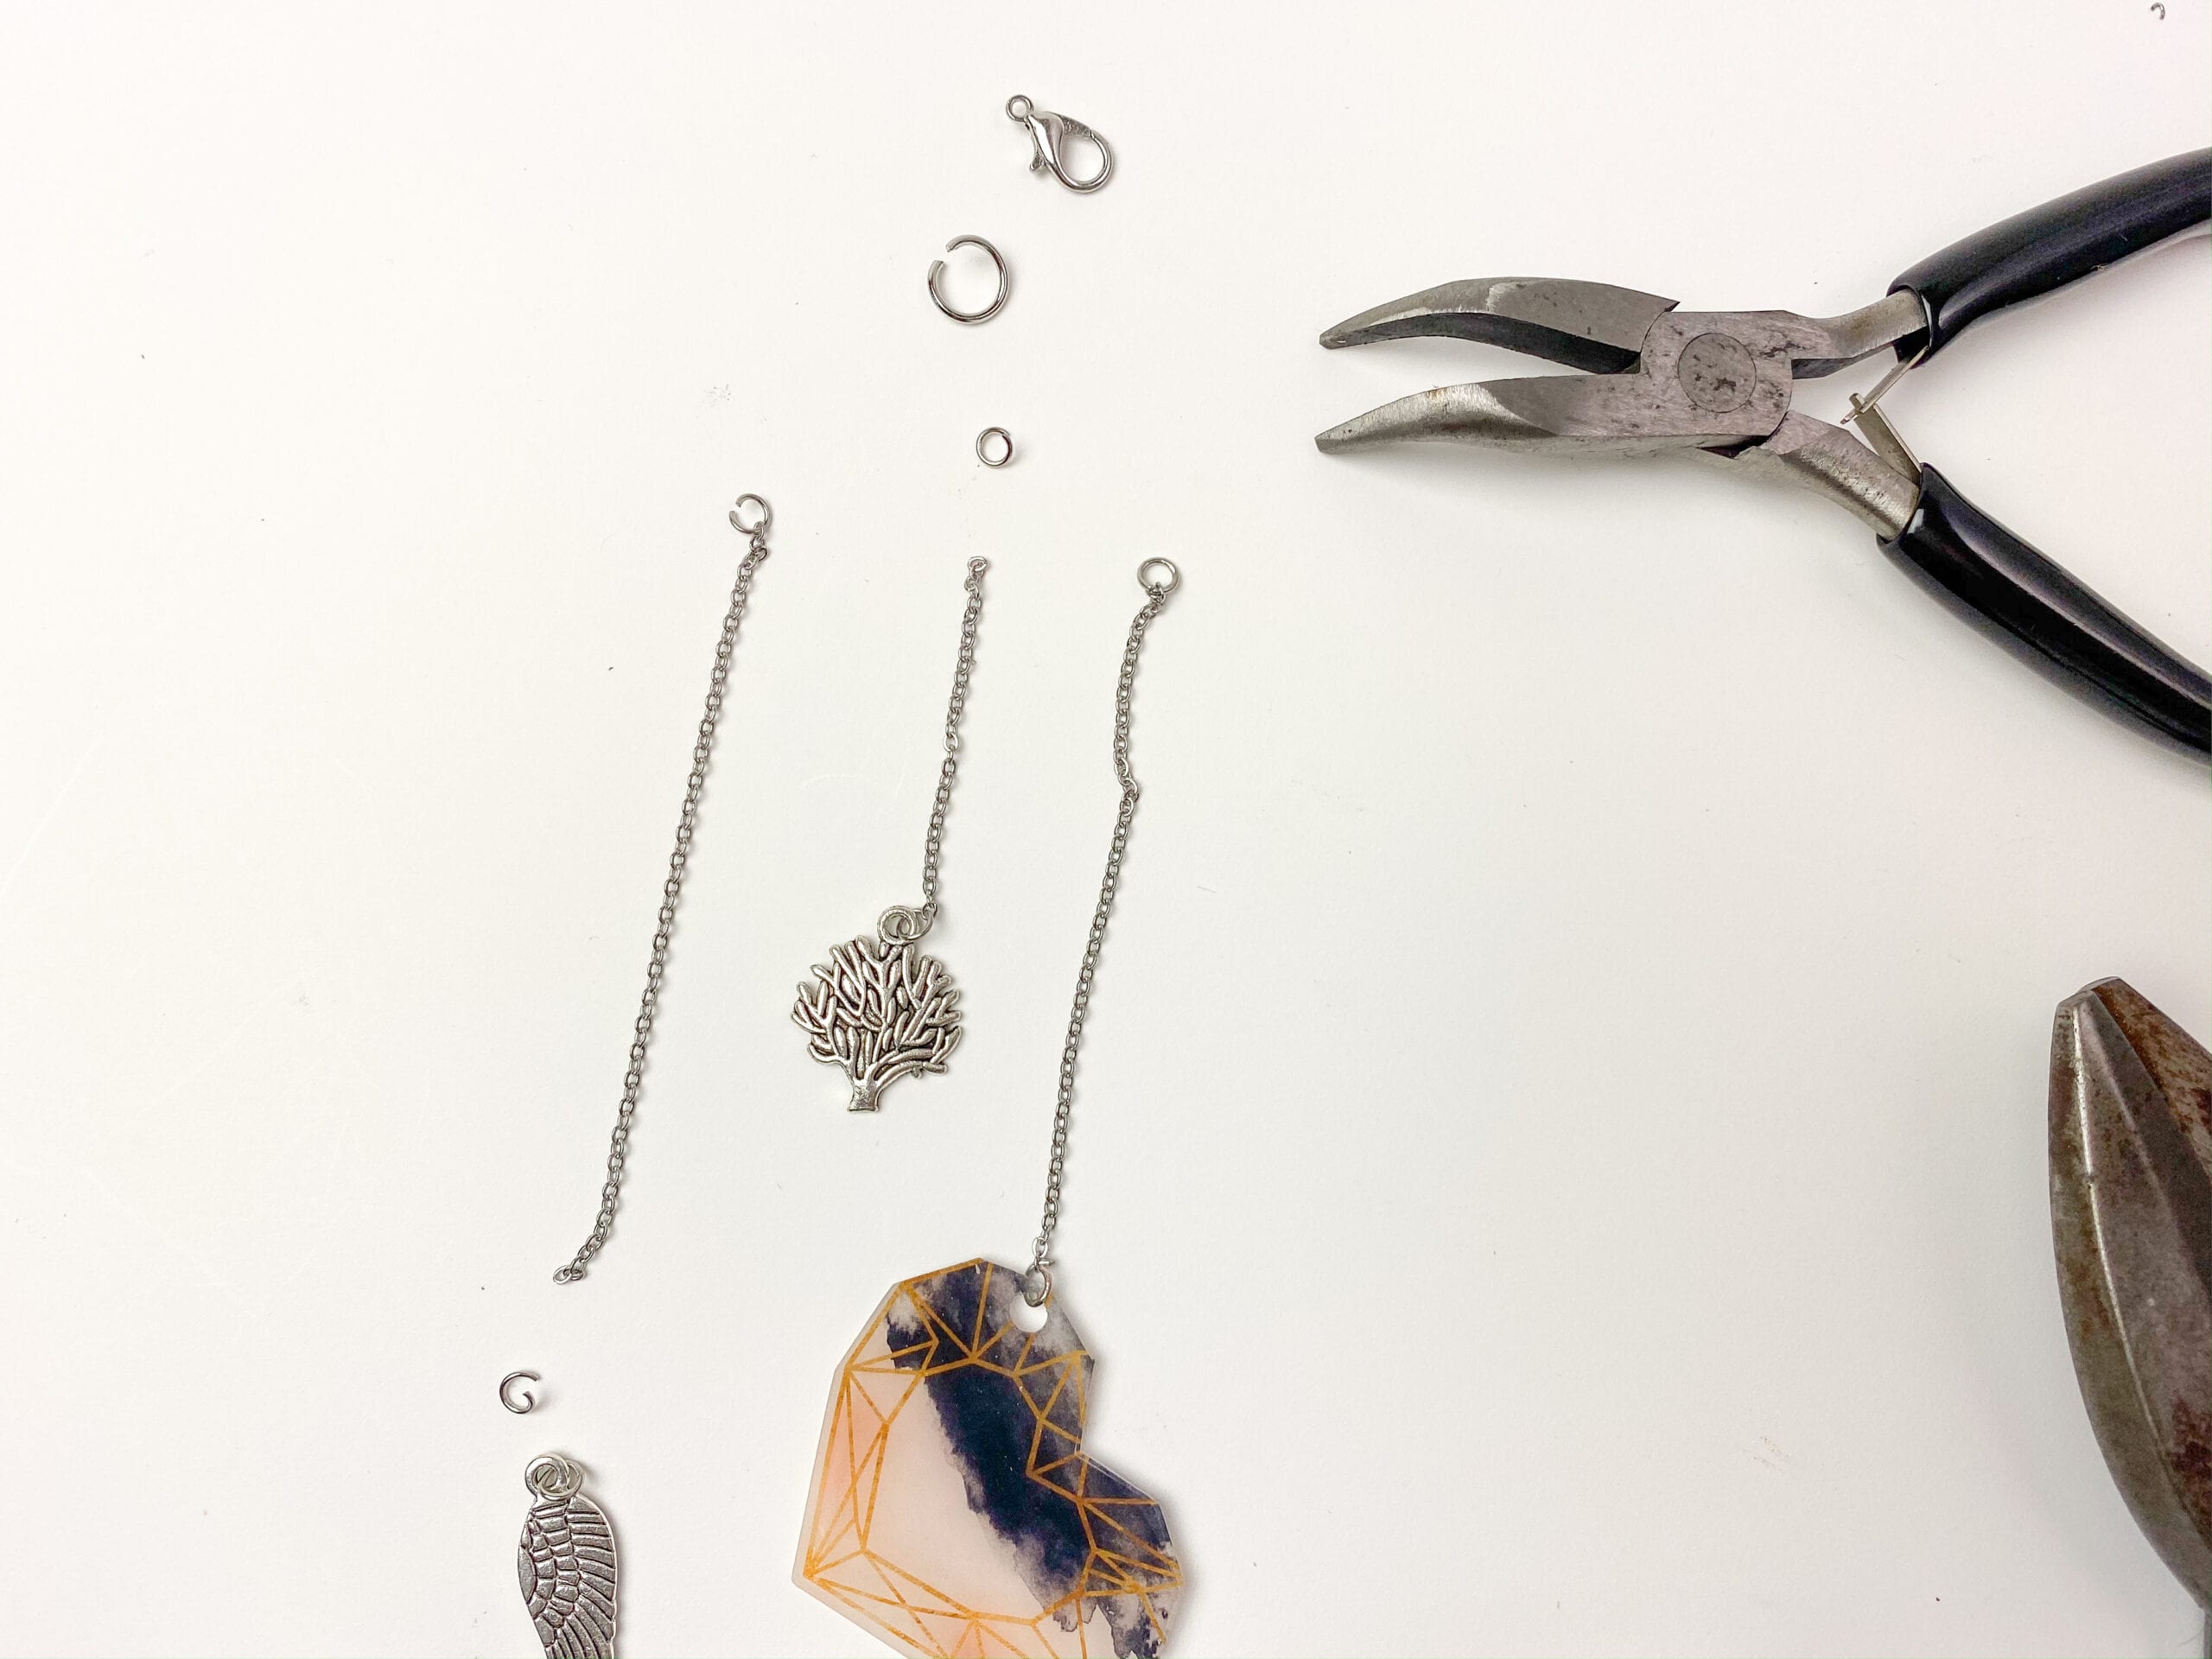
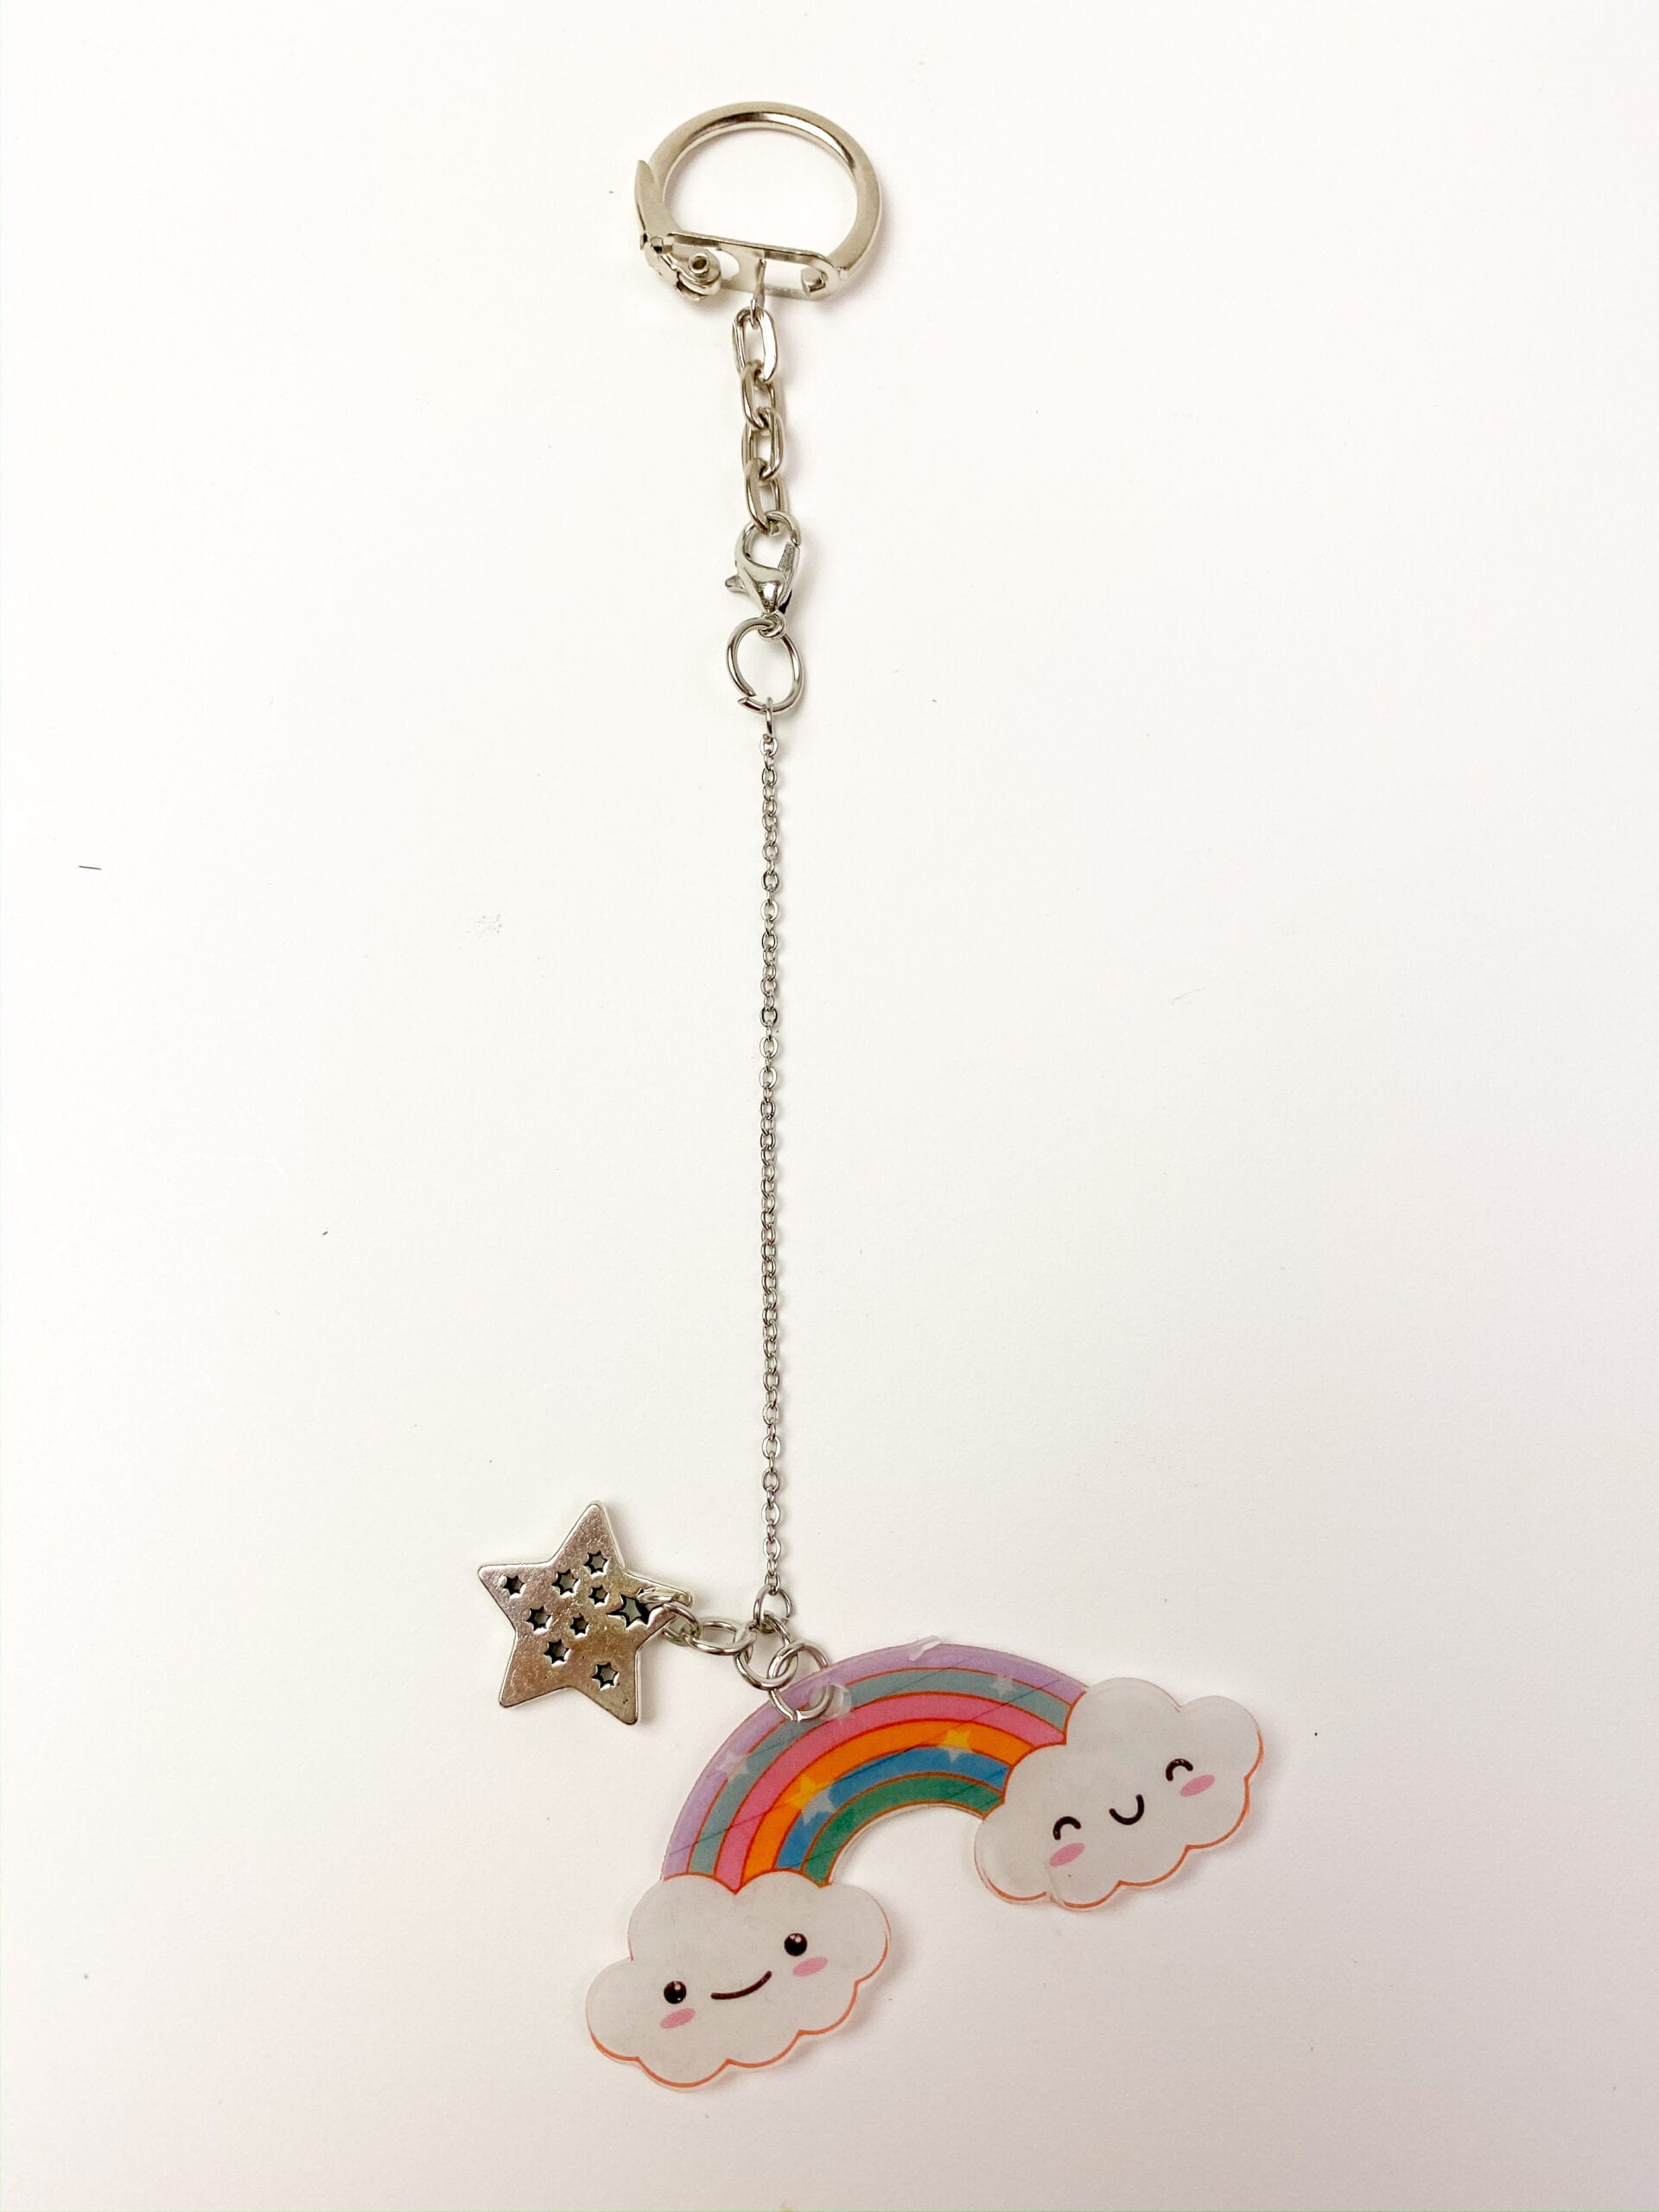
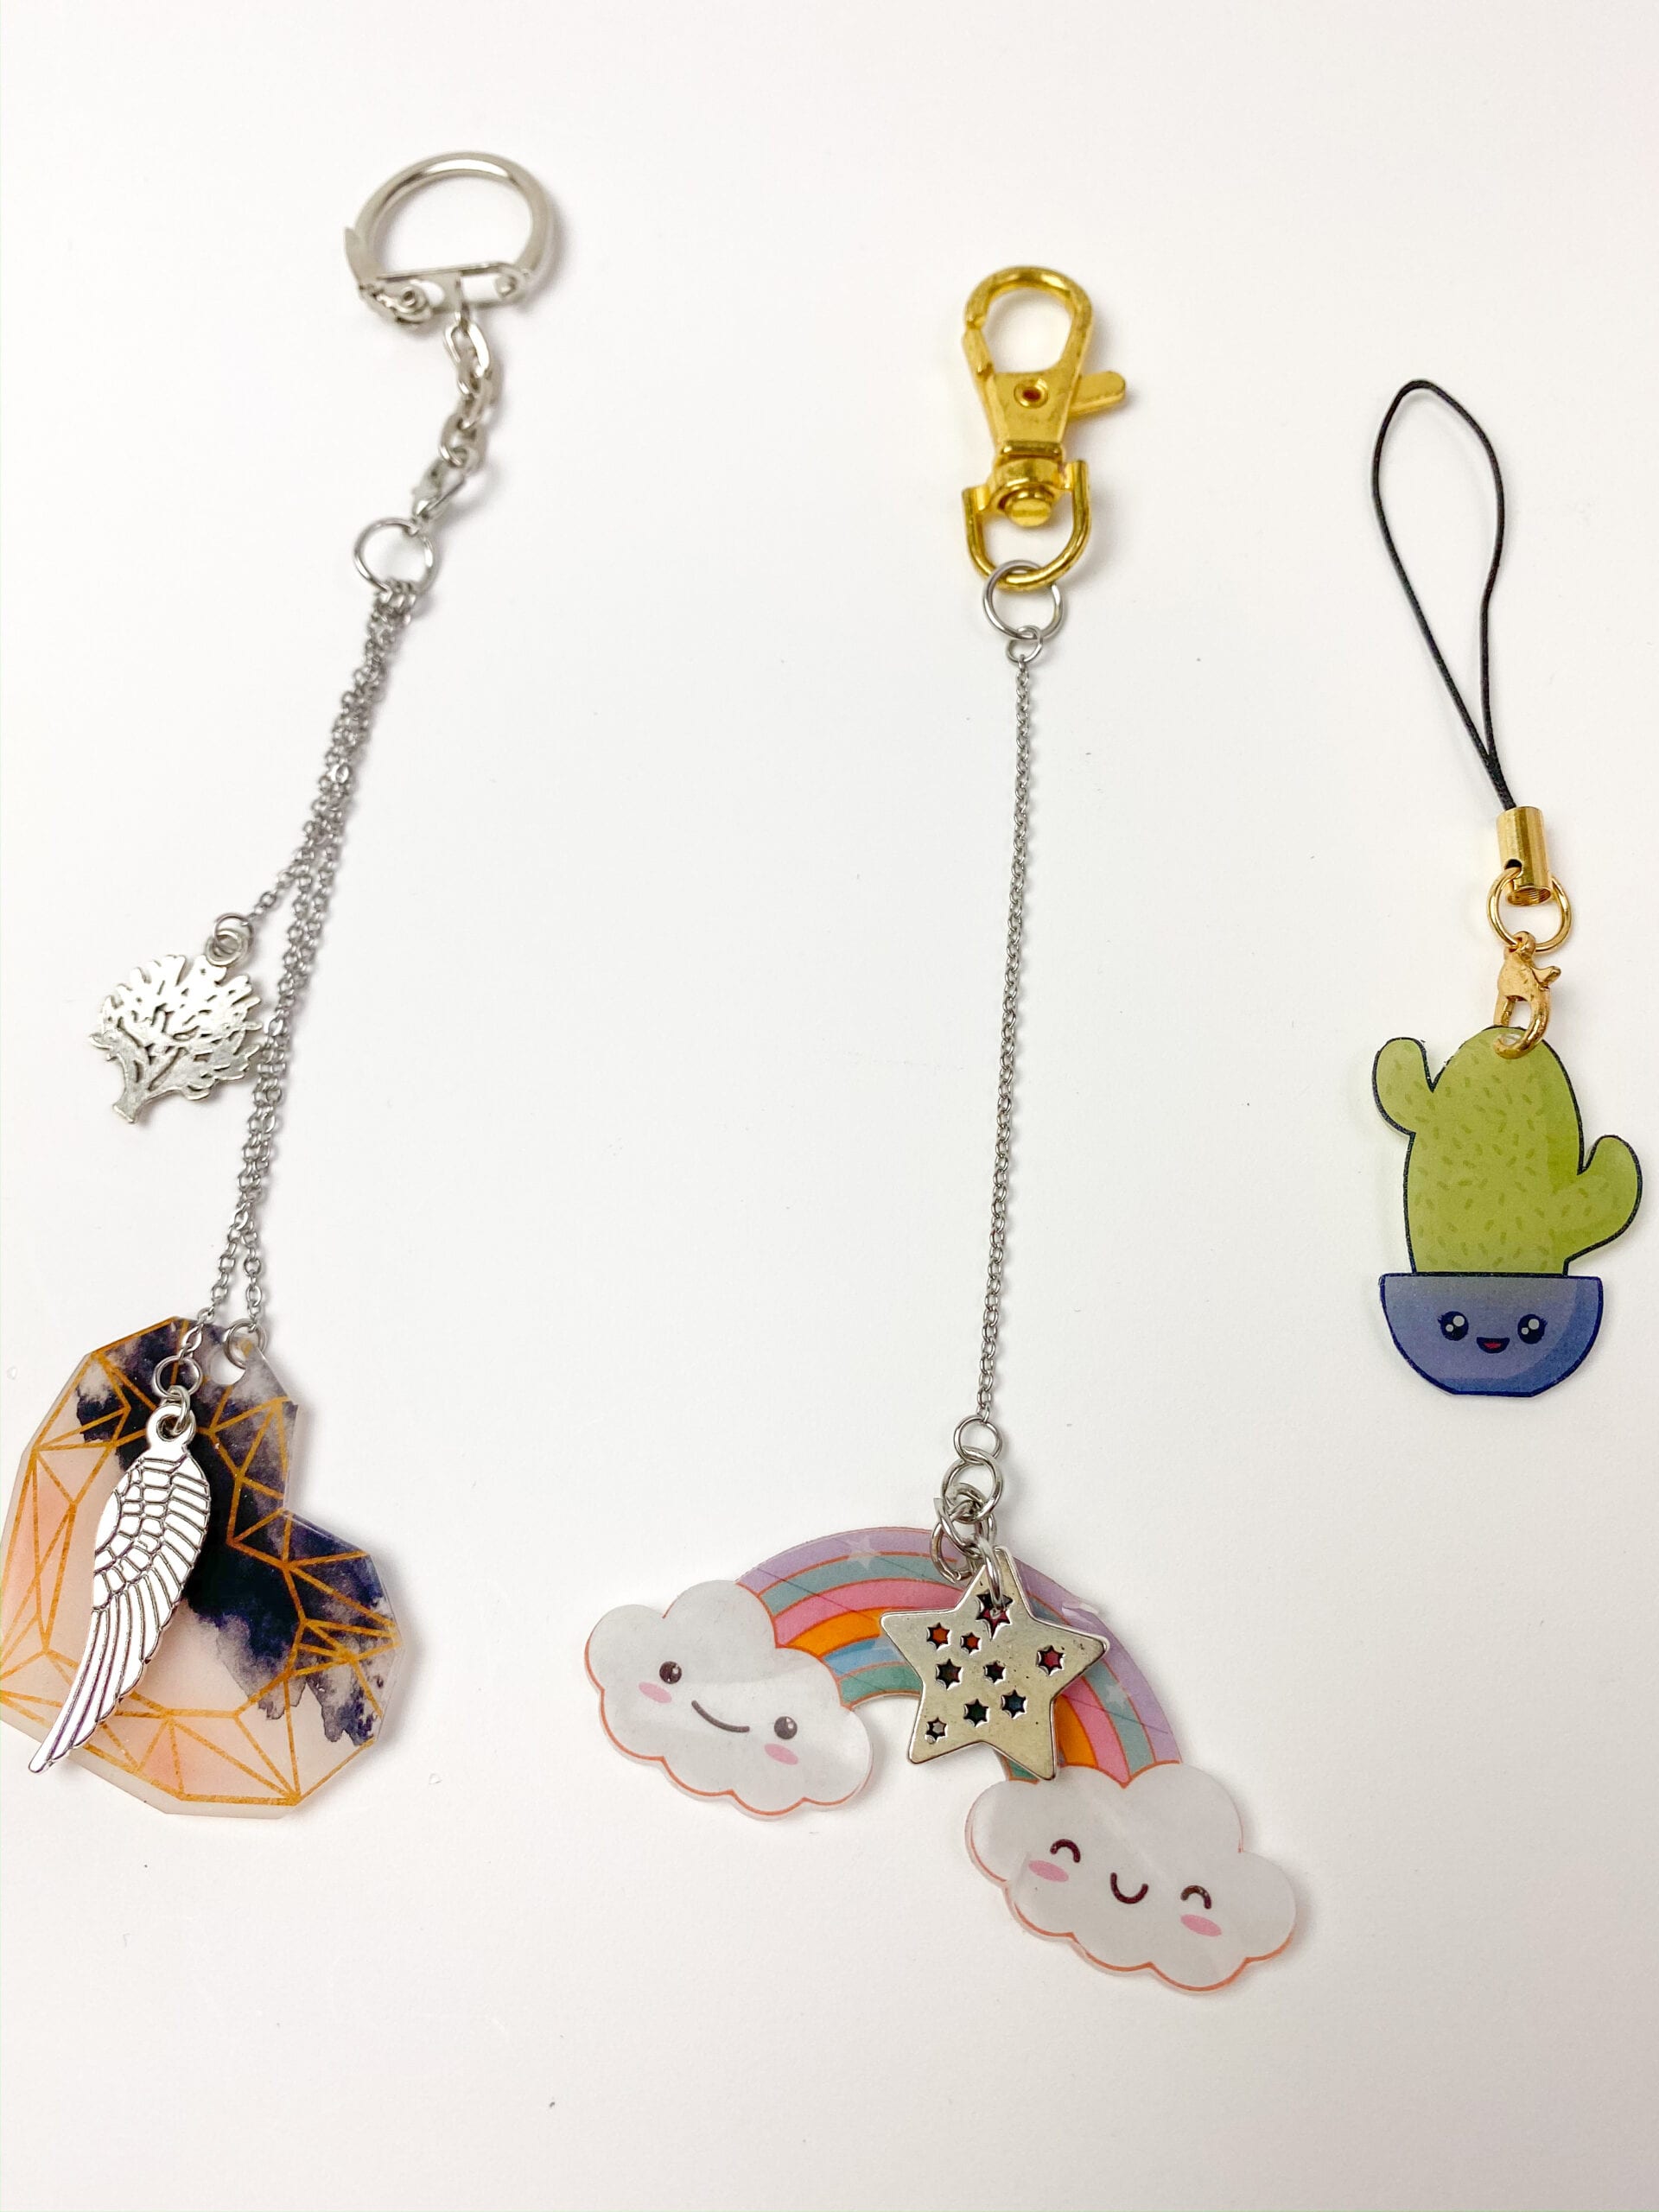
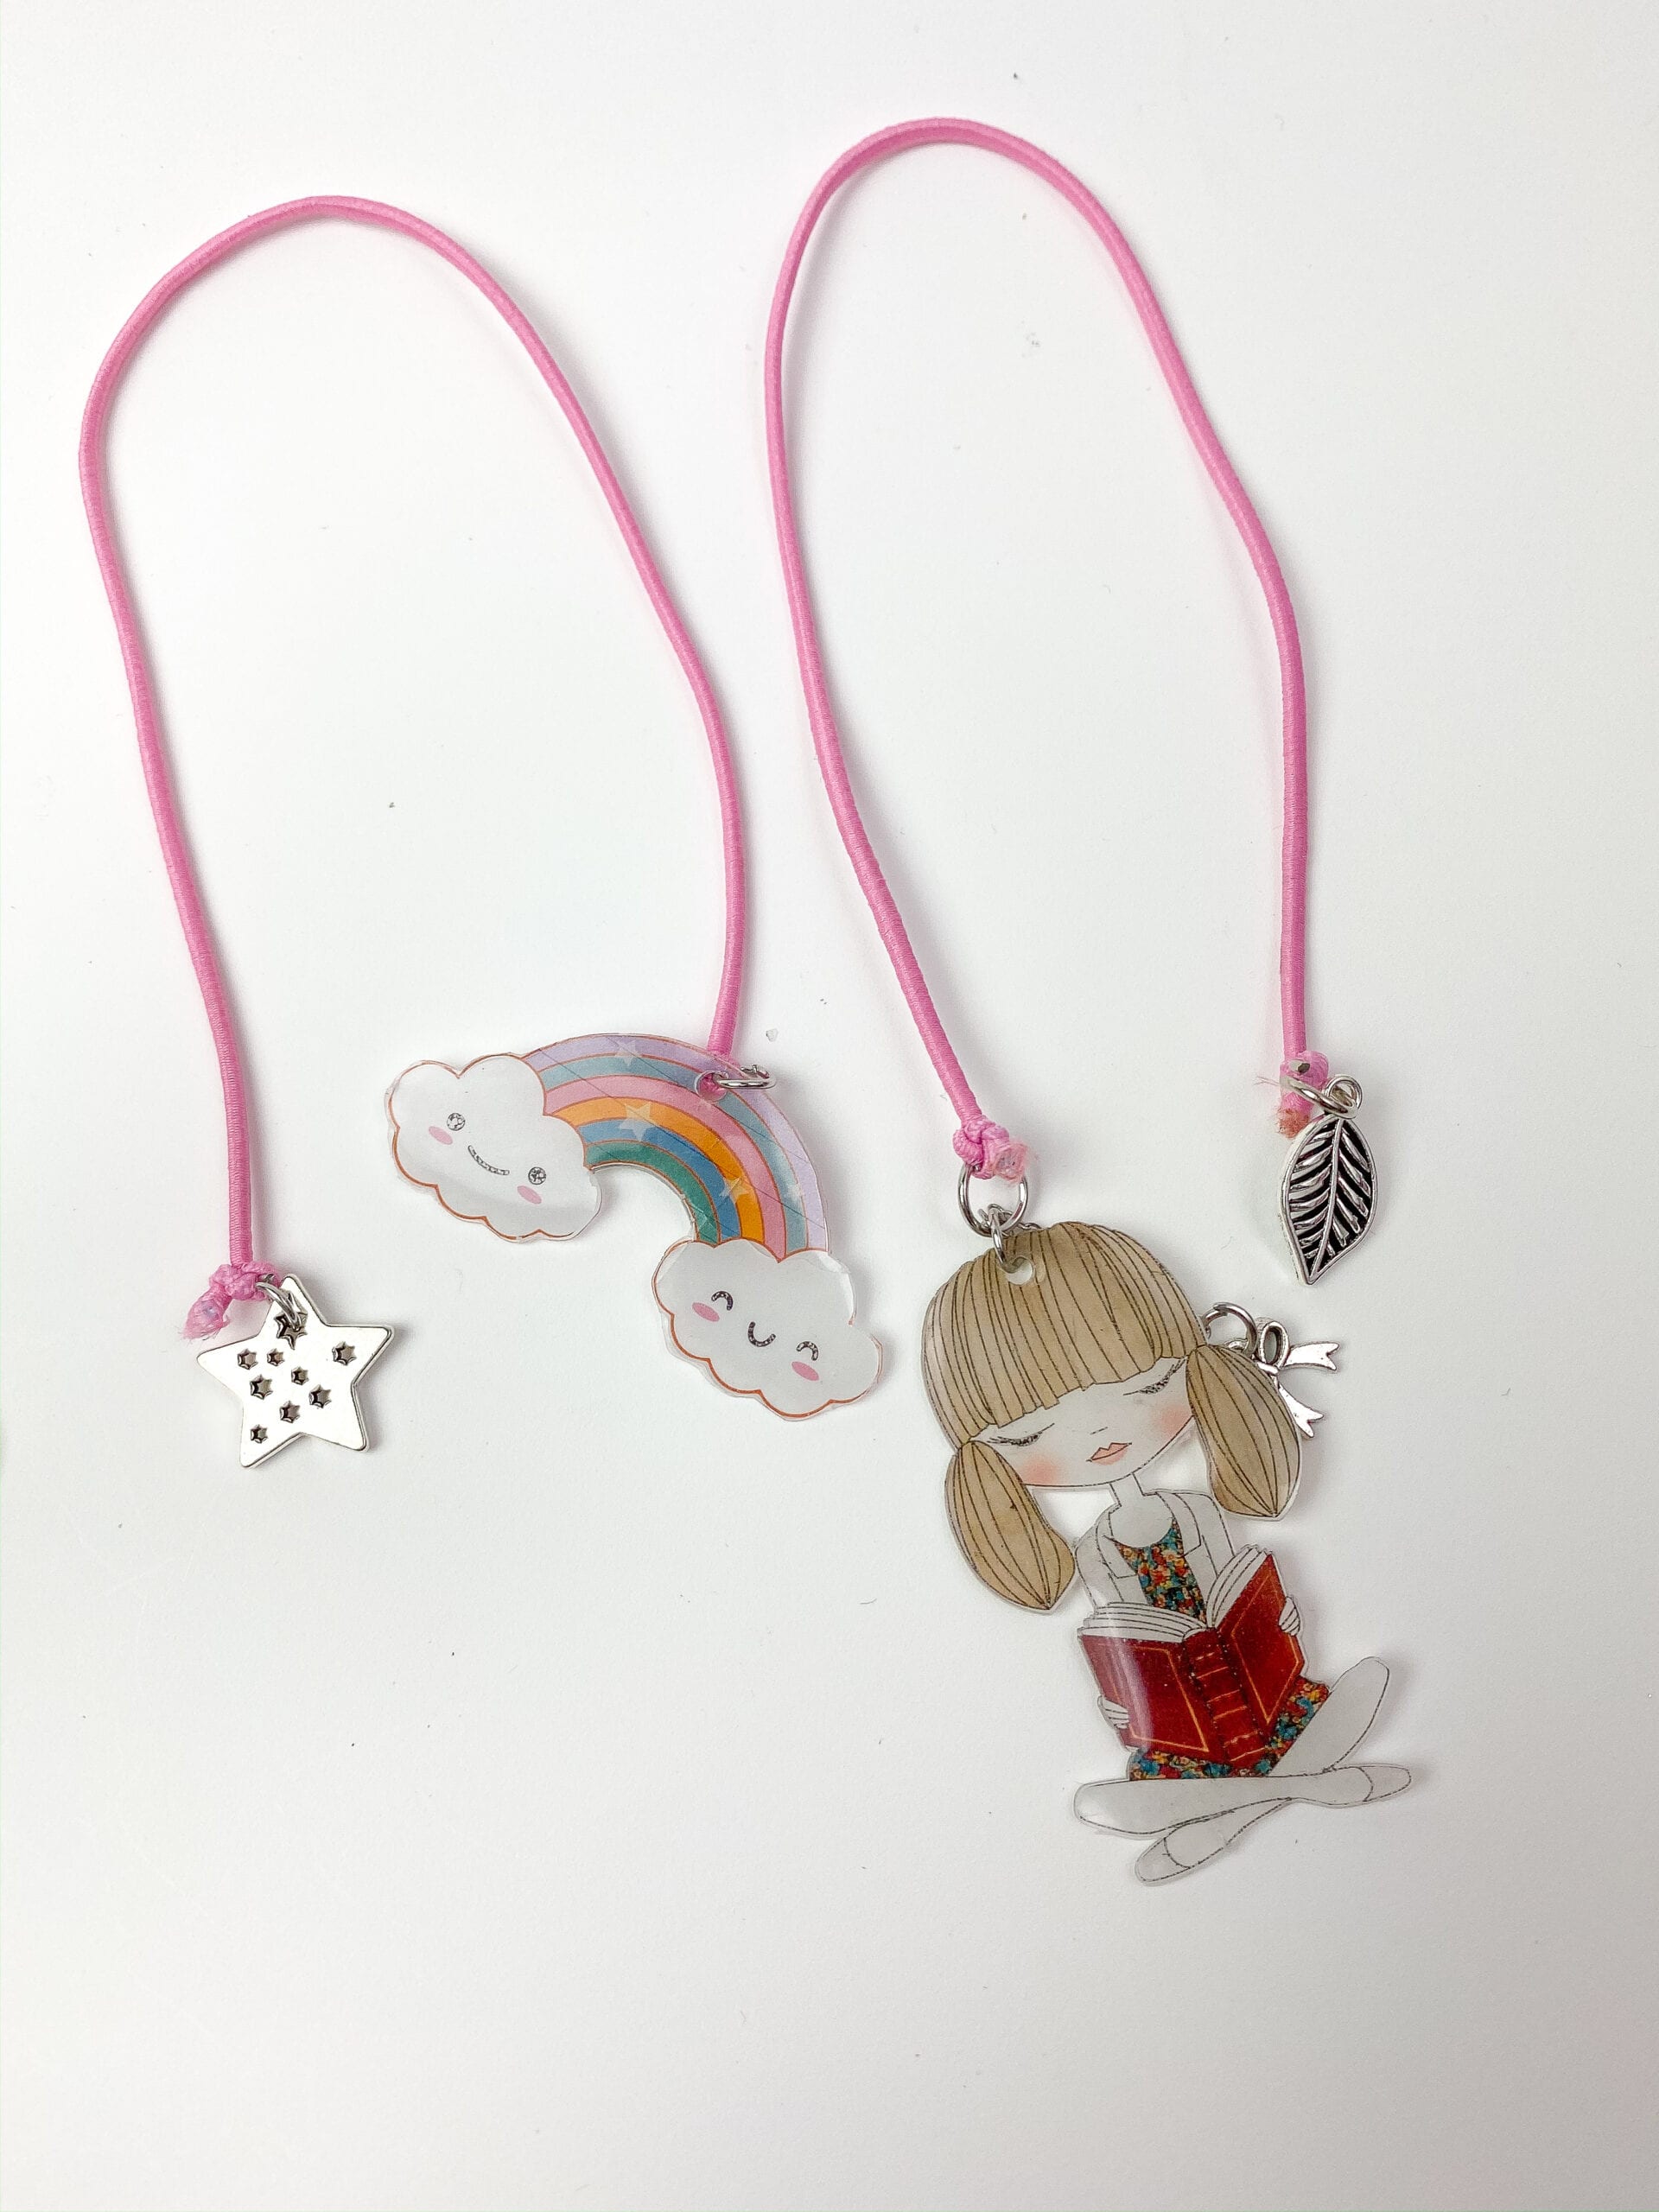
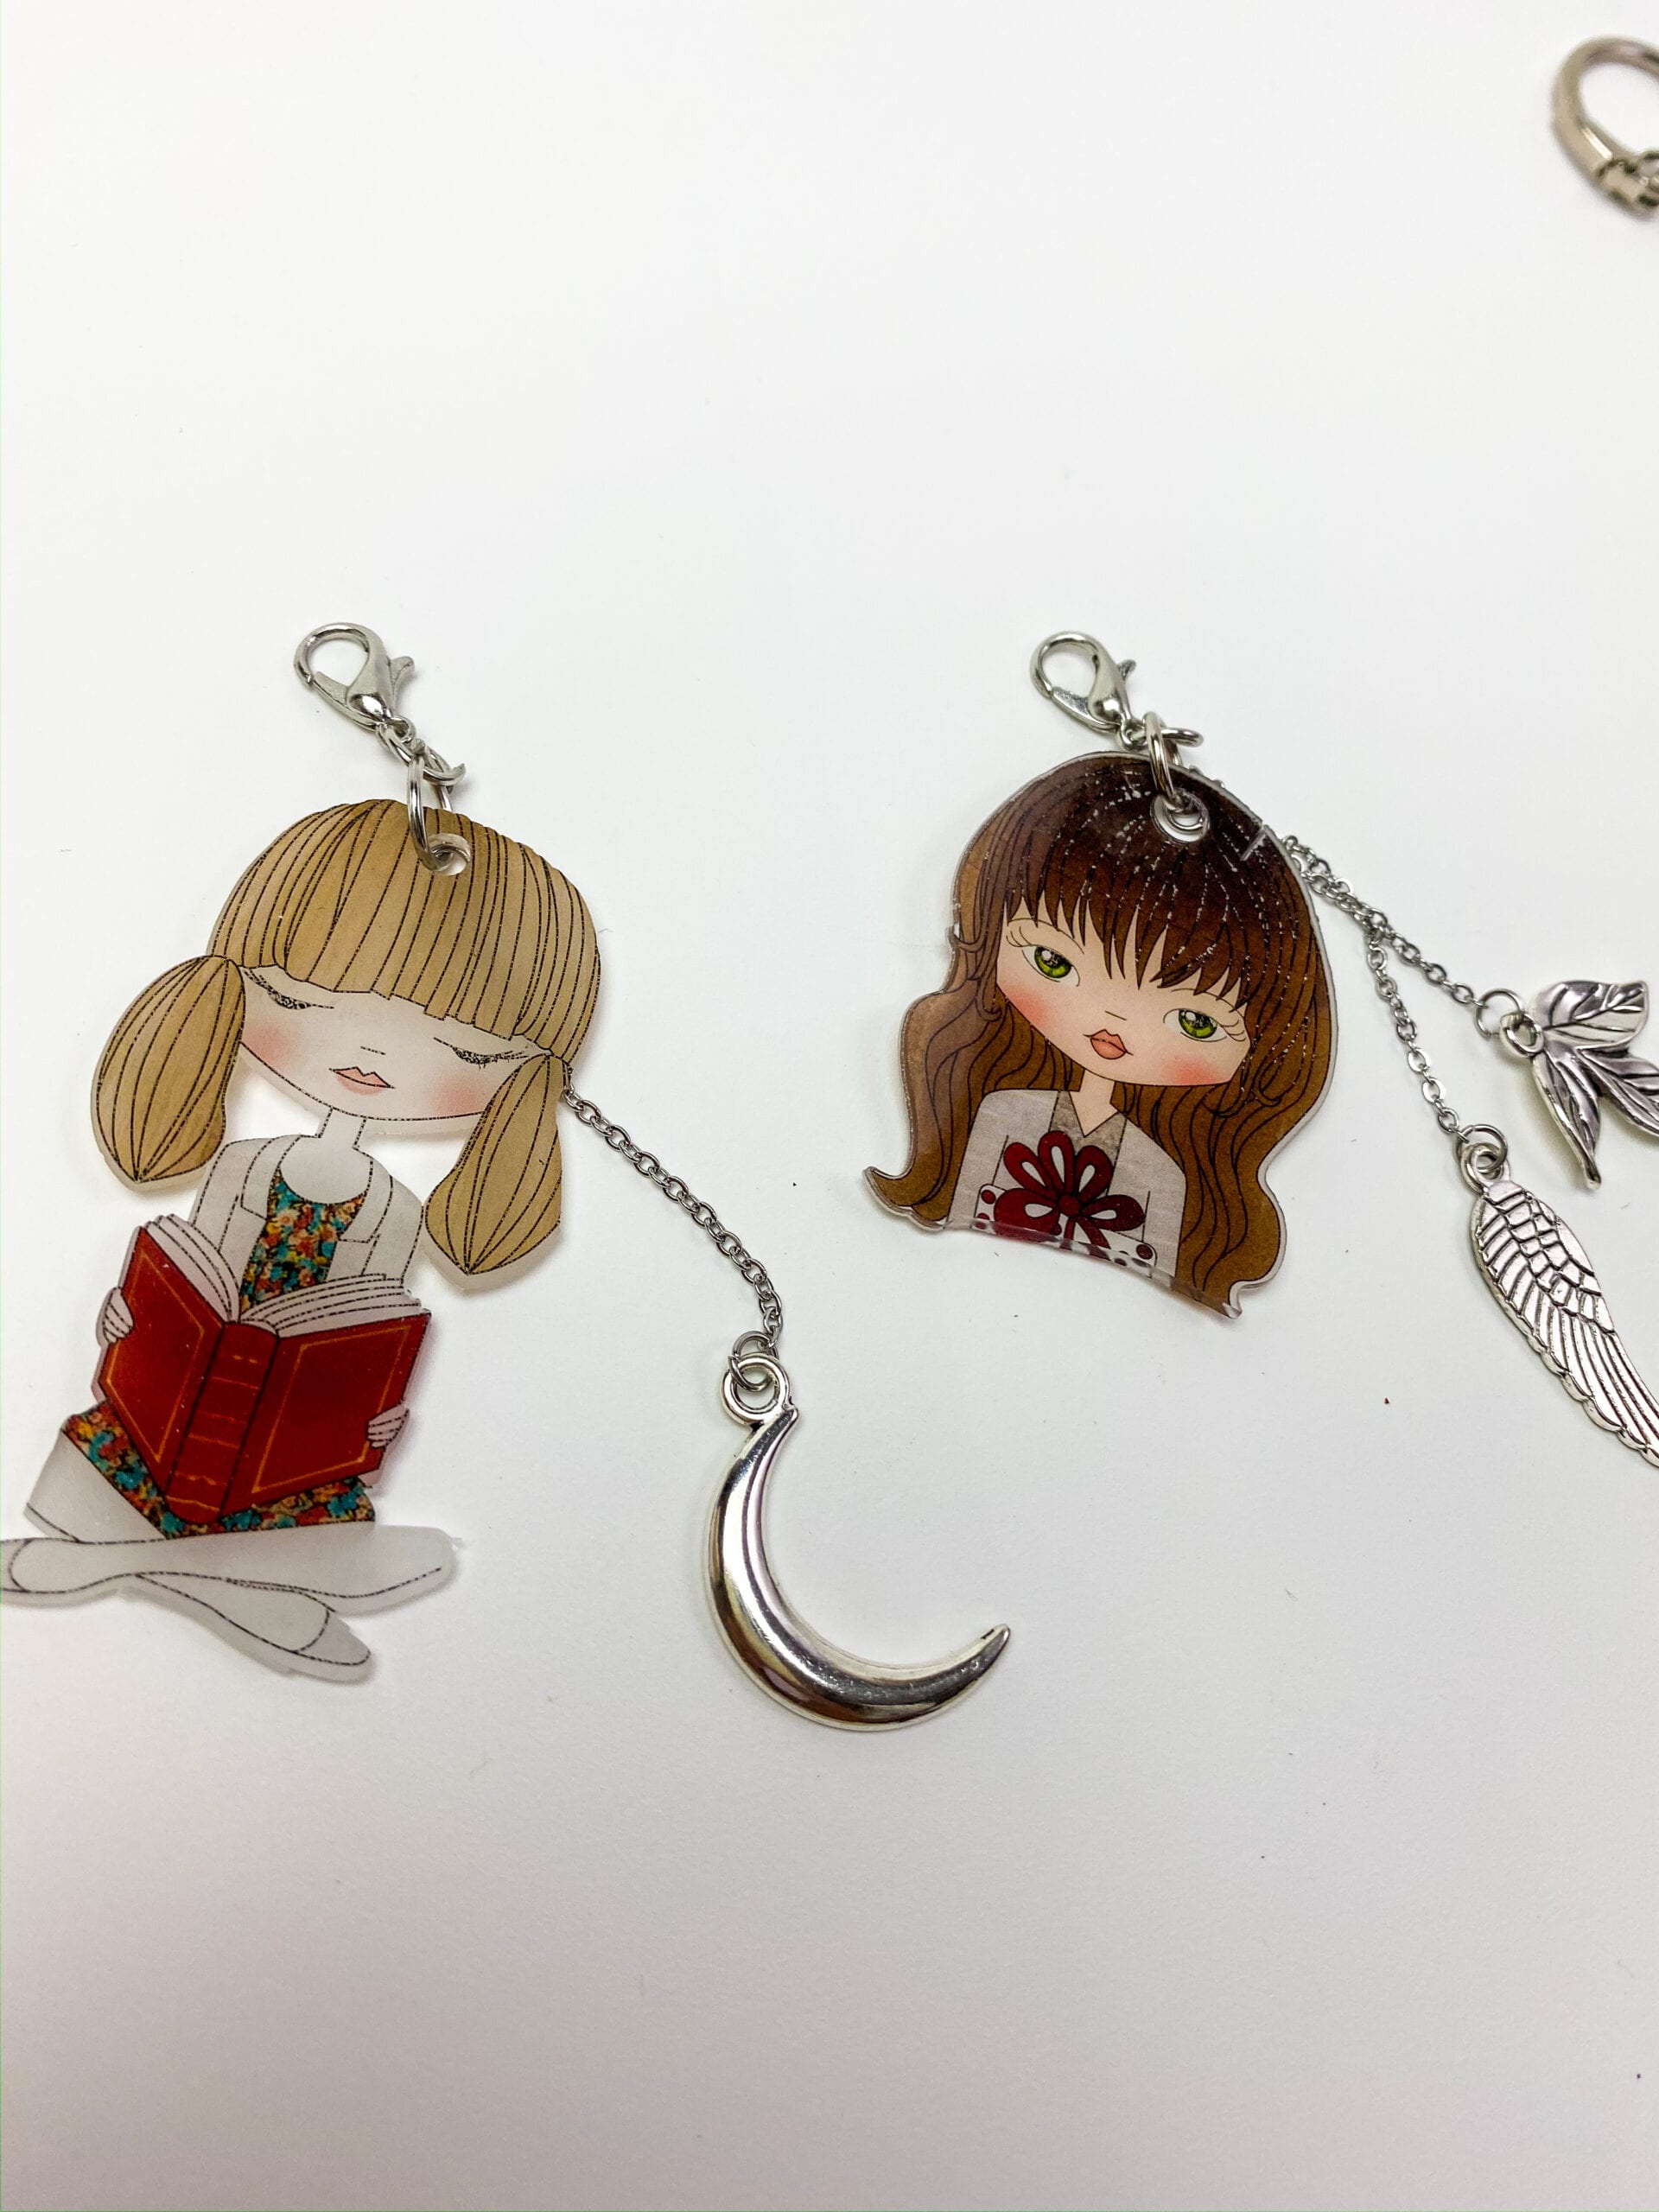
I made a few different kinds of charms. You can decide which way you want your charms to be according to your type of planner. For the chain I used in that Amazon jewelry kit, only the tiny jump rings fit into the ends of the chain, and you’re going to need that to attach your charms. The kit also included some other small charms as well. Below you’ll see the different ways I assembled my charms and for which planner to use them. Basically though, you just grab your jump rings and place it in the small circle. You can add more than one if you want to. Then add the chain and or hook. Afterwards, use some pliers to close the jump ring.
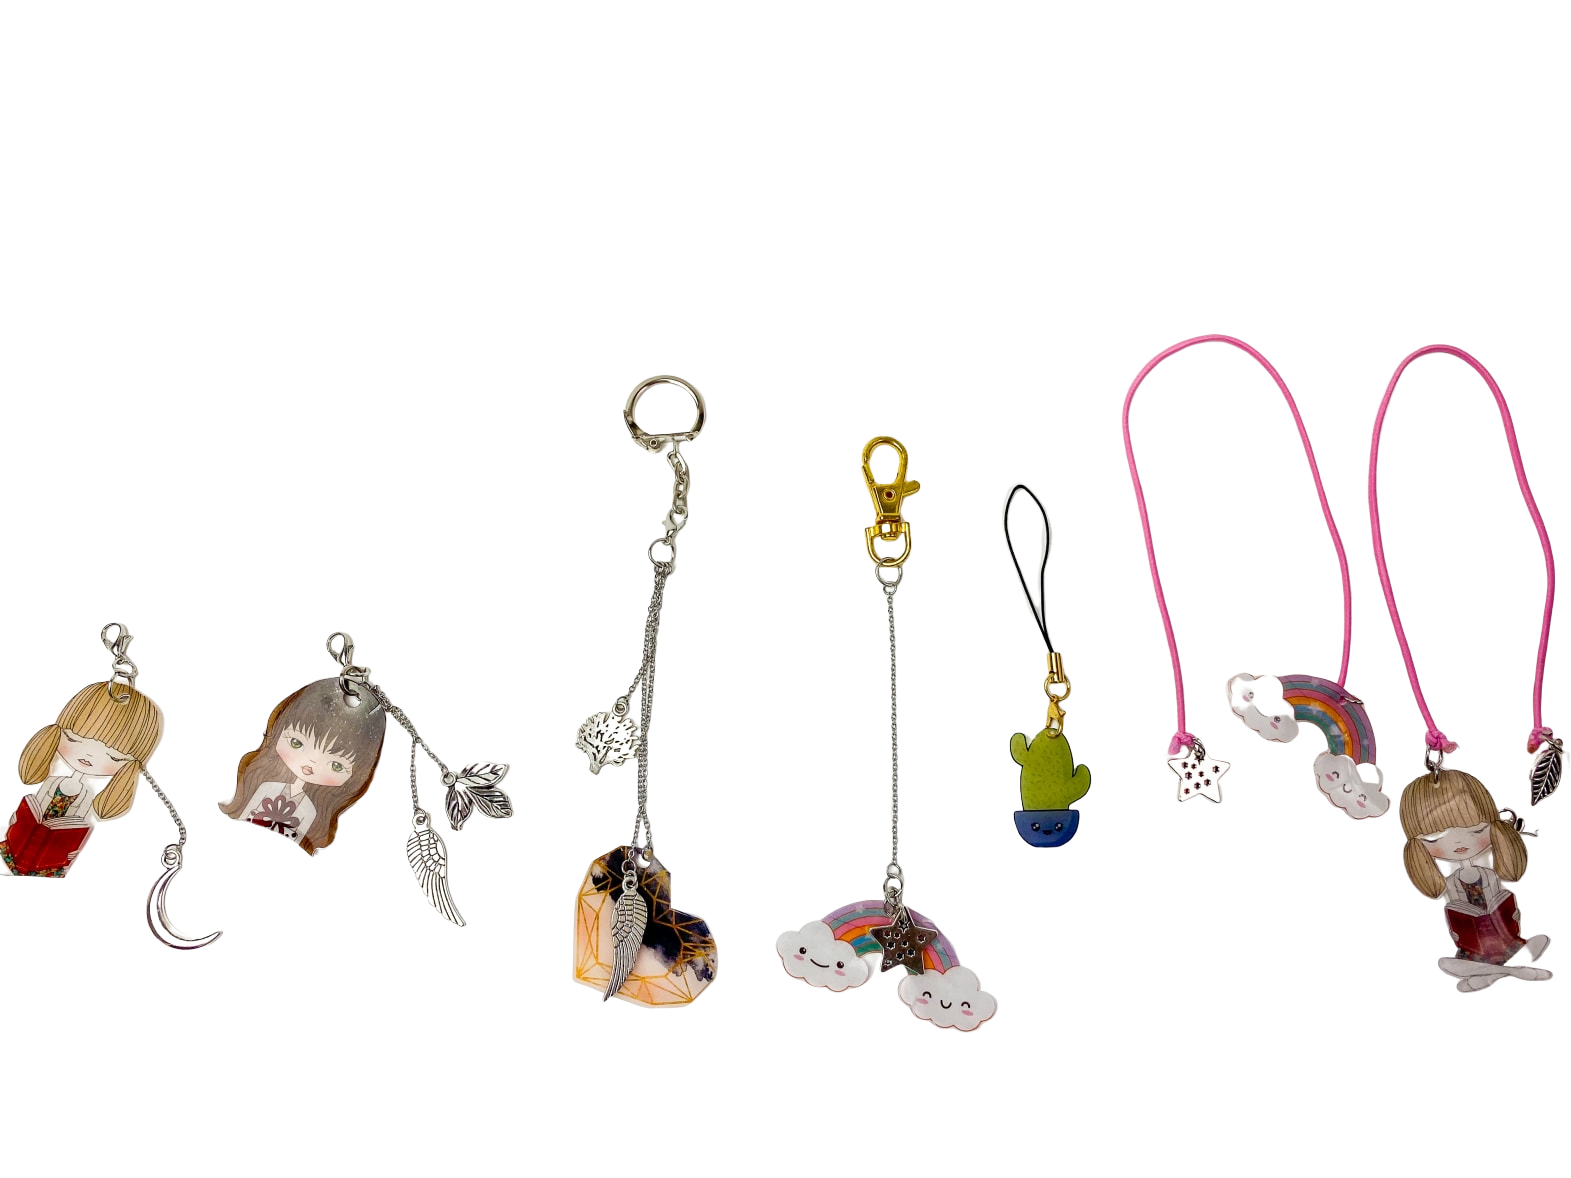
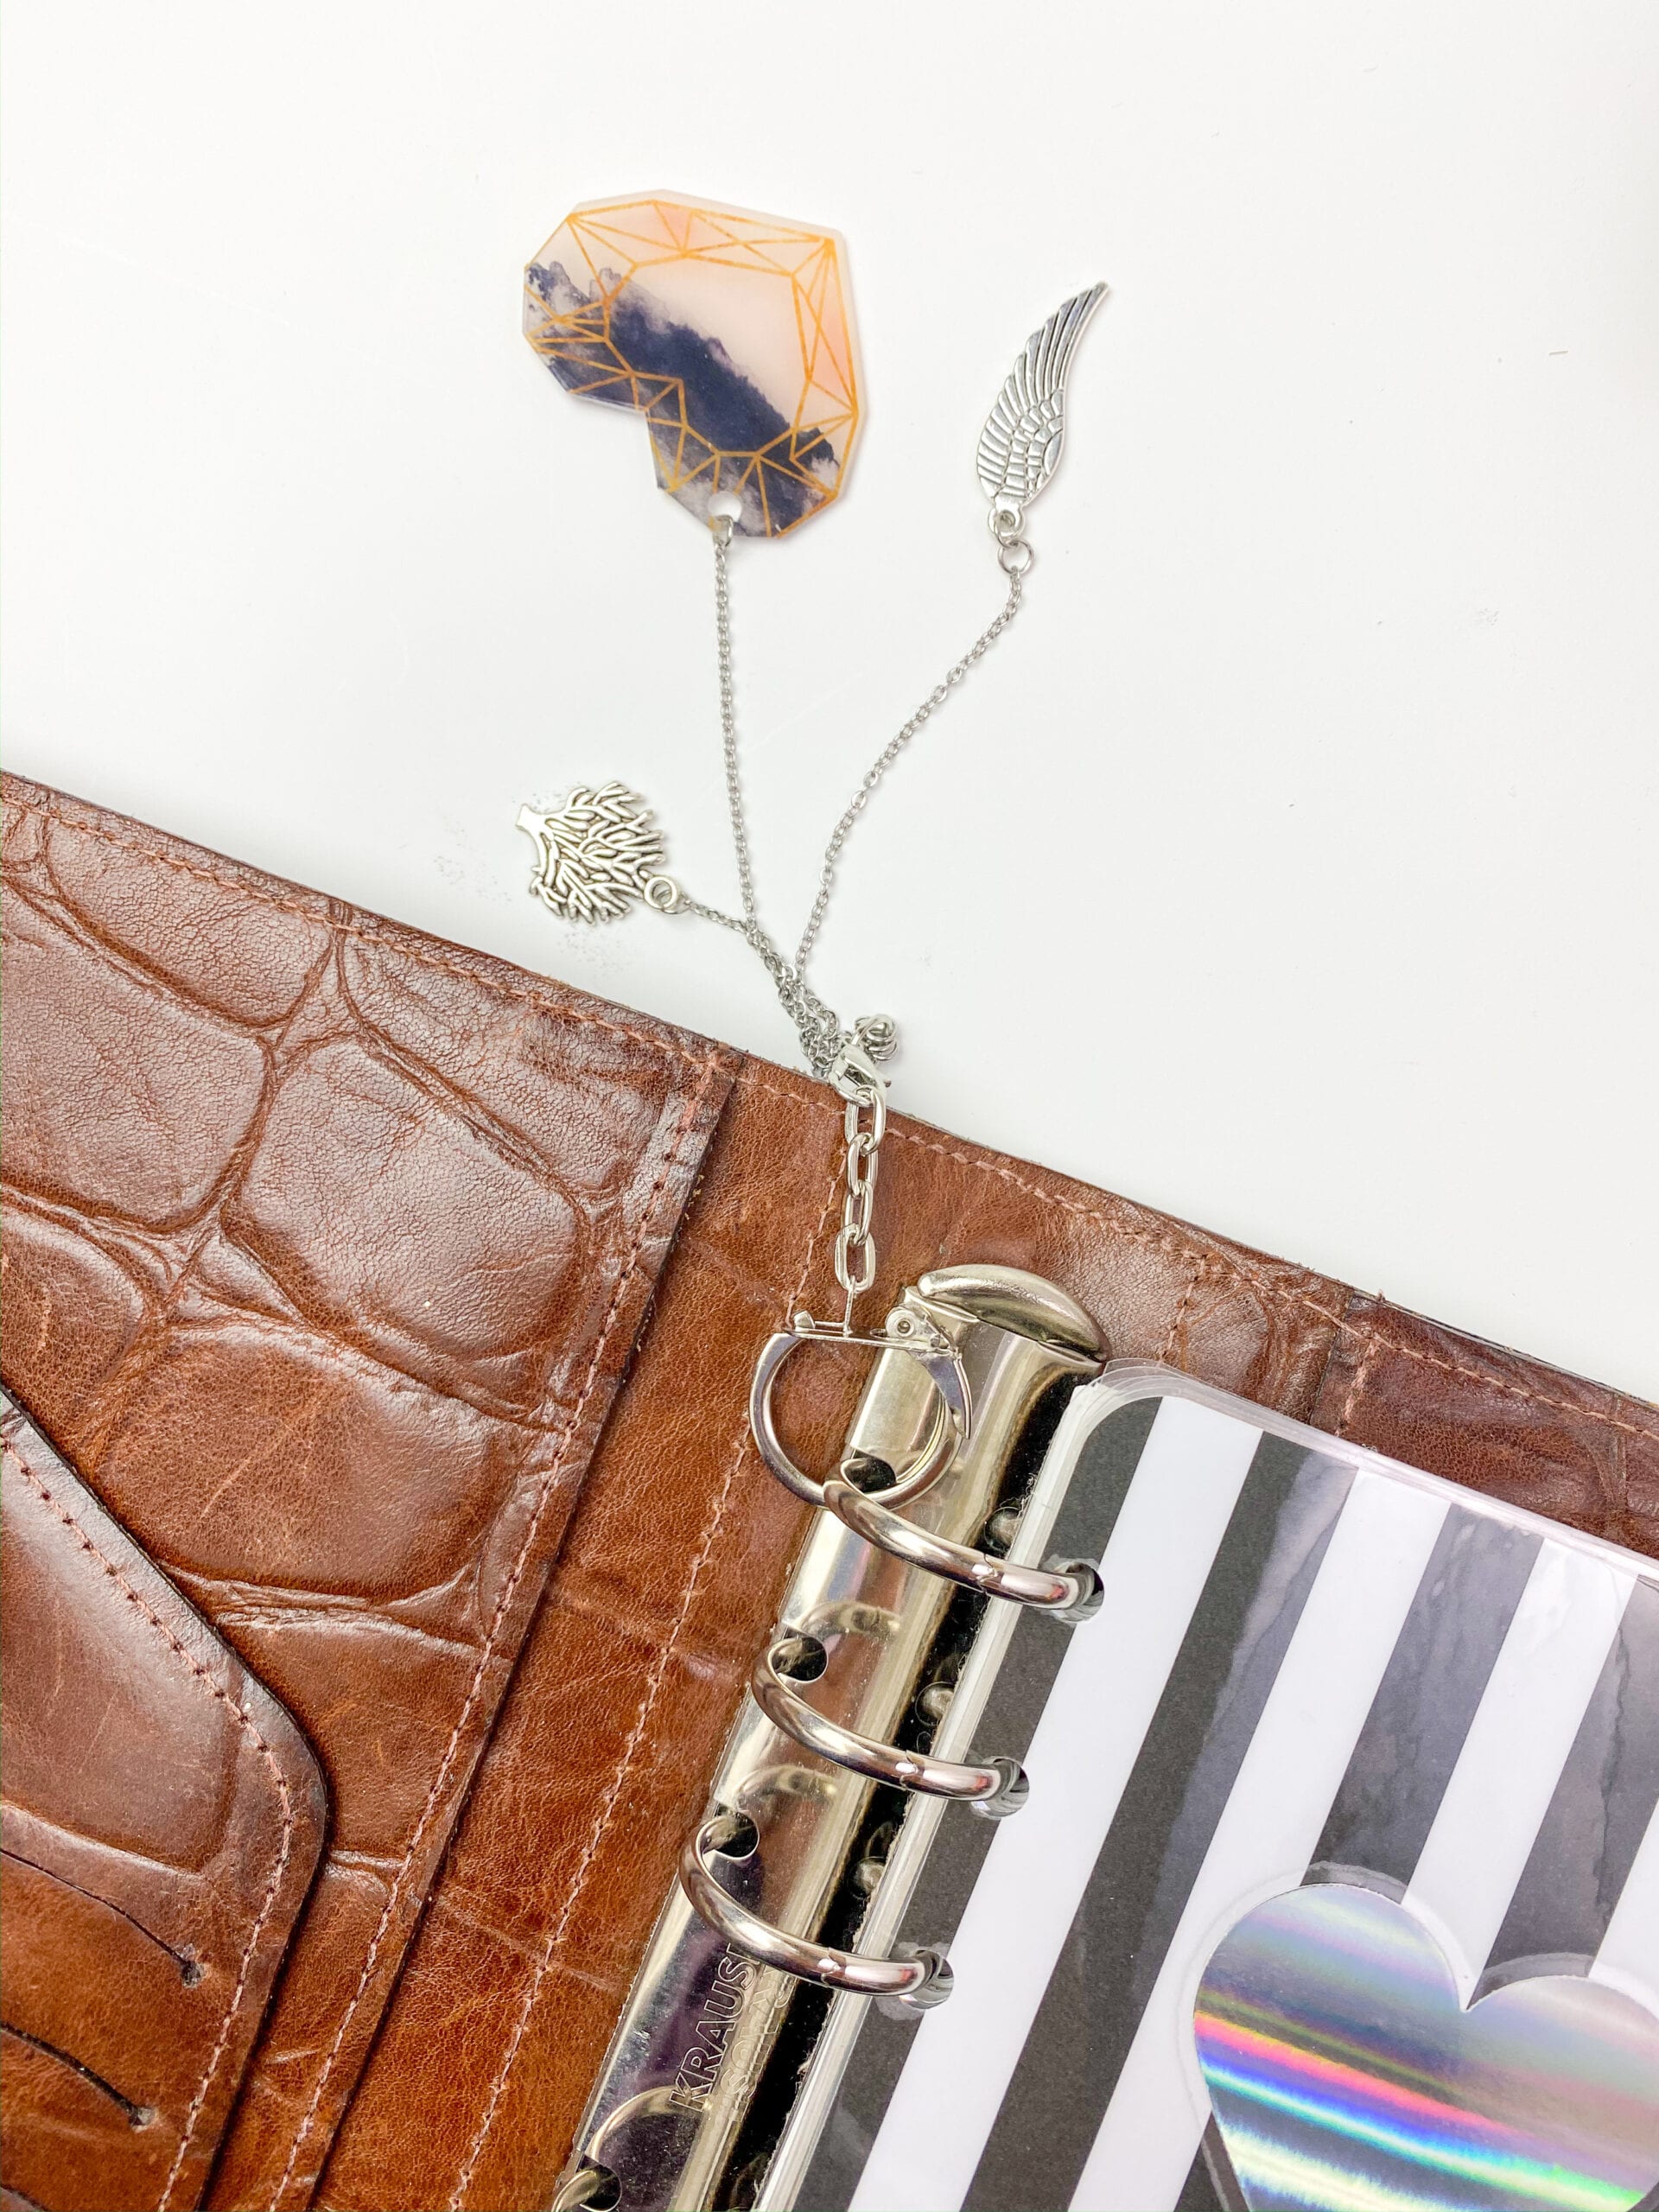
For Ring Planners
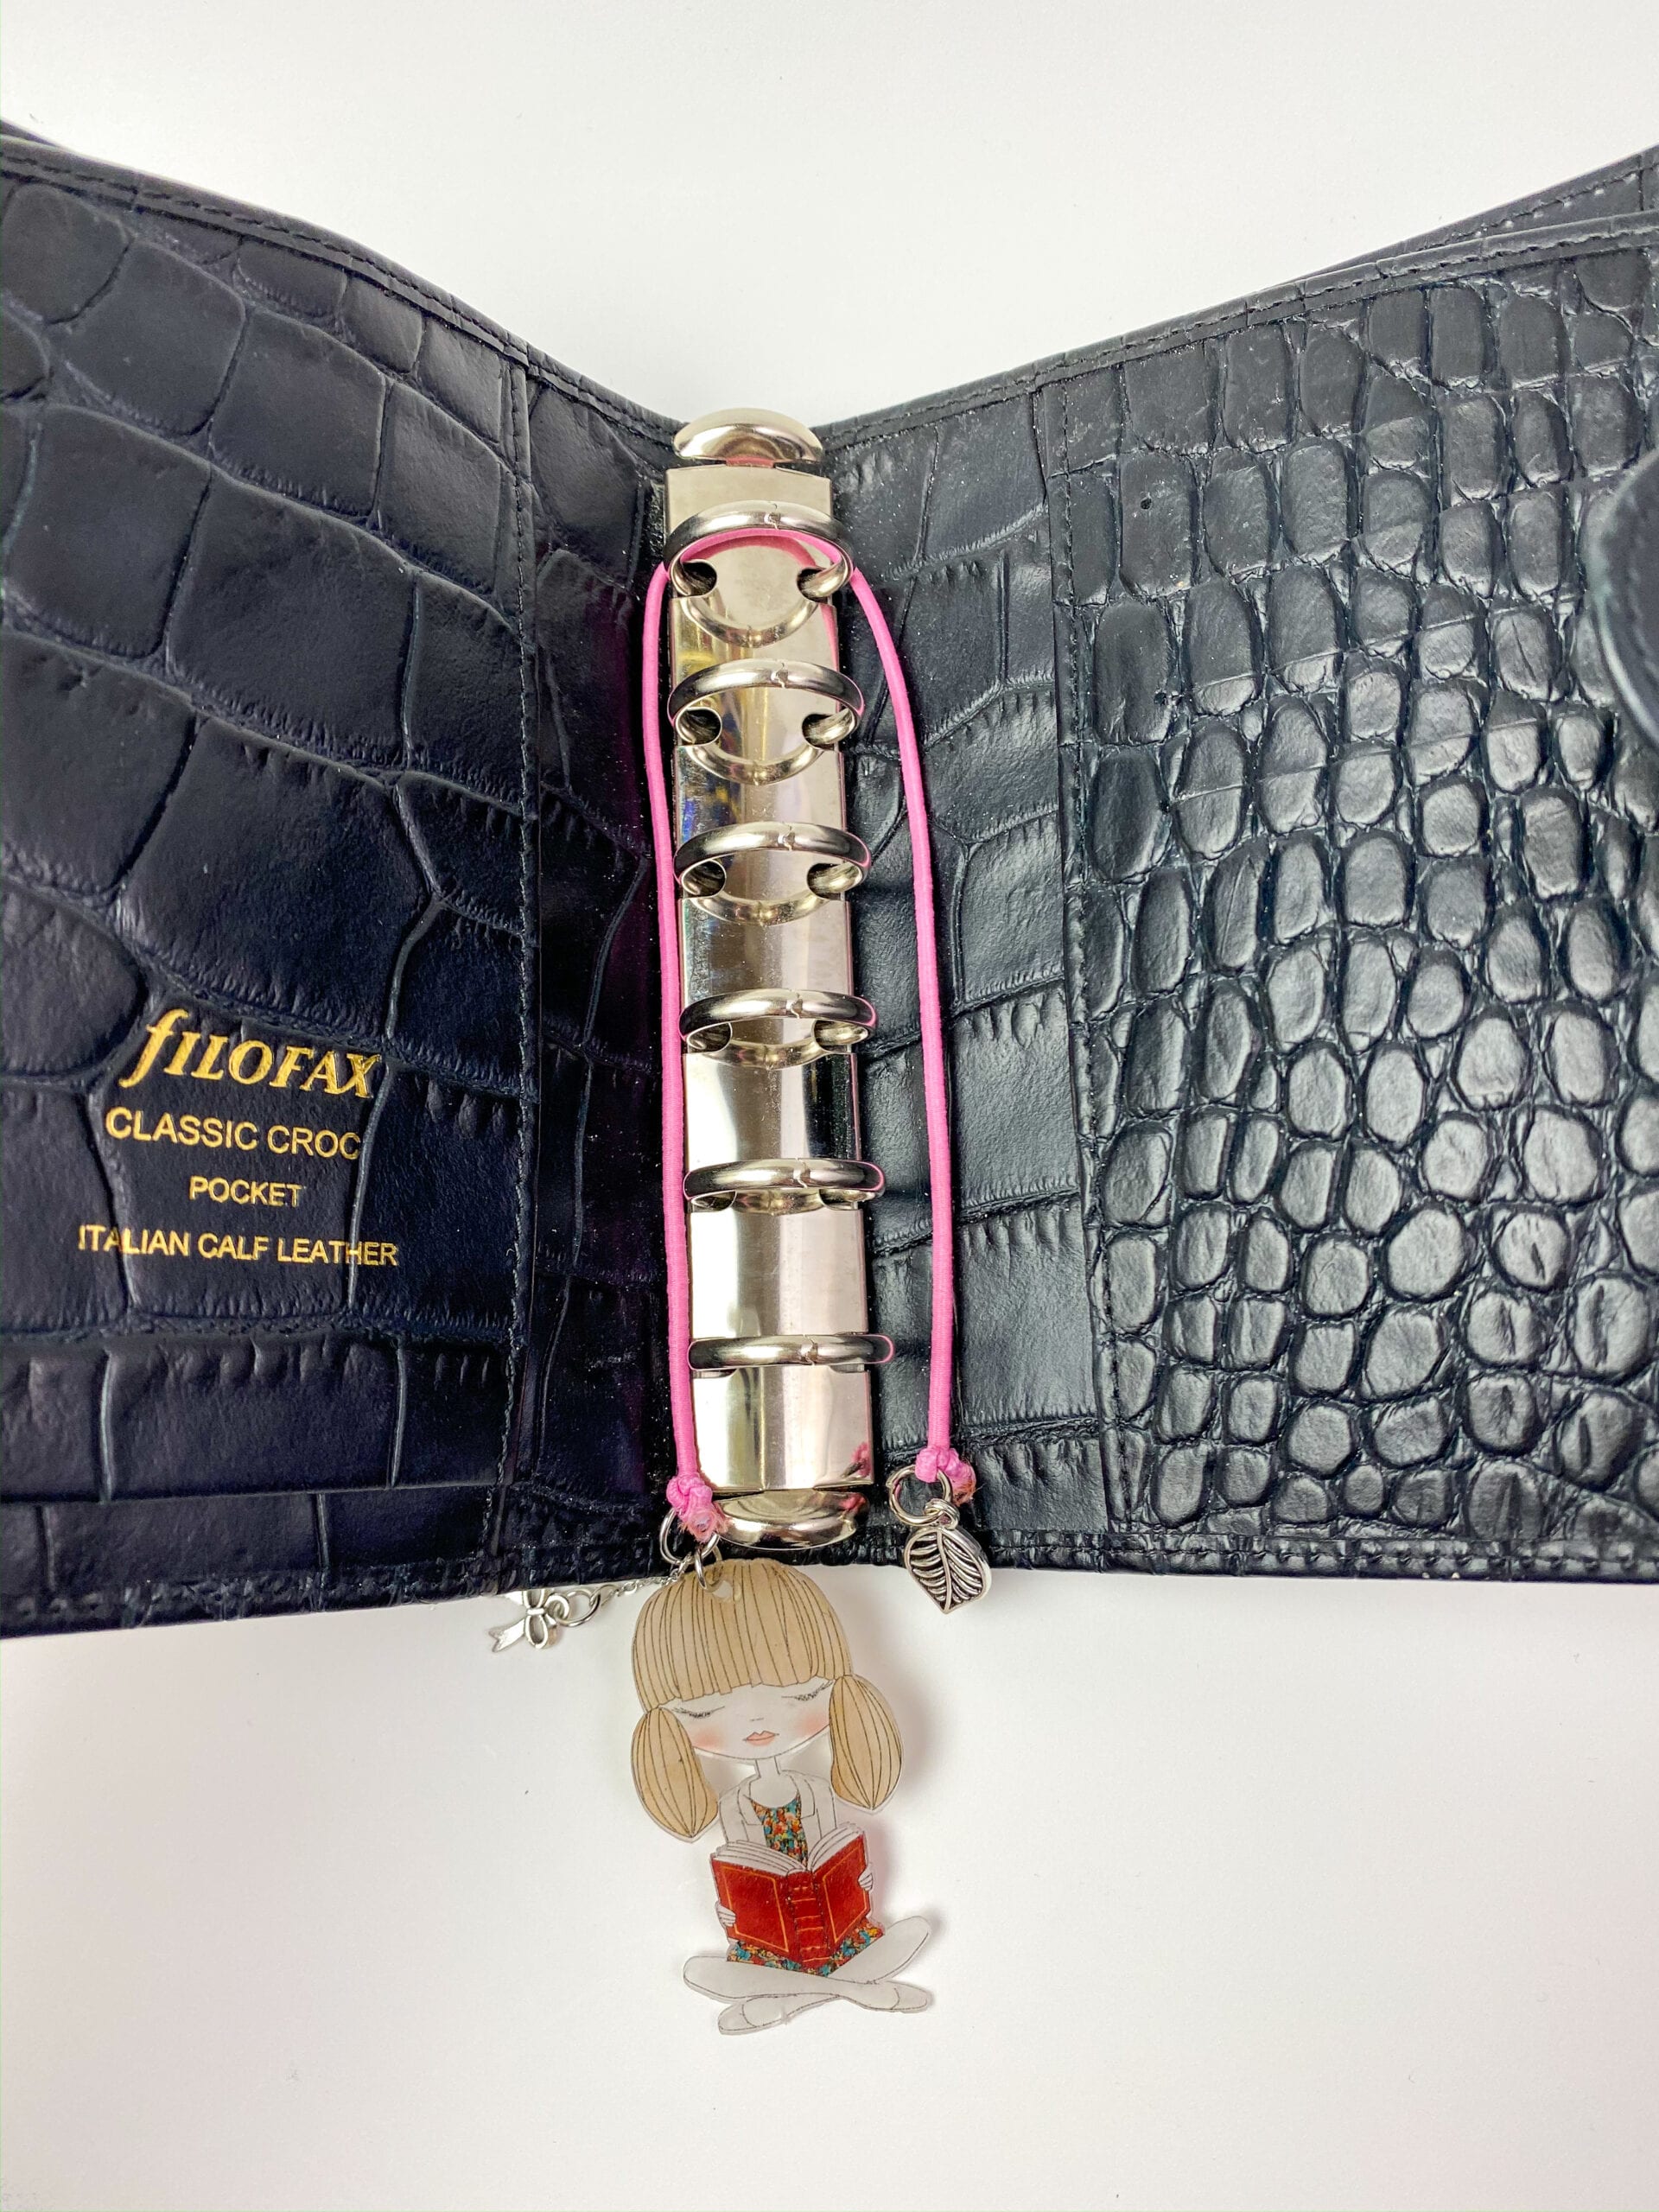
So for the basic charm with a hook or key chain to add to your rings in your ring planner you simply just have to make it long enough so it can hook onto the ring and dangle off the top of your planner.
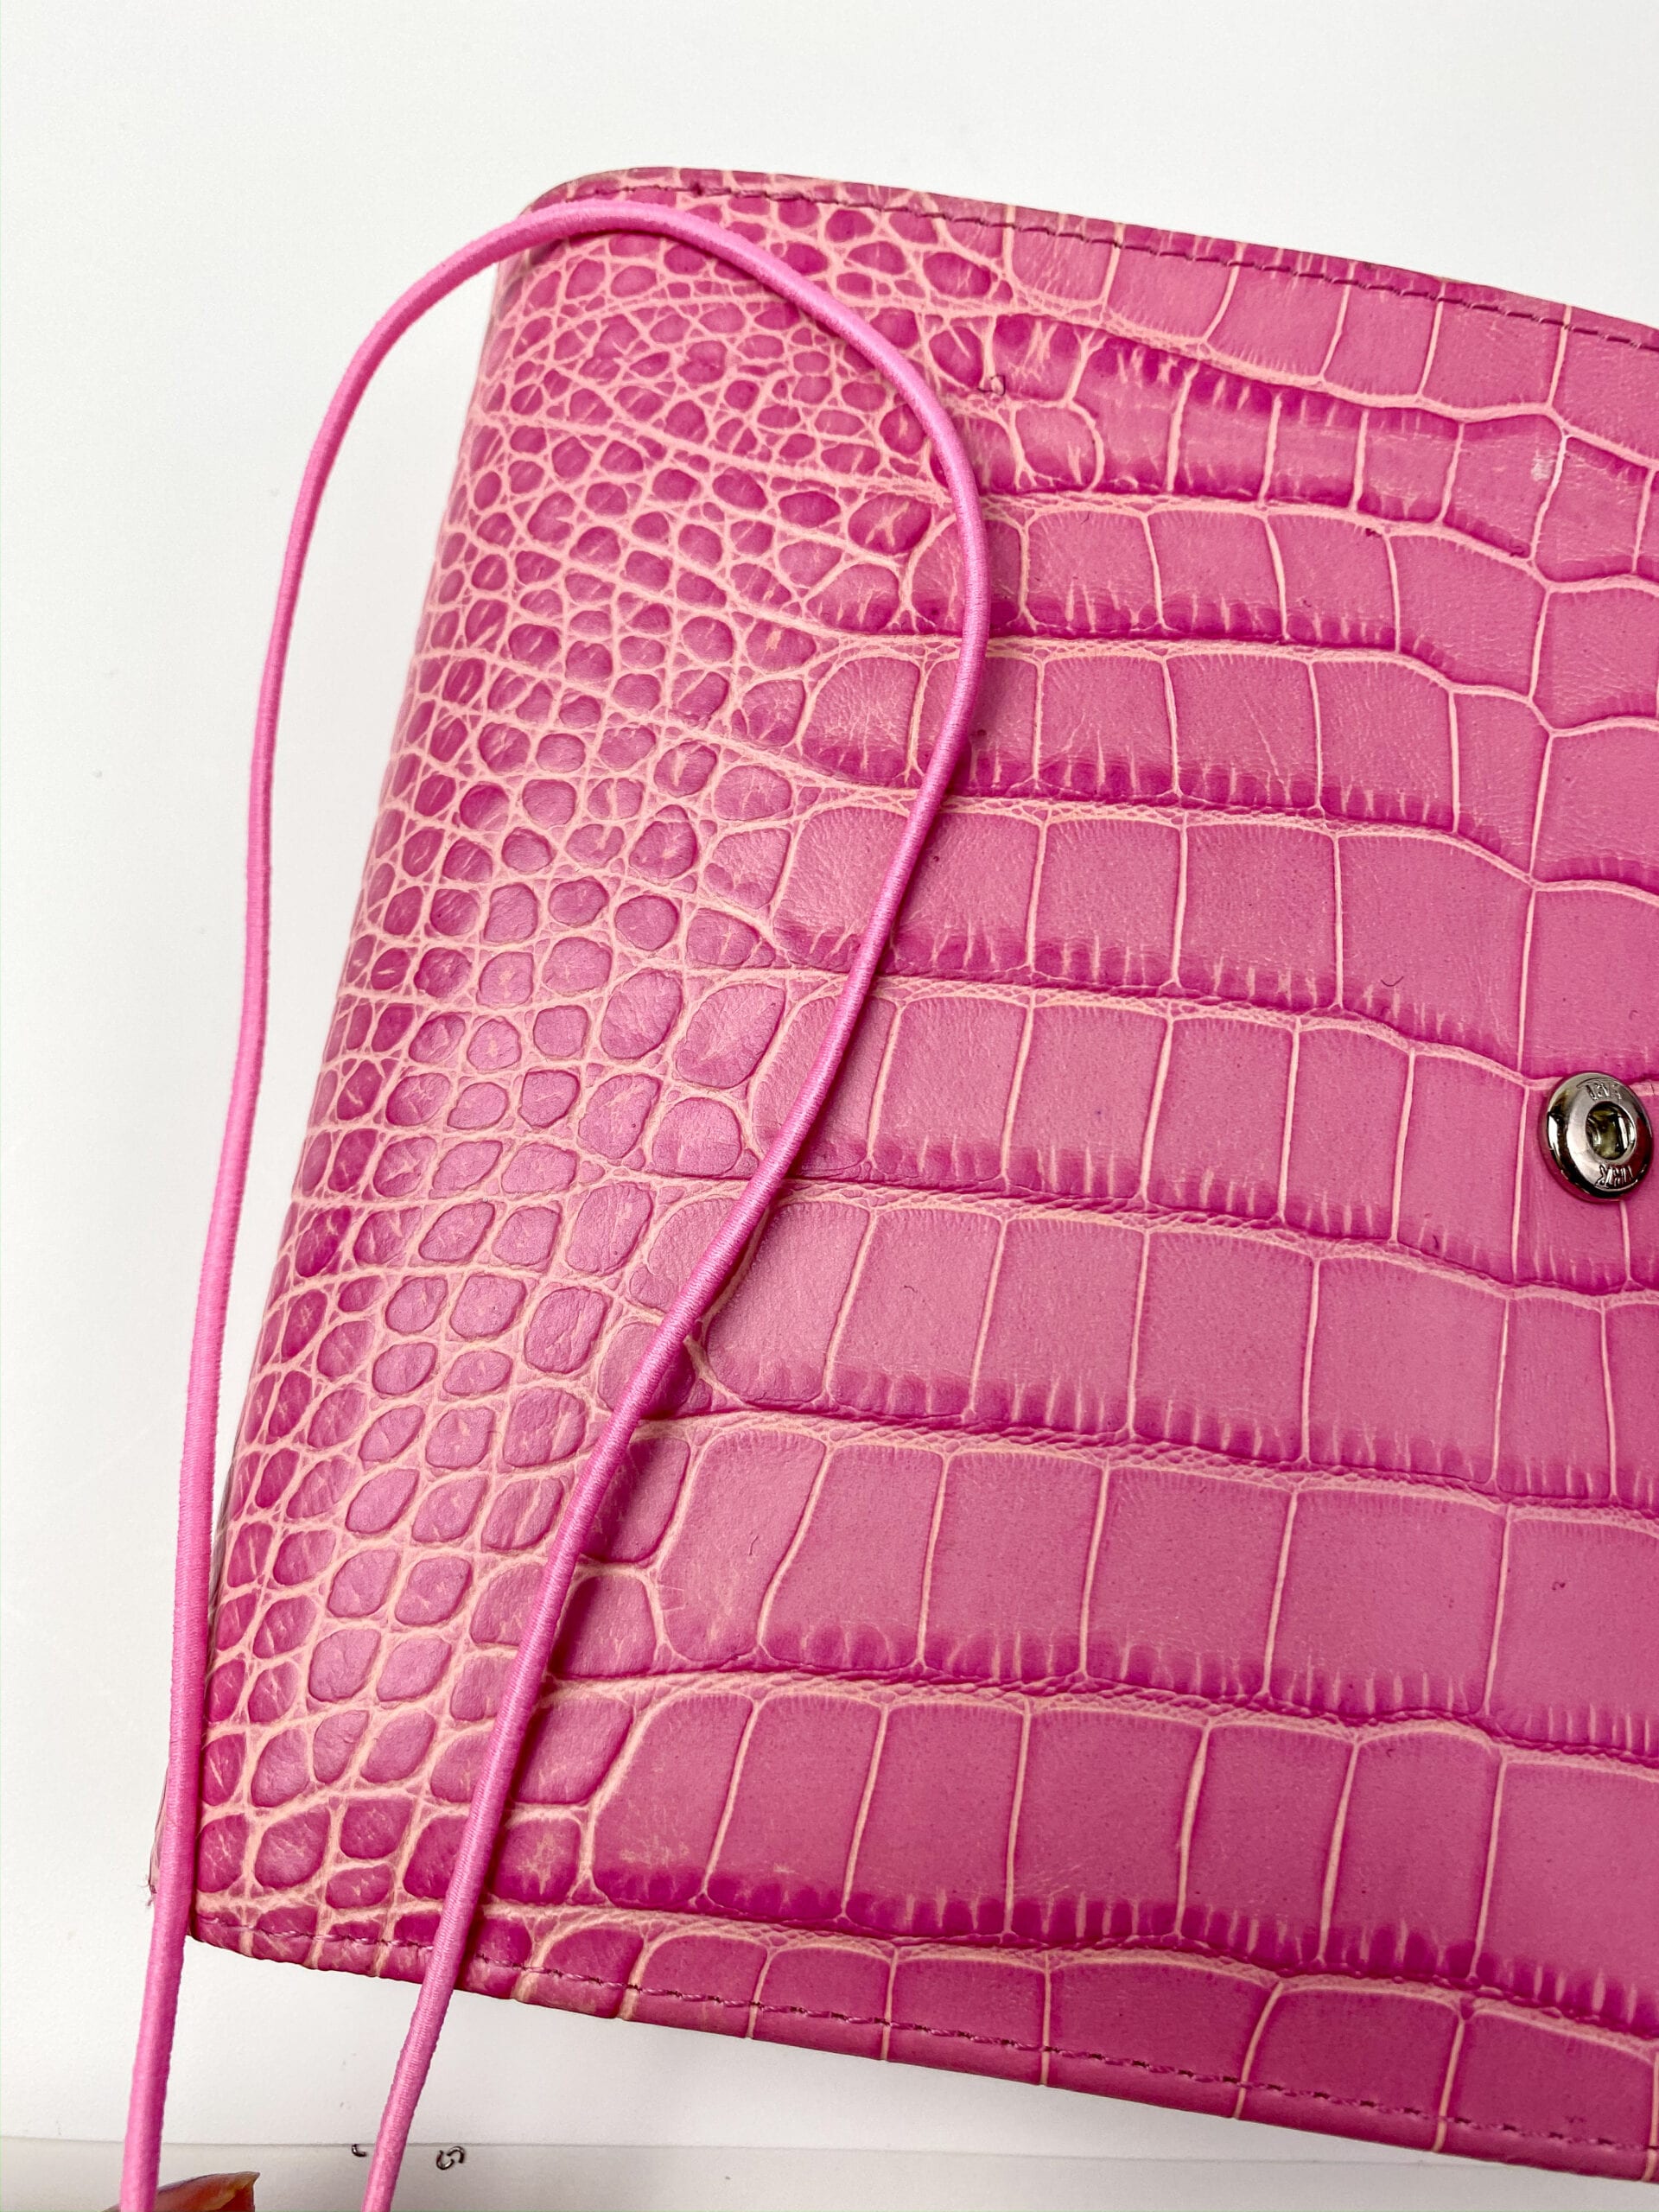
book charms for traveler’s notebooks or ring planners
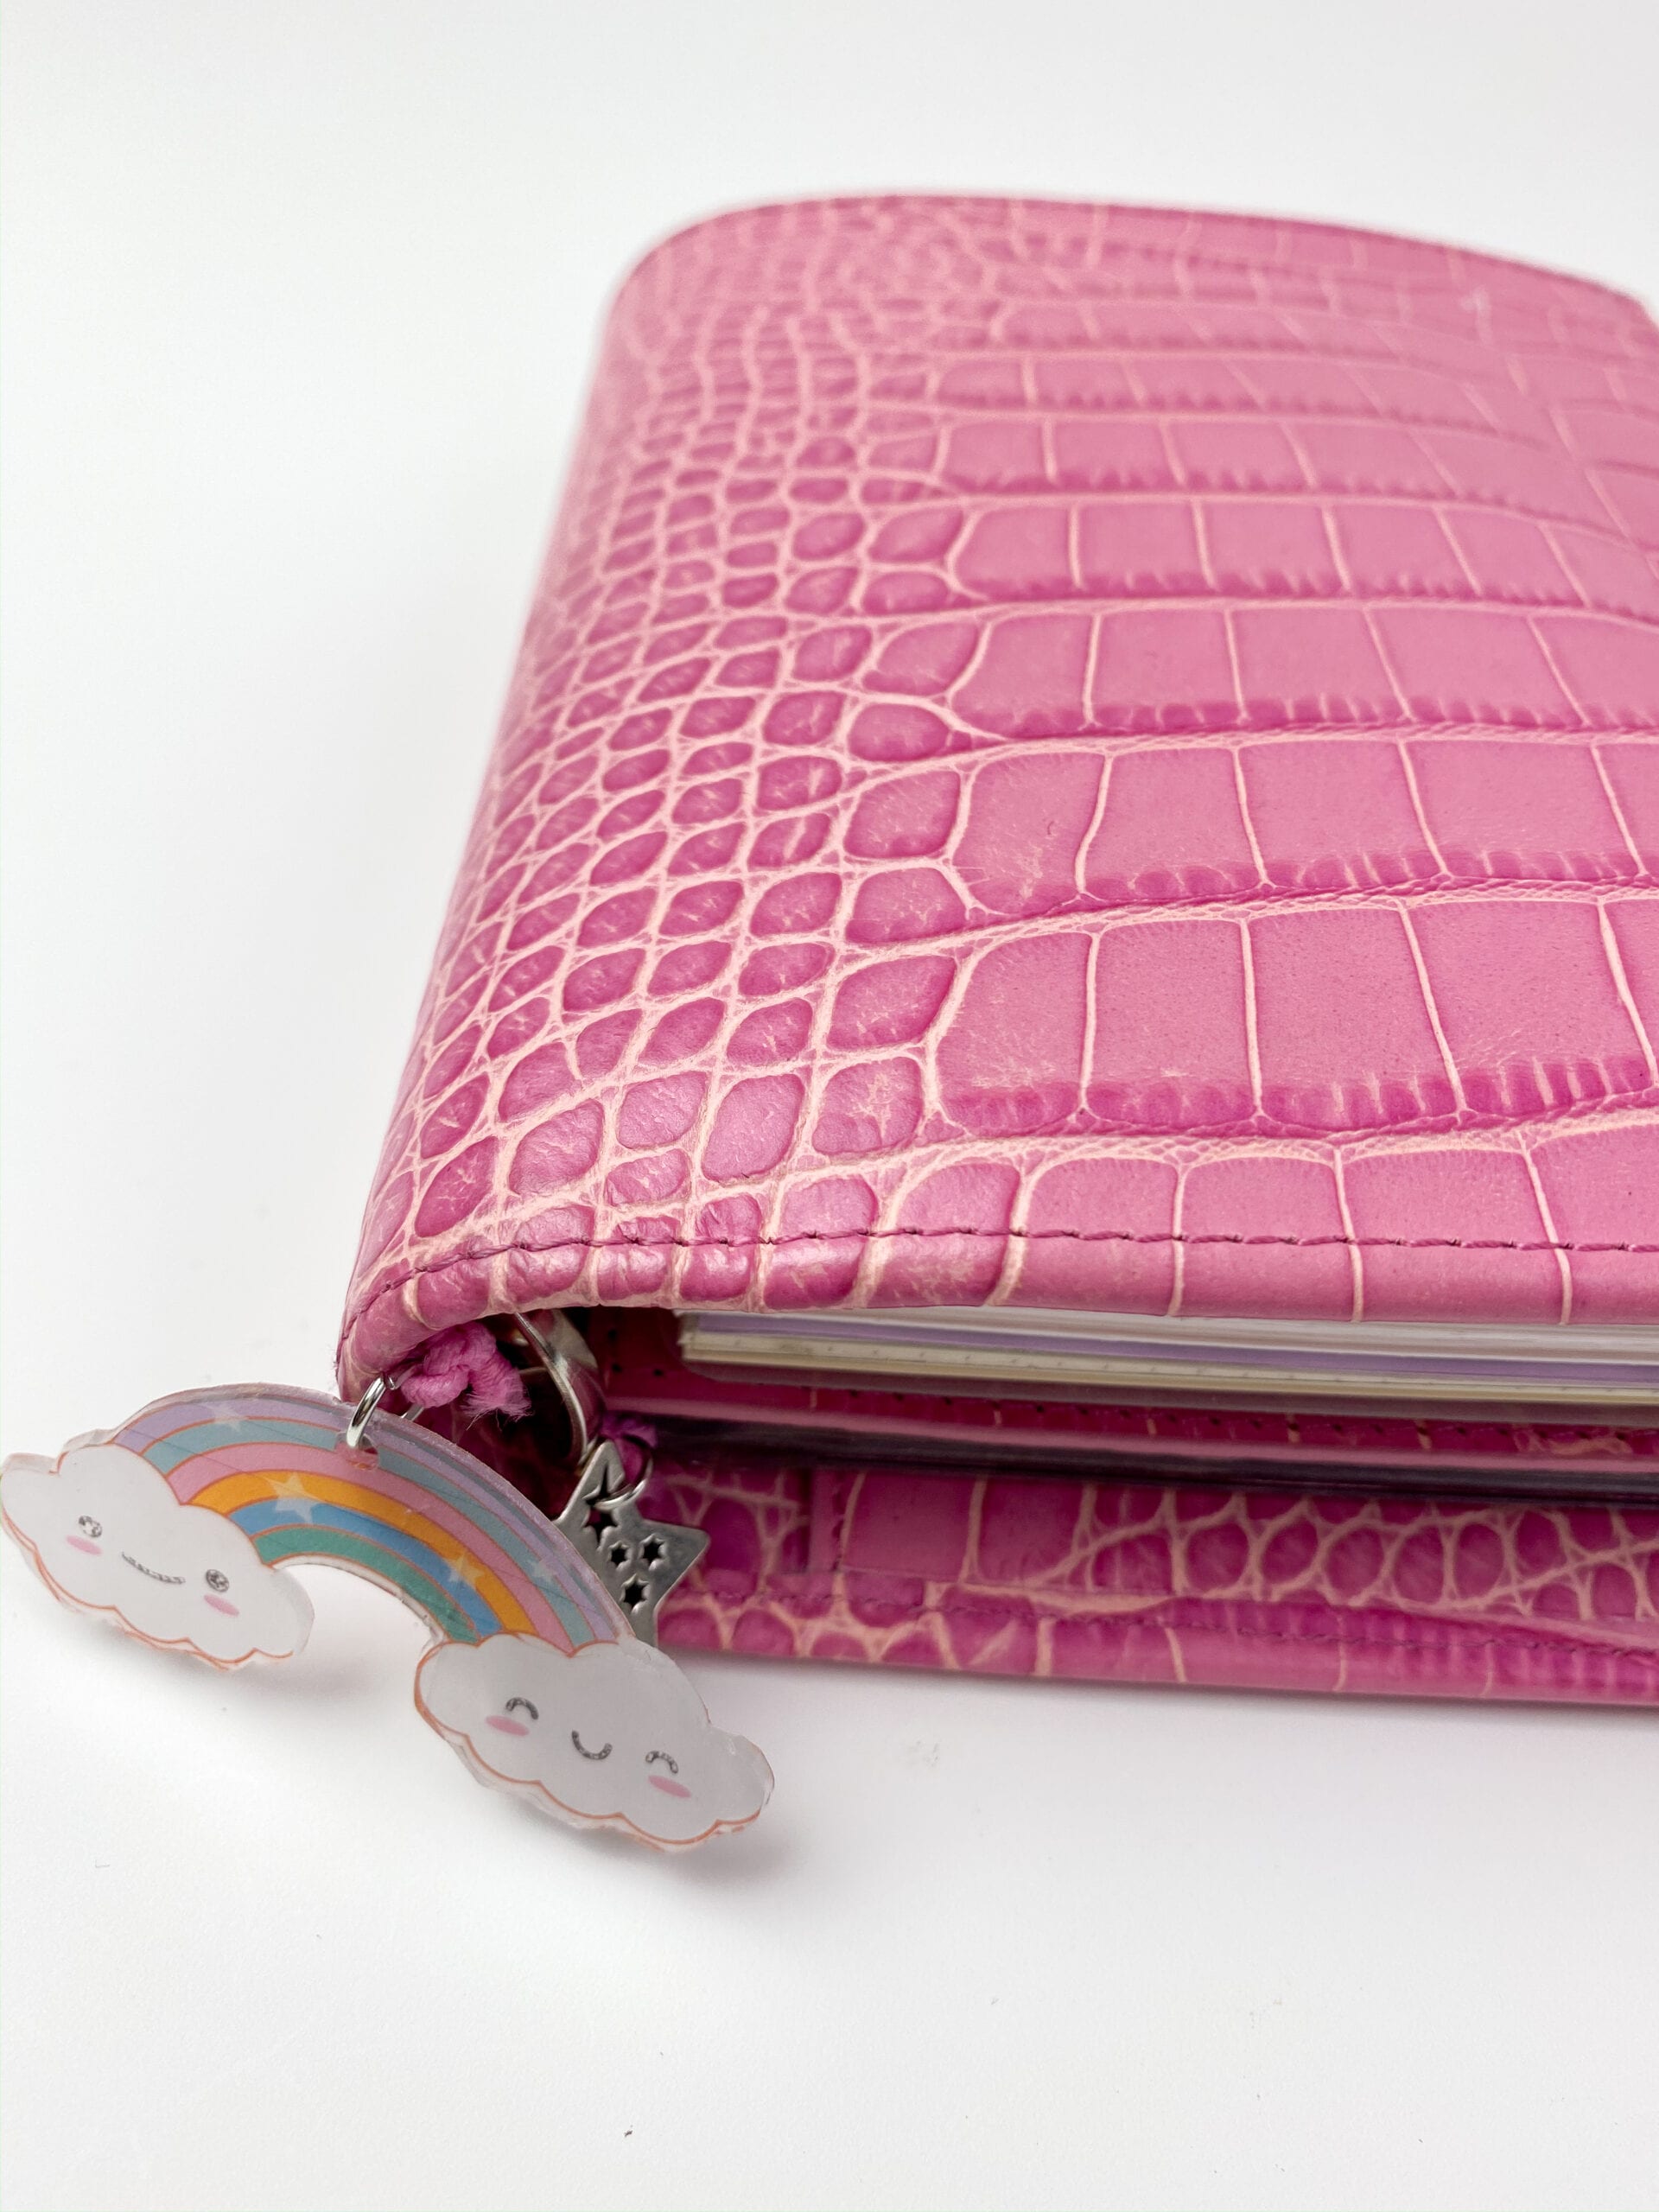
This requires the elastic string and you will first need to measure a length that loops around your planner rings or notebooks (see picture). Then you add your charms and simply tie a knot at the ends and loop it around your notebook or planner so the charms hang off the bottom of your planner.
for bullet journals with ribbons
This requires the small lobster hooks and you simply make a short little charm that hooks directly into the ribbons of the notebook. It’s so easy. I simply just hooked it onto the ribbon with no effort at all.
Having Trouble?
If you are having trouble with the registration marks reading, you can try doing it manually before in the “send” tab. You simply use the arrows there to position the blade above the black square and select “register”. It’s also a good idea to have decent lighting around the machine to be able to read the registration marks. Place a lamp near your silhouette or place it near a window with lots of sunlight. Be sure your paper is aligned correctly as well & that nothing is blocking the registration marks.
If it’s cutting in the incorrect spot consistently, just try to close out of the program and start over. A good reboot most times does the trick for me.
I hope this little tutorial was helpful for you! Have you tried to make your own shrink plastic charms with your Silhouette yet? Give it a try and let me know below!
Other charm designs I used from freepik:
- Star vector created by freepik – http://www.freepik.com
- Christmas vector created by freepik – http://www.freepik.com
- Unicorn Music vector created by freepik – http://www.freepik.com
- Cactus Icon vector created by djvstock – http://www.freepik.com
If you use these designs, just trace and create a cut line around the image you’d like. You can learn more on how to do that here.
Click here and use code 10OFF to get 10% off regular priced items (bundles and promo items not included).

