
Have you been wanting to learn how to make stickers for your own planner? Do you often get frustrated when trying to cut an image you found on the internet? It always cuts the white background with it! So all you’re left with is just a square instead of the actual shape around the whole image. The reason you got a Silhouette machine was to be able to get stickers that were cut around the image perfectly. Not ones that look like you just used scissors to cut out!
One way to cut your images is by using SVG files within the designer edition. But sometimes you just can’t find SVG files for some images. & you just don’t think you’ll need to upgrade to designer edition. Even Etsy shops where you buy clip art images from usually do not come with SVG files. So today I will show you how to do it without having to upgrade or find any SVG files!
Today I will teach you how to use JPG or PNG files and easily cut around the images using the trace and offset features of Silhouette Studio! With this tutorial, you will be able to make any image into a sticker to use in your planner.
Please be aware of copyright issues and use this at your own risk. You can find lots of free images and clipart from freepik.com. They are free to use but require attribution, meaning you have to mention their website. Give credit where it’s due. Even if you purchase clip art from online shops please be aware of their licensing, buy a commercial use license if you plan on selling stickers.
In my previous tutorial I showed you the basic print and cut tutorial here, this week I will show you how to trace, offset and cut around any image! Stay tuned for next week where I will show you more about registration marks and tips on getting perfect cuts!
How to Trace, Offset & Cut Around Any Image!
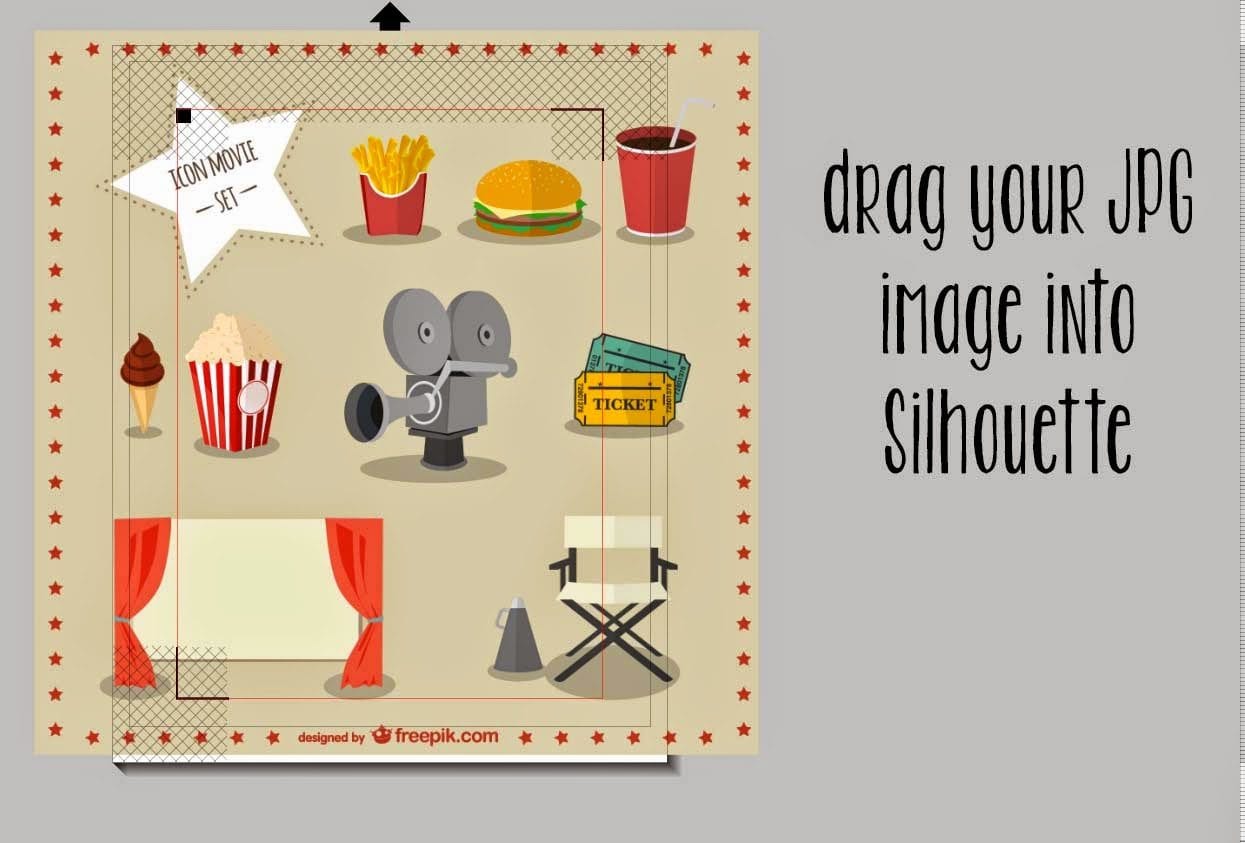
Step 1: Find any image you want to print and cut. My favorite place to go to for free images and icons is freepik.com! There you can download SVG files as well! But for the sake of this tutorial, I will be working with just the JPG file.
Step 2: Drag your downloaded image into Silhouette Studio
Step 3: Click on the square icon with a little green box inside. (Trace window)
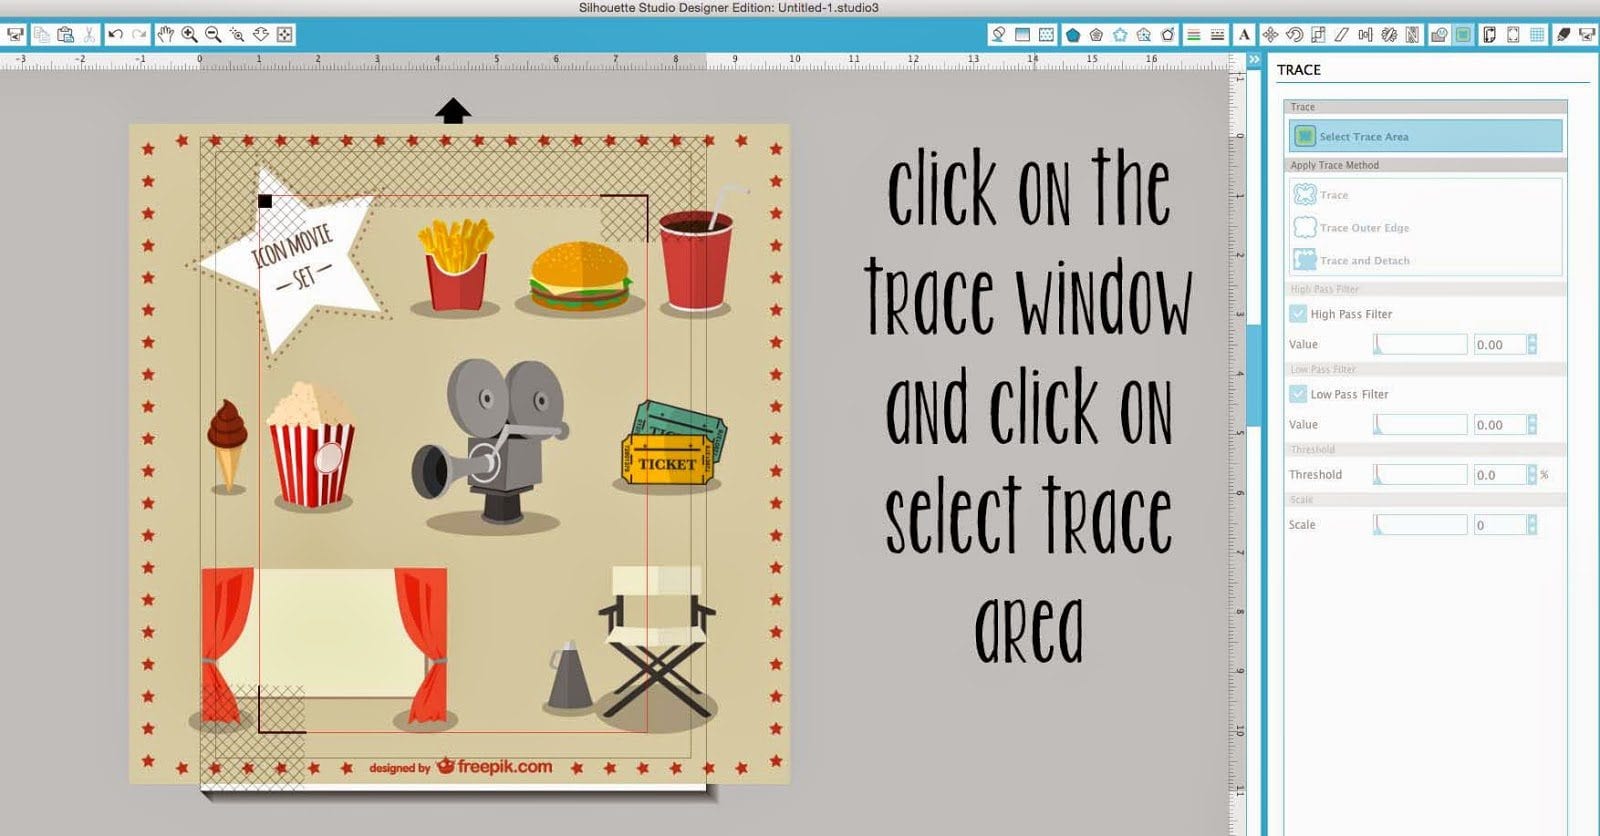
Step 4: Click & highlight around the image that you would like to create a cut line around. You can then try playing around with the trace settings. You want to have the yellow around the image you’d like cut. The setting I use most often is to:
- Uncheck the low pass filter
- Raise or lower the high filter bar until it covers the image
- Raise the threshold bar until it’s perfect
Then just go to the apply trace method box, and click trace and detach or trace outer edge.
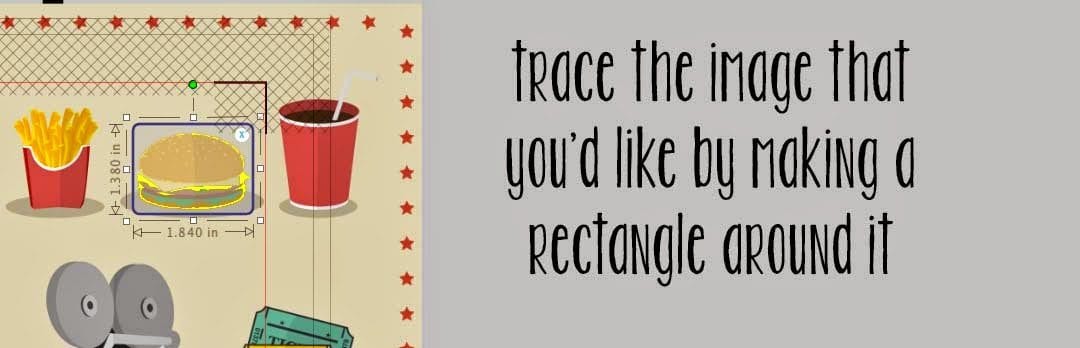
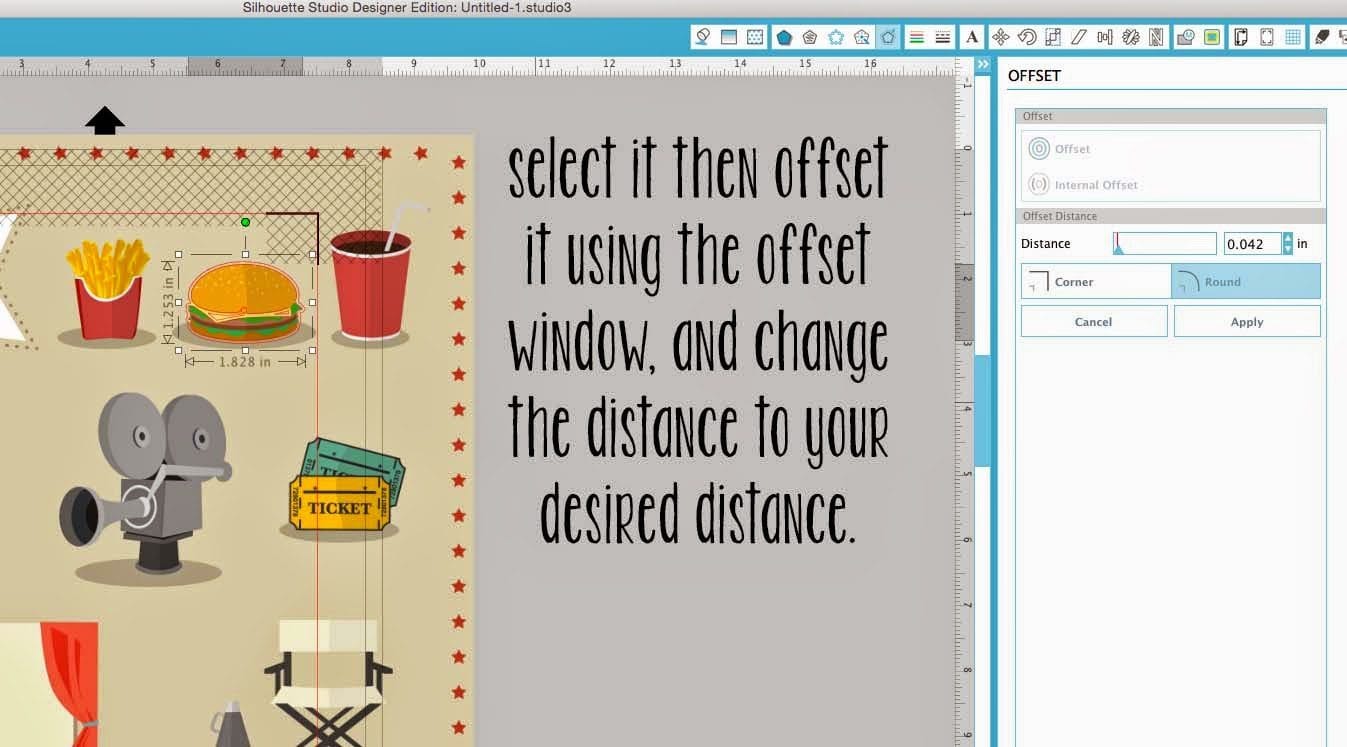
If you were able to get a good trace you can then just offset it and create your sticker. Sometimes though you won’t get so lucky with a perfect trace. Sometimes you can use the best settings and it will still trace inside the image where you didn’t want it to be cut! That was my case in this hamburger image! Or maybe you don’t want to cut just the image, maybe you’d like a little border around the image. If that’s the case then you can keep following this tutorial for the method to achieve this.
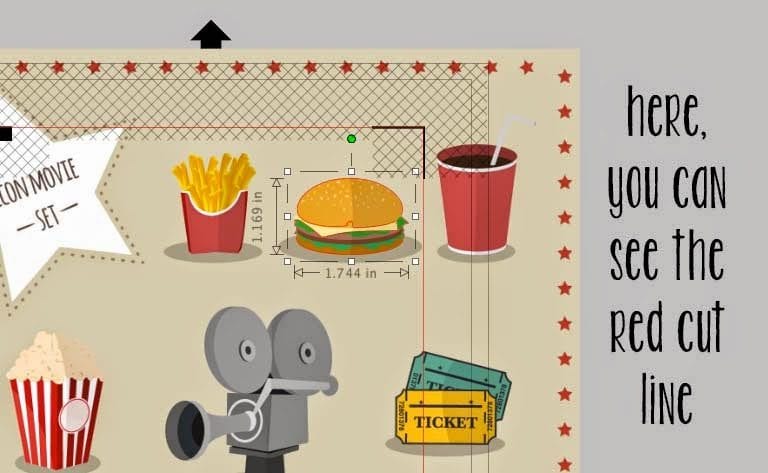
Step 5: After tracing you will see the red cut line around the image
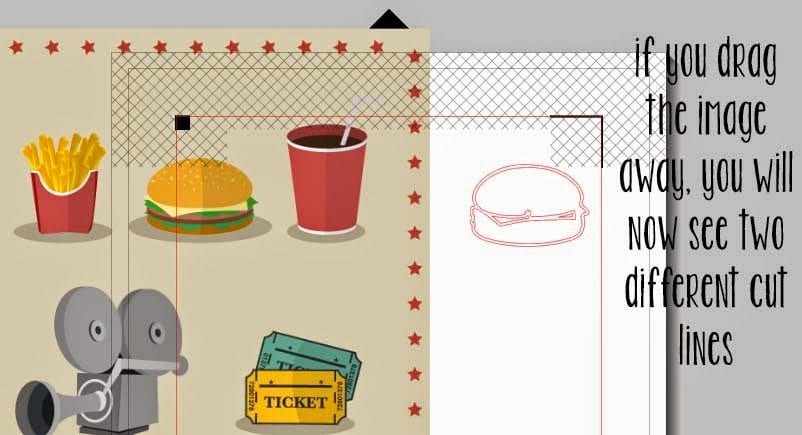
Step 7: Drag the image away so you can see the offset and traced cut lines.
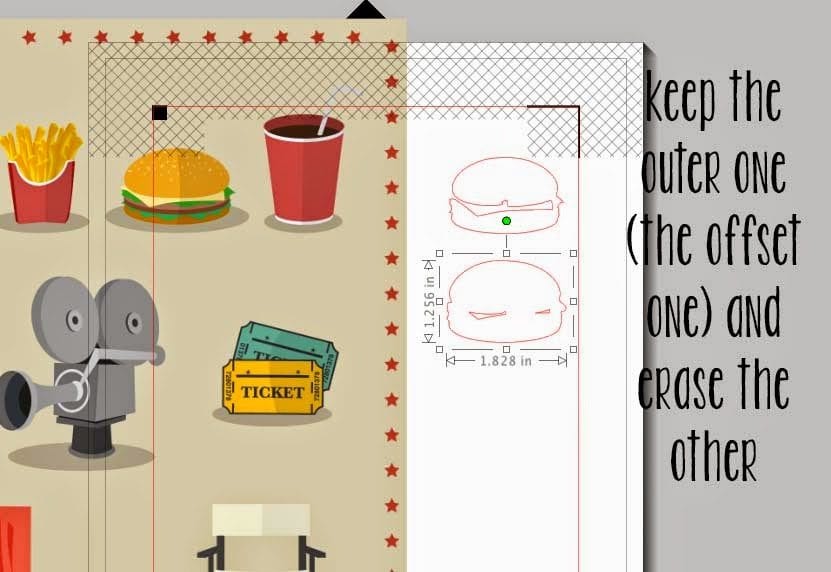
Step 8: Erase the inner (trace) cut lines so your image isn’t cropped like so. Erase the cut lines you don’t want to be cut. Alternatively, you can use the weld tool for this.

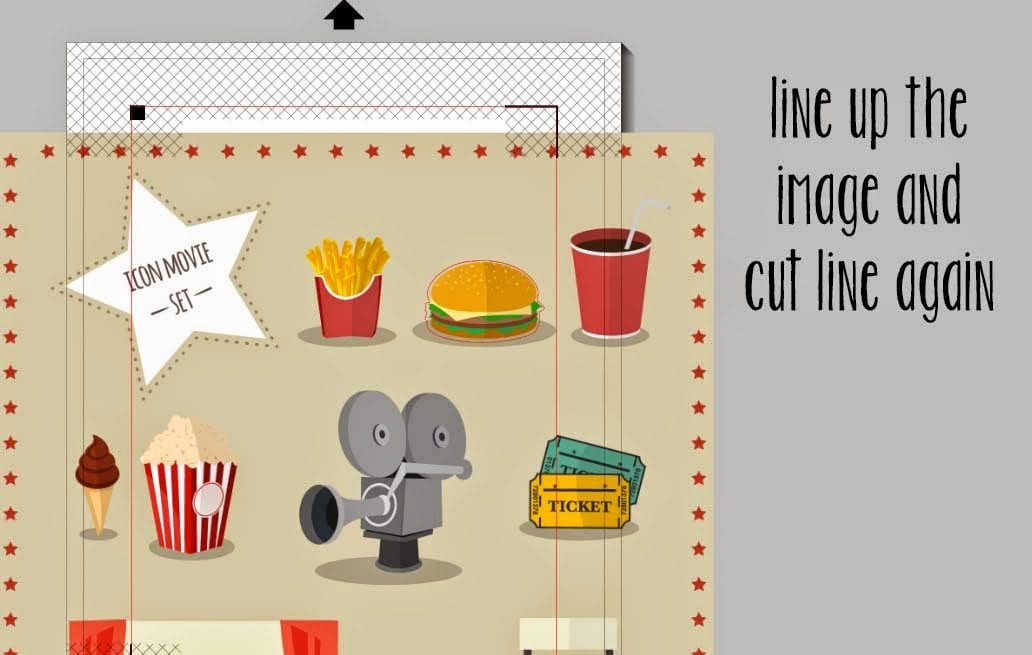
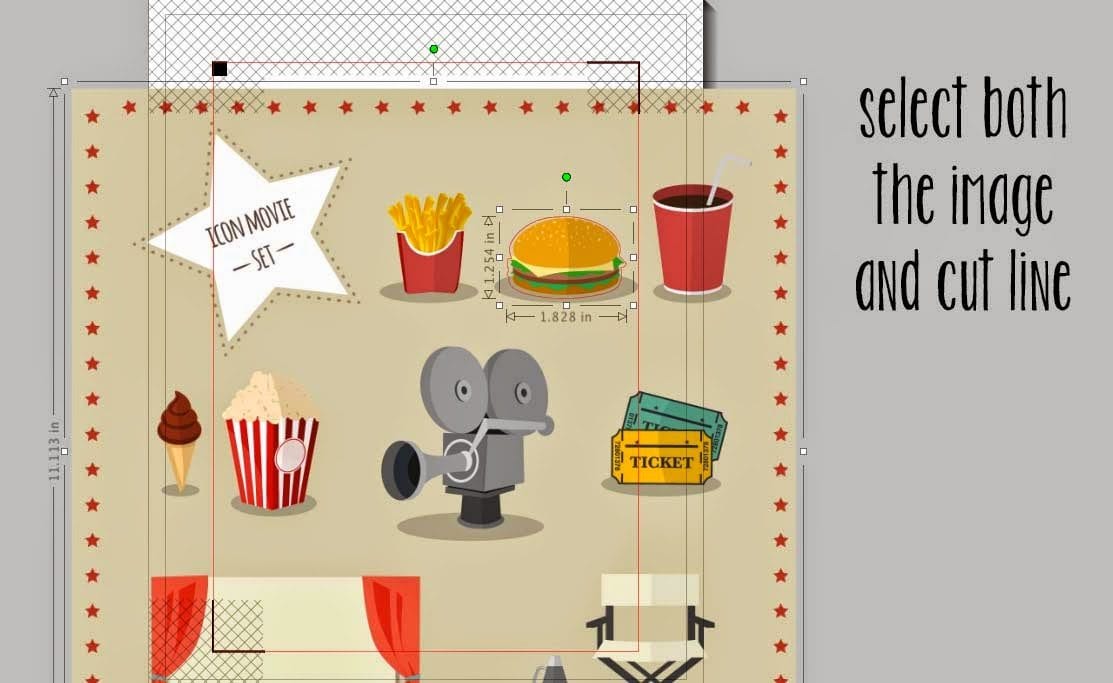
Step 9: Line up the image and cut line then select both of them
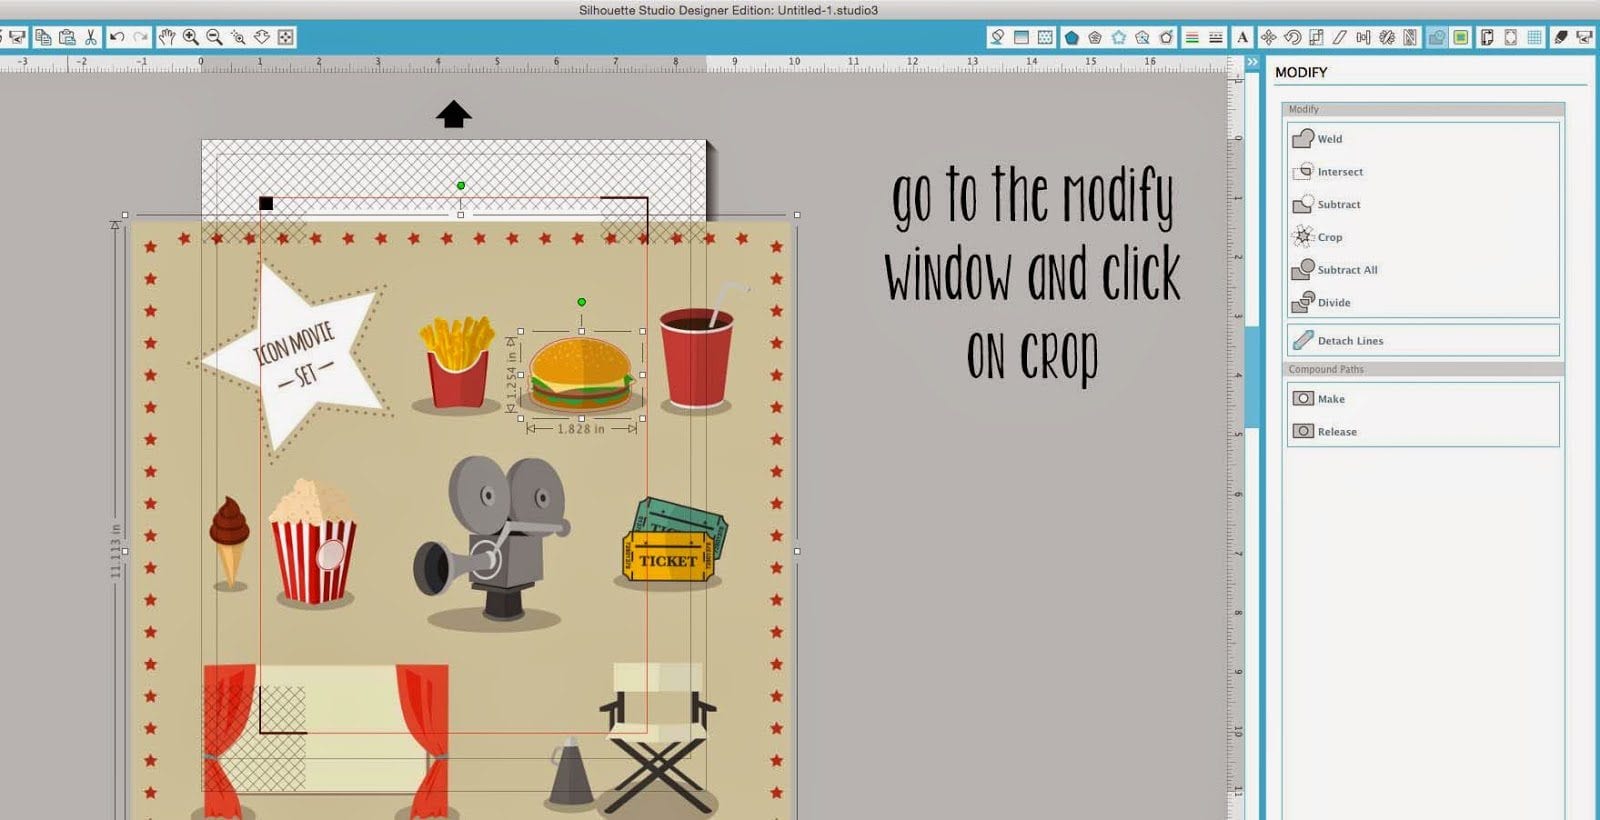
Step 10: Cropping. Go to the modify window and crop it
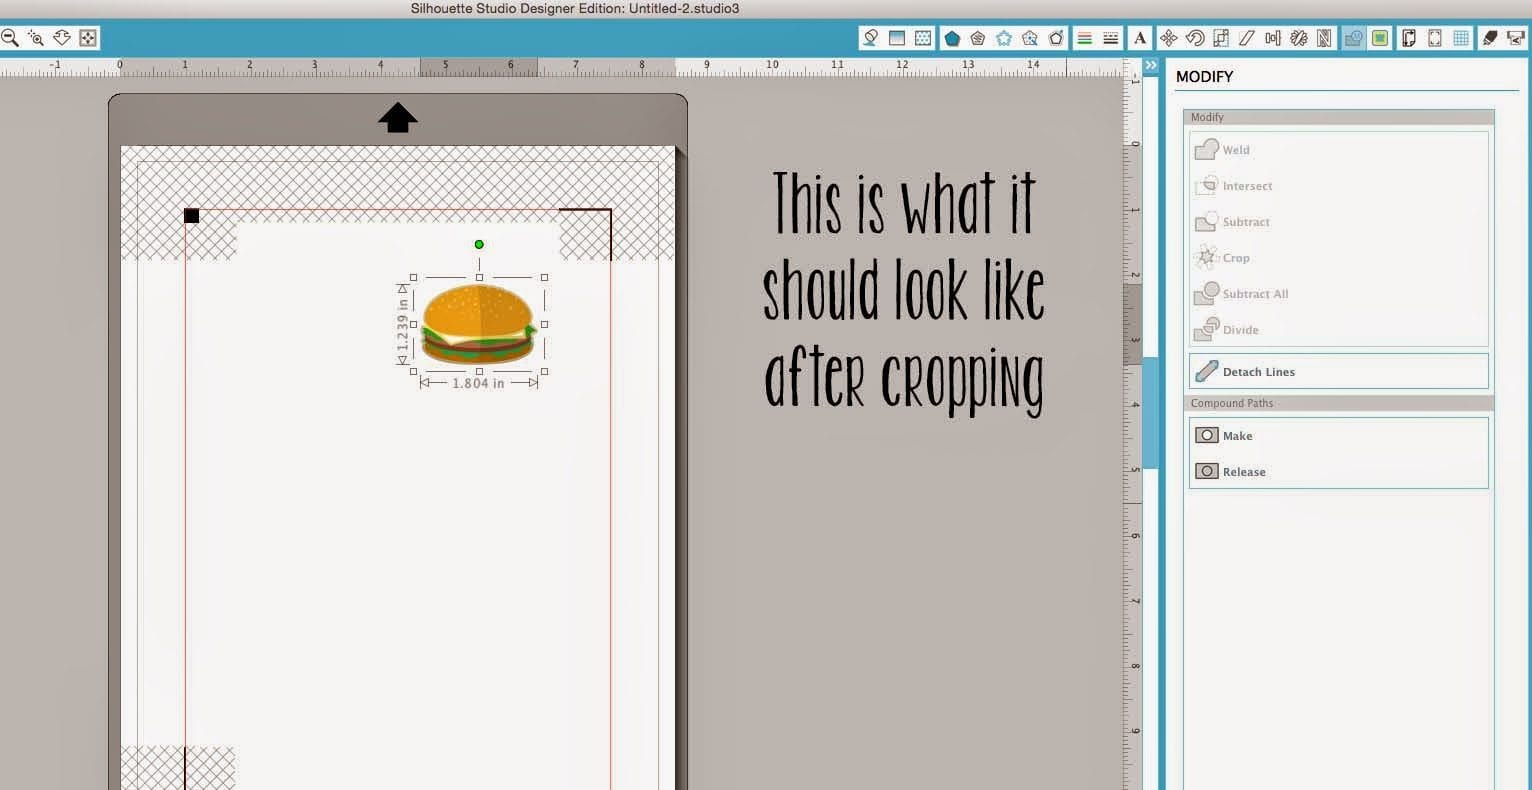
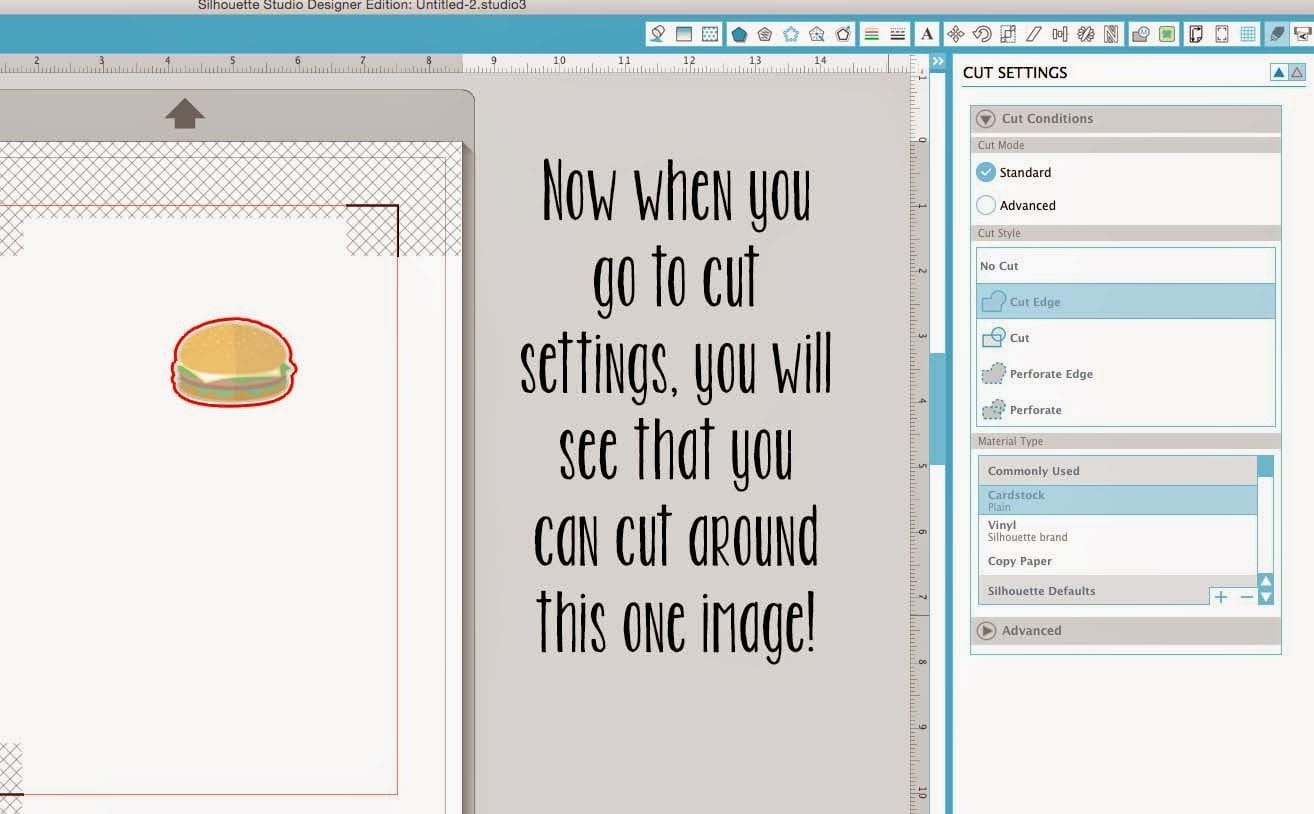
ALL DONE! Now when you go to the cut settings, you will see a red line around the image in which it will cut! A perfect little sticker!
I hope this pictorial was useful! Now there is more potential for you and your silhouette machine! You can print and cut any image you’d like! To see the basic print and cut tutorial go here, and stay tuned for next week where I will show you more about registration marks and tips on getting perfect cuts!

I know this is an old tutorial, but I would love to follow it. Unfortunately some of the pictures are now missing. Do you still have them please? Thank you so much!!
Thanks for making me aware of this! I will be going through my old posts in the next few months and fixing everything I can! Sorry for this!
Thank you so much for making this post. My silhouette just arrived in the mail and now I will know how to use it. I bought it with the main goal of making my own stickers. I however, will still buy stickers, and have spent a small fortune on them already. Part of the fun with planning is getting to be creative. I look forward to seeing what I come up with and I thank you for all your tutorials and freebies.
This is literally the most helpful blog post I've ever stumbled upon. Thank you so much for doing this!