
This post is sponsored by Silhouette America and contains affiliate links, which allow me to earn a small commission at no extra cost to you.
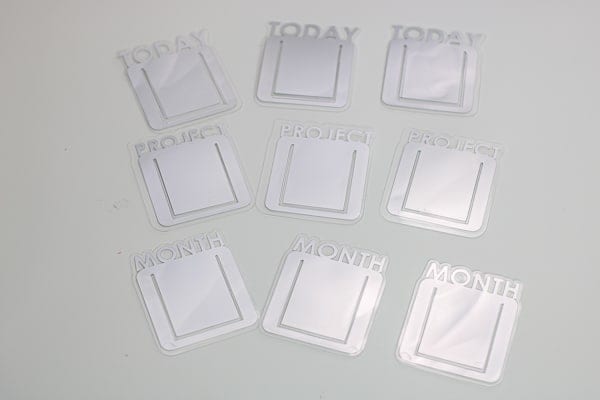
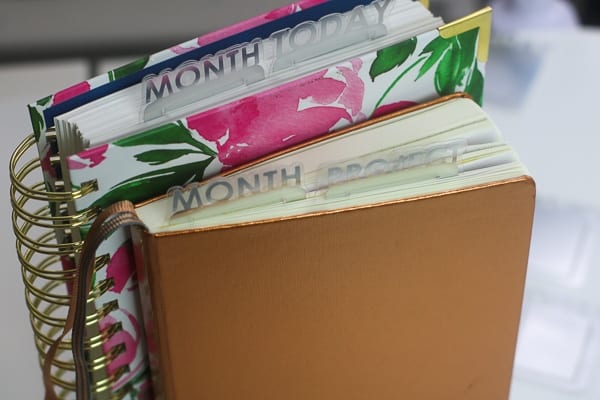
Ever wondered how people make those Today Markers or This Week or This Month markers? Well in today’s post I’m going to be showing you exactly how to make it yourself with your Silhouette Machine. You can make a ton of them at once! Make it custom to whatever you want, it can be your name, your word of the year or anything else you can think of. These page markers are great for bullet journals, planners, books, notebooks and more!

For this project I wanted to share with you how I made these custom page markers that can be used on any planner, journal, notebook or book. You can create your own very easily and reuse them again and again for any planner or notebook you have.
Table of Contents
How to DIY your own Page markers
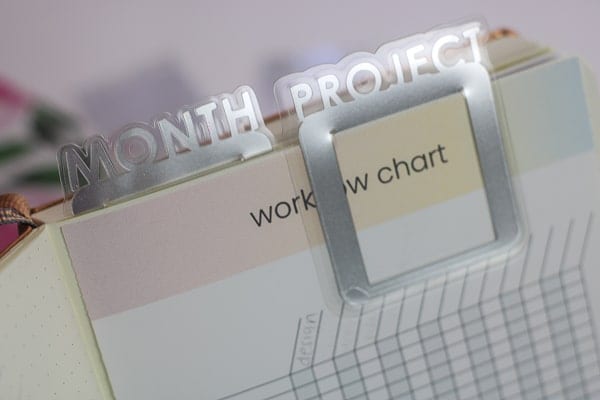
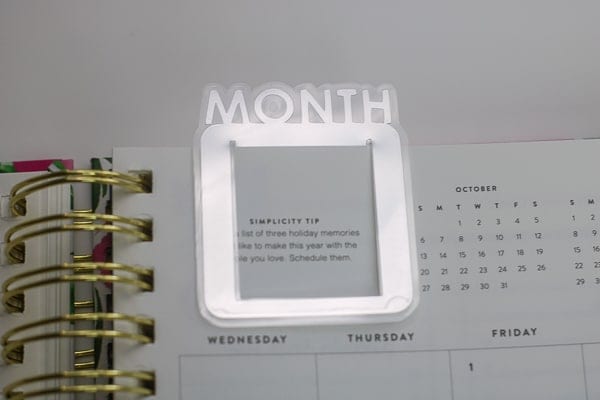
For this project, I love how you can easily customize and create your own design to make it any size you want and any wording you need! You can make a page marker “TODAY”, “WEEK”, “MONTH”, “PROJECT” or your name! Whatever you like!
This project is very customizable not only in the design, but also in the materials you use. You can use any cardstock you have, printed designs, or even vinyl. I used to make these in my Etsy shop for ring binders and coiled planners but found it hard to reuse whenever I switched planners so when I found out about how to make it with a tab like a paper clip, it was a great way to reuse it.
For this project I am using silver foil sticker paper. I just love how it looks and stands out in my planners. They are also very easy to work with.
Supplies Needed:
- Silhouette Machine (Cameo/Portrait)
- Silhouette Cutting Mat
- Silhouette Pixscan Mat
- Silhouette Cutting Blade
- Silhouette Sticker Paper – Silver Foil or any material you’d like to make your page markers
- Page Markers File (SVG file, must have Designer Edition or Up to open file)or create your own
Step 1: Open Silhouette Studio®
For this tutorial you can either create your own or download and open up the file I provided. If you are just going to open up your file just be sure to click open with and select Silhouette Studio. Or you can open up Silhouette Studio and open the file from your library or directly by going to File>Open and finding where you downloaded the file.
If you’d like to learn the steps to make your own follow the pictures for the tutorial below:
-
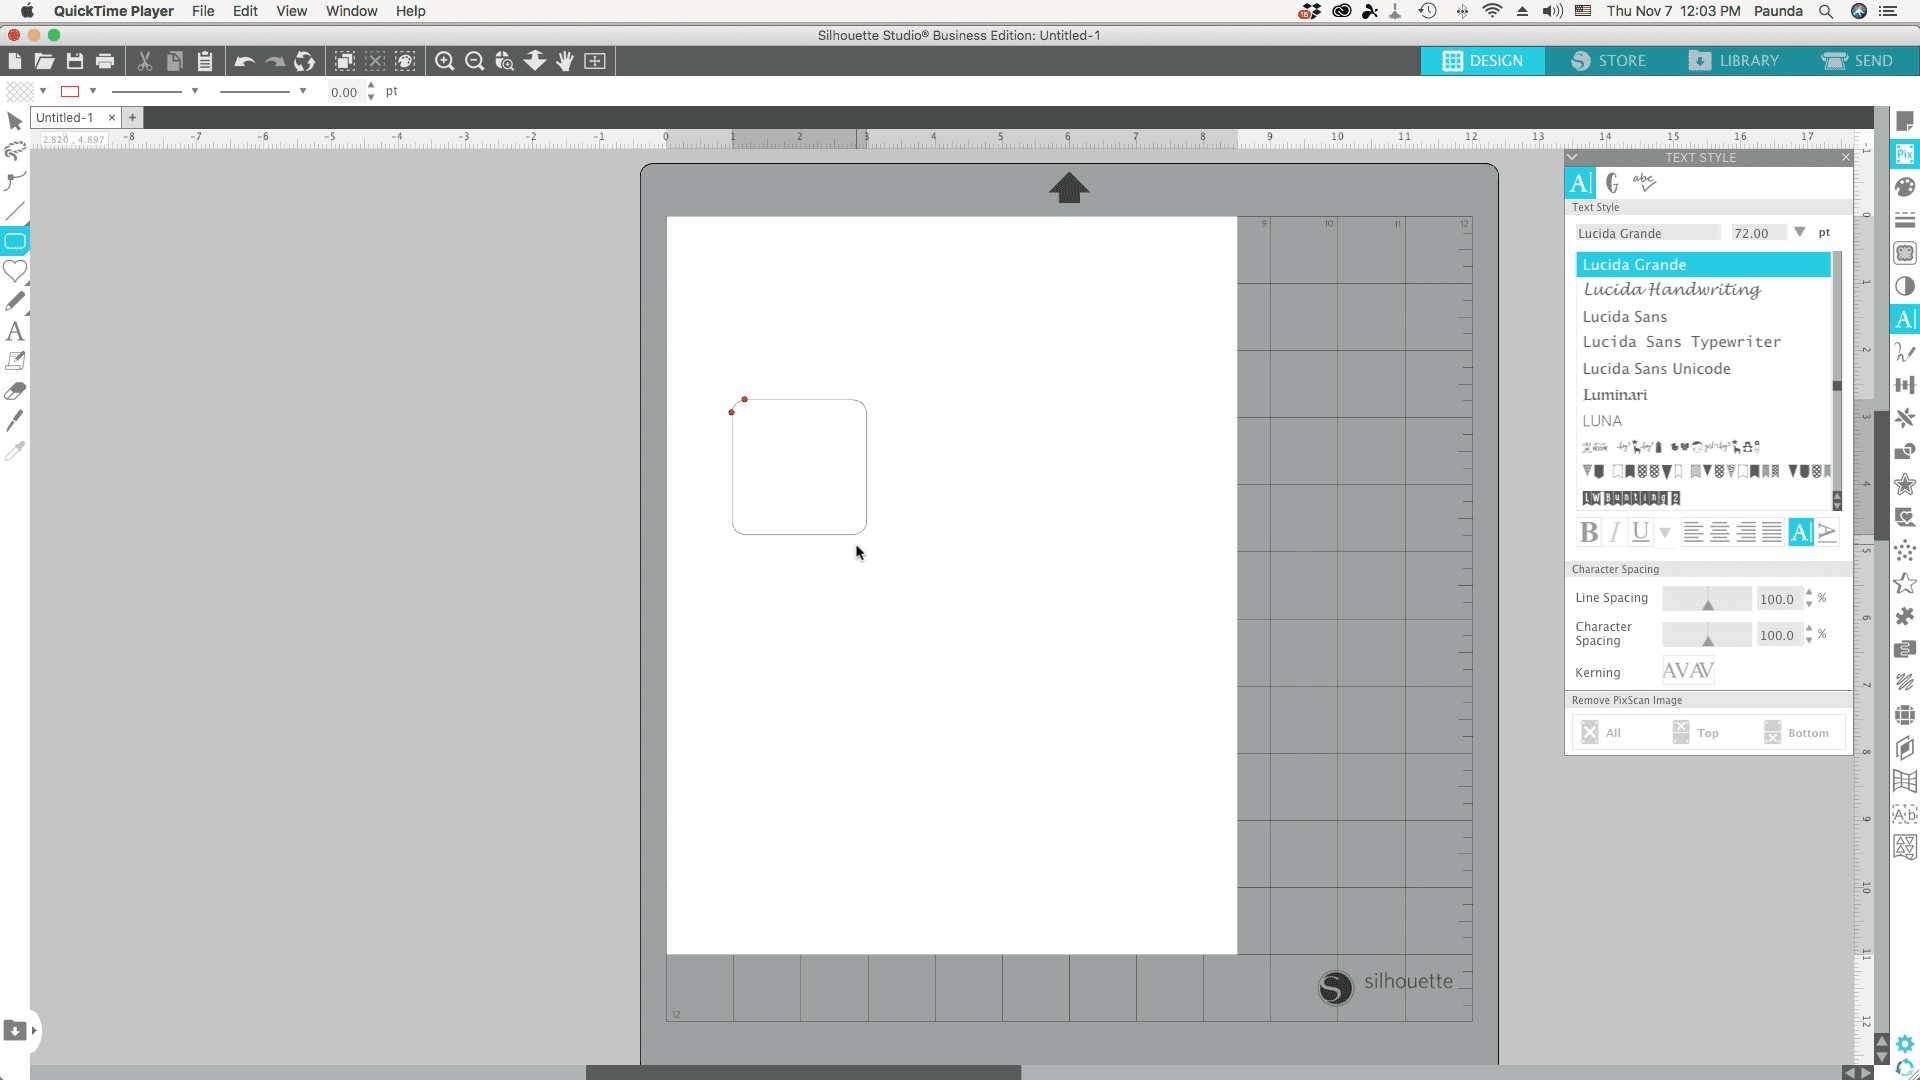
Select the rounded rectangle tool and create a rounded square about 2″ -
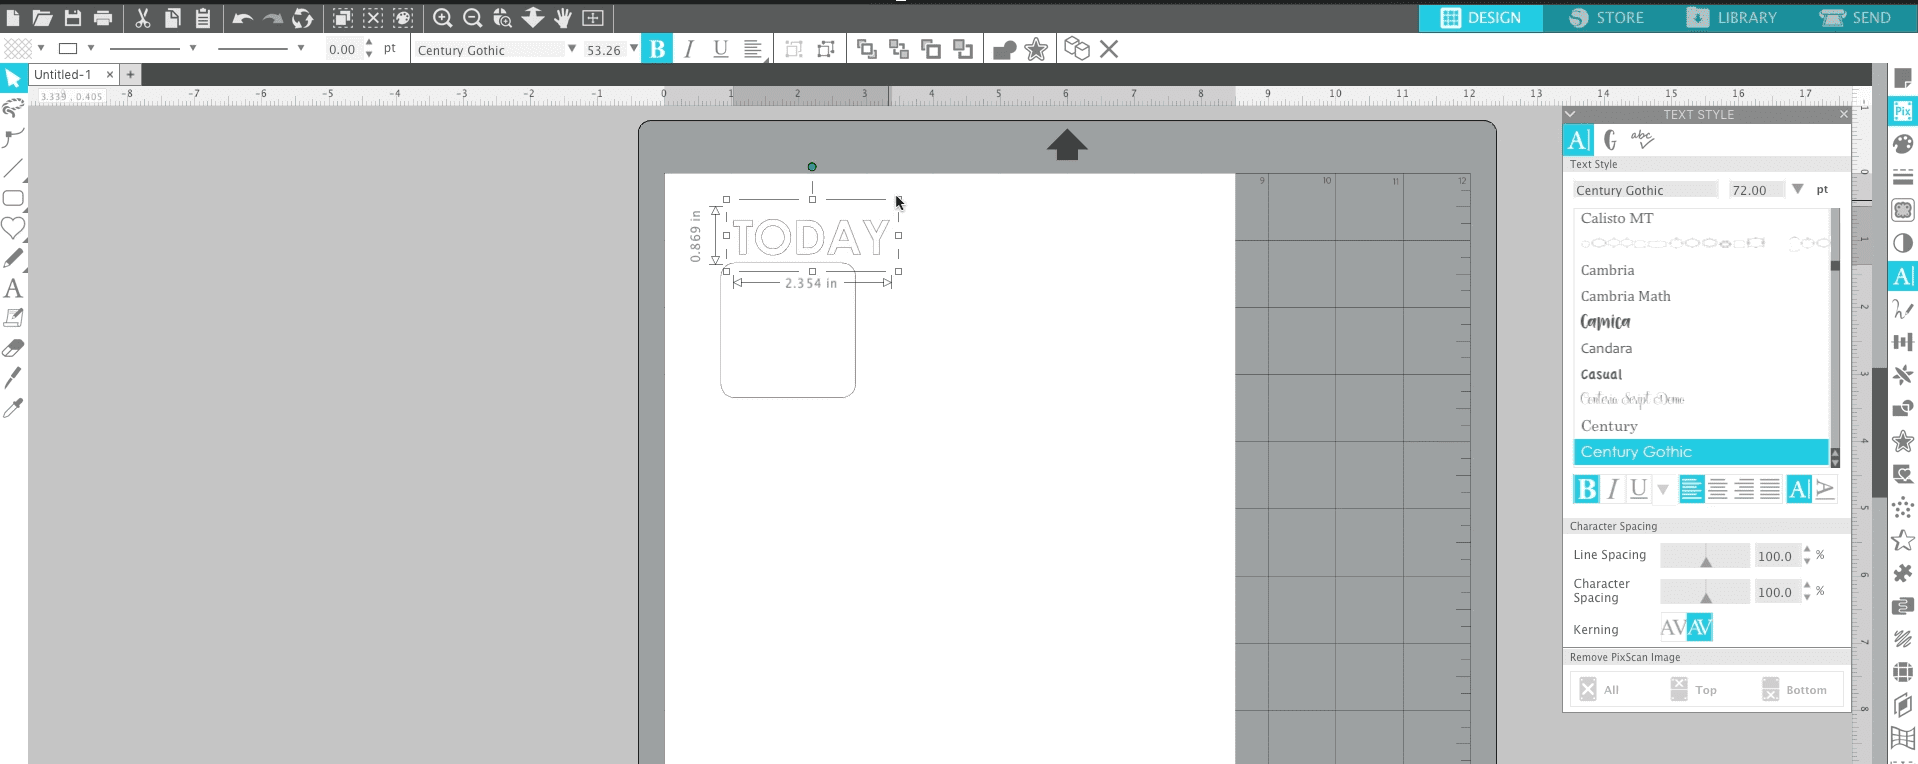
Use the text tool to create your word on top (it is best to use a thicker font) -

Resize the words to fit the square -
Arrange it so it is barely over the square. Use the arrows on your keyboard to move it little by little -
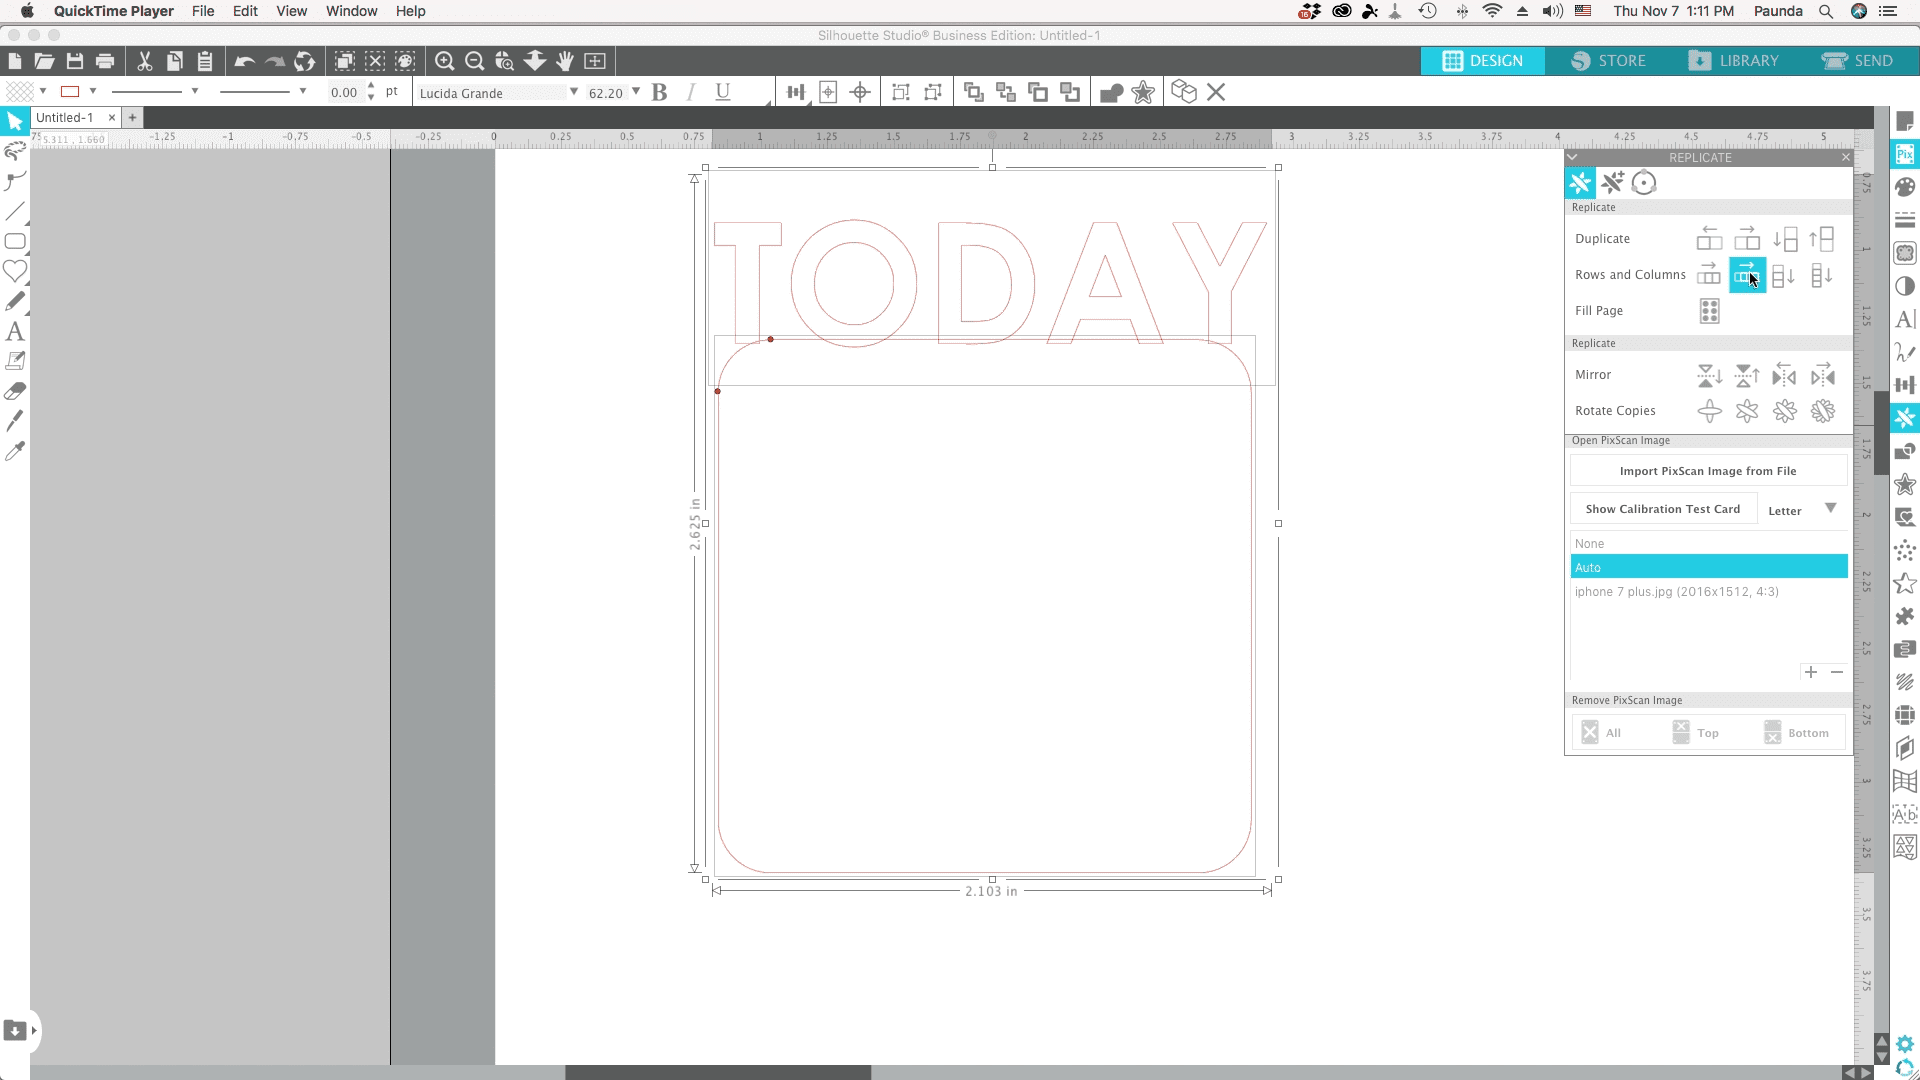
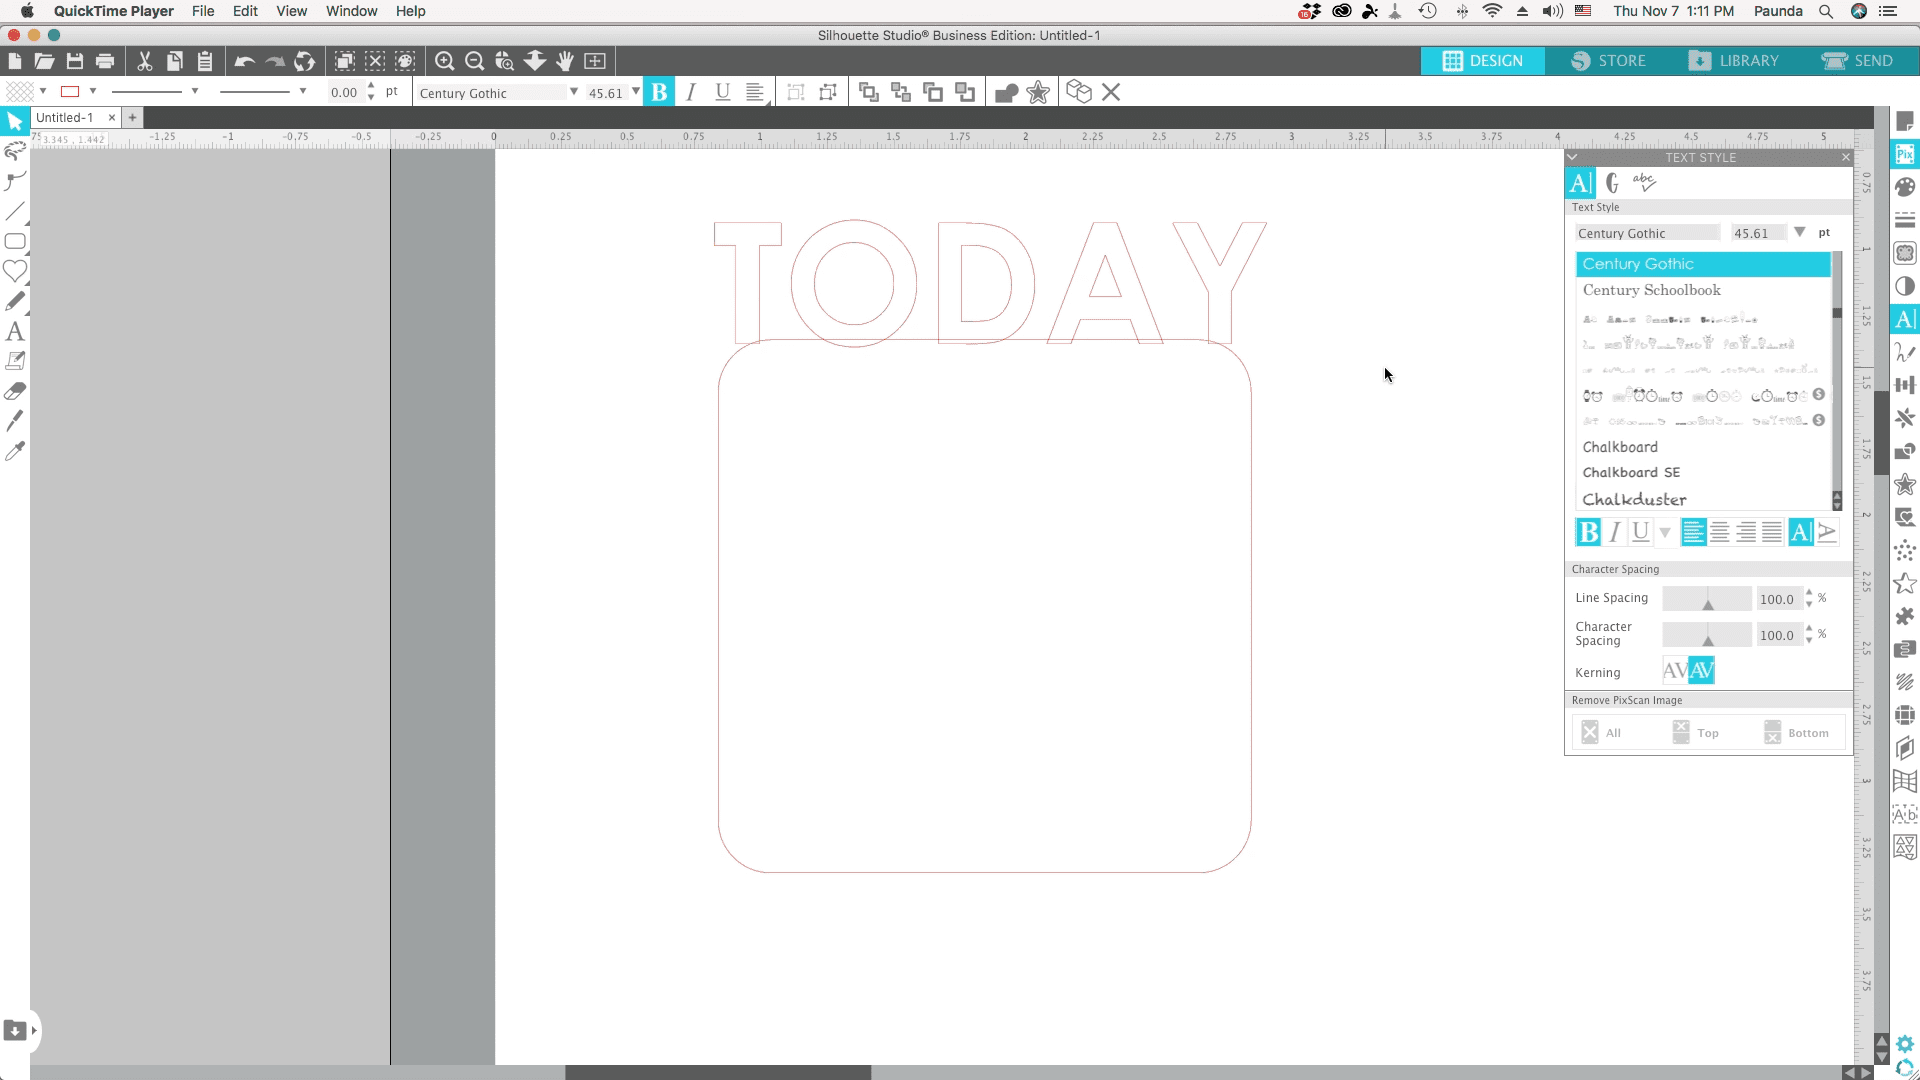
Select both and weld it together unless you plan on making different kinds… -
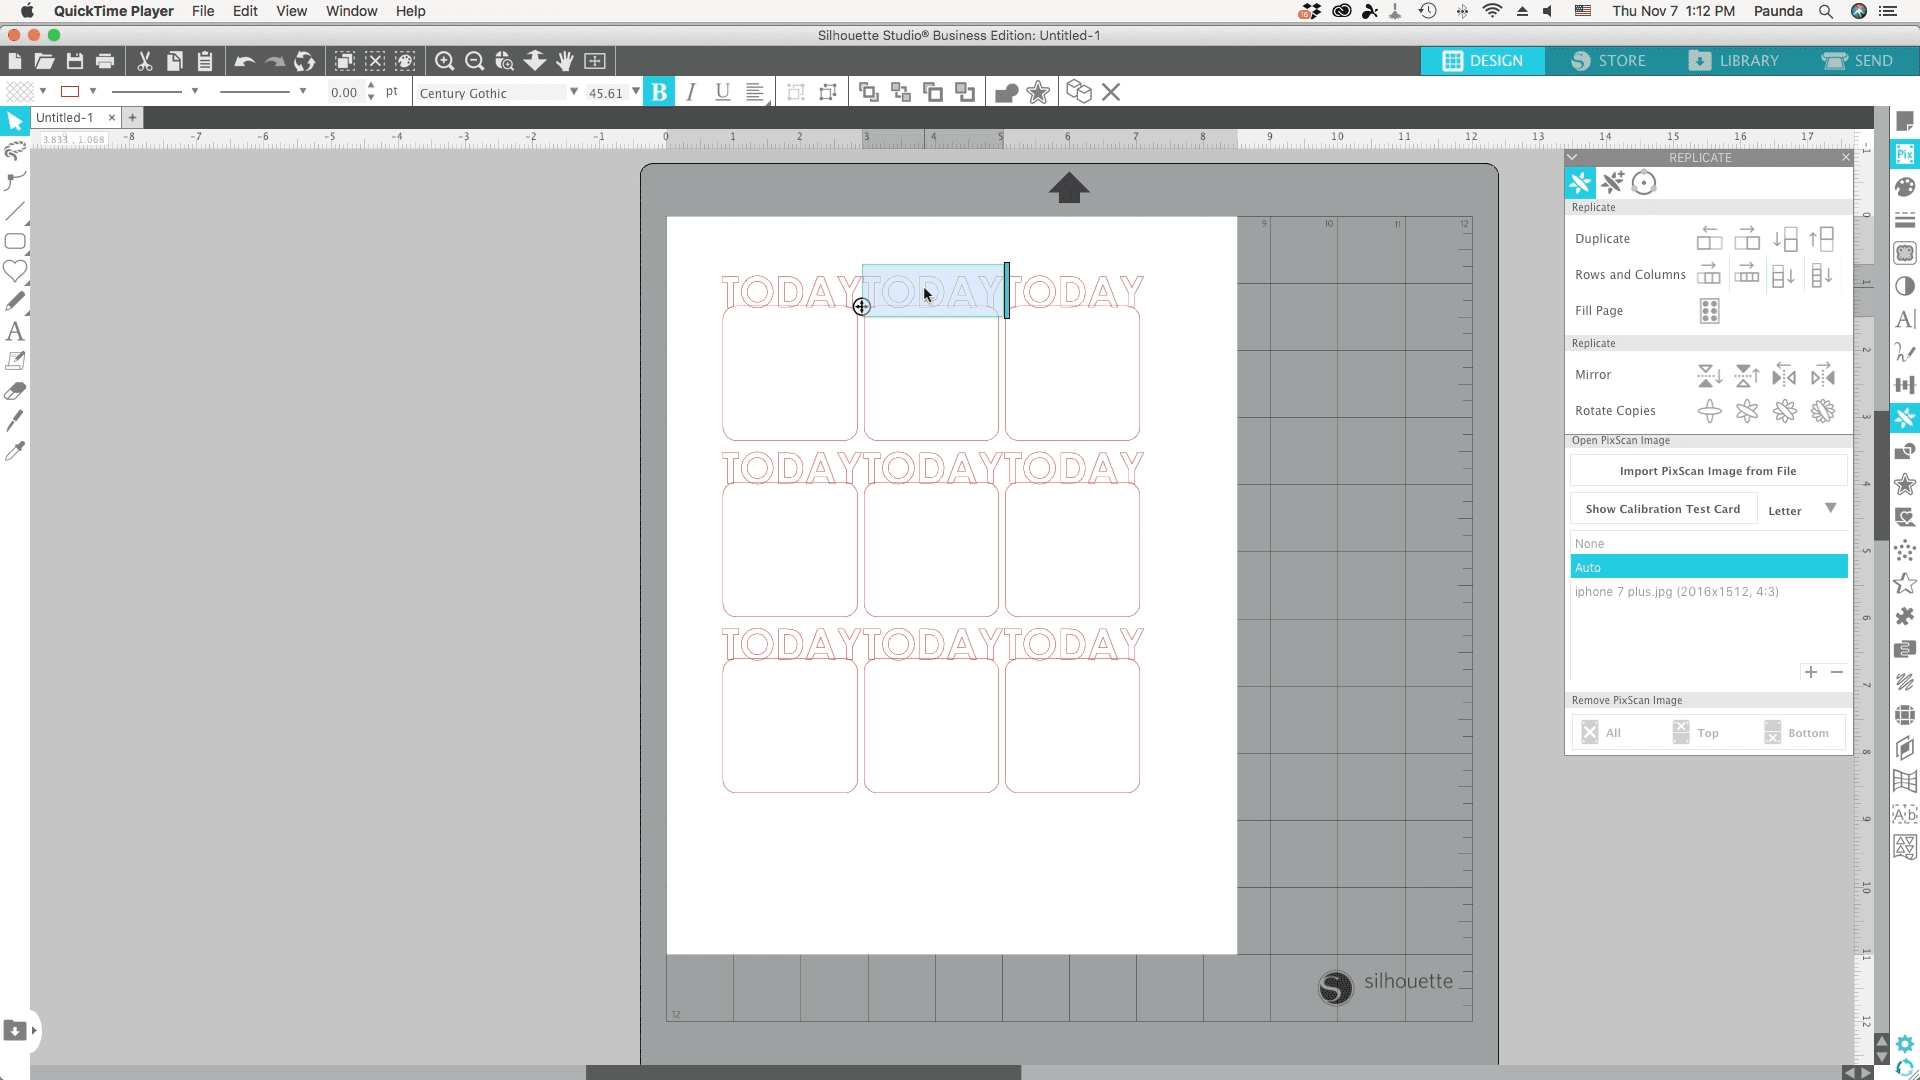
If you want to make different kinds, before welding, just replicate it multiple times -
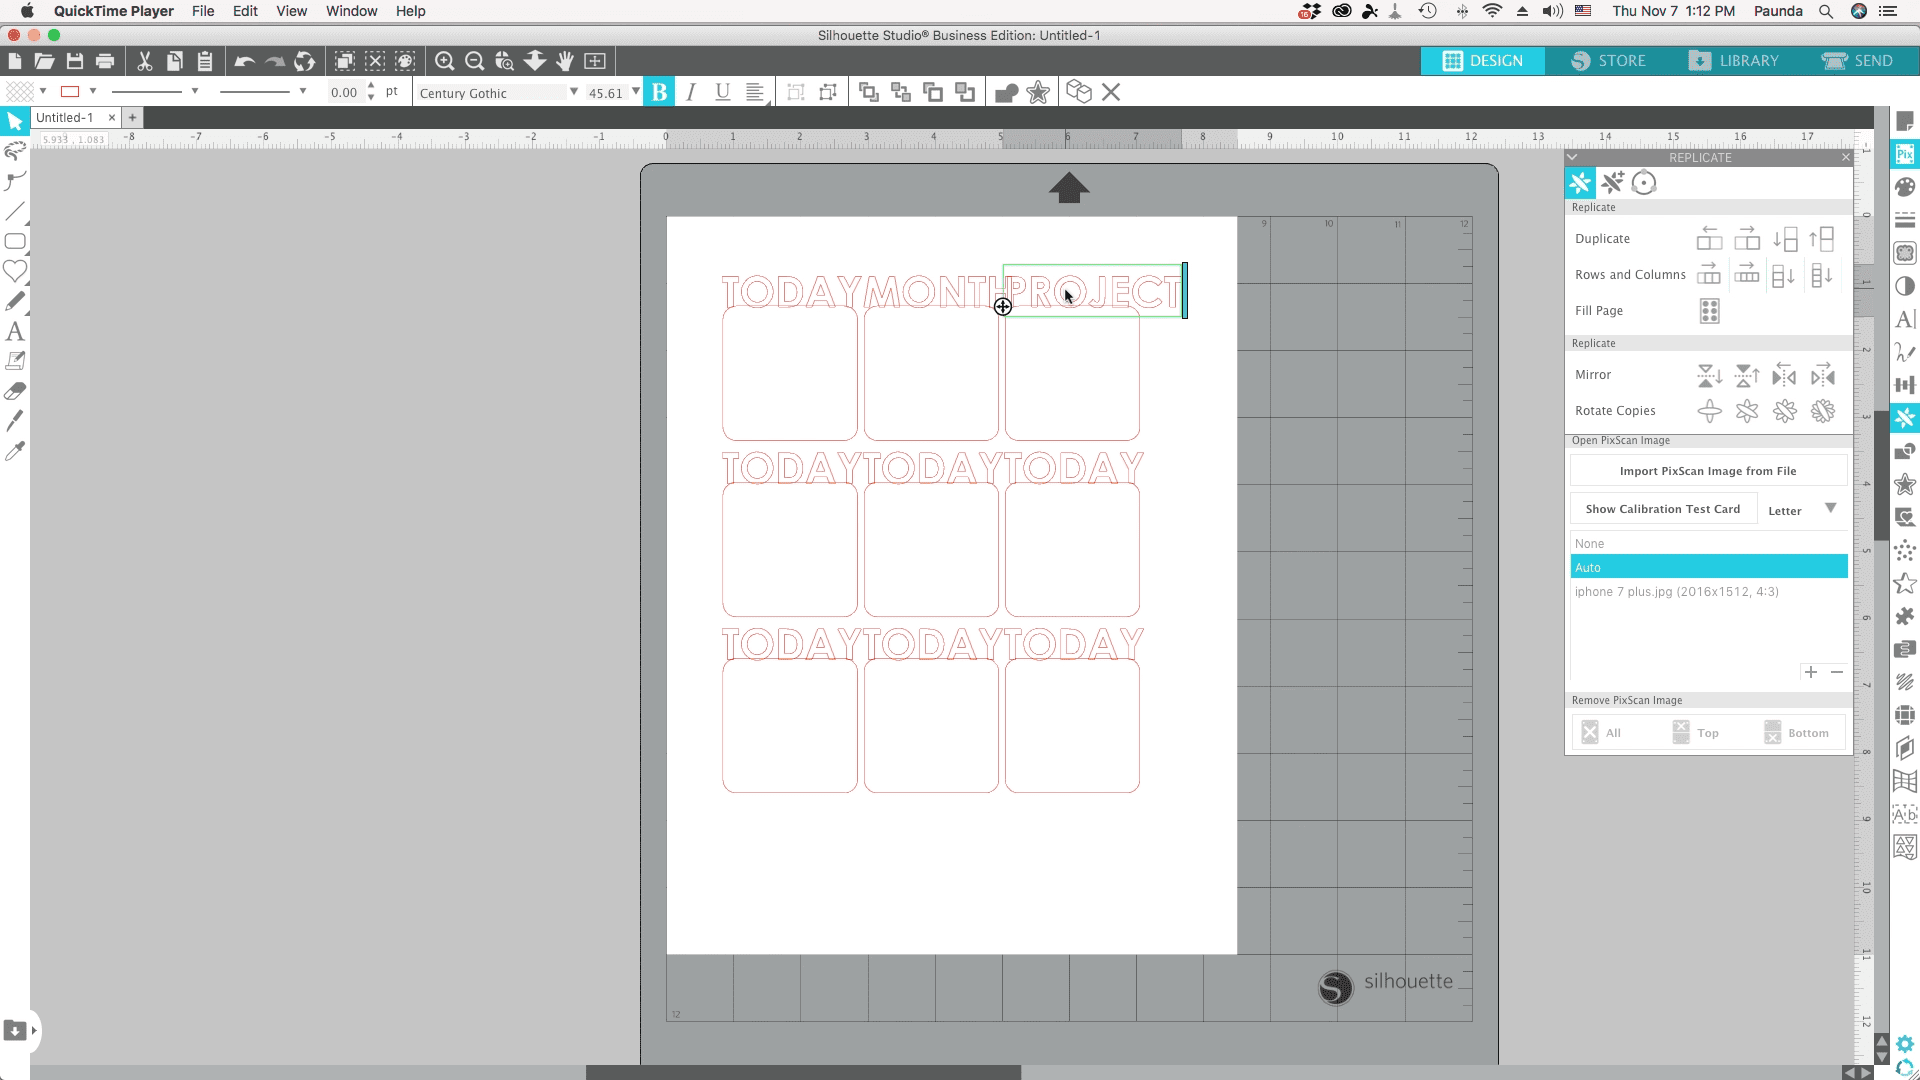
Change the wording of each of the markers -
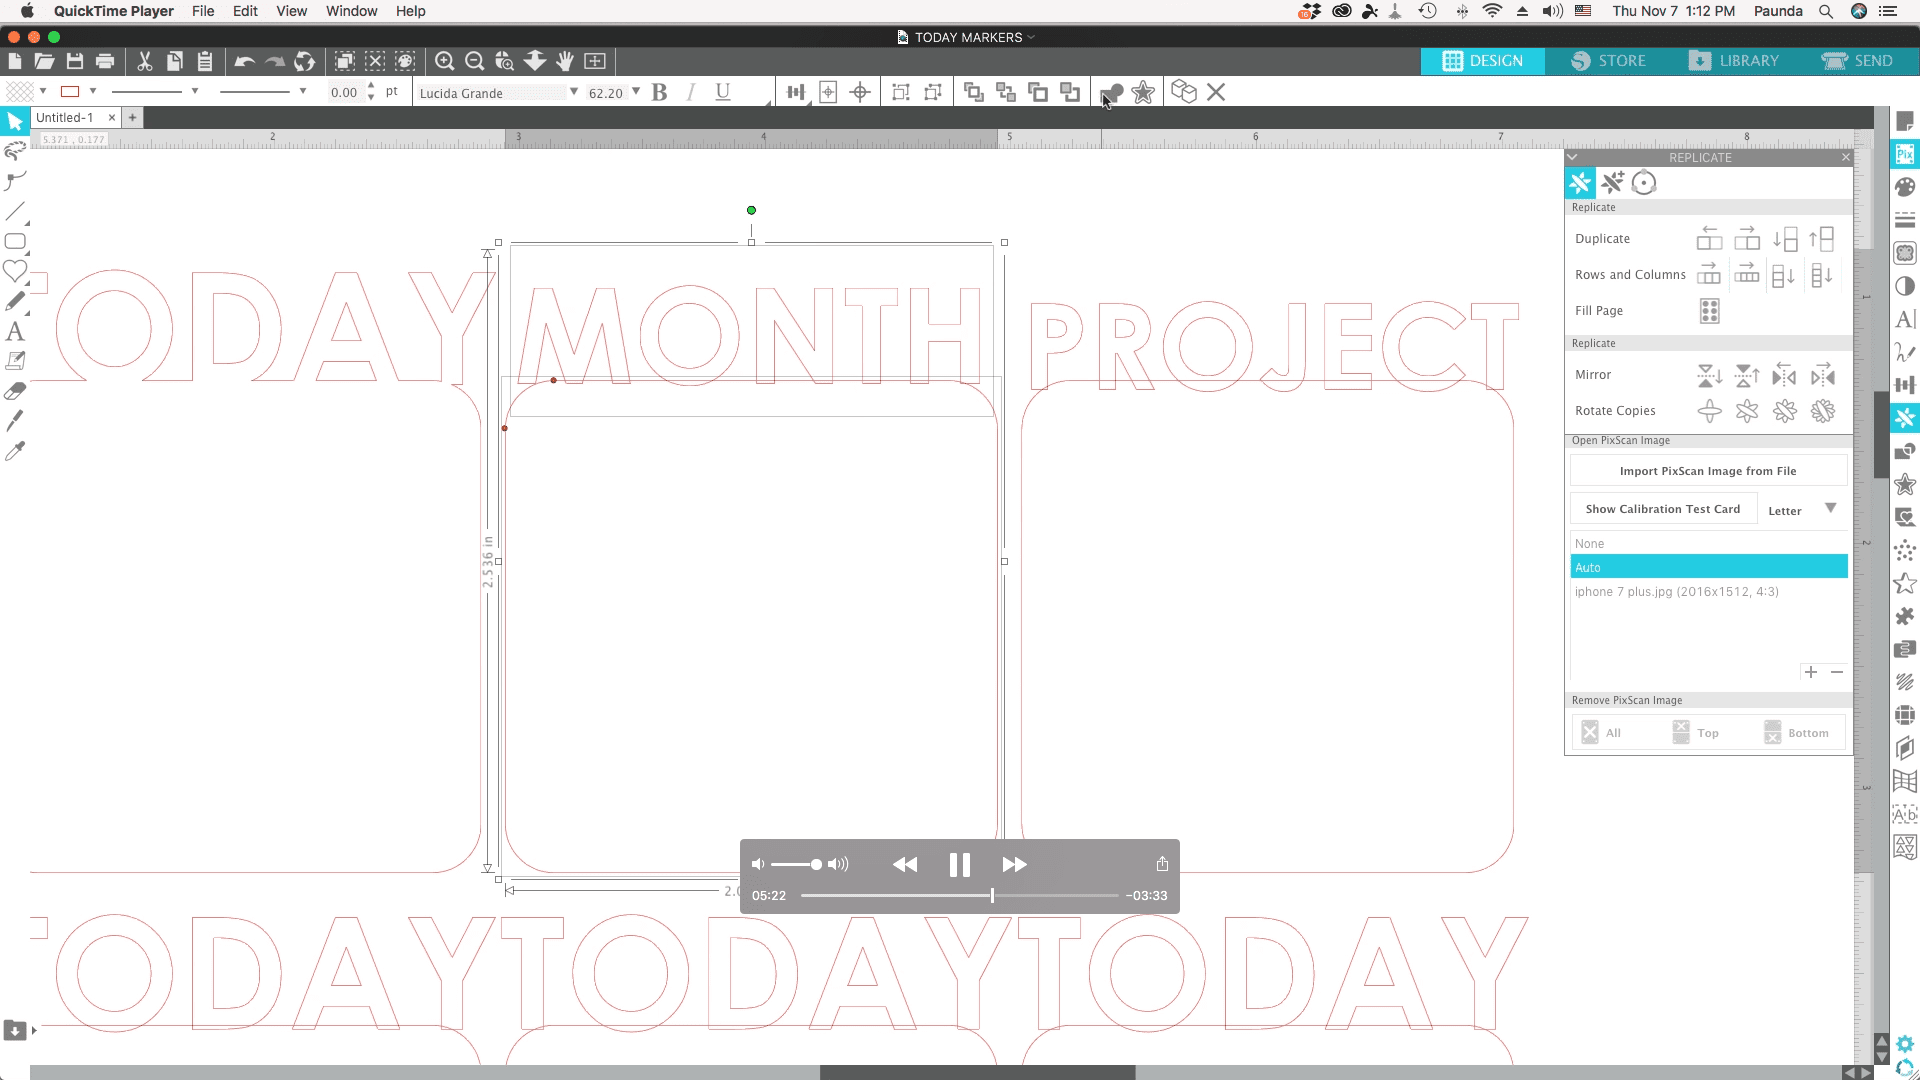
Then weld together each word & square together -

Now to make the tabbed part, grab the rectangle tool and create a long skinny rectangle and place it as shown -

Create another one and connect it to the first horizontally on the bottom -
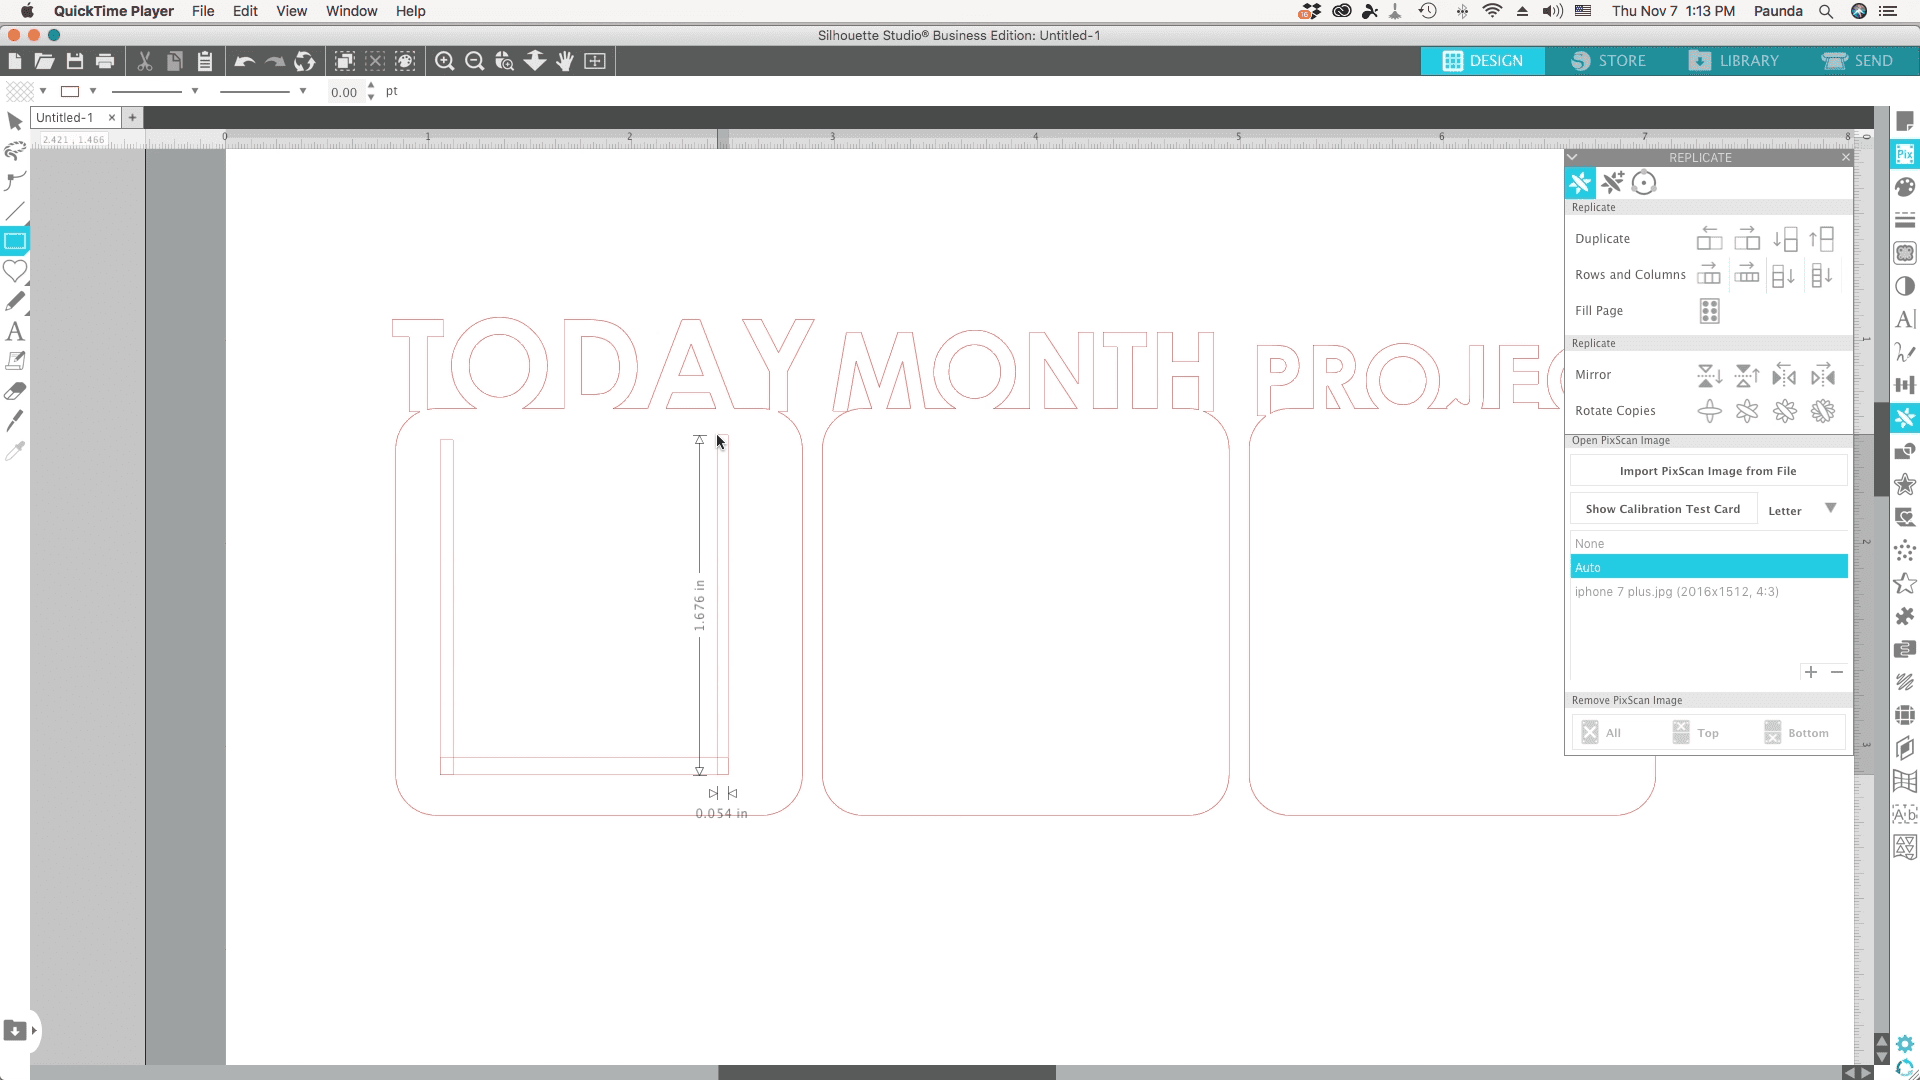
Then make one more vertical one as shown -

Select all 3 rectangles you just made and weld it together -
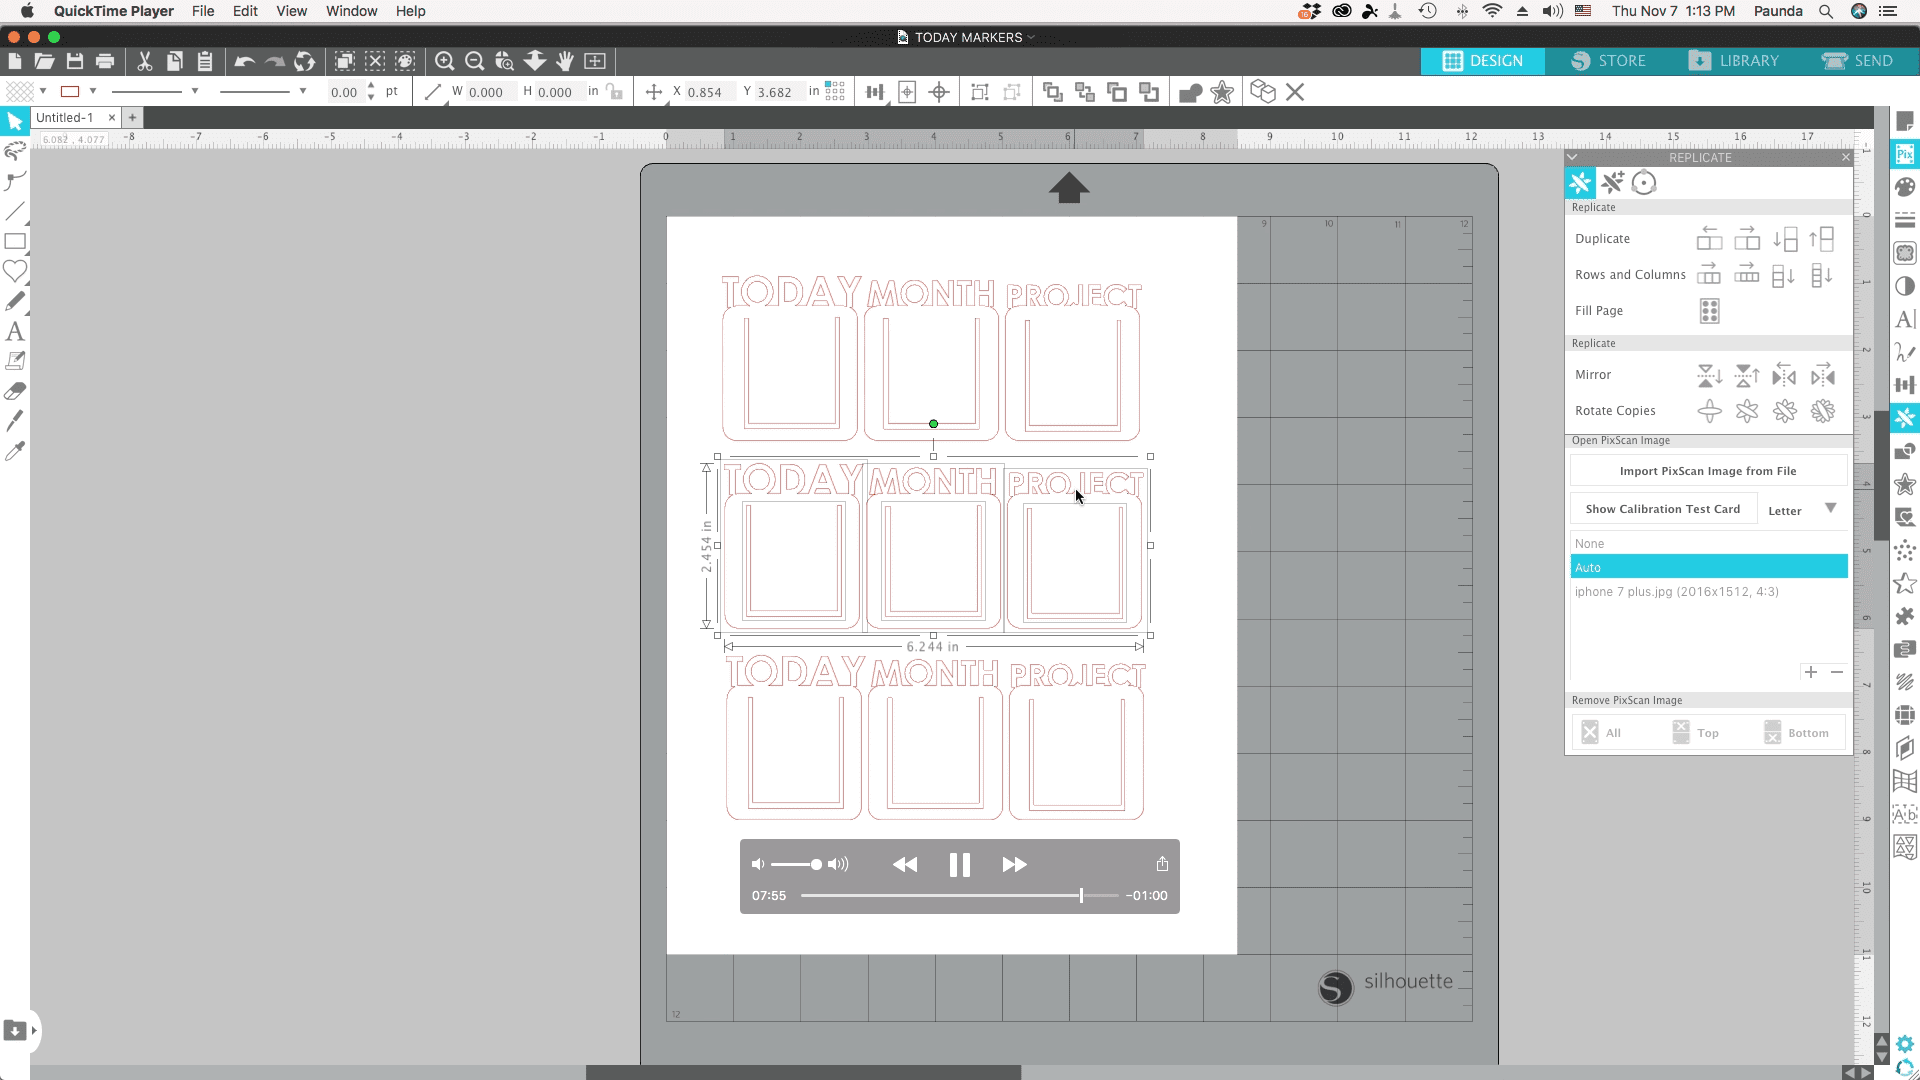
Then replicate it to fill your entire page -
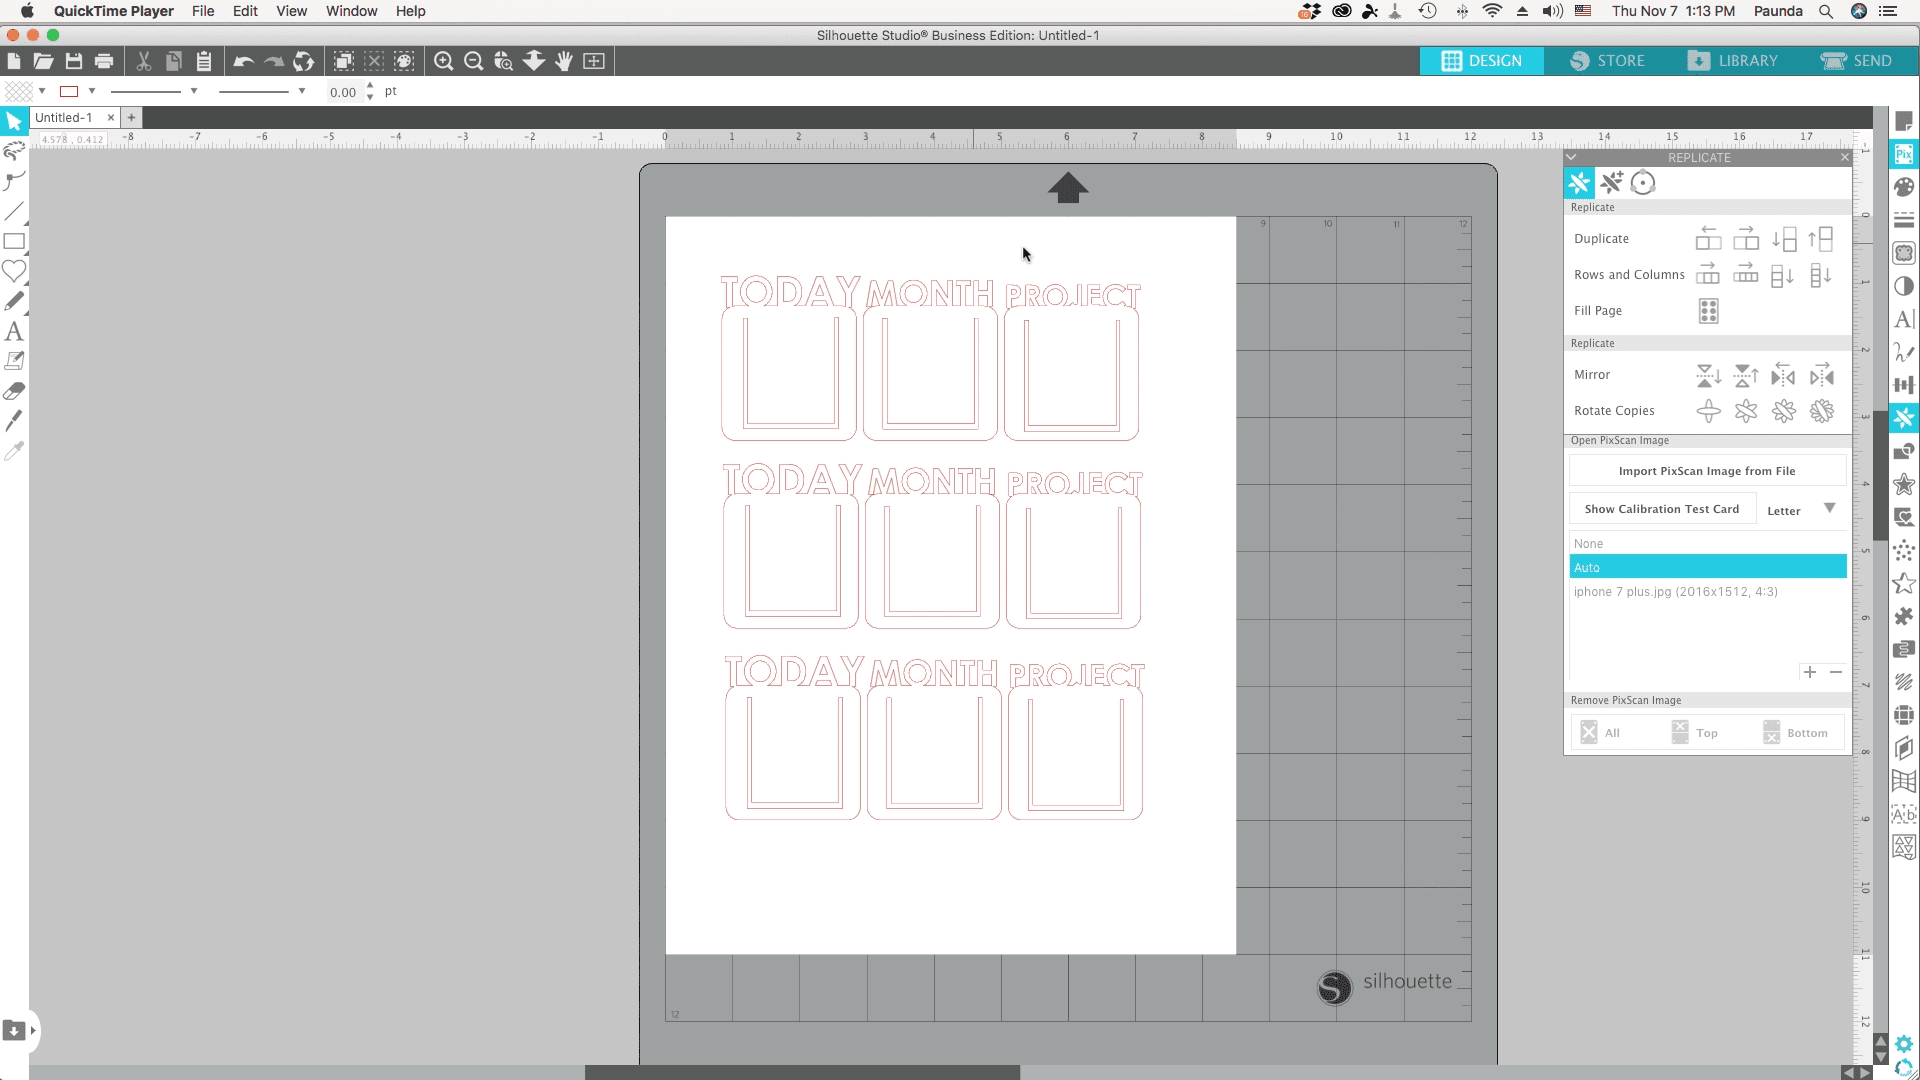
Now your file is ready to be made!
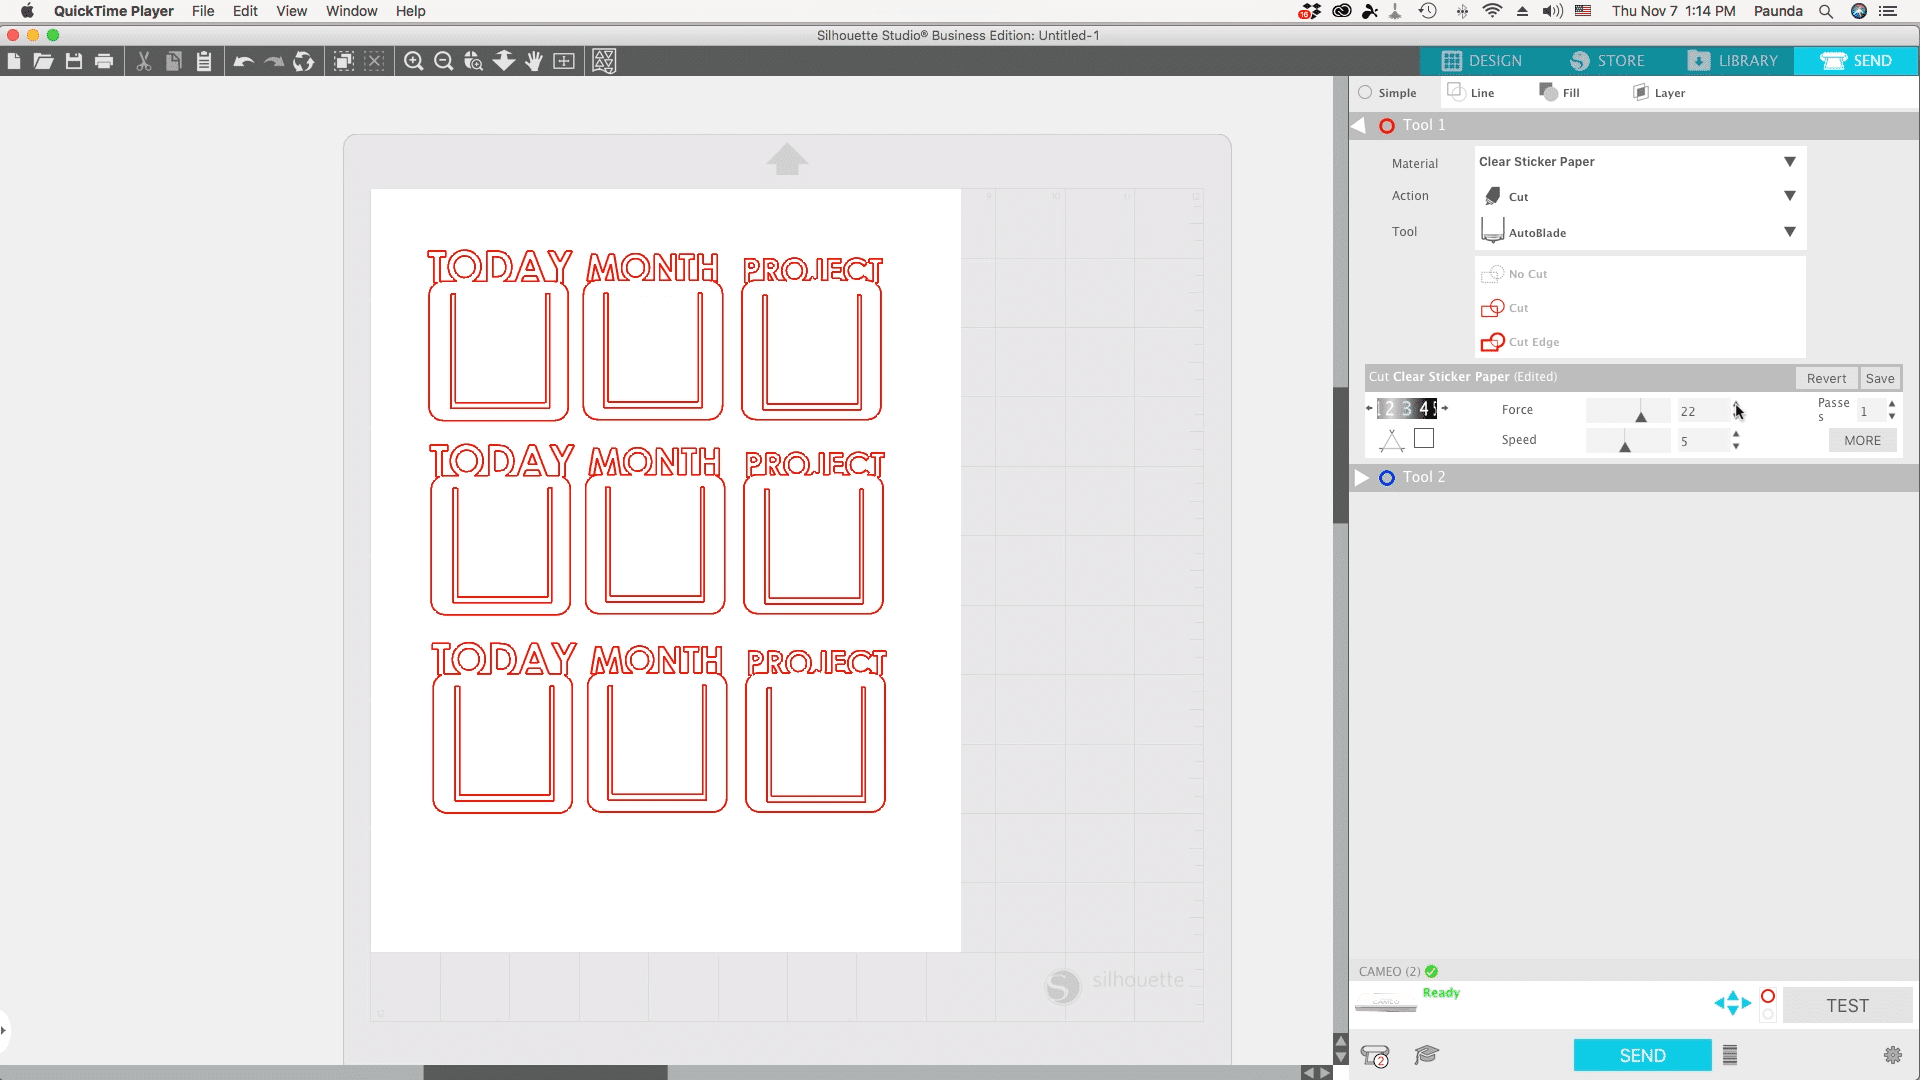
STEP 2: Load your material on your mat & Send to Cut
Now your design is ready to cut! You can use any kind of sticker paper or cardstock, or make your own designed printed paper to make these page markers. Because after laminating your material will be protected and reused many times!
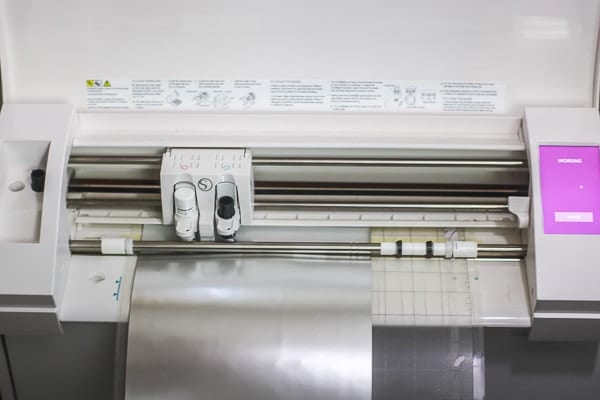
Make sure your material is loaded on your mat the correct way. Be sure it matches your workspace design just like in Step 1. Align the printed sheet of paper to the left side of the mat. Then load your mat into your Silhouette Machine. The mat needs to align with the blue line with the arrows. Place the edge of the mat along the blue line. Once aligned, press “Load” on your Silhouette.
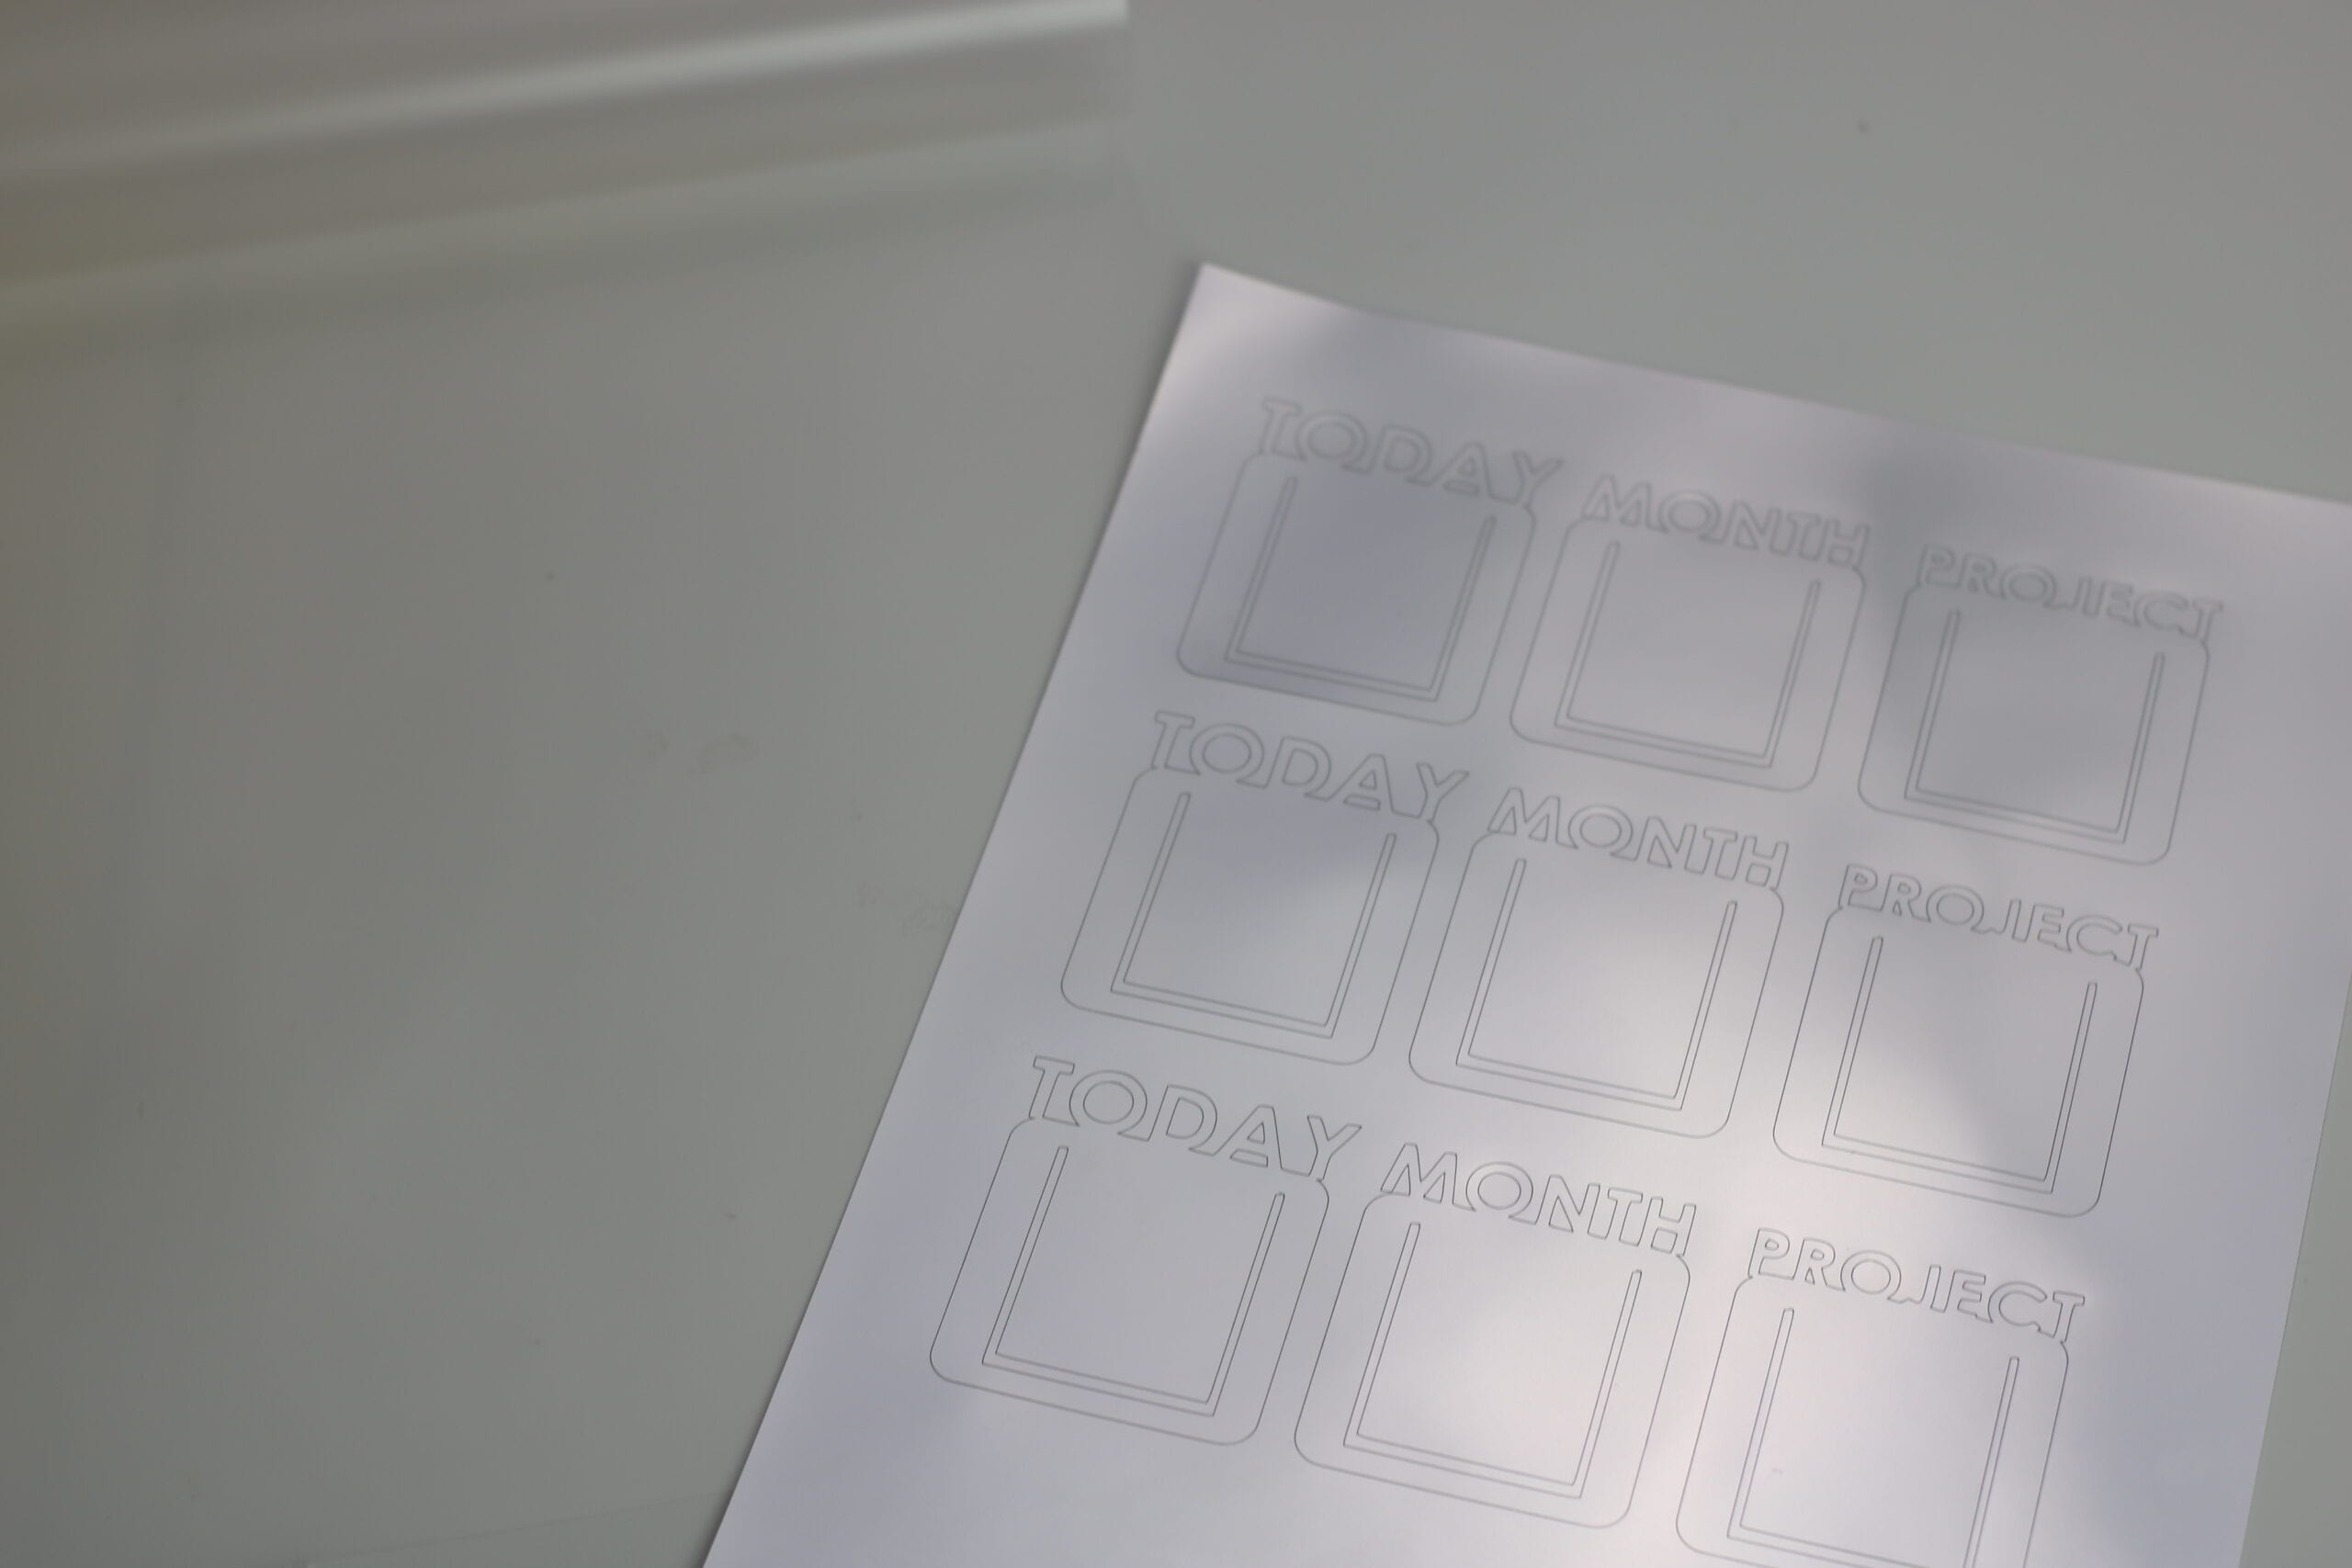
Then go to the “Send” tab and click on the material you are using – for me it was the foil sticker paper. The settings for the clear sticker paper worked perfectly for me. Adjust your blade so it matches, or skip if you are using an autoblade. Then hit Send to start cutting.
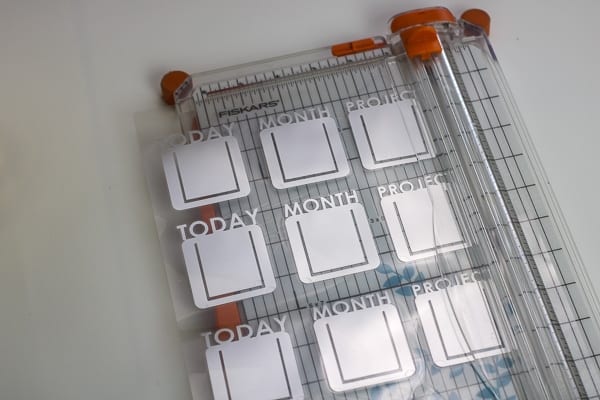
STEP 3: Laminate your cut material & Place it onto Your pixscan mat
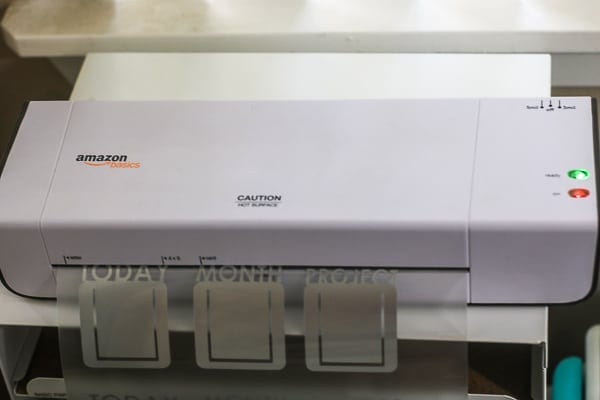
After cutting your material, place it into a laminating sheet and send it through your laminator.
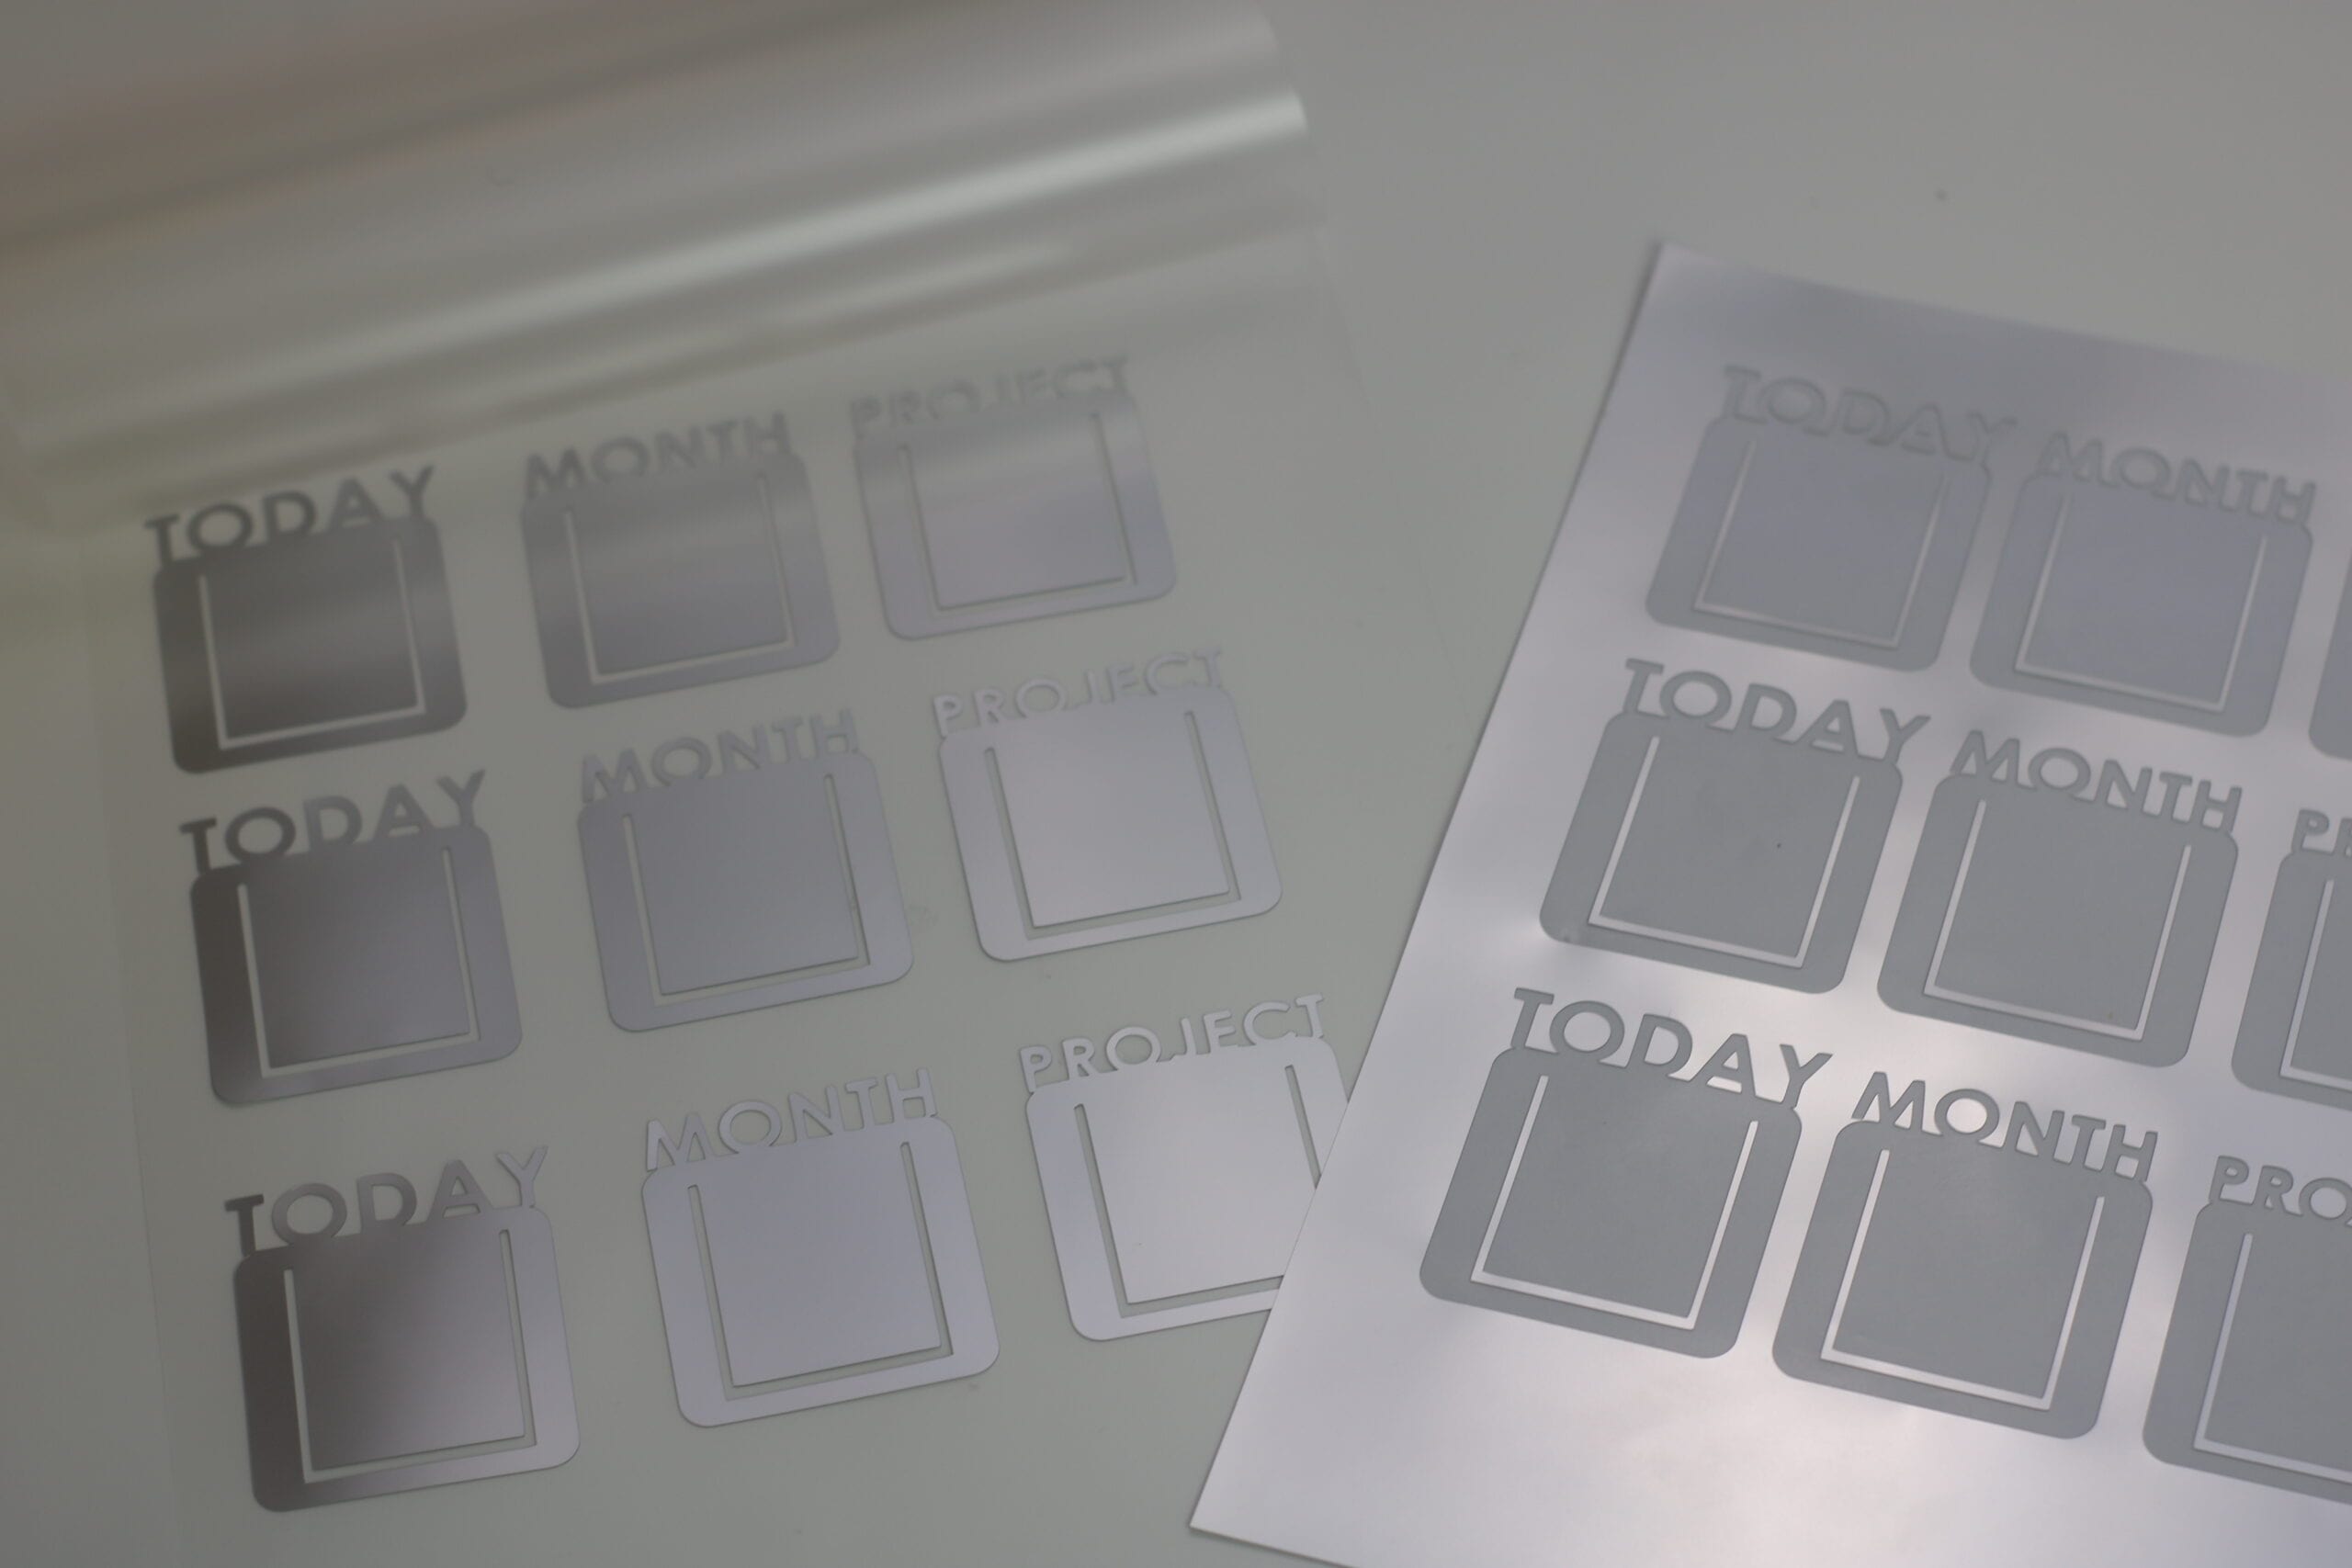
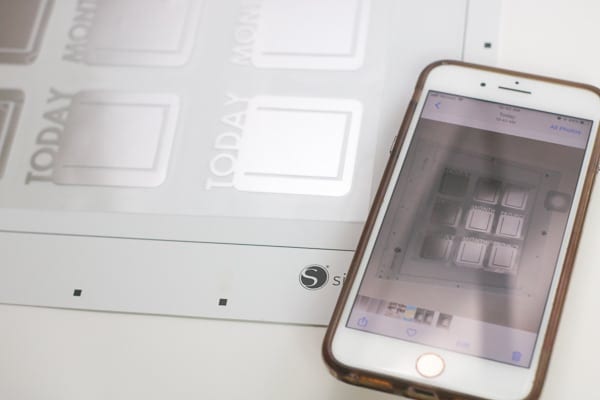
After laminating your material, trim the excess lamination and place them onto your pixscan mat. You will then need to take a photo of it with your phone or camera and send it to your computer. I like to use my iphone and just airdrop it into my macbook. If you’re using a camera just import your image onto your desktop or email it to yourself.
-
Laminate the sticker page markers -
trim the excess lamination so it can fit in the borders of the pixscan mat -
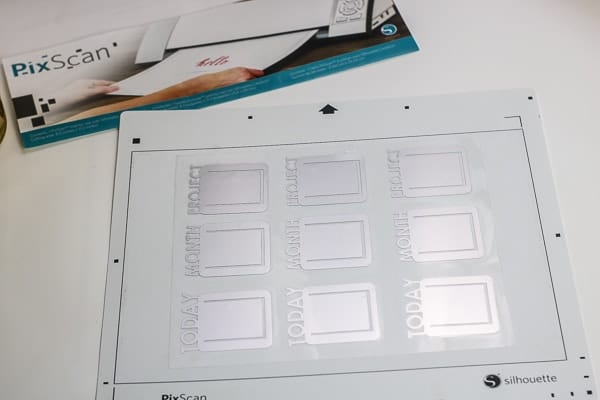
arrange it within the pixscan mat borders -
Take a picture of the entire pixscan mat and send it to your computer
Here are some tips for getting the best pixscan experience:
- Make sure materials are all within the border box
- Take pictures straight on from up above
- Use actual size image when sending it to yourself and don’t zoom in
- Get a picture of the entire mat and be sure it is completely flat
- Avoid glares and shadows if you can
You will then go to the pixscan panel on the side and import your image. It will take a while to load then it will appear in your workspace.


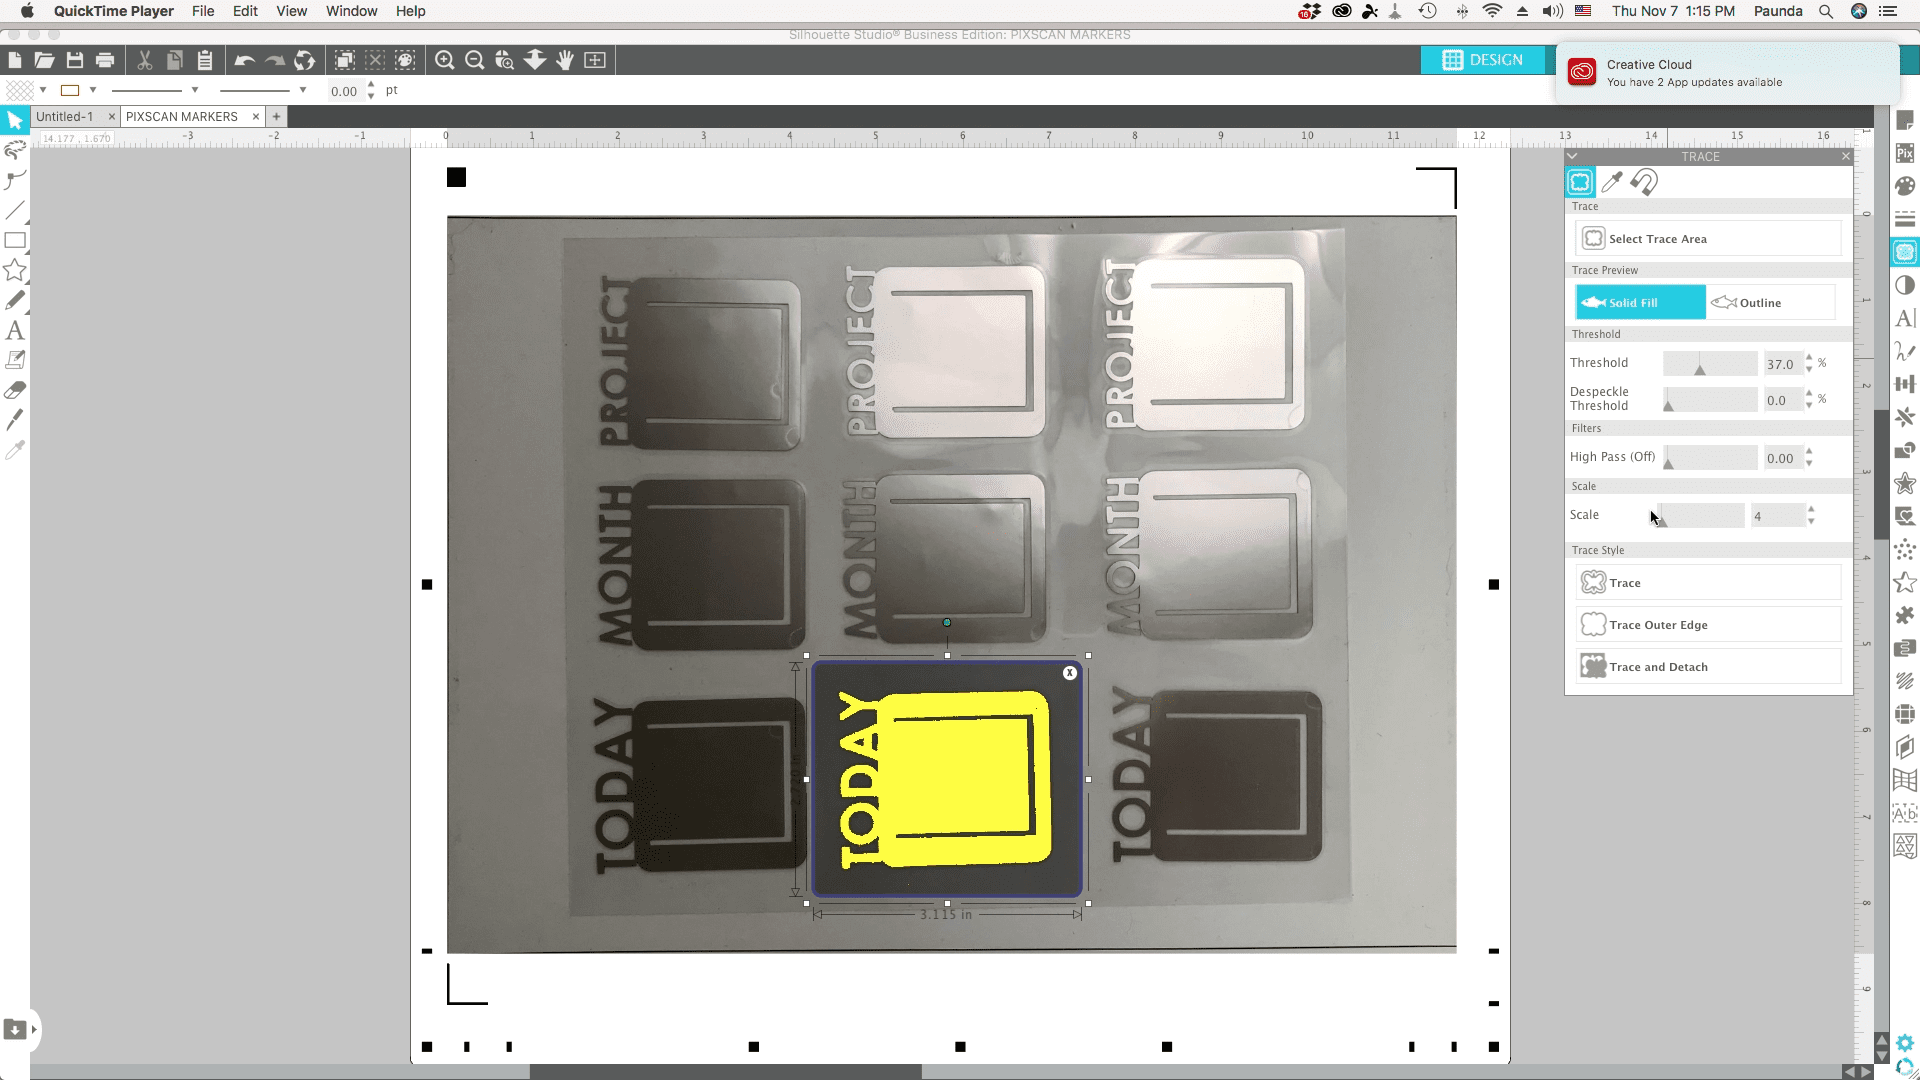
Step 4: CREATE NEW CUT LINES for your pixscan file
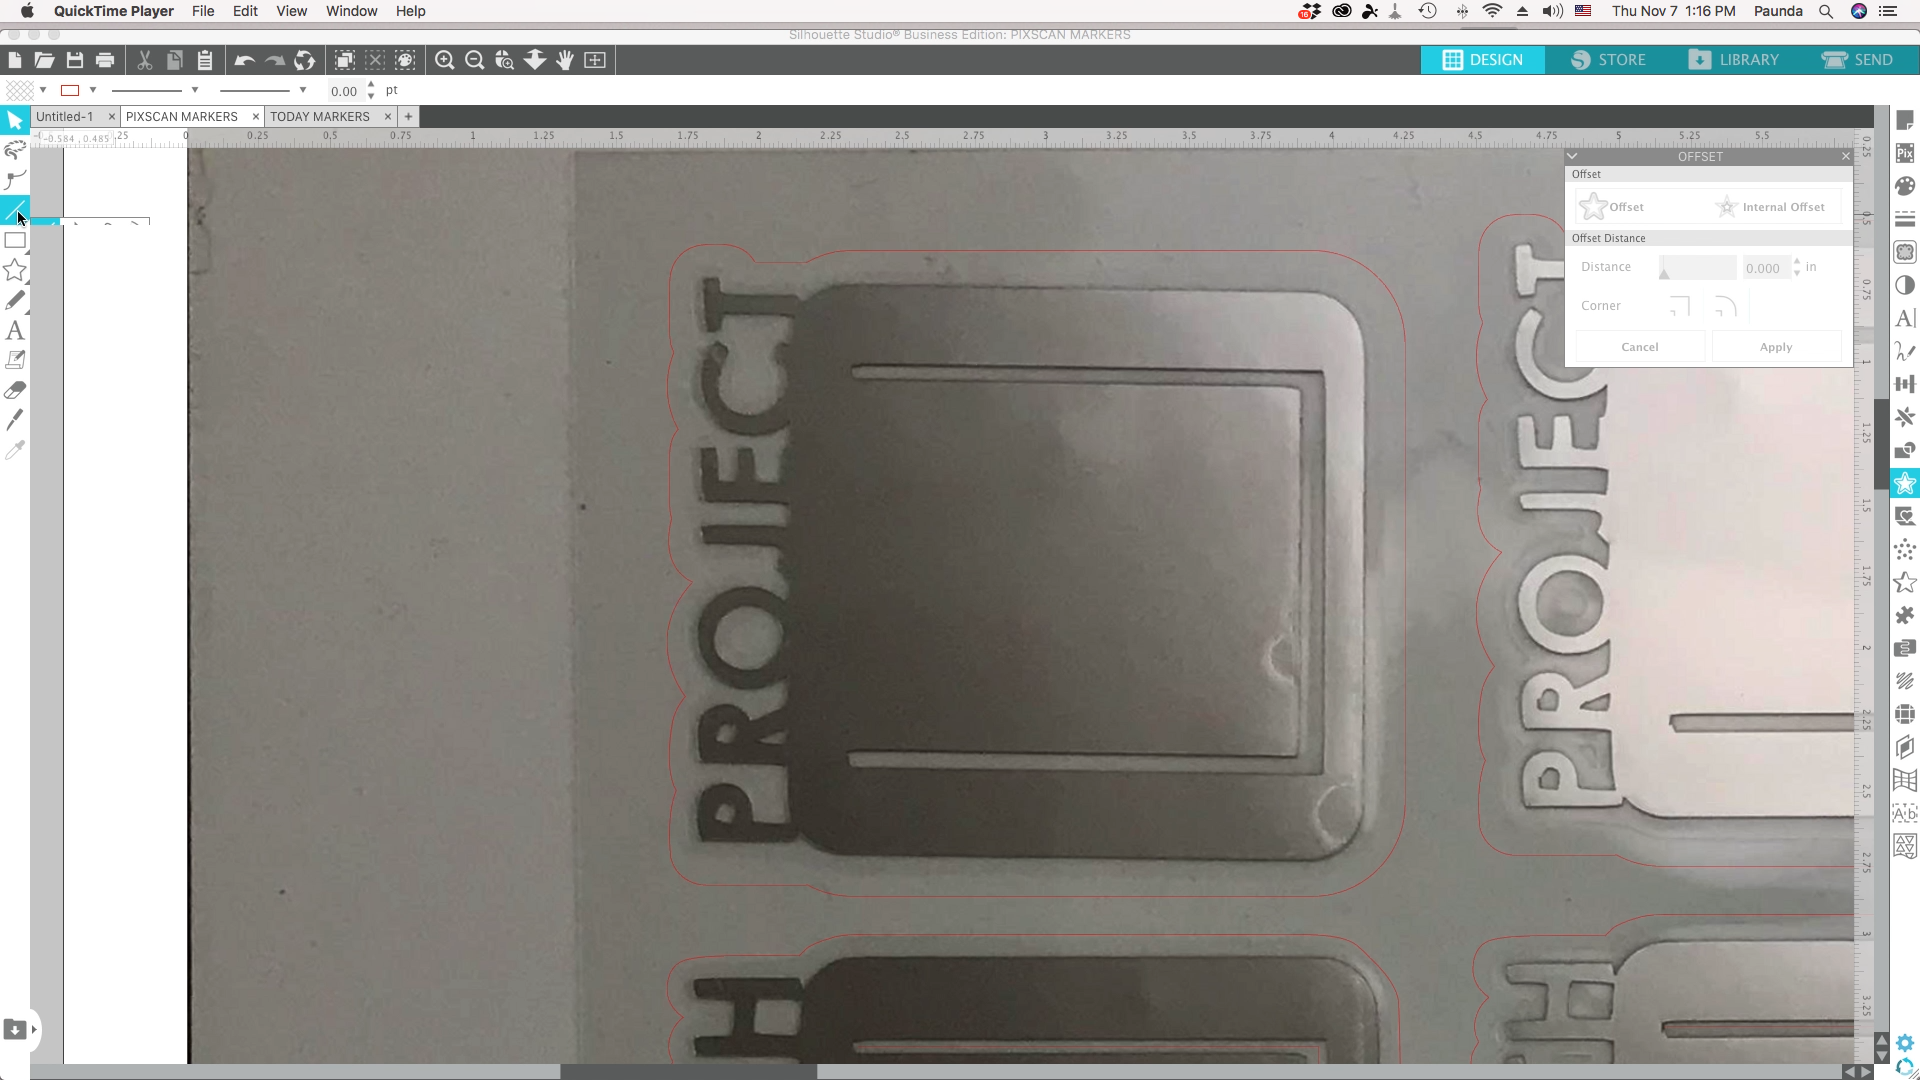
Now you will need to create new cut lines. You can either trace it or create an offset using your previous cut file.
Method 1: Trace
Here is the pictorial for how to trace it and create cut lines. First go to the trace panel. Then trace what you’d like to cut. I find it best to do one at a time. Then just trace it and create an offset to cut around it. Be sure there are also cut lines for the tab part in the middle. But sometimes this doesn’t work so well, especially with all the glare from the foil, so I found the next method works best.
-
Trace image -
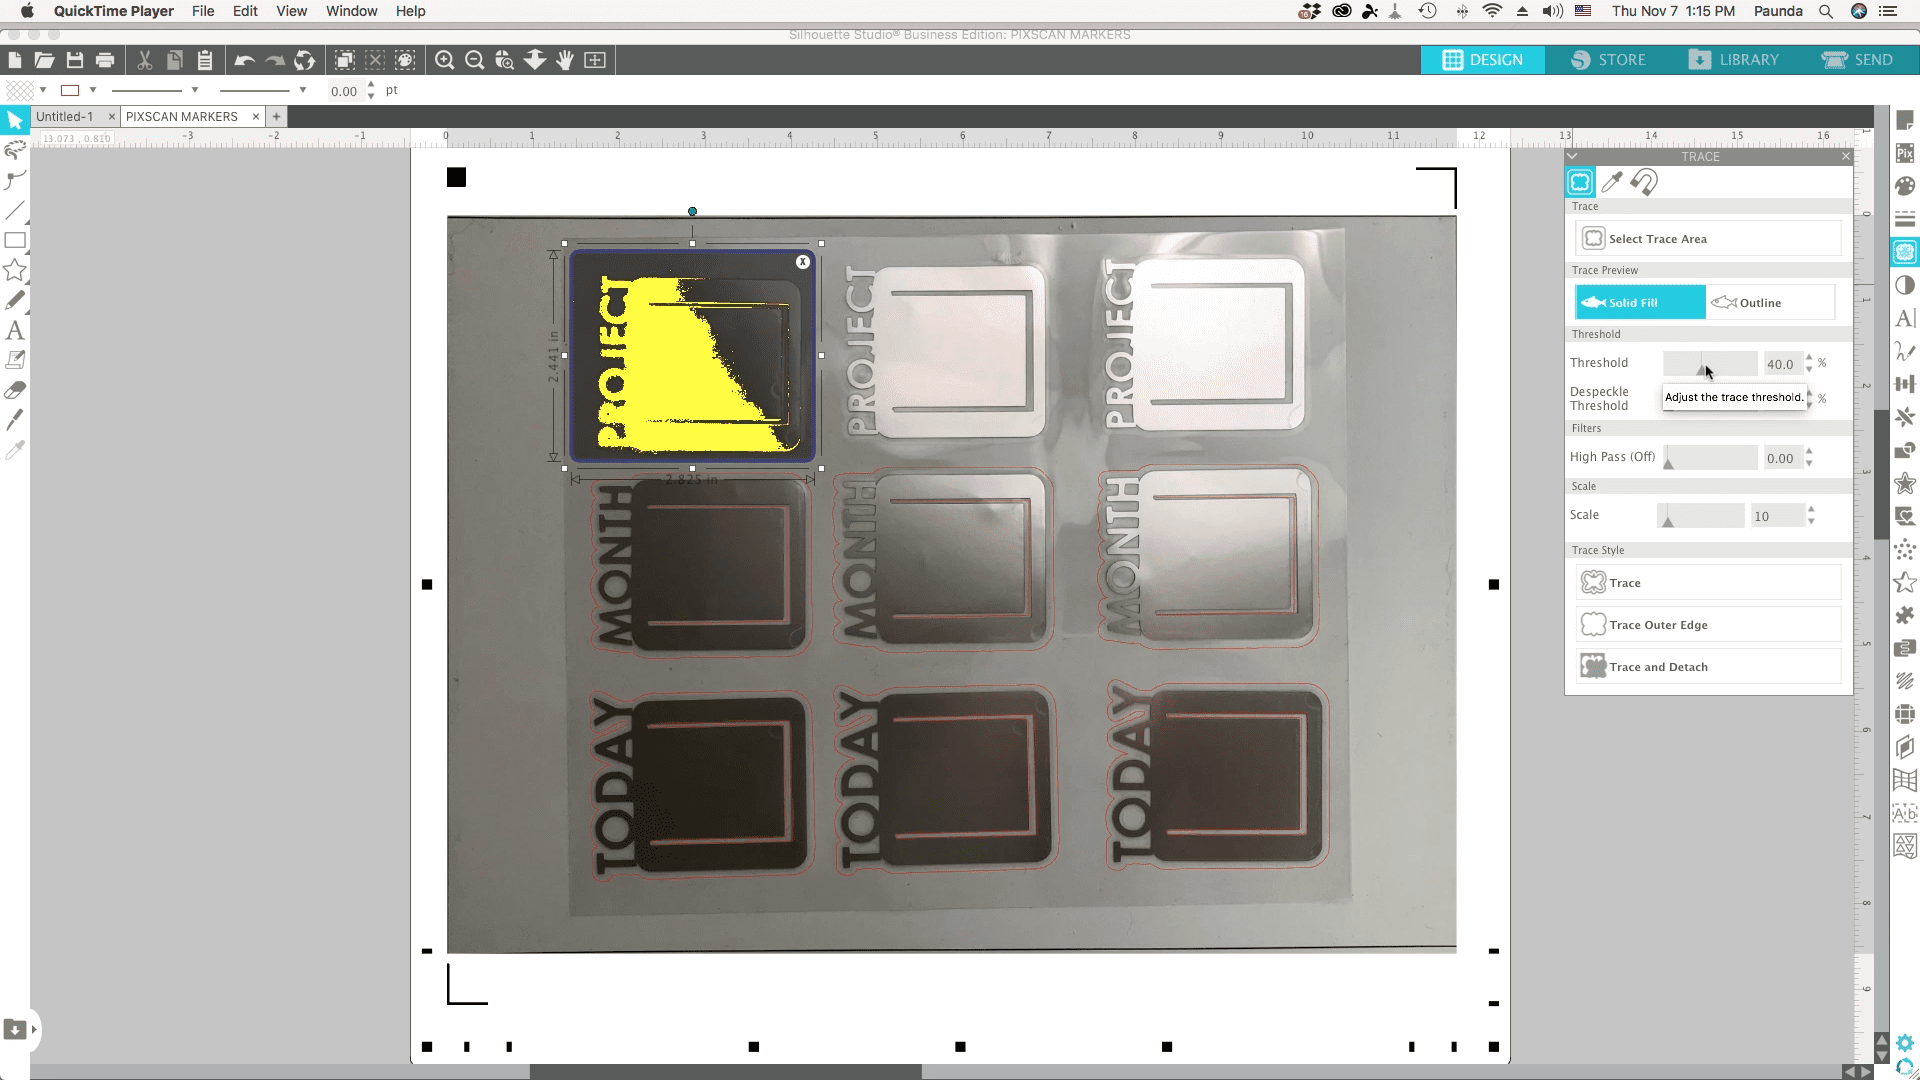
This didn’t work well so the next method would work better -

Create an offset around the traced object, & delete the original traced lines (except for the middle part).
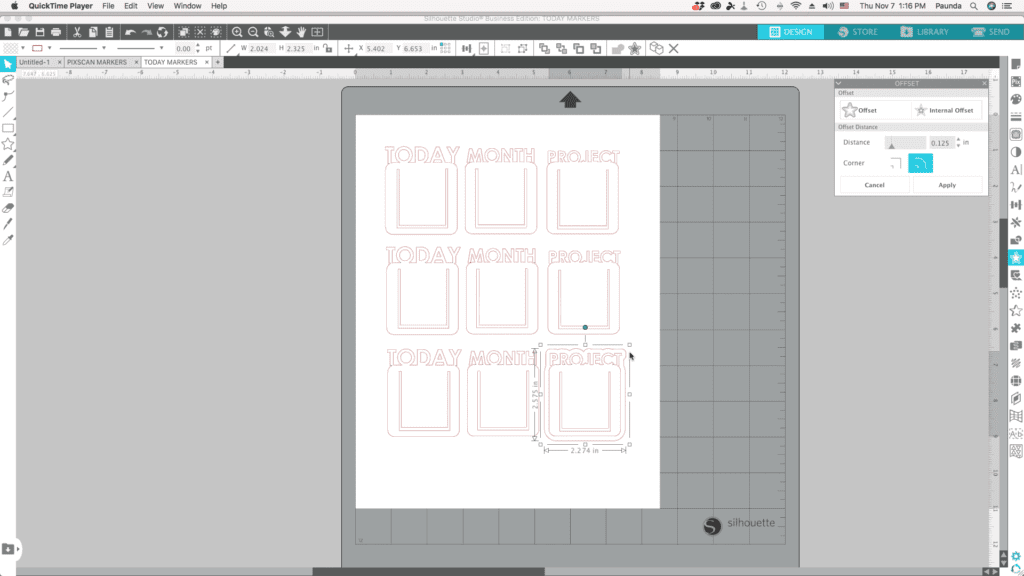
Method 2: Manual Offset
The other way to create new cut lines is by doing it manually. This is easy if you already have the previous cut file. Simply go back to the first file we used to cut out our markers and create an offset for one of them. Then copy and paste it to the pixscan version. Arrange it so it fits around your pixscan markers. If you had more than one design be sure to do it for all the different designs you have.
Then use the line tool and make cut lines for the inner tab rectangle part. Then copy each marker’s cut lines and arrange them around each page marker you want to cut. You can tell they’re a bit different in the last photo – the project was done manually and the today design was done using the trace method. I found both worked out fine after it was cut.
-
Create an offset from the original file -
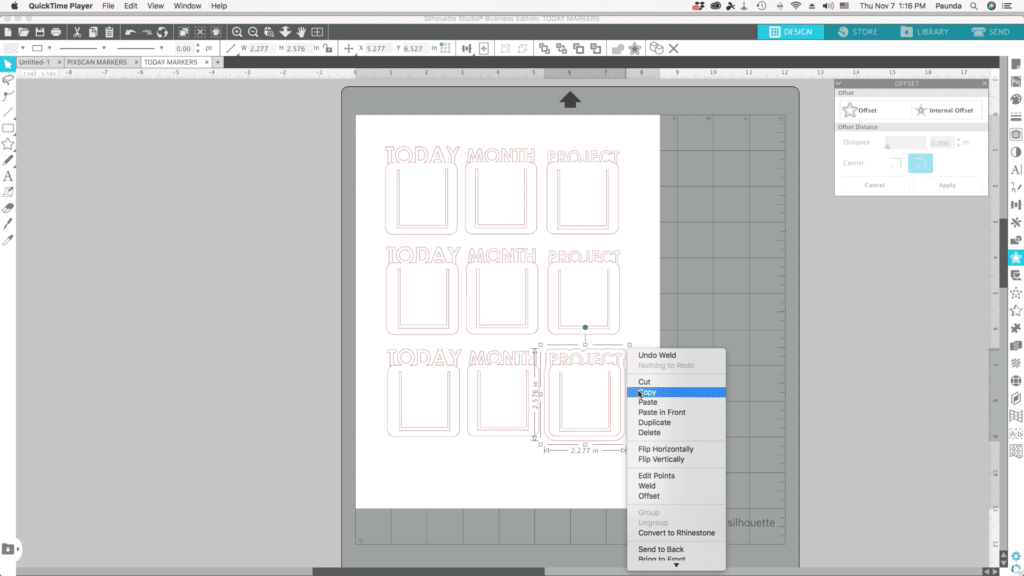
Copy the offset you just created -
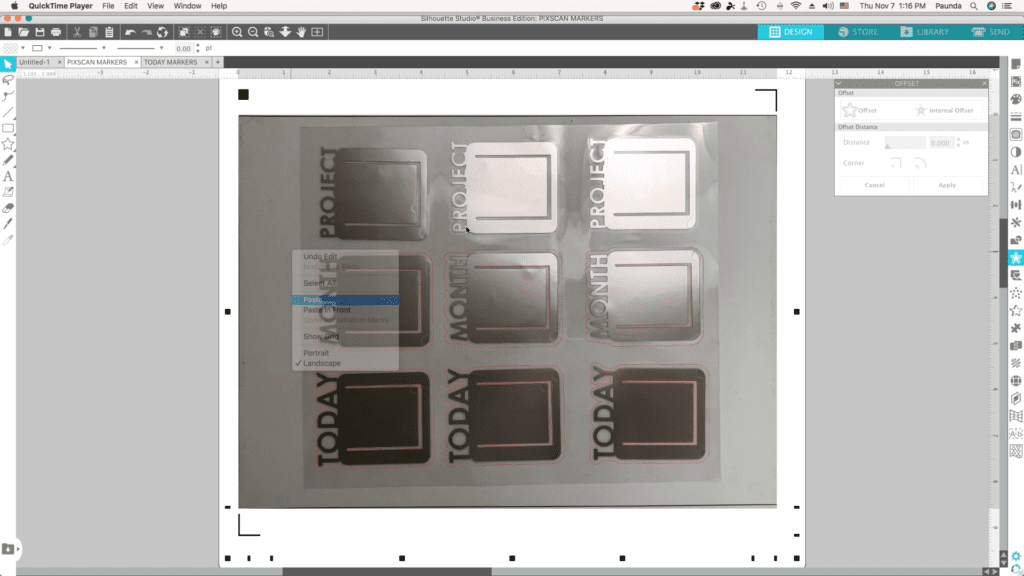
Paste it around your pixscan object -
Arrange it around the object -
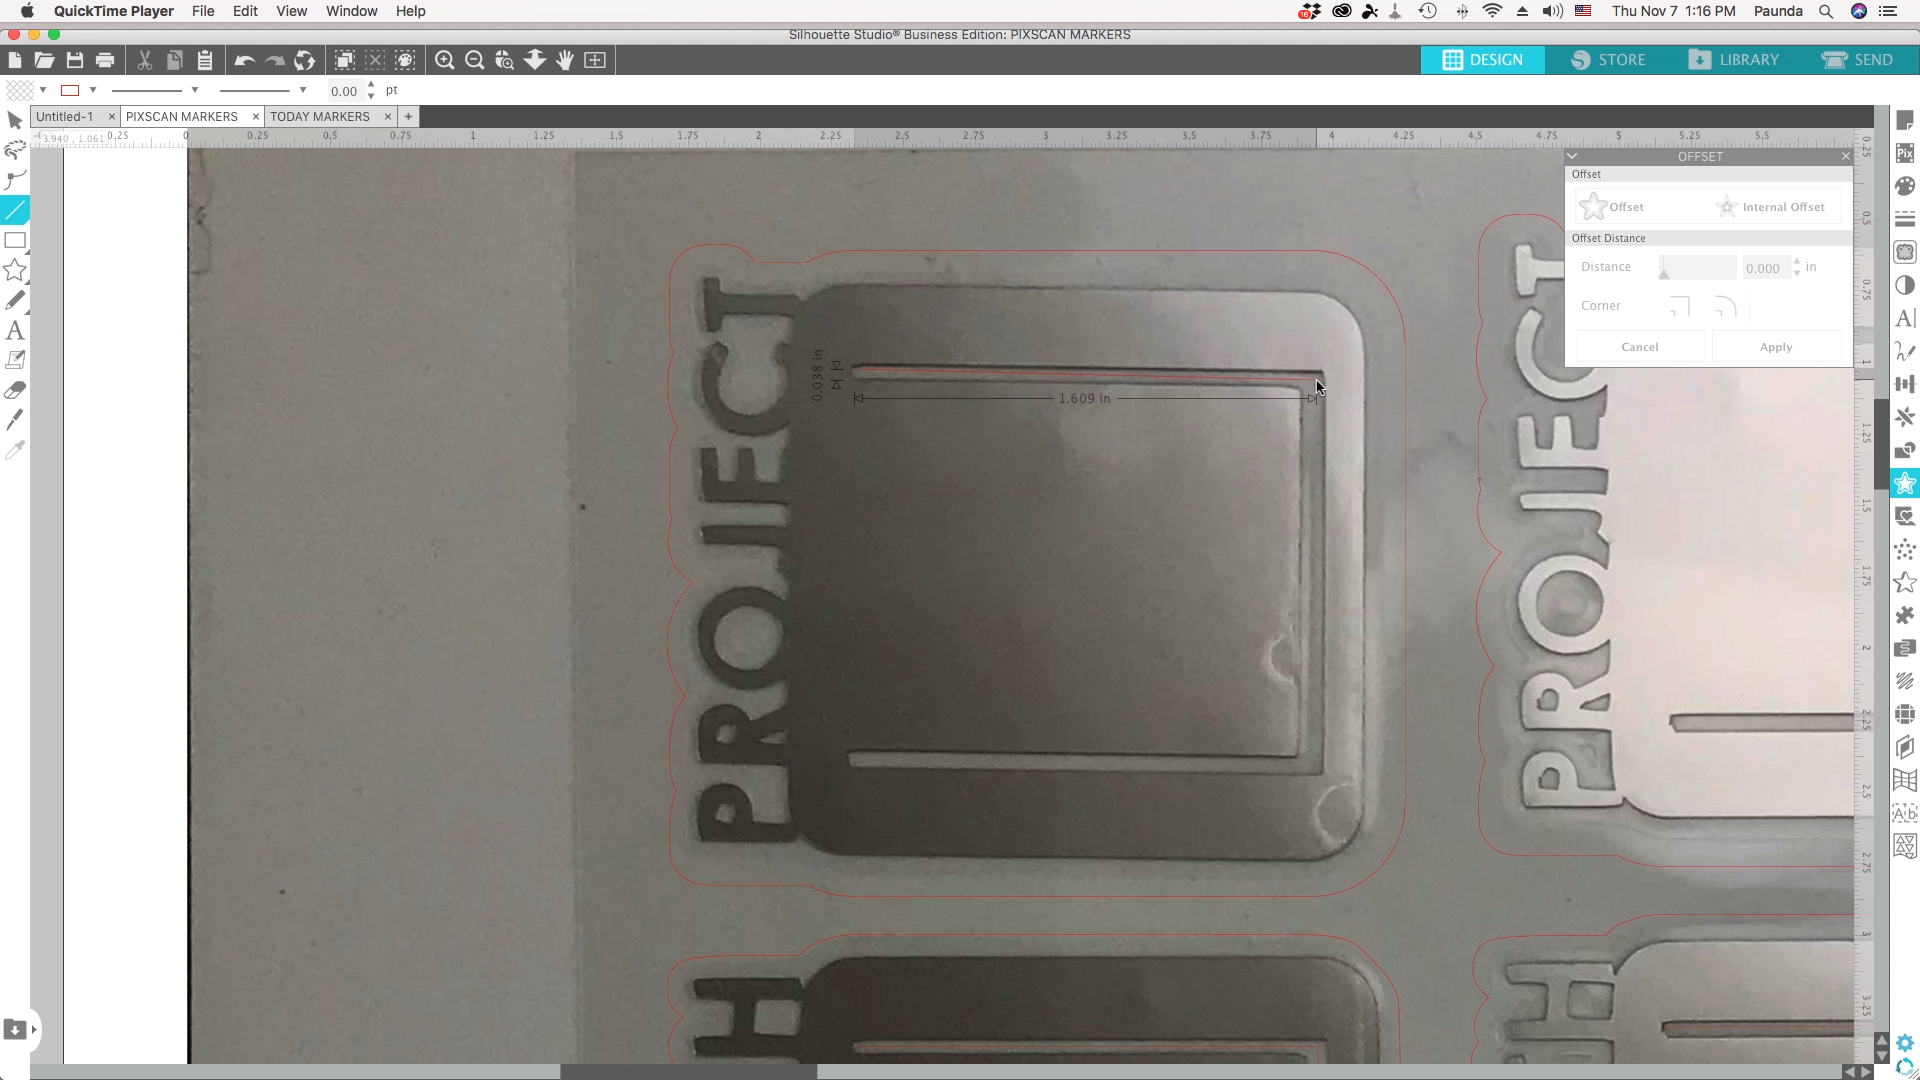
Use the line tool to create cut lines within the object where the tab would be
Step 5: send the laminated material to cut on the pixscan mat
-
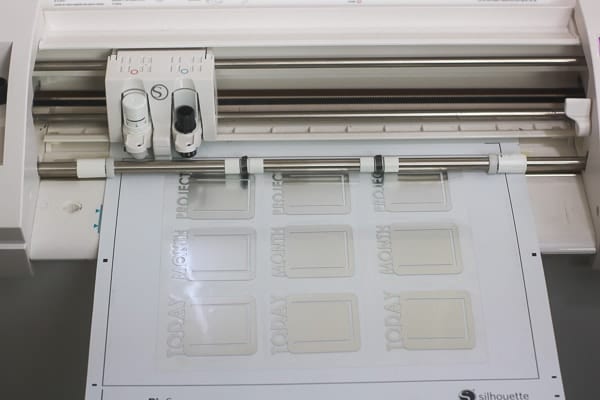
Place your pixscan into your machine -

Set your settings and send to cut
Now you can put your pixscan mat into your machine and send your laminated markers to cut. I used these settings to cut my 10mil laminating sheets:
- Blade: 4
- Thickness: 29
- Speed: 3
- Passes: 2 (I originally did 1 pass, but it didn’t cut all the way through)
Be sure to test before cutting it all out.
- Go to Cut Settings and select your cut settings by finding the closest material for your lamination and tweaking it to the best settings
- Load the PixScan mat in to your Silhouette Portrait/Cameo and check the blade depth.
- Send the design to your Silhouette.
If your machine is having trouble reading the pixscan mat registration marks try to re-align the mat with the left edge of the mat touching the loading guide mark, but not covering it. The edge of the mat must be just to the right of the mark (rather than covering the mark or loaded slightly too far to the left). You can also try to make sure your image is taken on a flat surface and isn’t curled in the corners. Also be sure that all of your materials are inside the cut border.

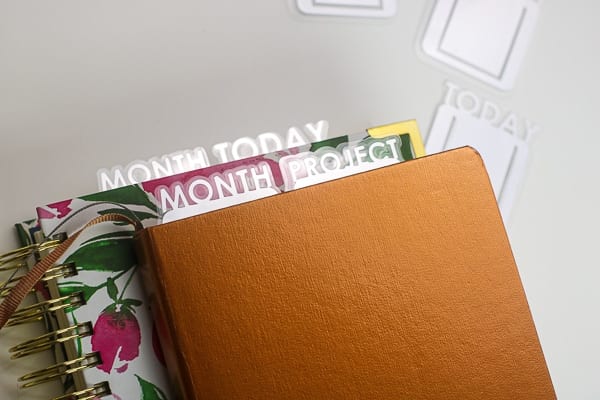
step 6: use the page markers like a paper clip or bookmark for your journal, Planner or notebook
Now that your page markers are all made, try it out on your planner! Place them on the page you are on and see how easily it is to turn to that page next time you’re planning! They work just like tabs but they’re reusable and has a custom made look to it!
I hope this little tutorial was helpful for you! Have you tried to make your own page markers with your Silhouette yet? Give it a try and let me know how it turned out below!


Click here and use code 10OFF to get 10% off regular priced items (bundles and promo items not included).