
This post is sponsored by Silhouette America and contains affiliate links, which allow me to earn a small commission at no extra cost to you.
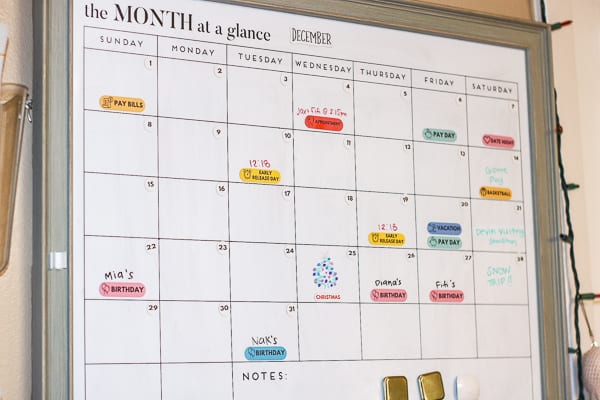
2020 is just around the corner and I would not be as organized as I am without my trusty wall calendar system. I love writing everything down on it and since it’s sitting in our common area, I am always reminded of what’s coming up next. The kids and husband even know what’s going thanks to the wall calendar! Everyone is organized, and nothing is forgotten!
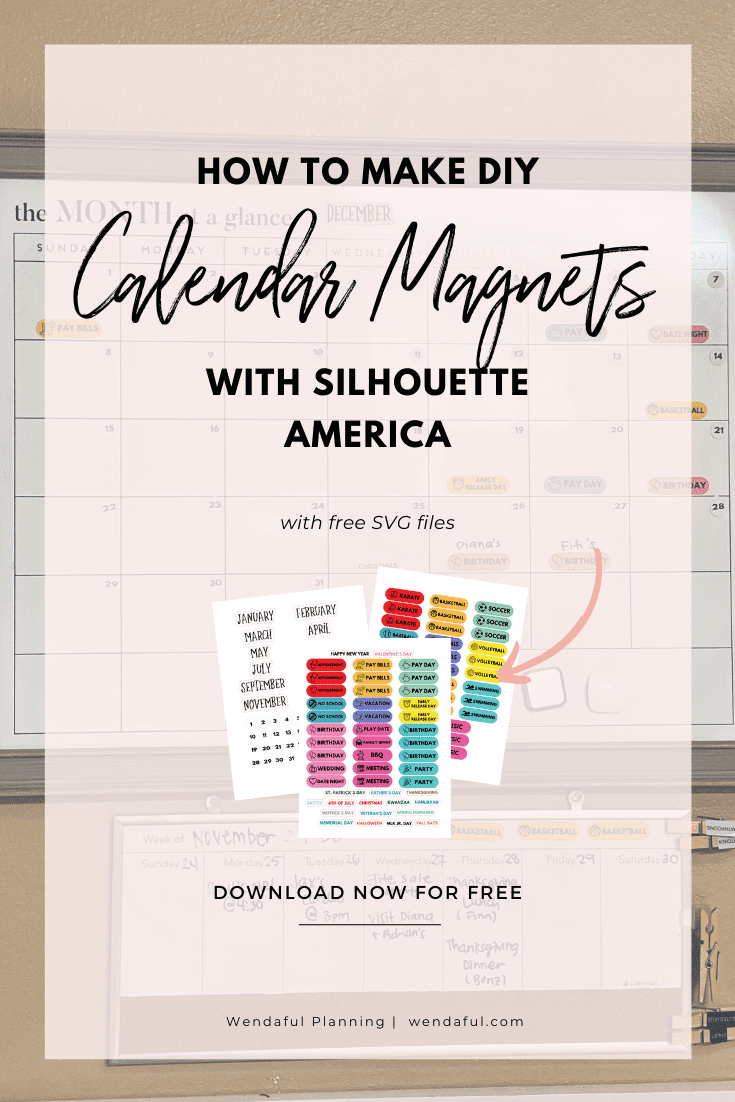
In this post I wanted to share with you how I made calendar magnets to make planning on our wall calendar even easier!
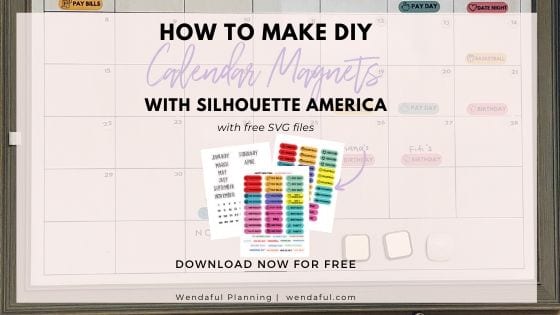
Table of Contents
How to Make DIY Calendar Magnets
Making your own calendar magnets at home is easy to do with your Silhouette machine, magnet printable paper, and a printer.
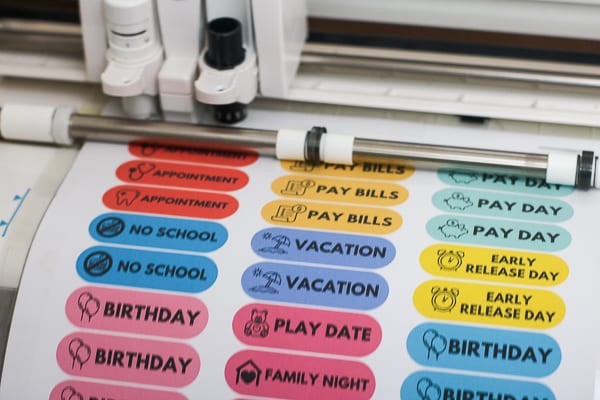
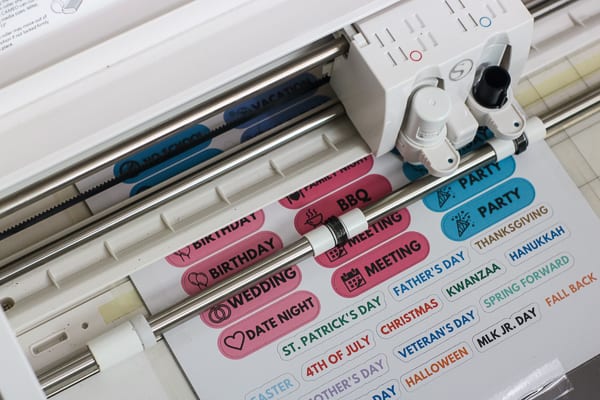
All you need are some designs, which I am providing to you, completely for free! Just download, print and cut!
The print and cut feature for Silhouette involves printing a project in your regular home printer then sending it to cut in your silhouette cutting machine. Before you print, you need to make sure there are registration marks that will print on your project first. Then you place that printed sheet on a cutting mat and send that to your machine so it knows exactly where to cut.
Once it is done cutting, you should have a whole bunch of magnets ready to to use on your magnetic wall calendar or board right away.
Supplies Needed:
- Silhouette Cutting Machine (Cameo/Portrait)
- Silhouette Cutting Mat
- Silhouette Cutting Blade (comes with Cameo/Portrait)
- Printer
- Silhouette Magnet Paper Printable (4 pack for $9.99)
- Free Calendar Magnets Printable(SVG file, must have Designer Edition or up to open file) – from now until Dec 6th software upgrades are 50% off – Use the promo code WENDA for discounts!
Step 1: Open the Free Calendar MAGNETs design in Silhouette Studio®
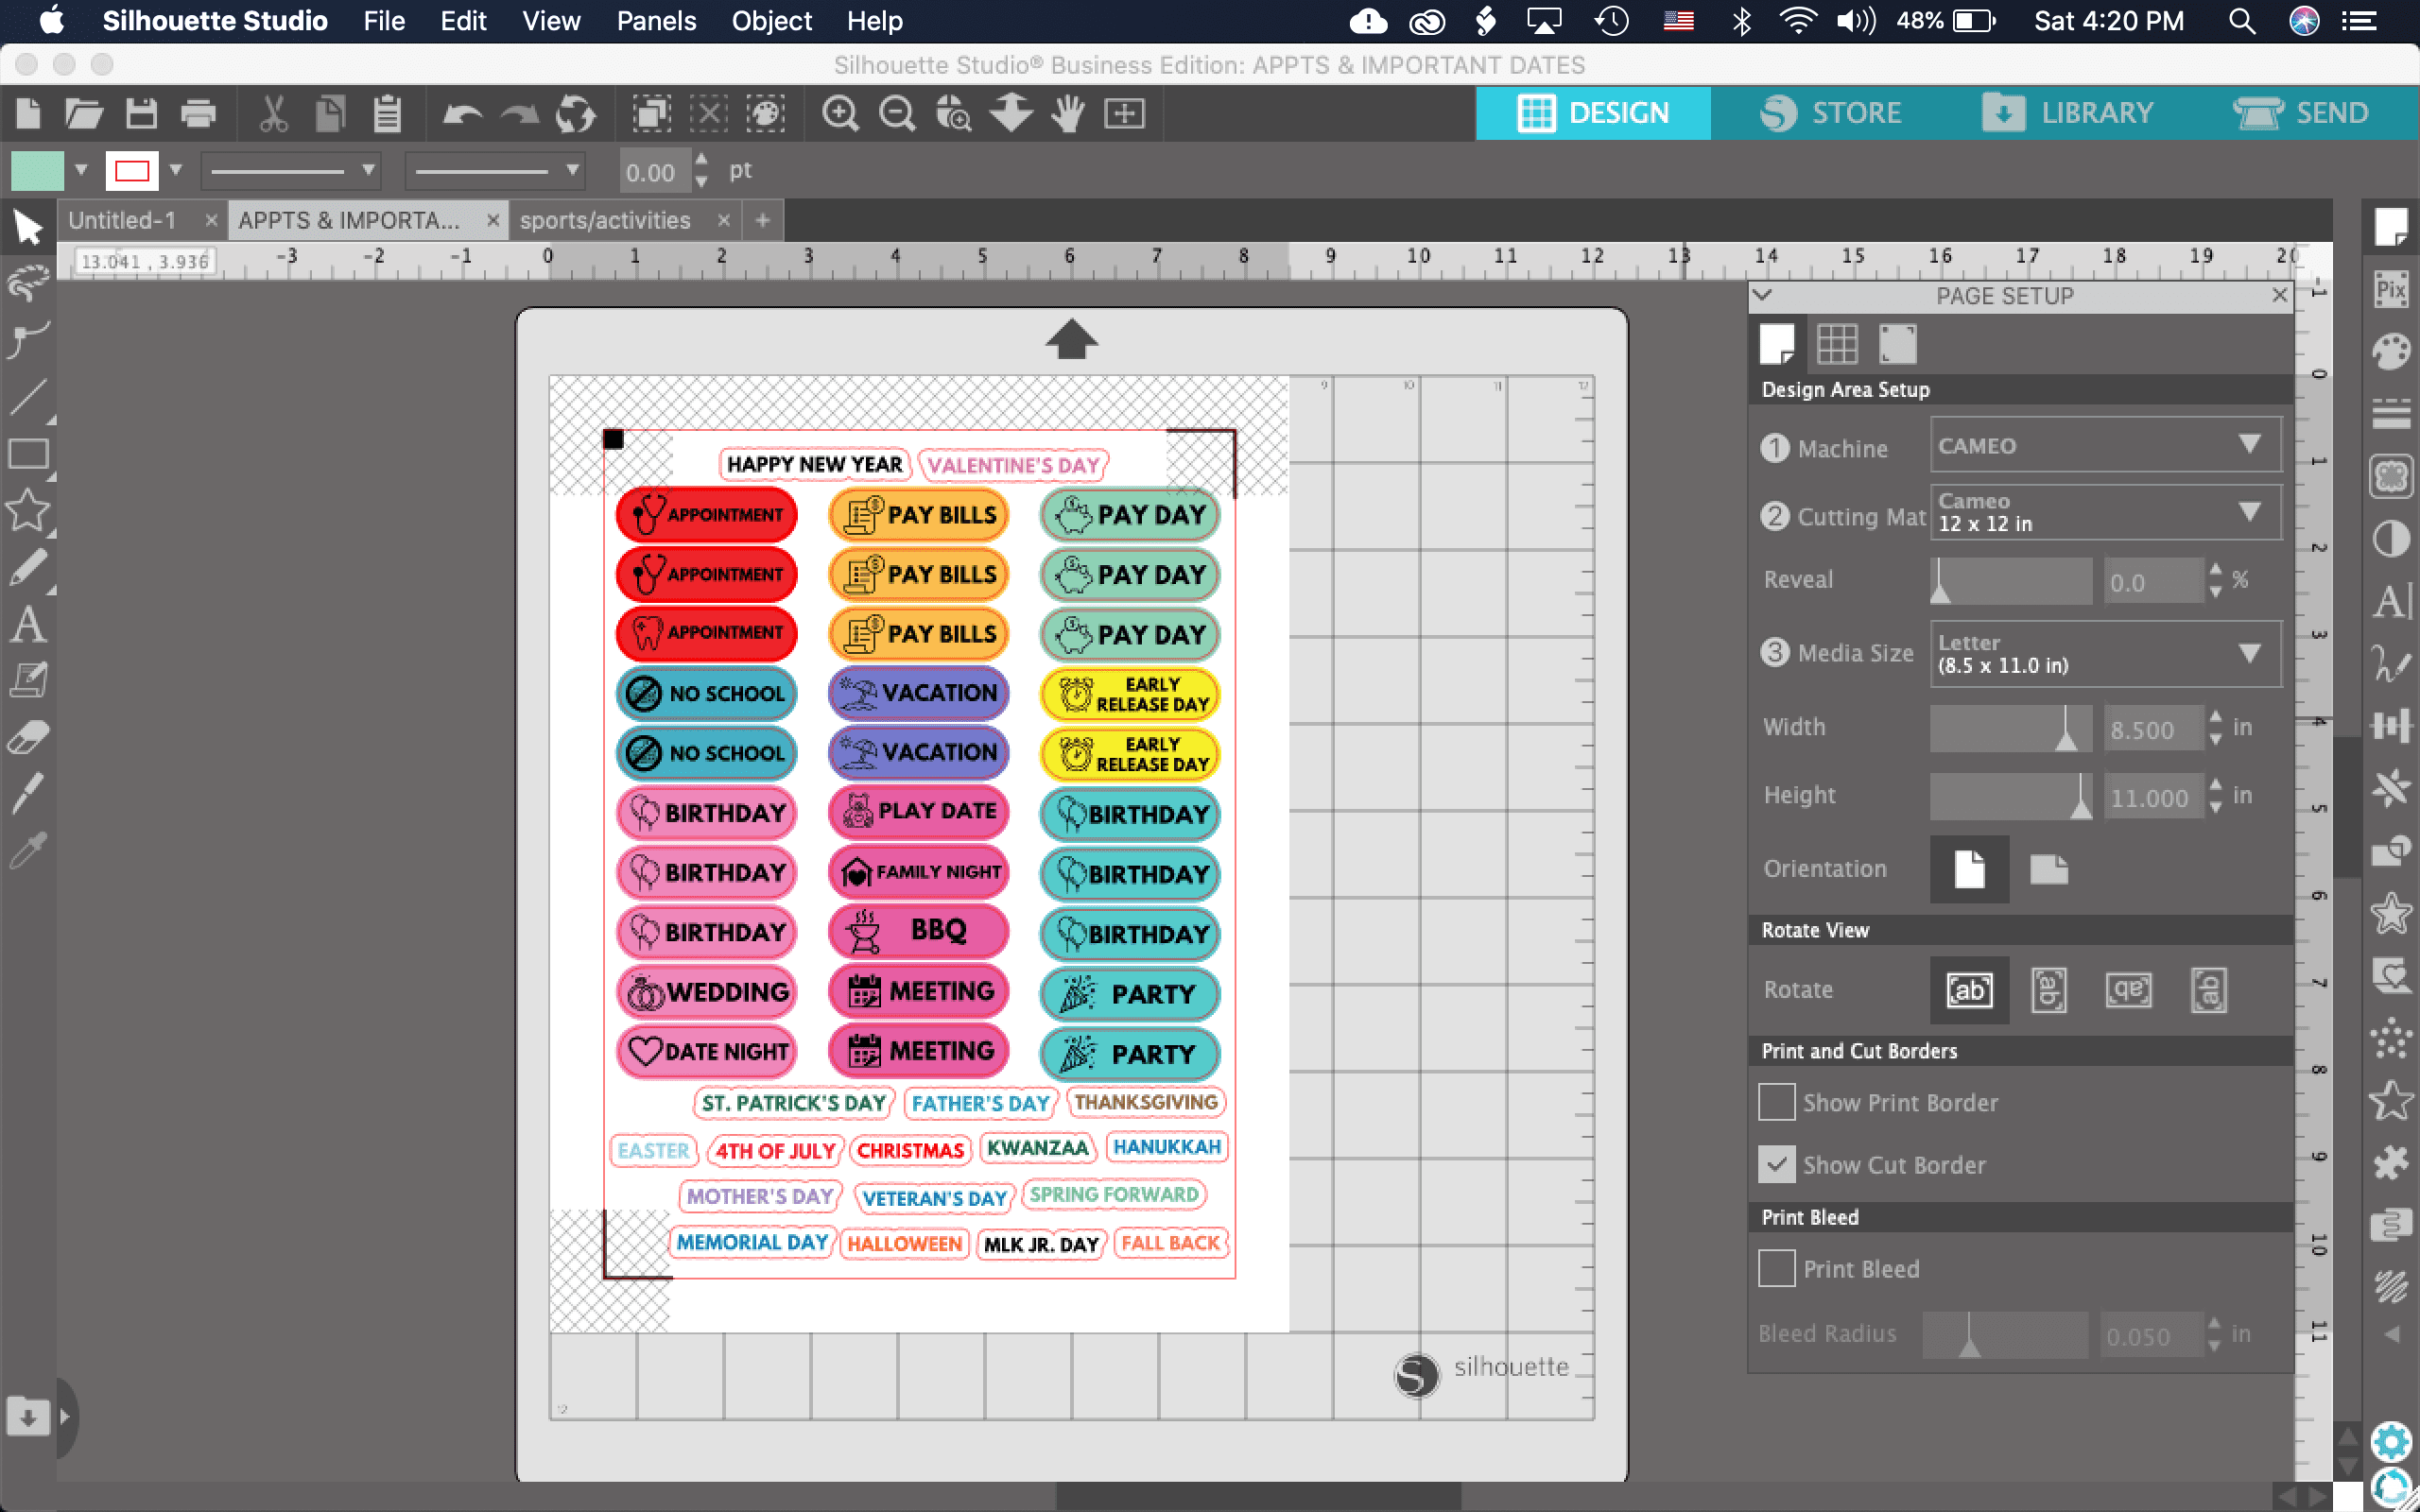
For this tutorial you can simply open up the file I provided. The one I provide includes three different files: Appointments & Important dates, Sports & Activities, and the Month & Dates. You can easily resize it to your planner size if you plan on using as stickers. When you download the SVG file, be sure to click open with and select Silhouette Studio. Or you can open up Silhouette Studio and open the file directly by going to File>Open and finding where you downloaded the SVG file. Please note that you will need the Designer Edition to open a SVG file.
If you don’t need all the labels and would like to save magnet paper, you can always ungroup the file and delete what you don’t want to print and rearrange the designs on a new project and add only what you need. So instead of printing on two different magnet sheets and having a bunch of activities my kids aren’t in, I combined the dates and some activities and added some extra appointment magnets to my custom file.
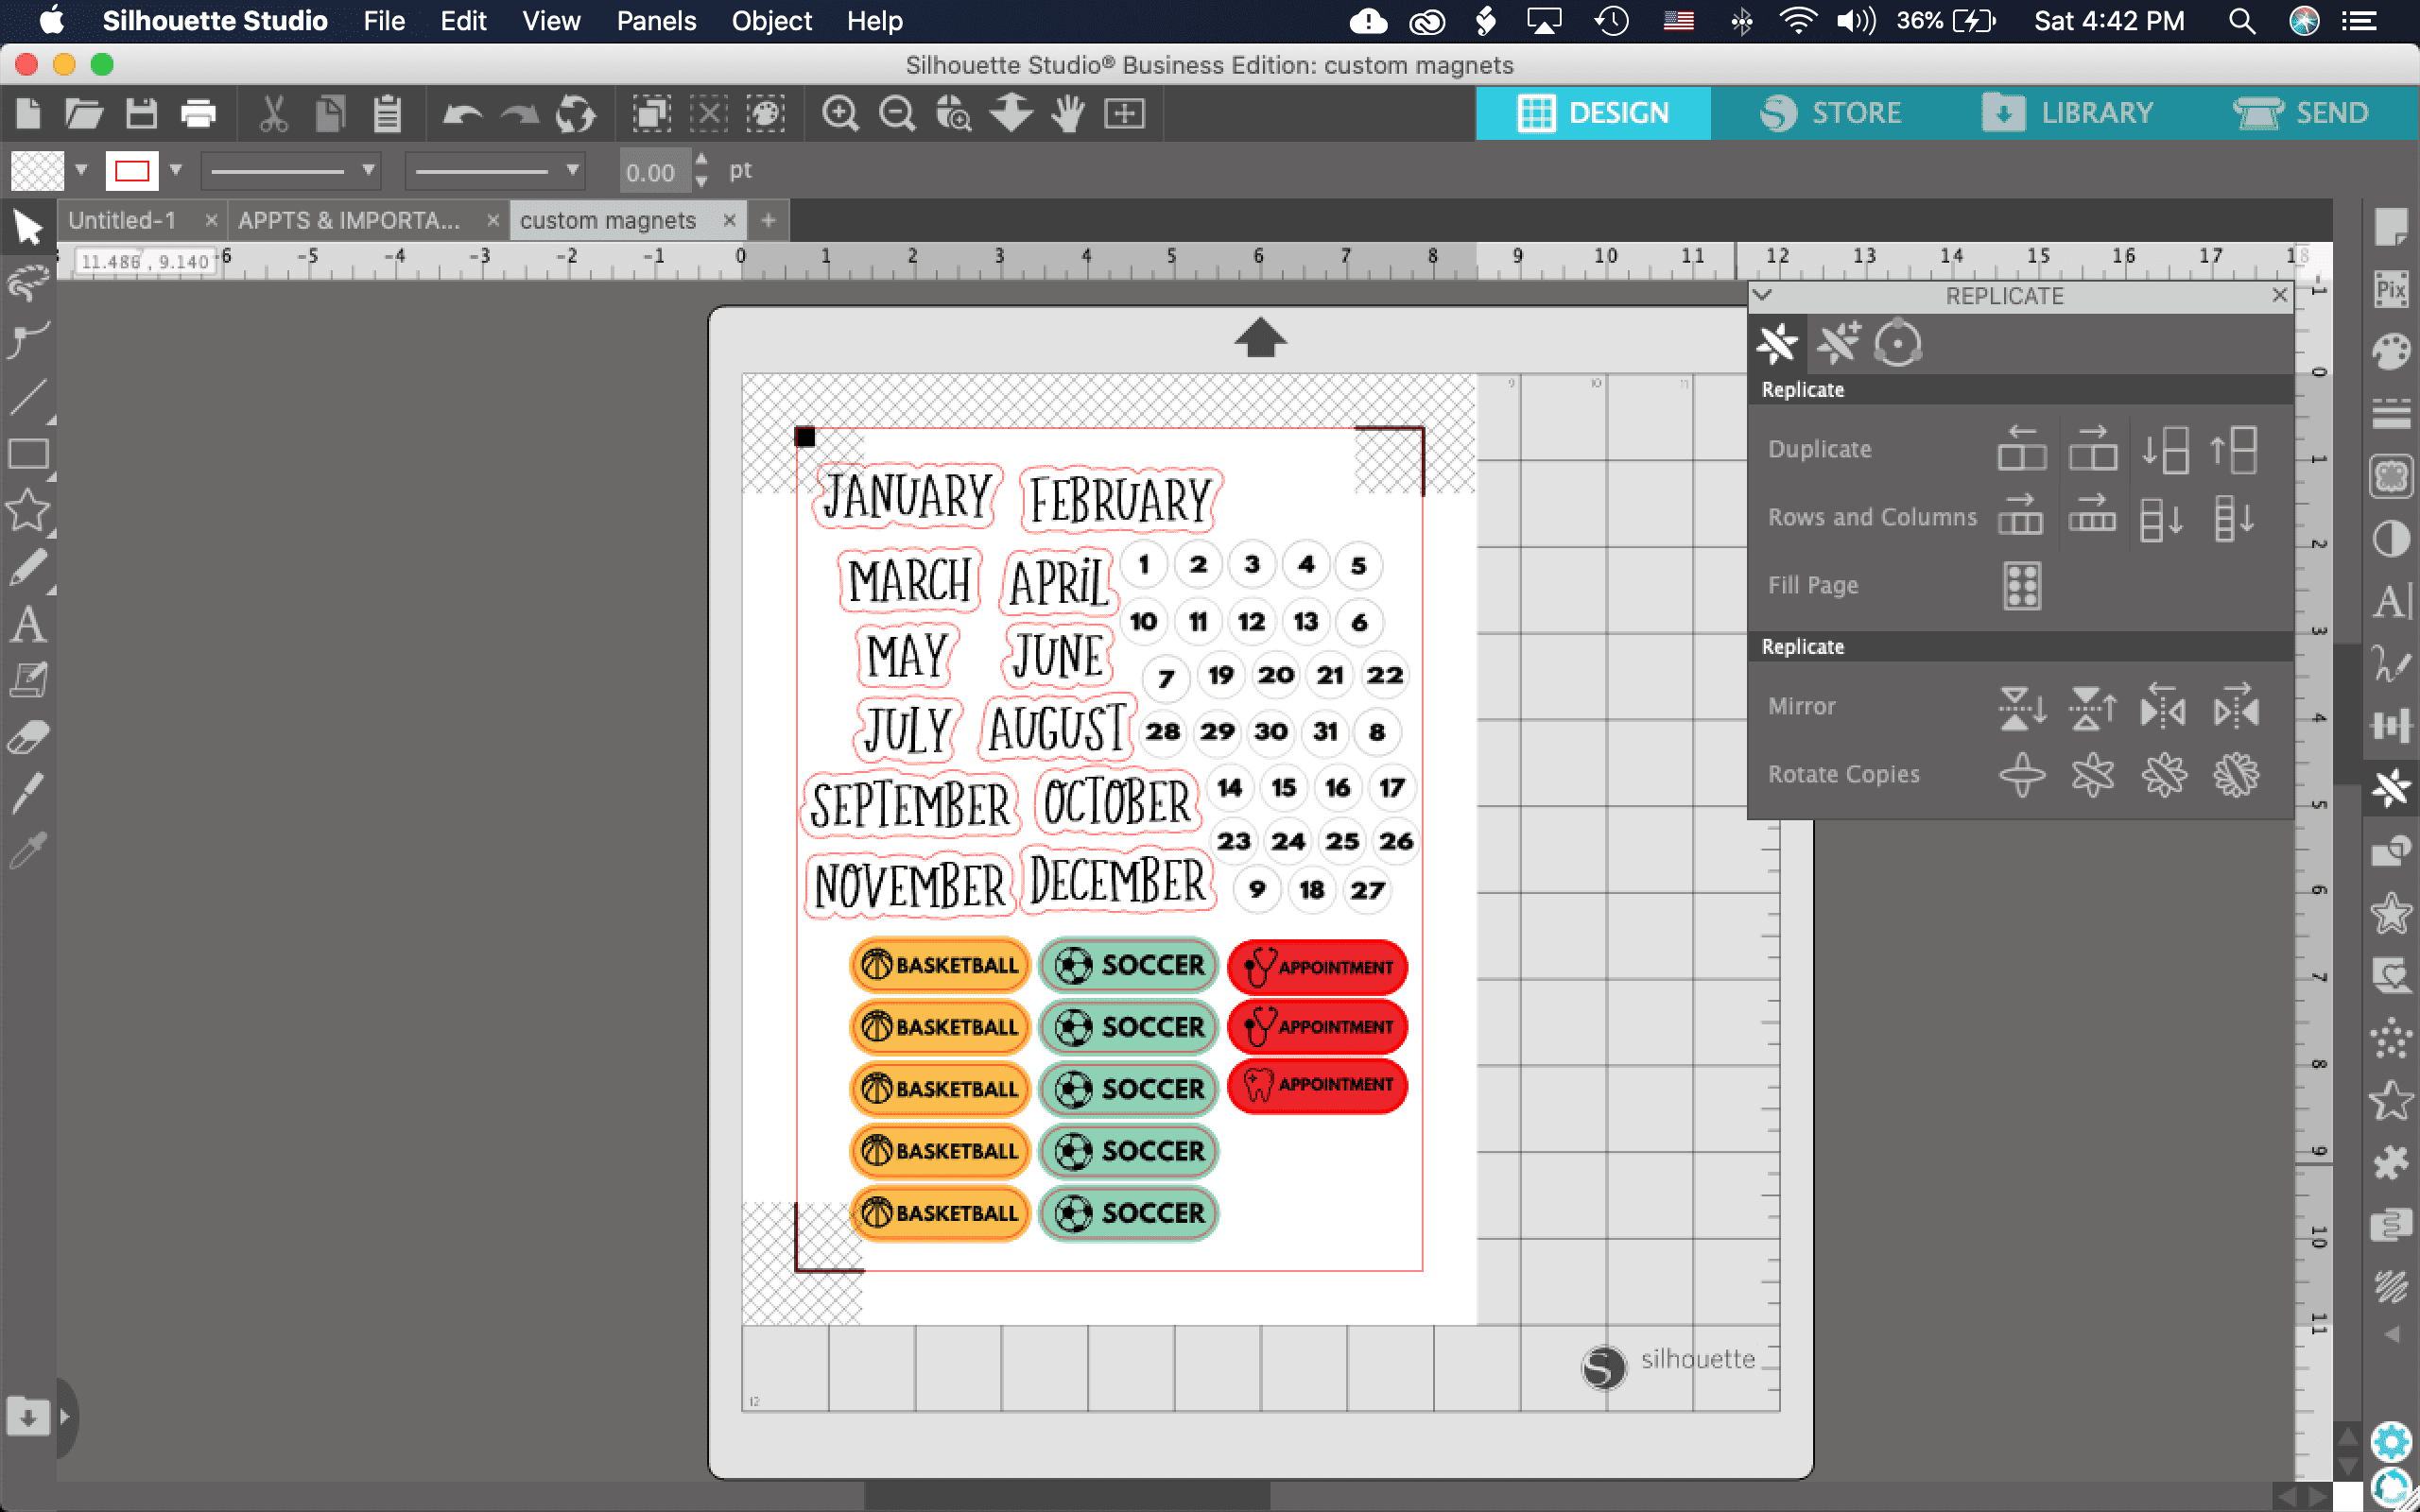

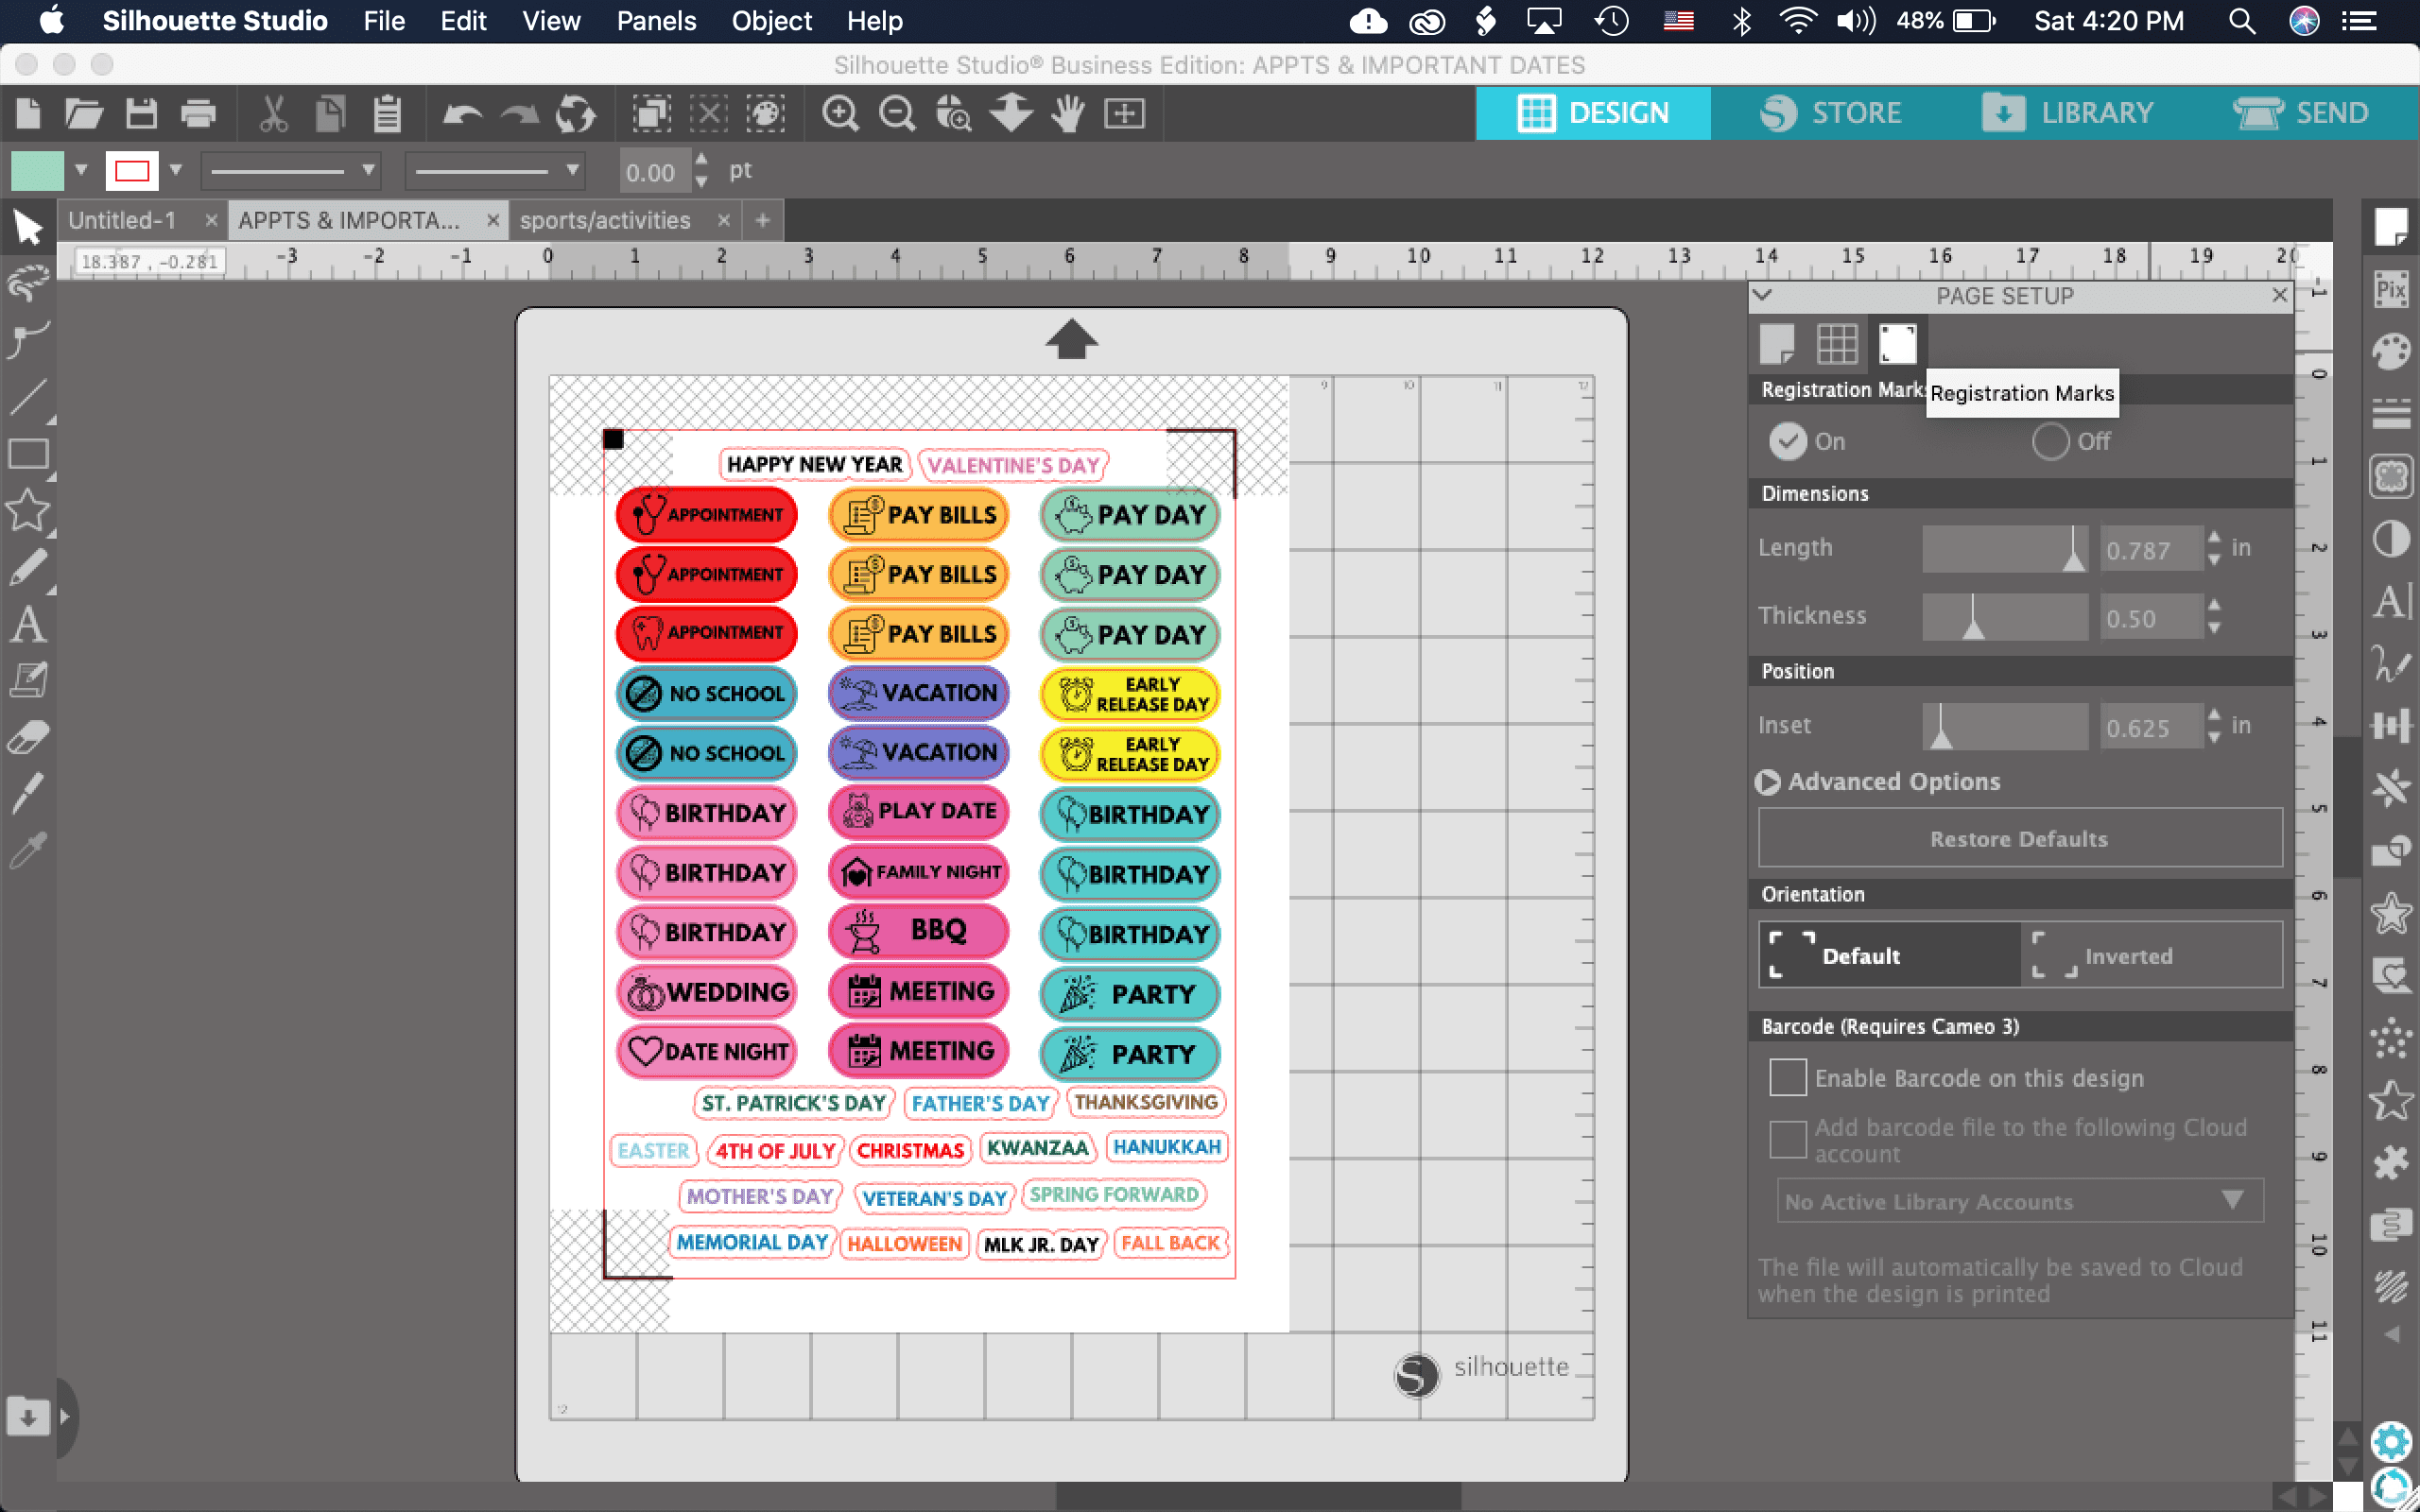
Go to “Page Setup” and make sure your workspace matches the size of paper you will be printing on (should be 8.5 by 11 inches) and the cutting mat you will be using (I am using a cameo mat).
STEP 2: Add registration marks
You will find it in the 3rd tab of the Page Setup panel. Click on the Type 1 Style and you can keep everything else as is. Once the registration marks are on, you should see a box and two L shaped marks in three corners of your project. Make sure that your design is not touching any of the grey cross-hatched areas to make it easier for your Silhouette Machine to read your registration marks.
STEP 3: Print your design
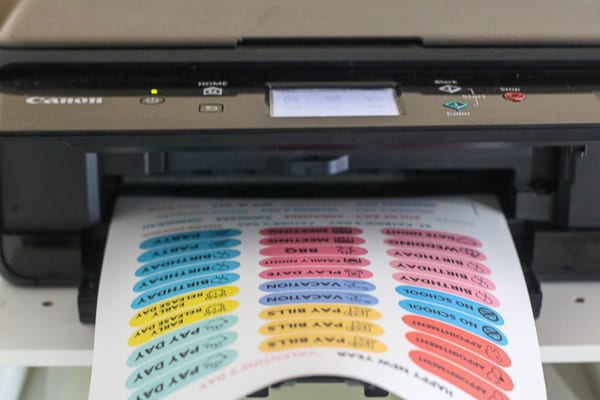
Now your design is ready to print! Make sure your magnet paper is loaded in your printer the correct way. For my printer and the Magnet Paper, I had to put the black magnetic side up. If you don’t know which way your printer prints loaded paper I highly suggest testing it out first. I typically like to put a mark on the top of the paper I loaded and then print to see.
I also found that loading only one magnet sheet at a time worked best. When I tried to place more than one it would jam up my printer.
After loading your magnet paper in your printer, click the print icon to send it to your printer.

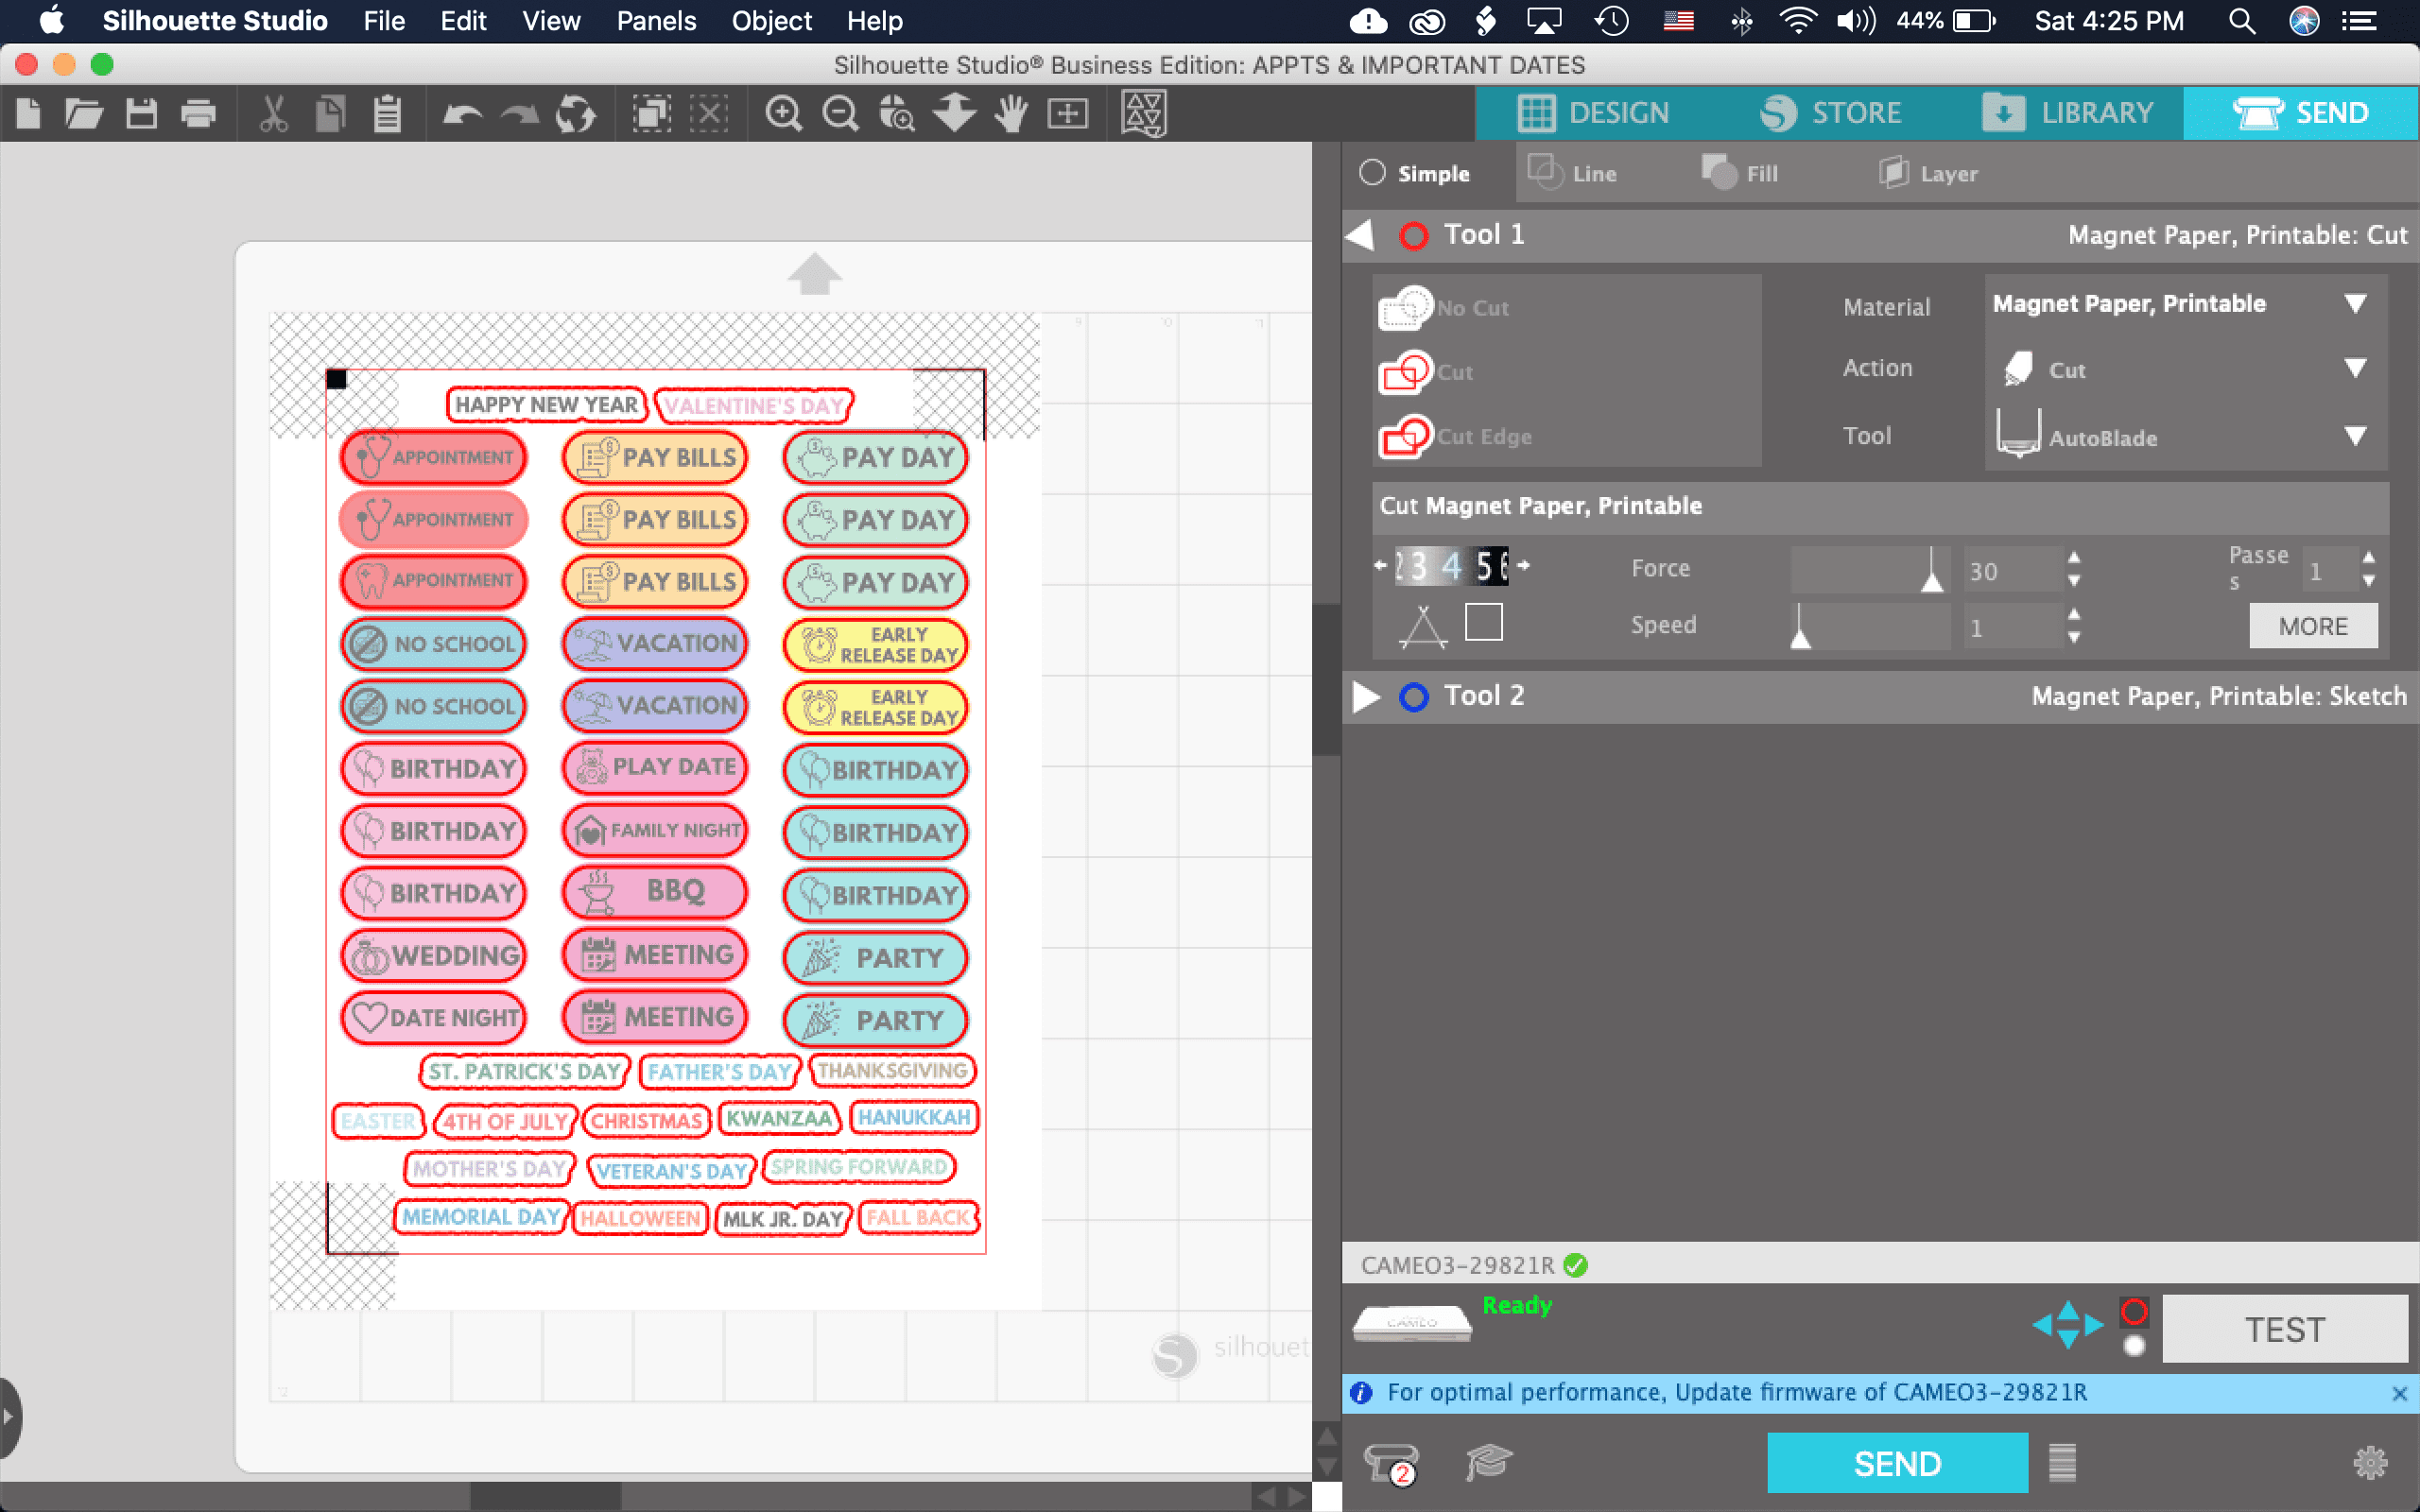
Step 4: Load it onto your cutting mat & into your machine
After printing, take your sticker sheet and place is on your cutting mat. Be sure it matches your workspace design just like in Step 1. Align the printed sheet of paper to the left side of the mat. Then load your mat into your Silhouette Machine. The mat needs to align with the blue line with the arrows. Place the edge of the mat along the blue line. Once aligned, press “Load” on your Silhouette.
Then go to the “Send” tab and click on the material you are using – Magnet Paper-Printable. Adjust your blade so it matches, or skip if you are using an autoblade. Then hit Send to start cutting.
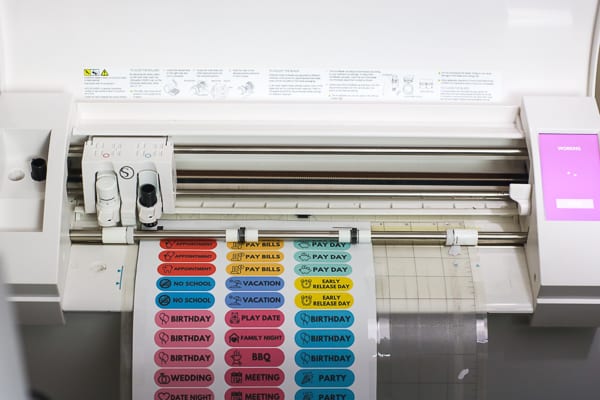
Step 5: Let the Silhouette start cutting
After hitting send, your Silhouette will scan the page for the printed registration marks. Then it will start cutting.
Step 6: check your MAGNETS & peel THEM off the mat
After it is done cutting, unload your mat. Check if it has cut correctly before removing that magnet sheet. It should have cut all the way through. If all is good, then simply peel off the magnets and organize them in a box.
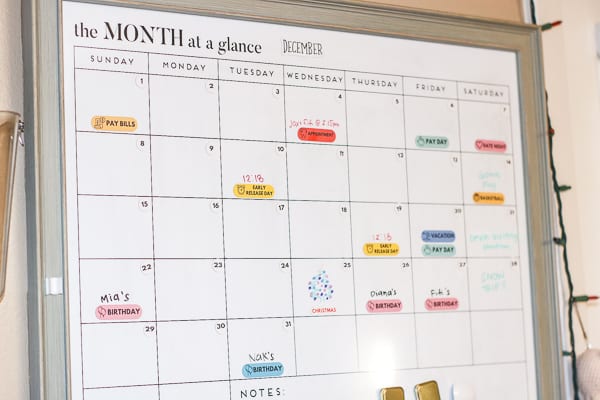
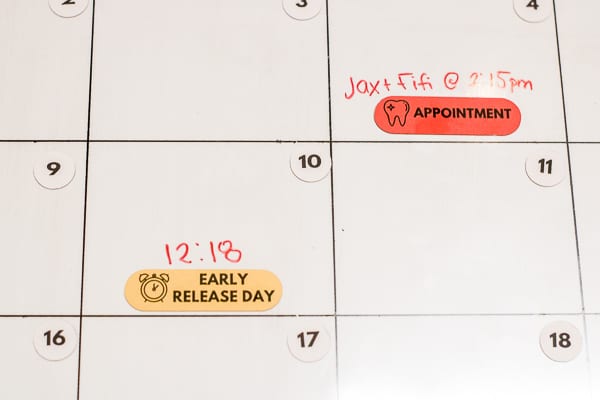
step 7: Organize your magnets & place on your wall calendar
I placed my magnets in a clear box which I place near the wall calendars. It was from Daiso, you can find something similar to it at the dollar store too.

Now use those magnets in your calendar! I got my Monthly Calendar from HomeGoods and my Weekly Calendar from Target. I love being able to see everything we have to do for the month and week
I love
Having Trouble?
If you are having trouble with the registration marks reading, you can try doing it manually before in the “send” tab. You simply use the arrows there to position the blade above the black square and select “register”. It’s also a good idea to have decent lighting around the machine to be able to read the registration marks. Place a lamp near your silhouette or place it near a window with lots of sunlight. Be sure your paper is aligned correctly as well & that nothing is blocking the registration marks.
If it’s cutting in the incorrect spot consistently, just try to close out of the program and start over. A good reboot most times does the trick for me.
I hope this little tutorial was helpful for you! Have you tried to make your own magnets with your Silhouette yet? Give it a try and let me know below!

Click here and use code 10OFF to get 10% off regular priced items (bundles and promo items not included).