
-
-

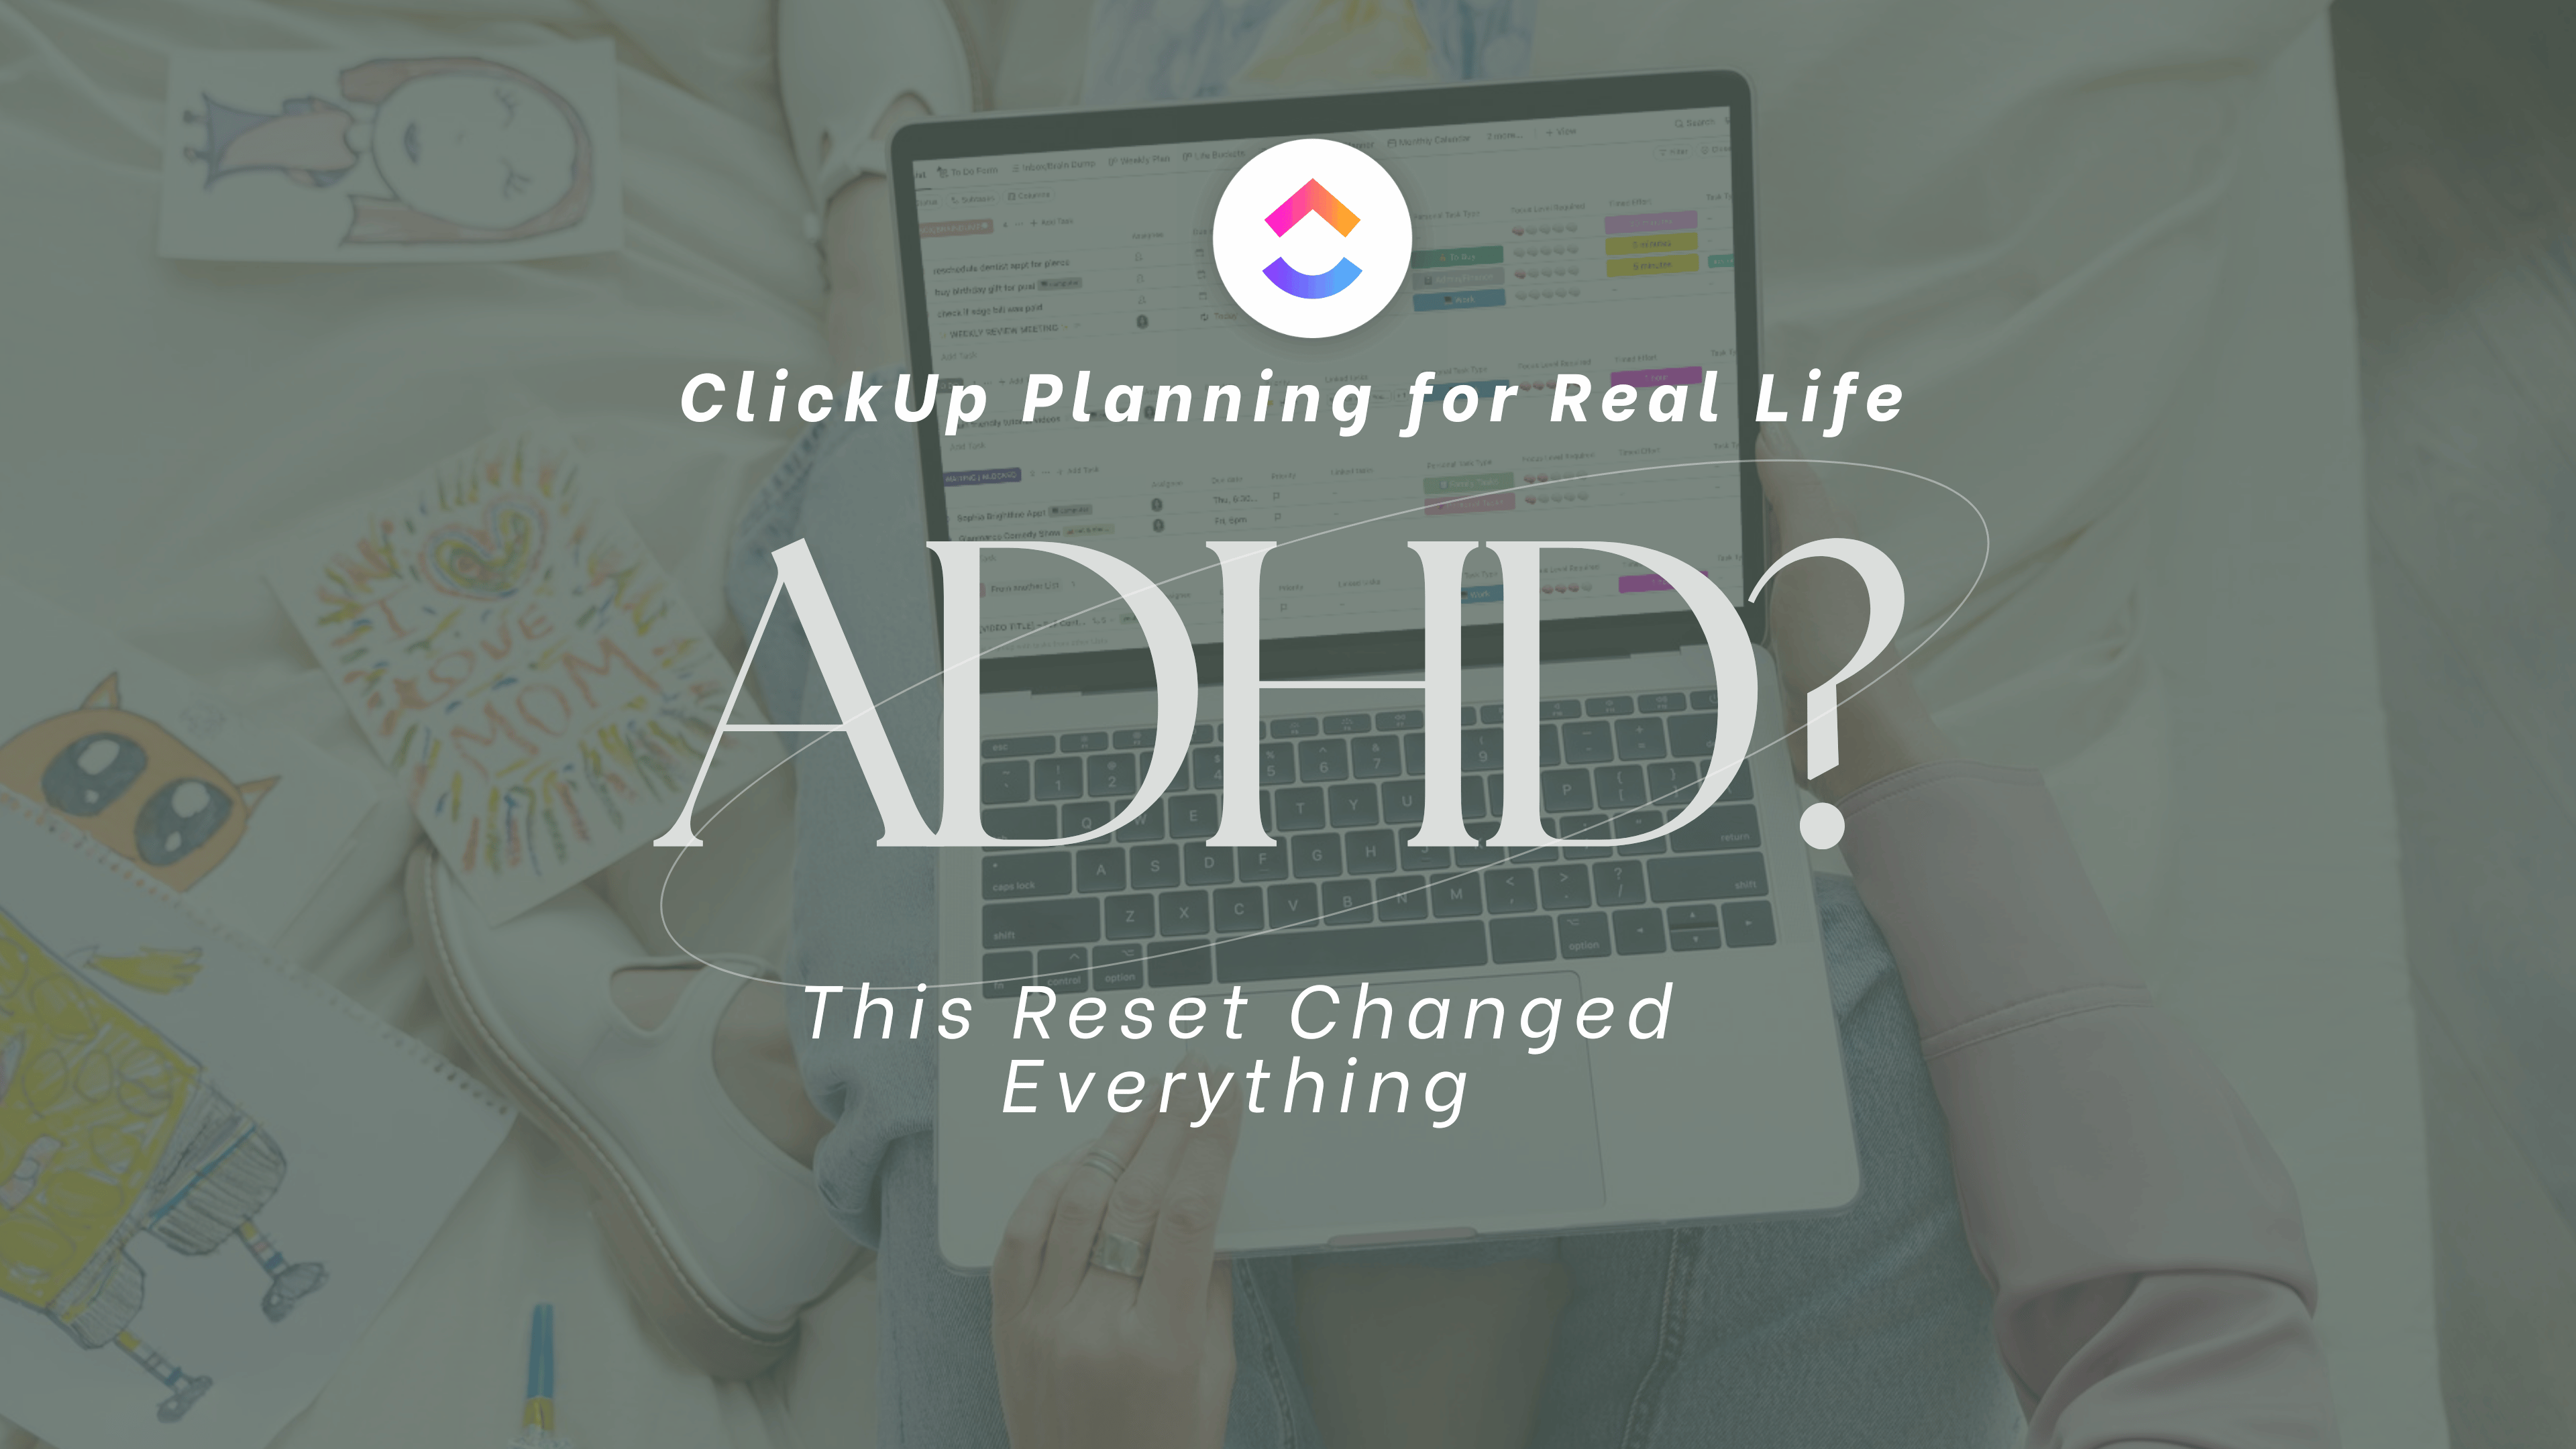
I Thought I Had No Time. Then I Did This and Found 8 Hours I Didn’t Know I Had.
-
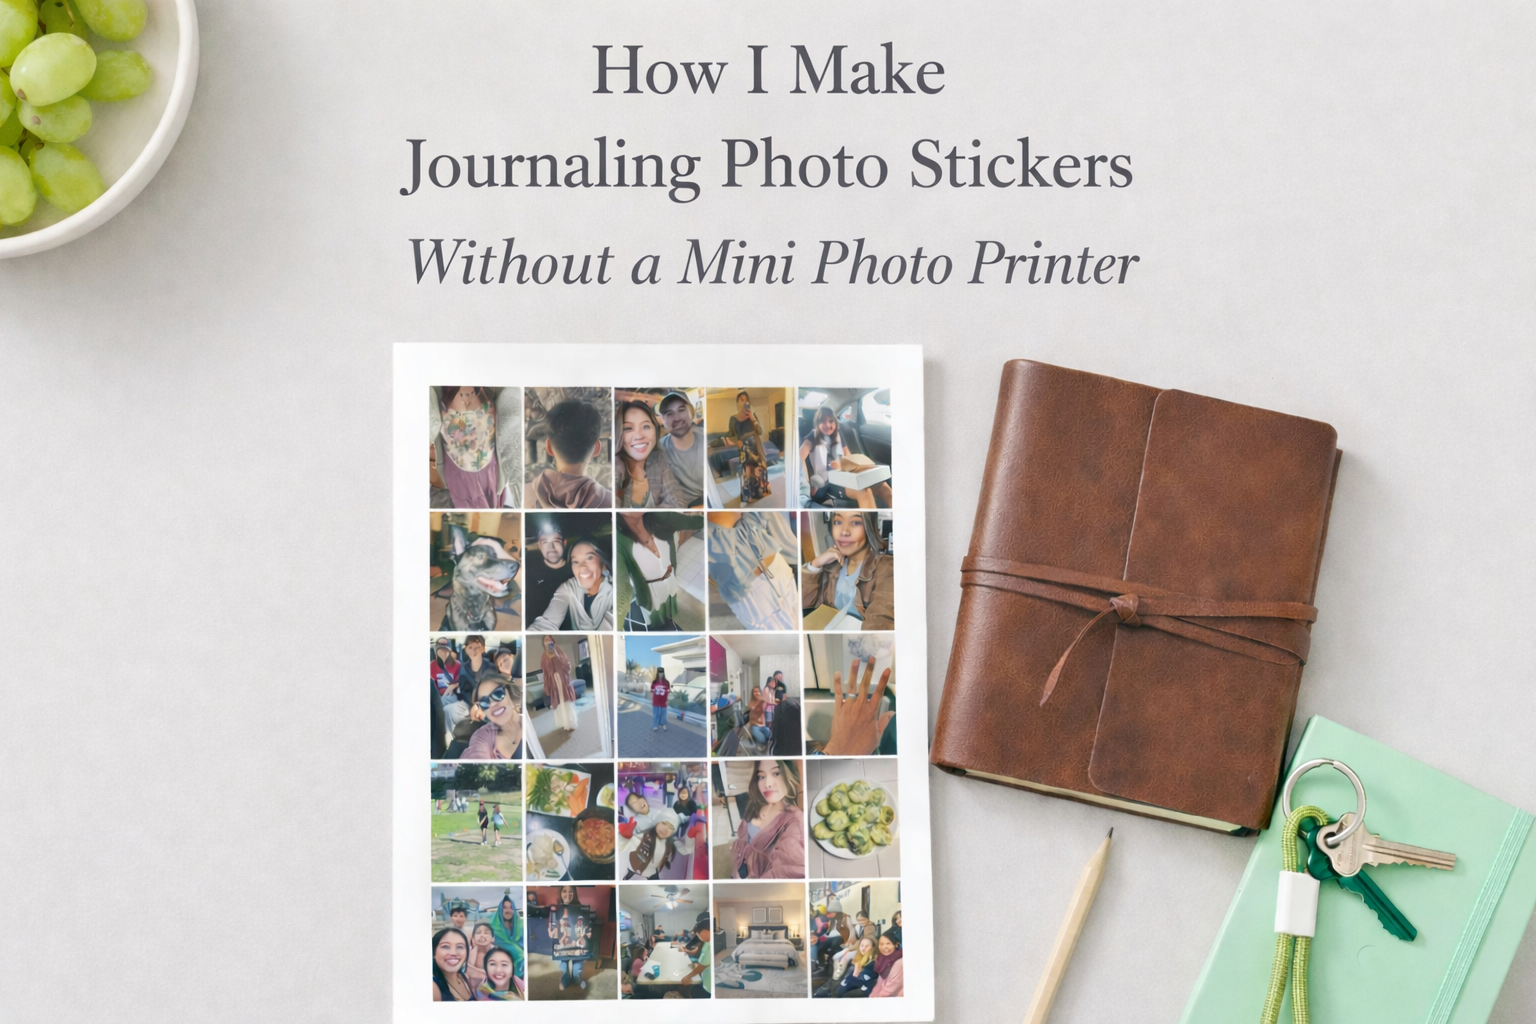
How I Make Journaling Photo Stickers Without a Mini Photo Printer
-

Health & Fitness Planner — Digital & Printable Versions
-

Free Printable Finance Planner (Pocket + A5 Size)
-
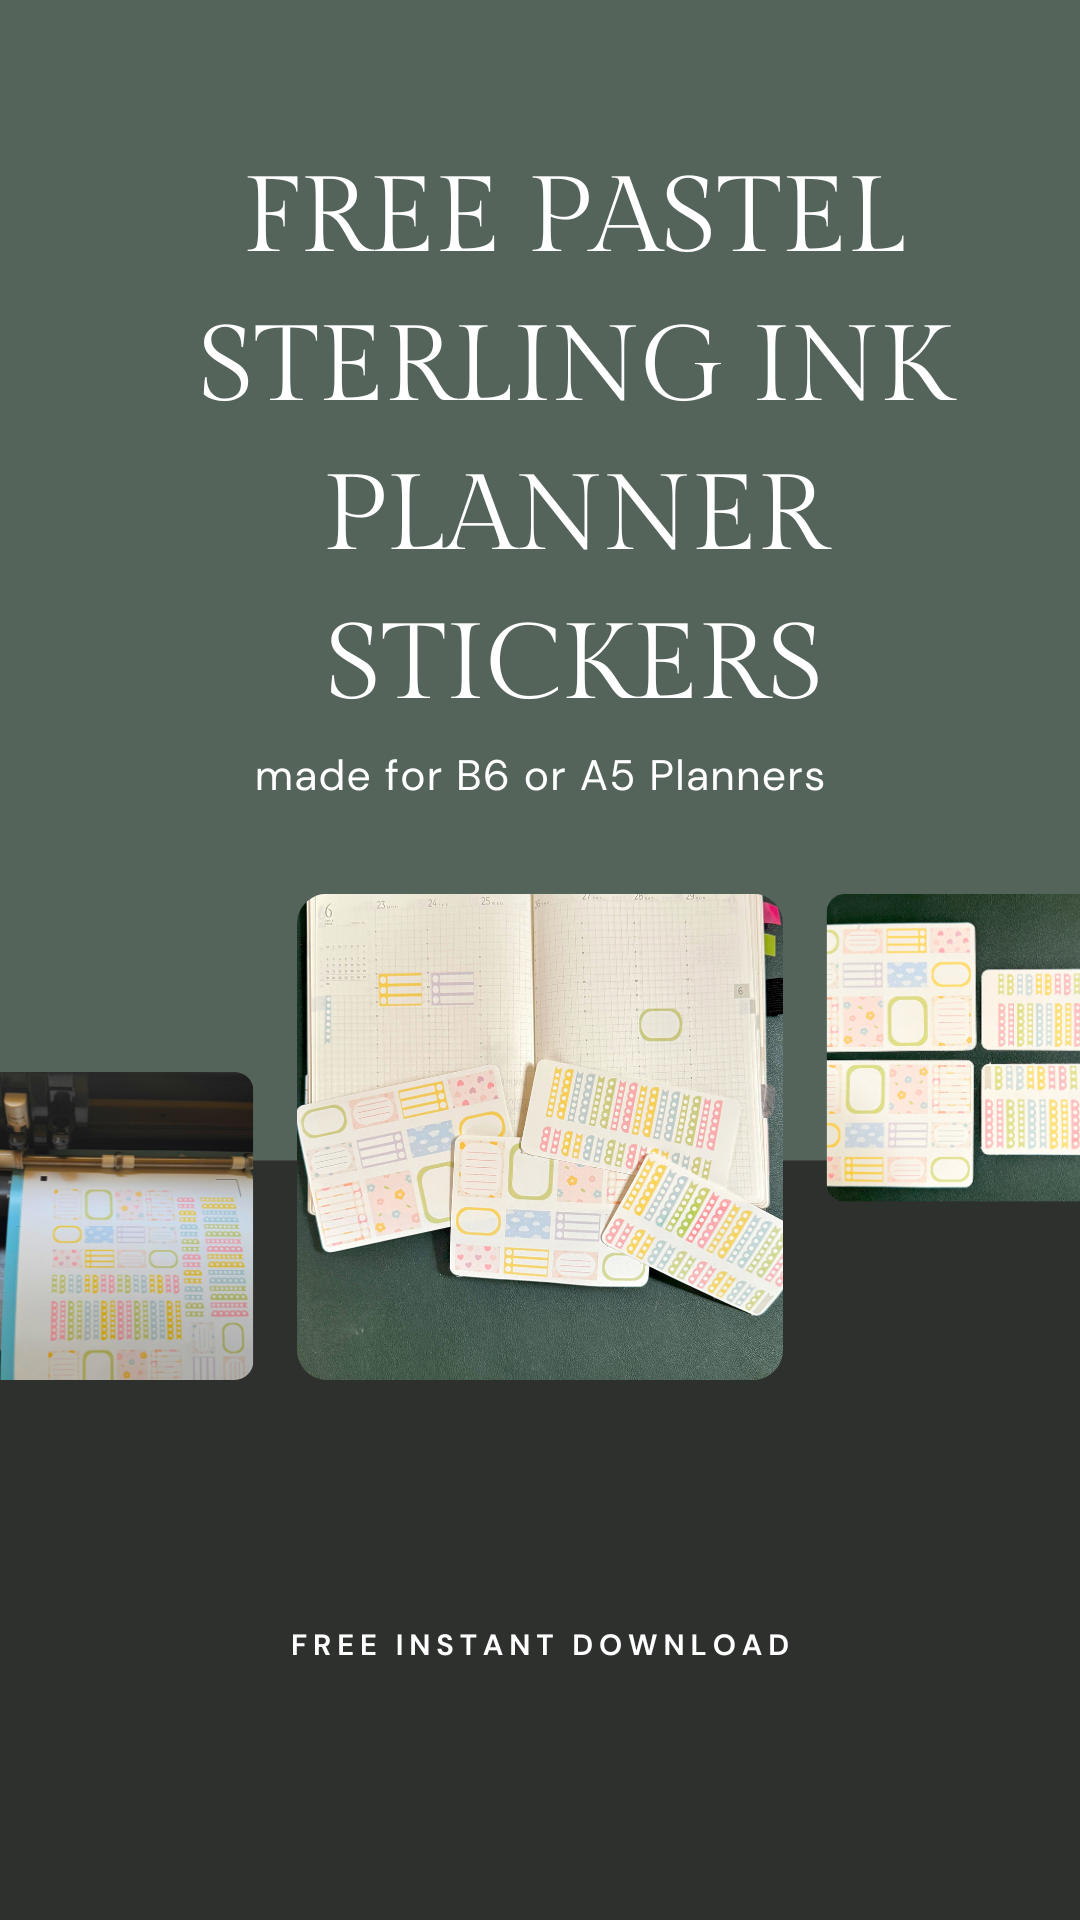
Free Pastel Sterling Ink Planner Stickers (with PNG + Silhouette Studio Files)
-
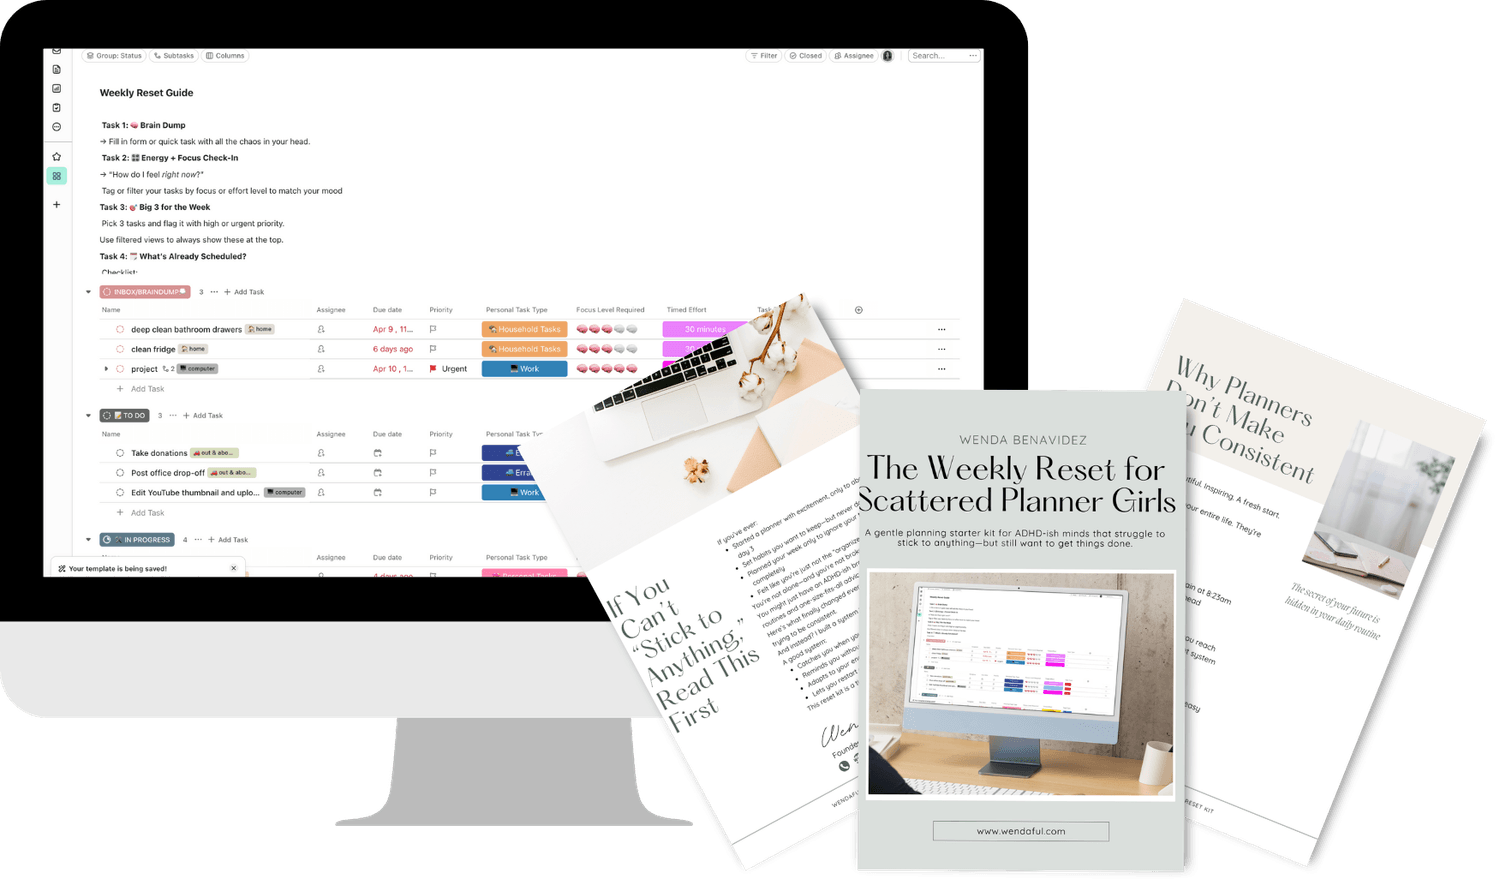
How to Do a Weekly Planning Reset (Even When Life Feels Like Chaos)