
I have been bullet journaling since last year and I love it. I love being able to flip the page and just start writing whatever it is I need to plan. No need to print and cut pages or hole punch has been really time-saving.
However, as I write A LOT, I find that I can only do about 3 months per bullet journal! I like to take notes in my bujo and put all of my projects in it as well.
I found it was a lot of work having to migrate all of my collections every time I switched bullet journals. I wished I could just rip it out and put it into my new one especially since most of these collections weren’t even filled up yet.
& I do miss the pretty binders, all the pockets and using my printable inserts!
So I decided I wanted to start using ring binders again, but this time with plain blank dot grid paper!
Table of Contents
Advantages of a BULLET JOURNAL/RING-BOUND/DISCBOUND PLANNER SYSTEM:
- I can bullet journal freely
- If I make mistakes I can just take the page out and start over
- I can organize my pages the way I want
- I can use my paperclips/bookmarks to go to my most used sections
- I can have more pockets depending on the planner
- I can use all of my pretty planners and accessories
- I can keep my collections in my planner without having to migrate it all the time
- I can use printable planners instead of drawing out all my layouts to save time
- I can have the freedom of having a flexible bujo (dot grid papers) but with some structure (printable planners)
Disadvantages of a BULLET JOURNAL/RING-BOUND PLANNER SYSTEM:
- The main disadvantage to using a ring binder as a bullet journal would be that you wouldn’t have a bound journal after it’s done to review. You’ll be left with a bunch of loose pages and it’ll be harder to archive and review.
- I’m okay with this though because I realize I don’t really look back at any of my old planners, I use it to be productive and journal my thoughts in the present.
- Having to print, cut & hole punch pages
Custom DIY Bullet Journal
To set up your custom bullet journal just print out the dot grid pages for your planner (free printable links are down below!)
Trim it and hole punch it, then insert them into your planner. I started with printing 30 pages double-sided.
If you’d rather not print out your own I have heard many people get theirs from Jane’s Agenda. Check out all of their printed inserts here! This is perfect for people who want perfect pages that are already punched and ready. I can’t wait till they roll out with more Personal Wide size inserts, I definitely plan on getting me some. My pages were cut unevenly and they totally bother me!
![]()
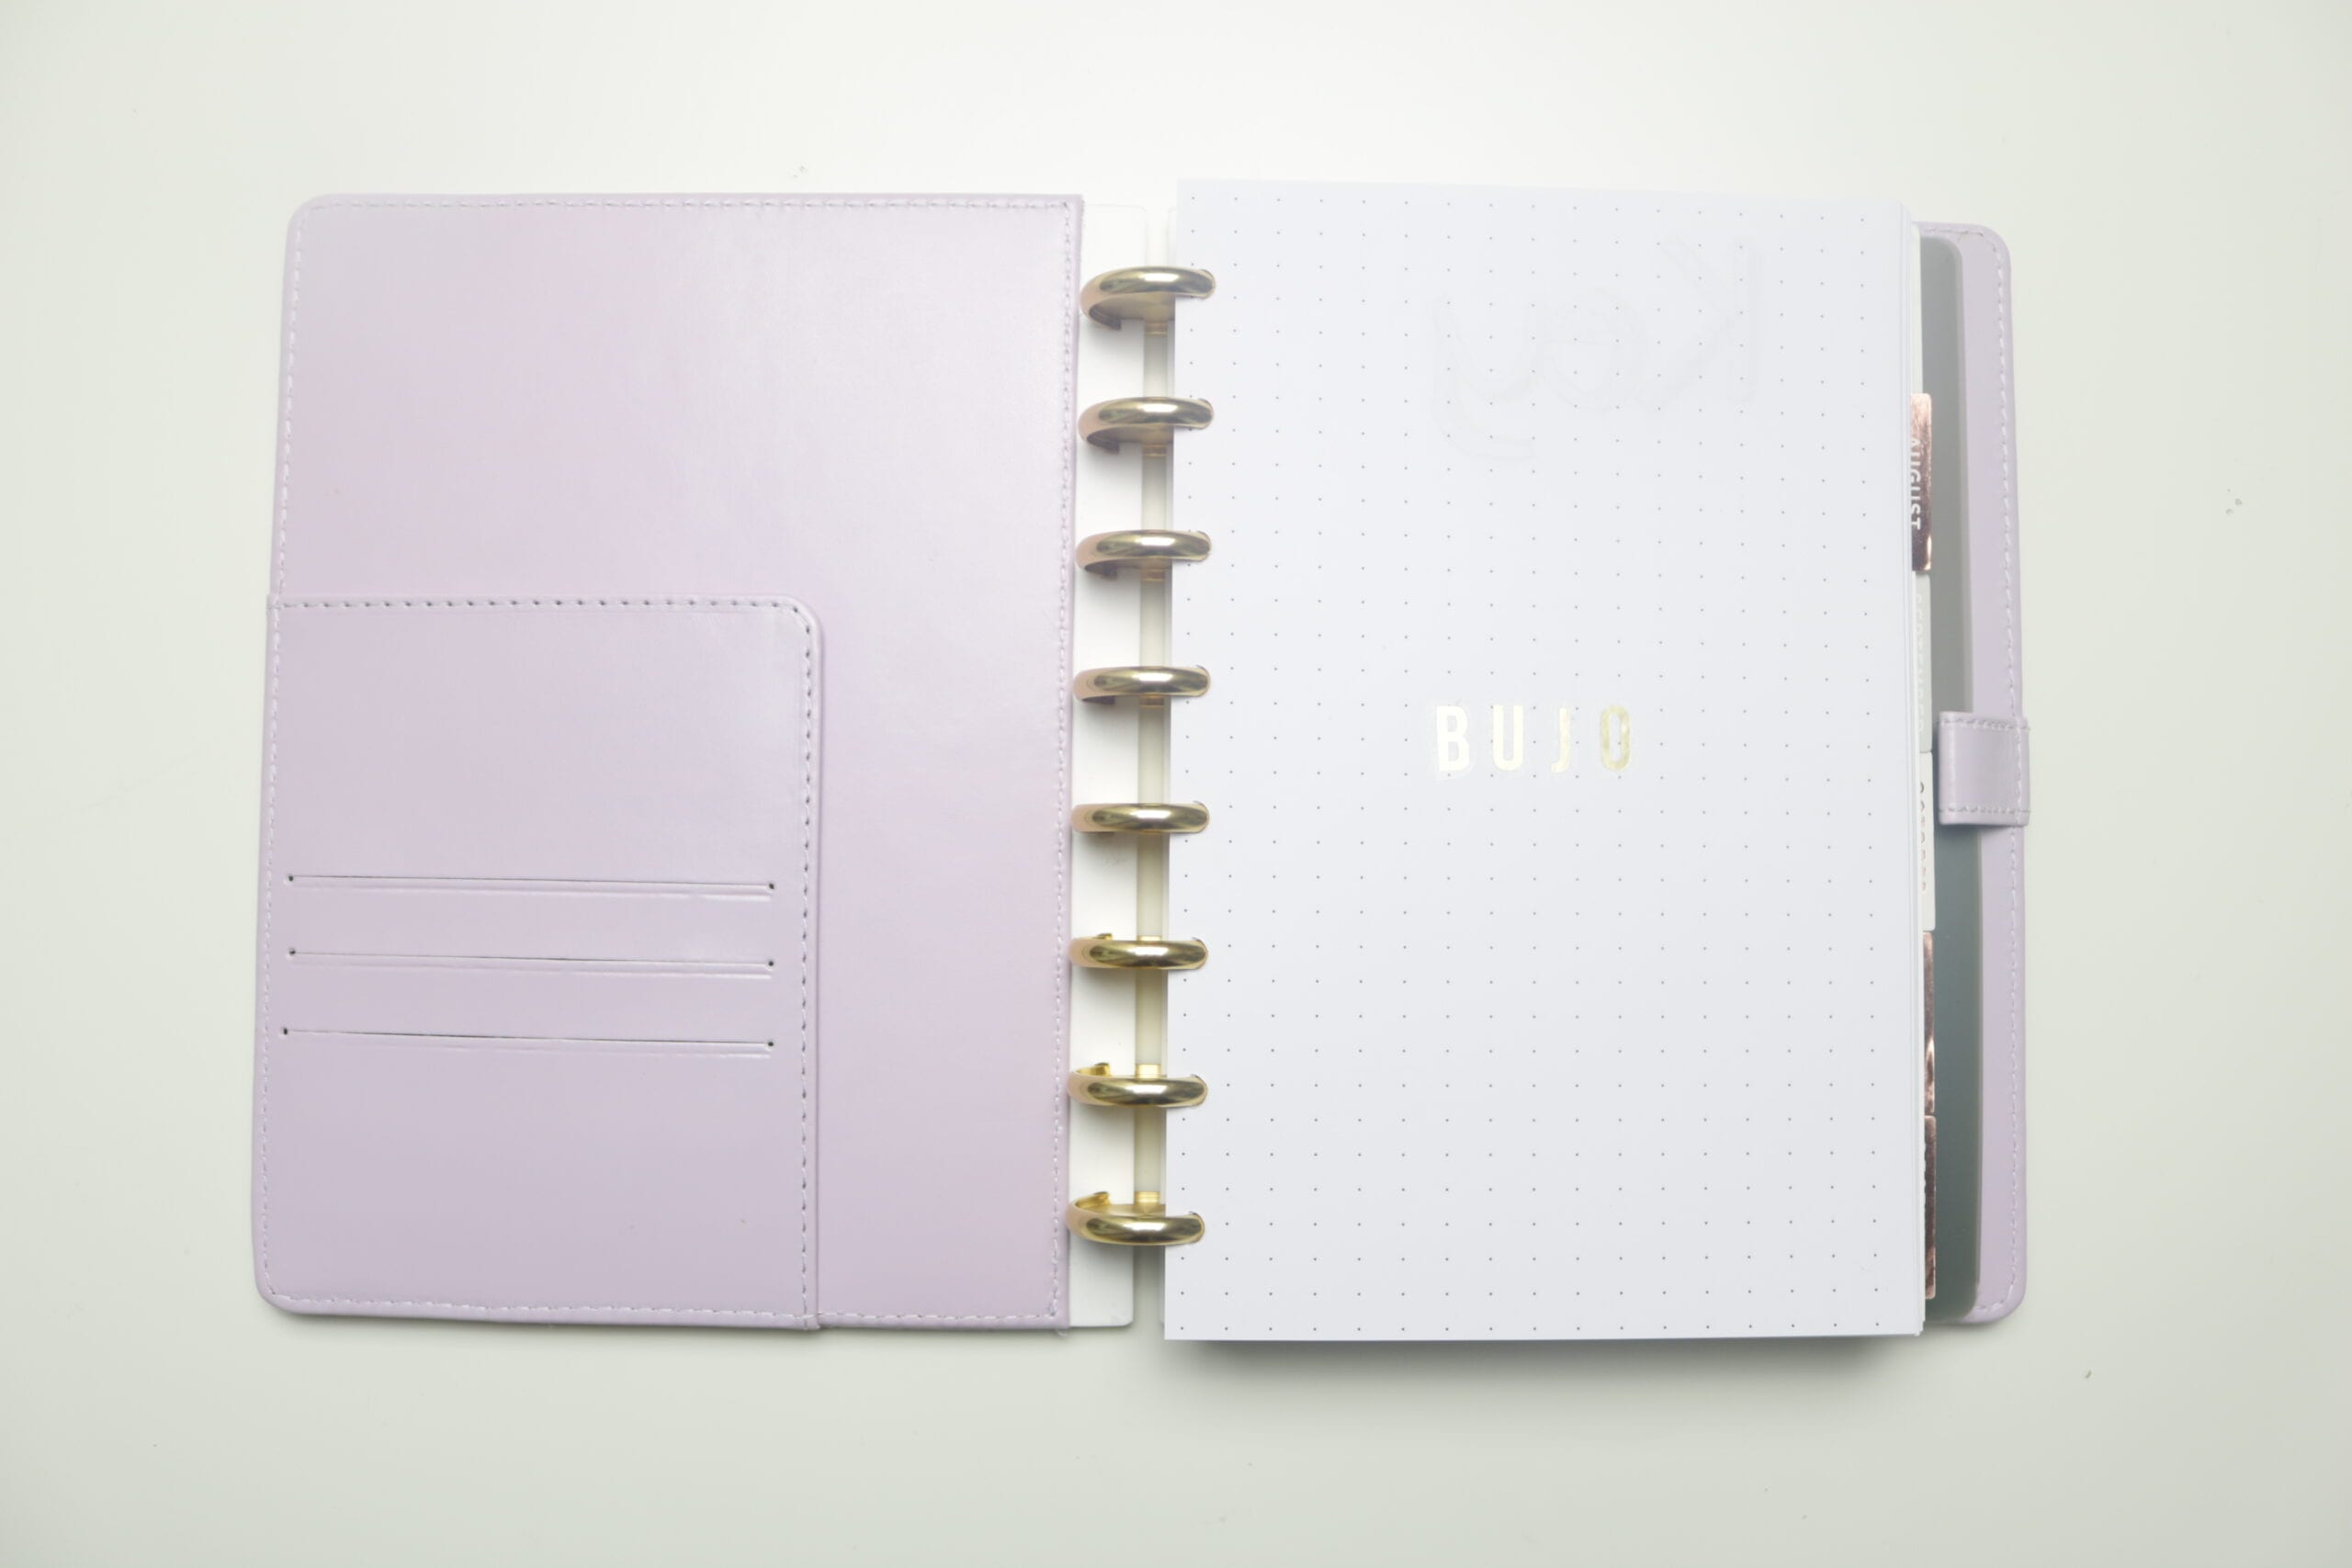
I am using a personal Kikki-K planner with personal wide inserts for my planner.
Your first few pages will be your index and key. You can start my numbering your first few pages and just number as you go.
Keep reading to see how I am customizing it!
DISCBOUND BUJO
Discbound is great if you like spiral planners but would like to be able to insert and remove pages still. So it’s like a ring binder mixed with a spiral binder! It’s like the best of both worlds!
You can purchase an ARC planner from Staples. I found my Lilac one up above for only 12.99! It was by the front register!
They have many options from the ARC, Martha Stewart, TUL, and Levenger. Their sizes are letter or junior (which is half letter – makes printing and trimming super easy!).
With this system, you can also purchase premade dot grid paper. I bought a pack of 50 sheets by Arc for only around $3 at Staples, and the paper was thick! Printing and cutting dot grid paper for half-letter would be so easy too since you just have to cut it down the middle! & if you get the ARC punch from Amazon, punching will be a breeze!
For my discbound I found A5 Dividers at Michael’s for the Recollections planner and trimmed the punched holes and then punched it with the ARC punch to fit into my Arc planner. It sticks out only a little but I think it’s perfect for helping me find the month I am on quickly.
I just learned that MAMBI Happy Planners just came out with Happy Notes which comes with either lined, graph or dot grid notebook pages! These would be perfect for your own DIY bujo for a cheap price, most stores that carry MAMBI products like Joann’s and Michael’s offer coupons so you can get them for a pretty good price.
My Custom Bujo/Planner Set Up
I don’t like to index my calendar pages so I will be separating my sections into:
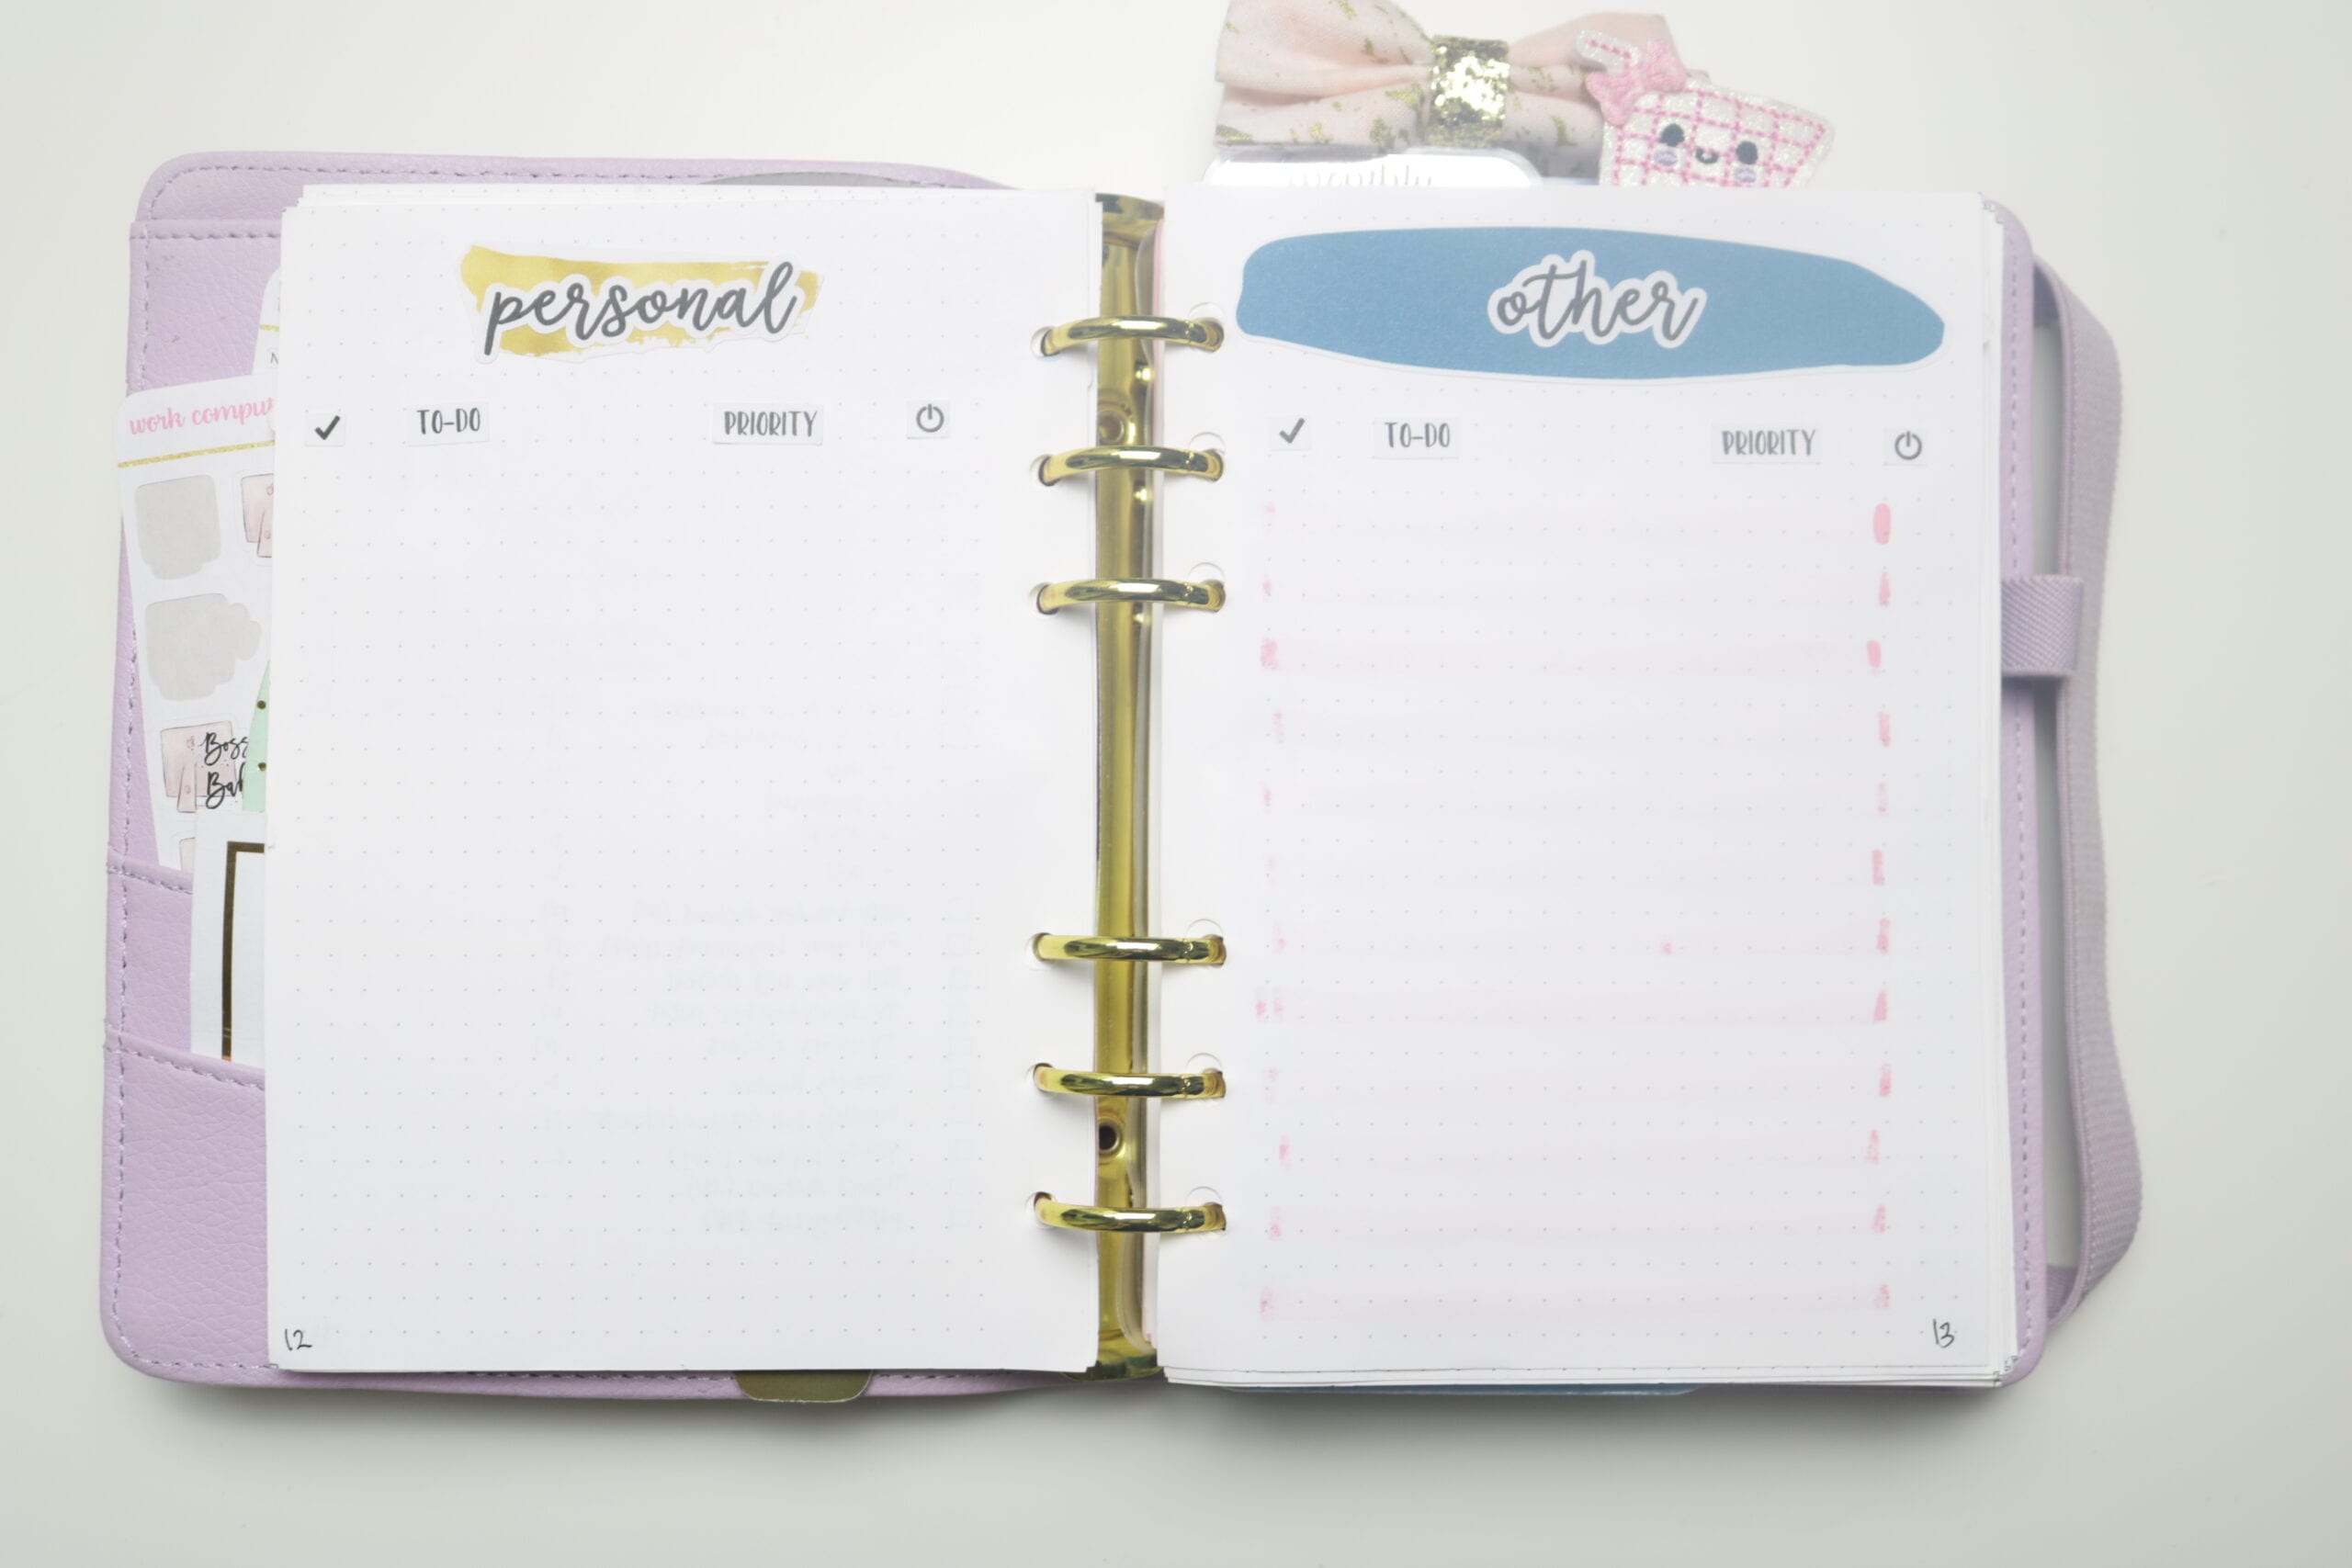
- Collections – This will be what will be indexed. This will include my routines, ideal schedules, tv shows, meal ideas, workflows, blog post ideas, master task lists, etc. I will also have lots of blank dot grid paper for those lists that pop up when I need them like packing lists, gift lifts, doodling etc.
- For this section, I will be using planner bujo page stickers from my shop to help make setup a bit faster!
- Calendar – this will be the bulk of my bullet journal where I plan my year, months, weeks, and days. Every month I like to add habit trackers and monthly dashboards. I plan on using printable planners for this section.
- I have some inserts for planners in my Etsy shop here.
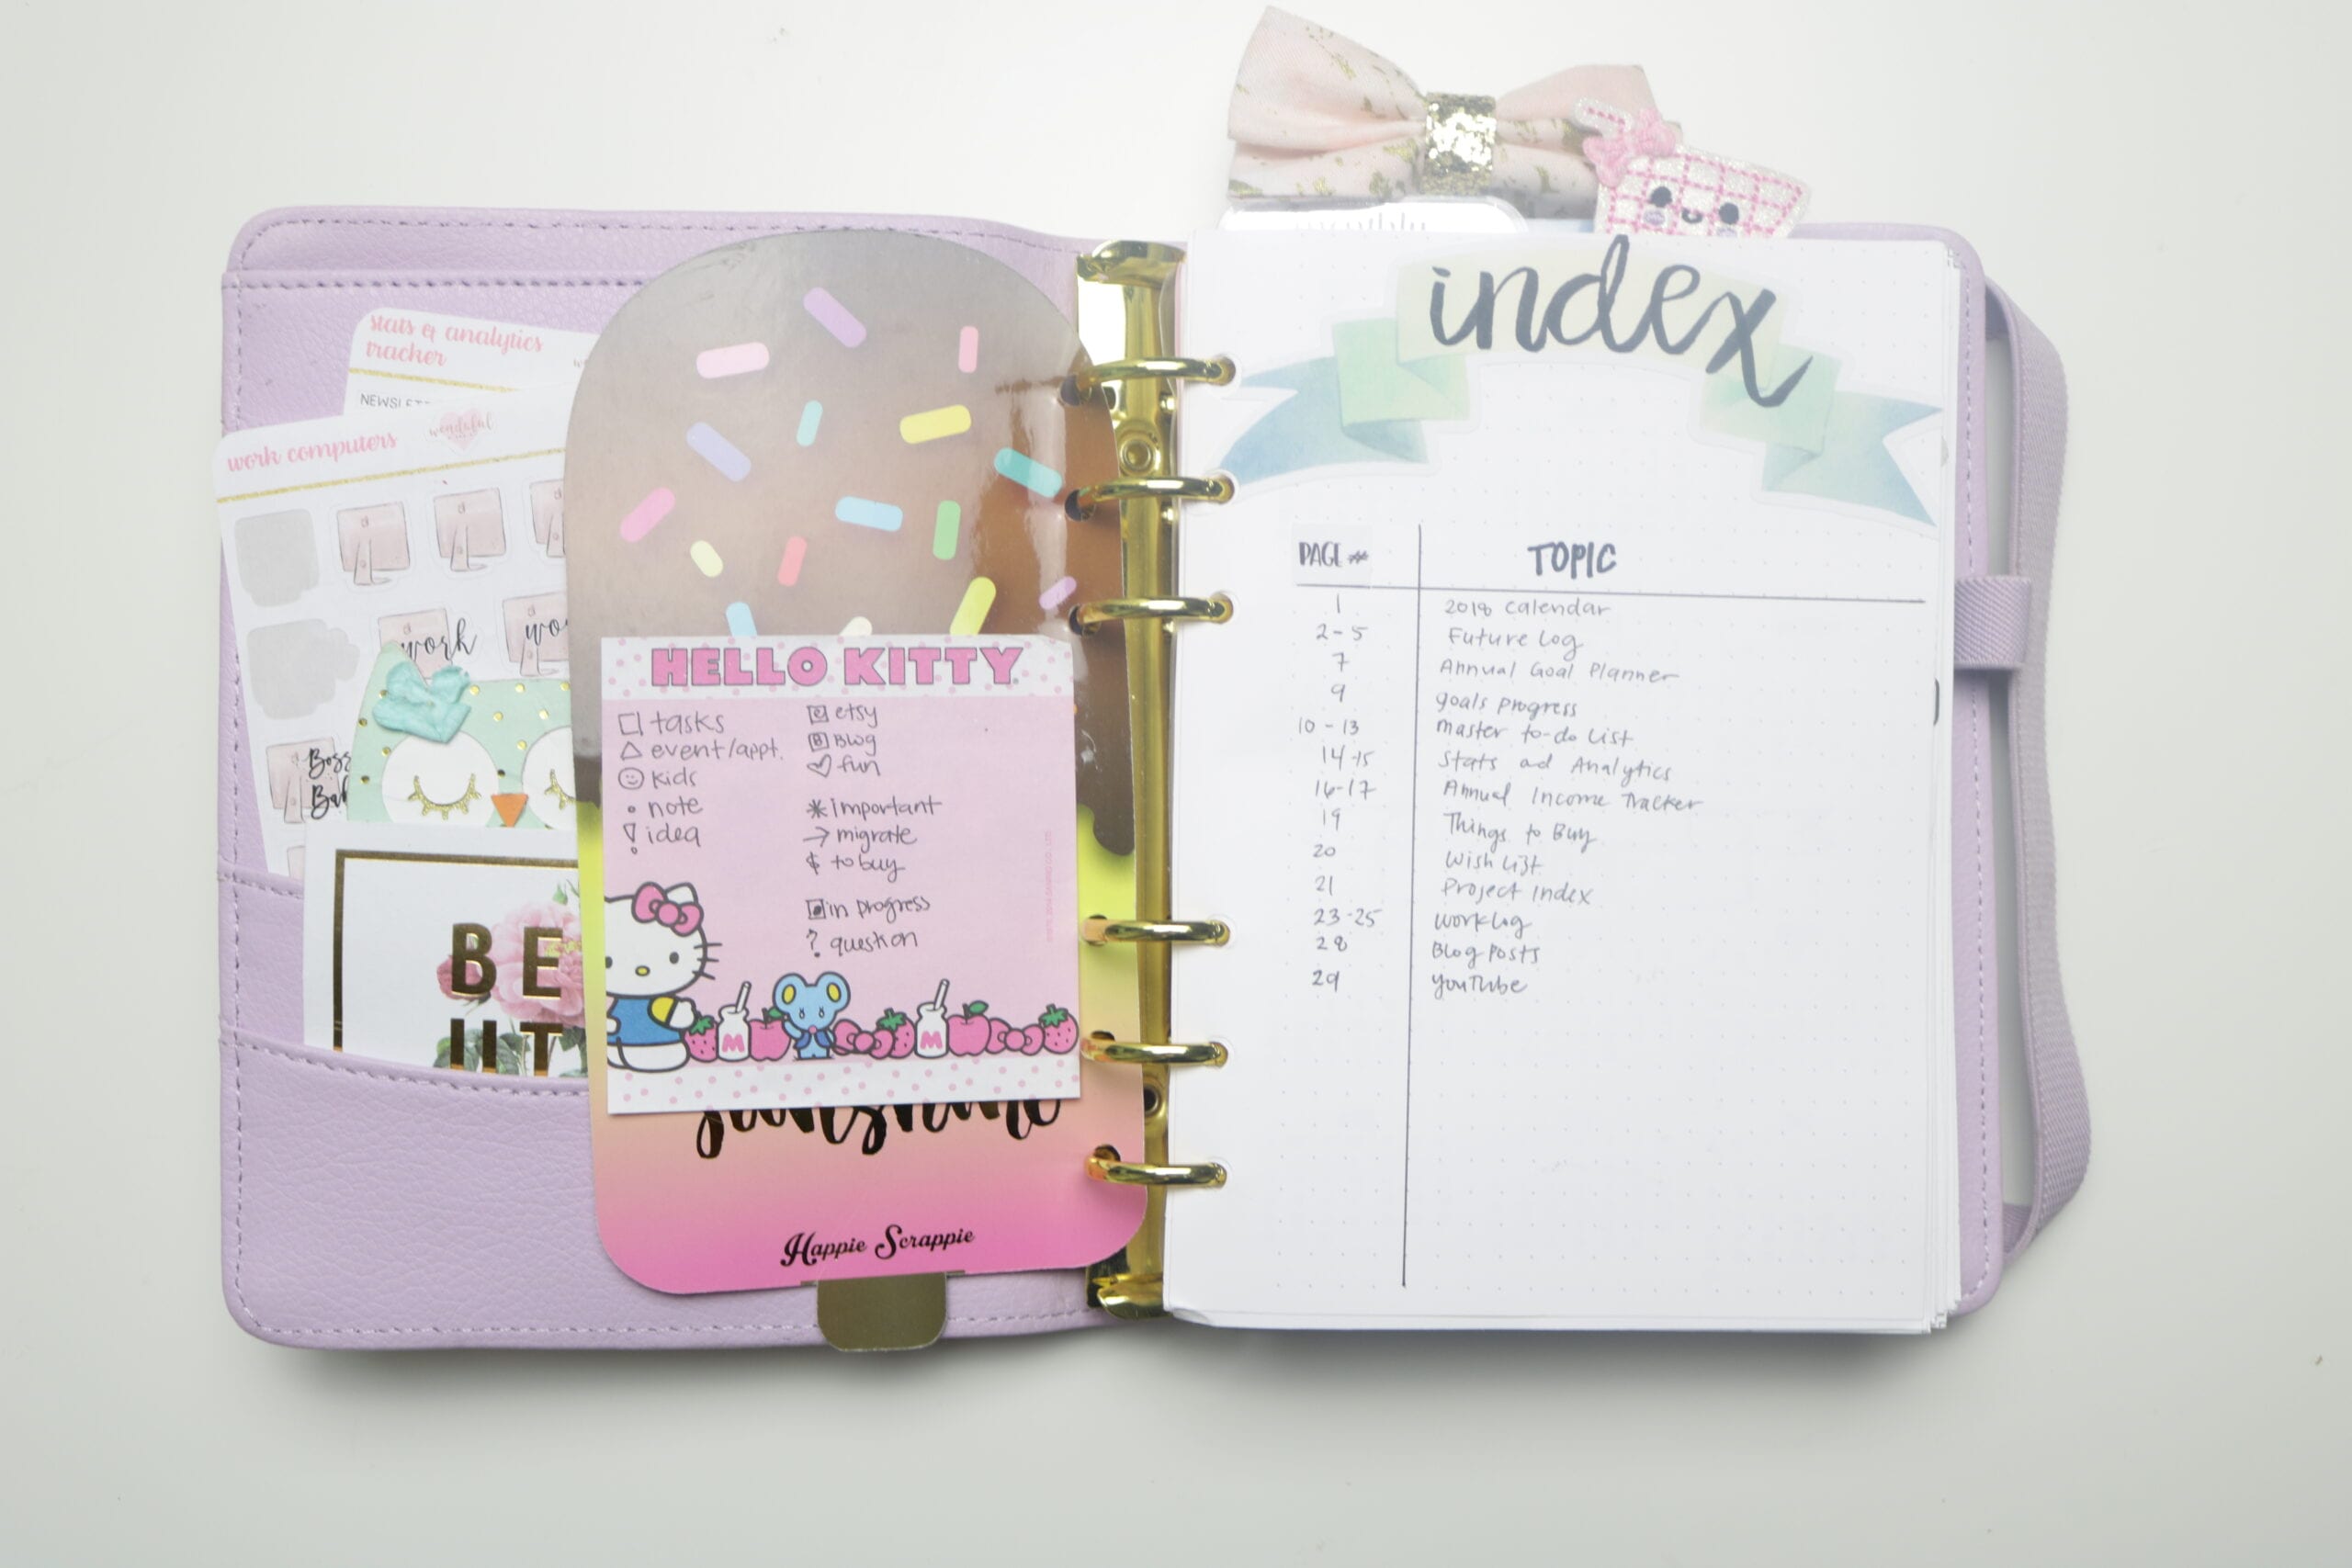
I will also be using bookmarks, paperclips for my most used sections such as:
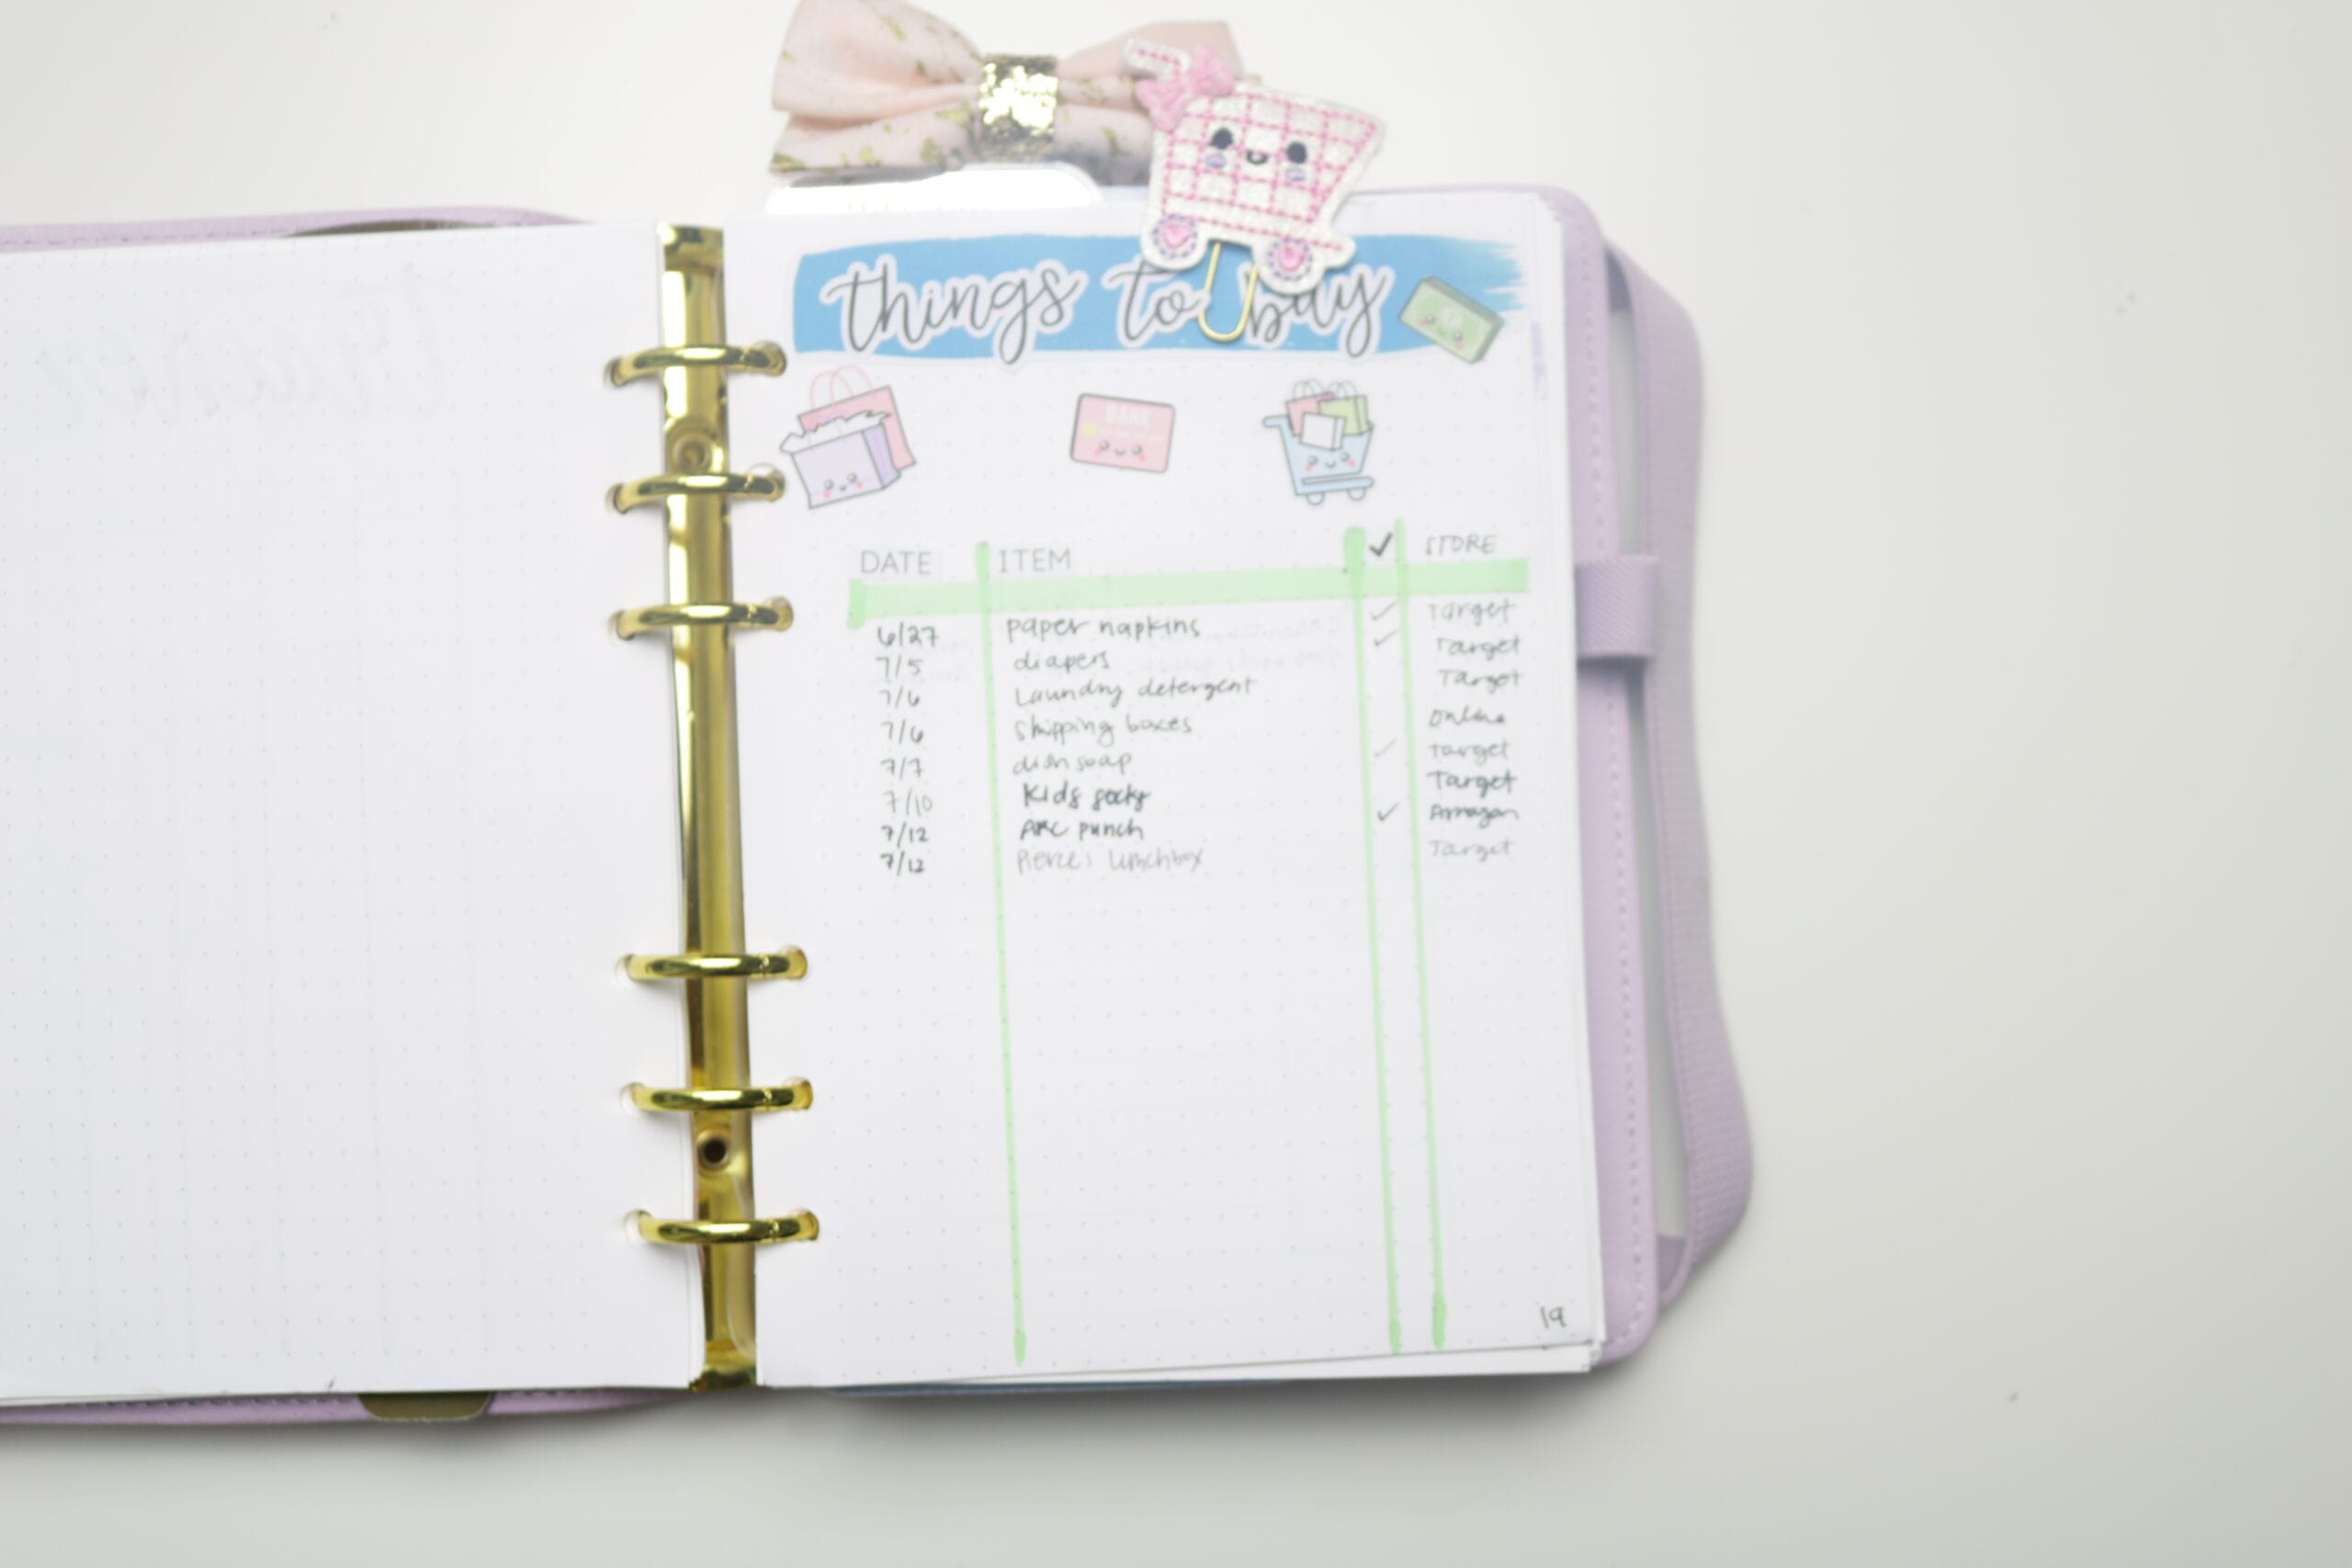
- To Buy List – I have a cute shopping cart paper clip
- Master To Do List – Another cute paper clip
- This Month – A divider I am using as a monthly bookmark
- Today – A paperclip with a ribbon tied to it so I can easily go to the current date
- For my ARC planner, I didn’t want to use dividers to keep it looking more like an actual bujo but I wanted a way to still find my month/week easily, so I used some monthly dividers. I found some cute A5 ones at Michael’s, trimmed it and it barely sticks out. Now I can quickly access my month!
How I Plan:
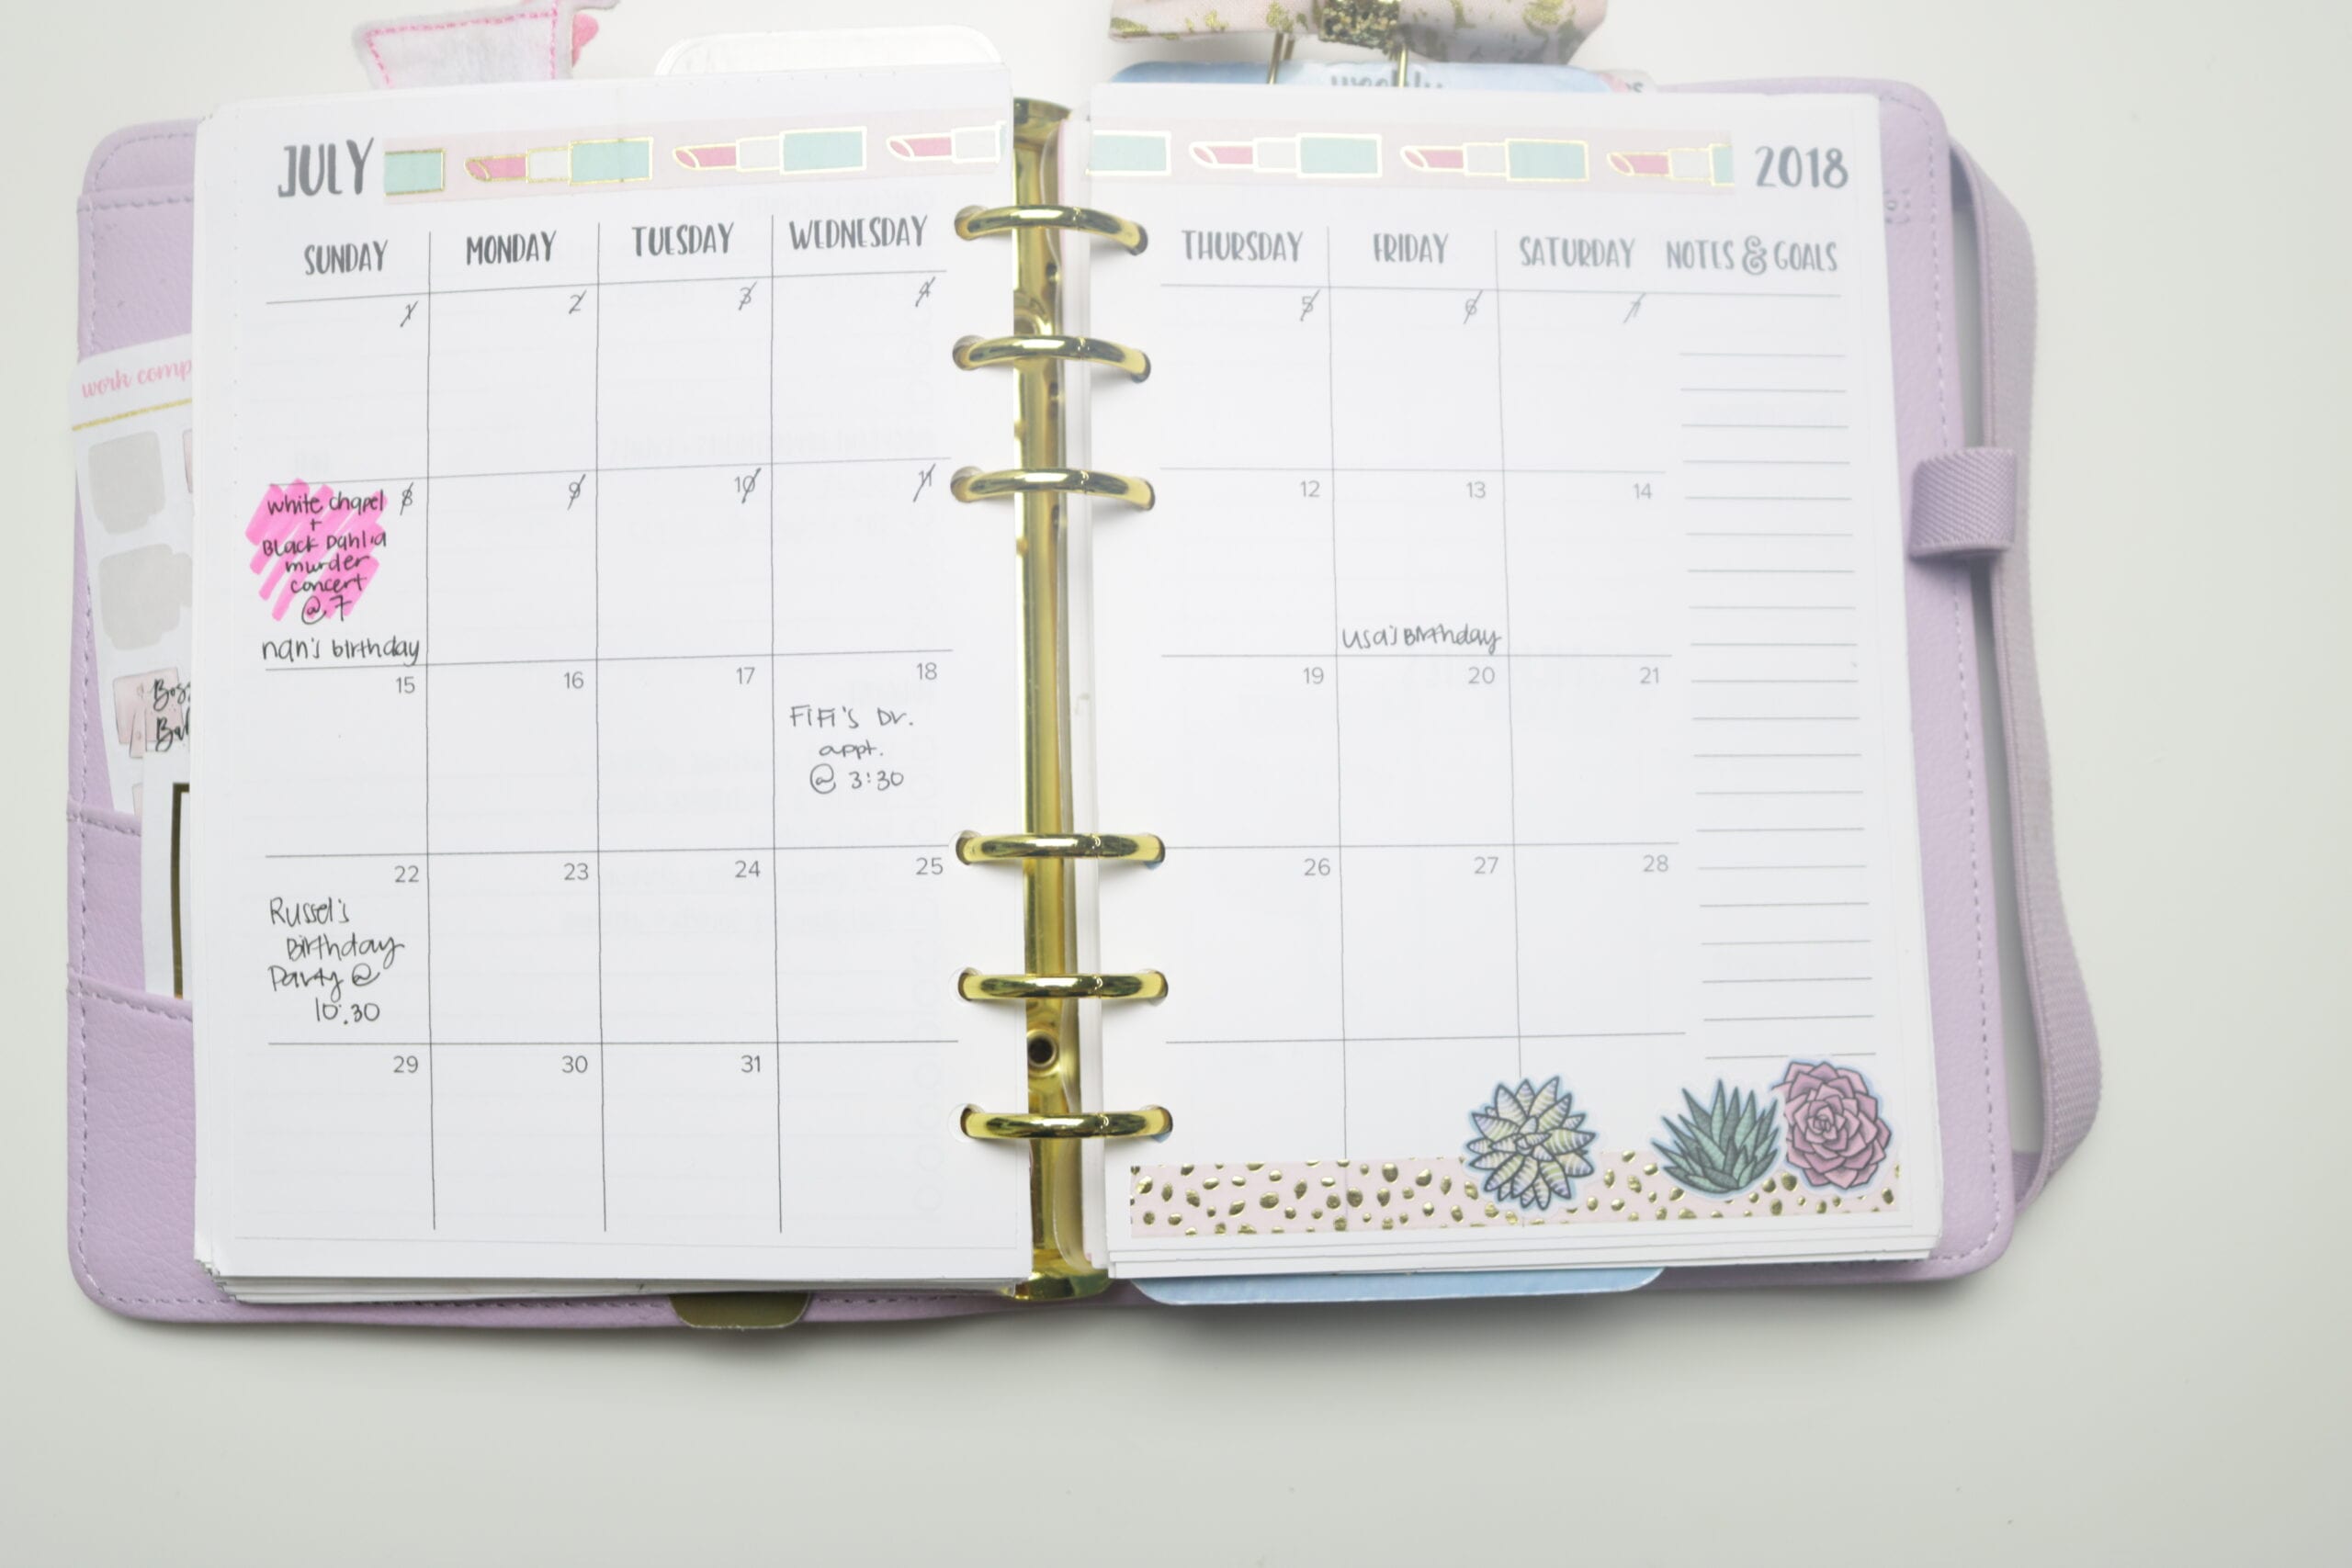
- The Future Log as my annual calendar
- This is where I write future appointments and events
- My Monthly Pages go in this order:
- Monthly Title Page – where I use lots of stickers and make it pretty!
- Monthly Habit Tracker – I use key habits and only track a few per month
- Month on 4 Pages Printable – Monthly Tasks & Events Overview, Month on 2-Page Spread, Monthly Review & Memories
- This is where I focus on my to-do’s and goals for the month
- Monthly Gratitude/One Line a Day
- Monthly Mood Tracker
- A Weekly Tasks & Events Printable (double-sided on one sheet)
- I use the events side to see at a glance my whole week
- I use the tasks side to plan out my daily to-do’s for the week (I always try to spread out my to-do’s throughout the week and try to stick to my themed days when planning)
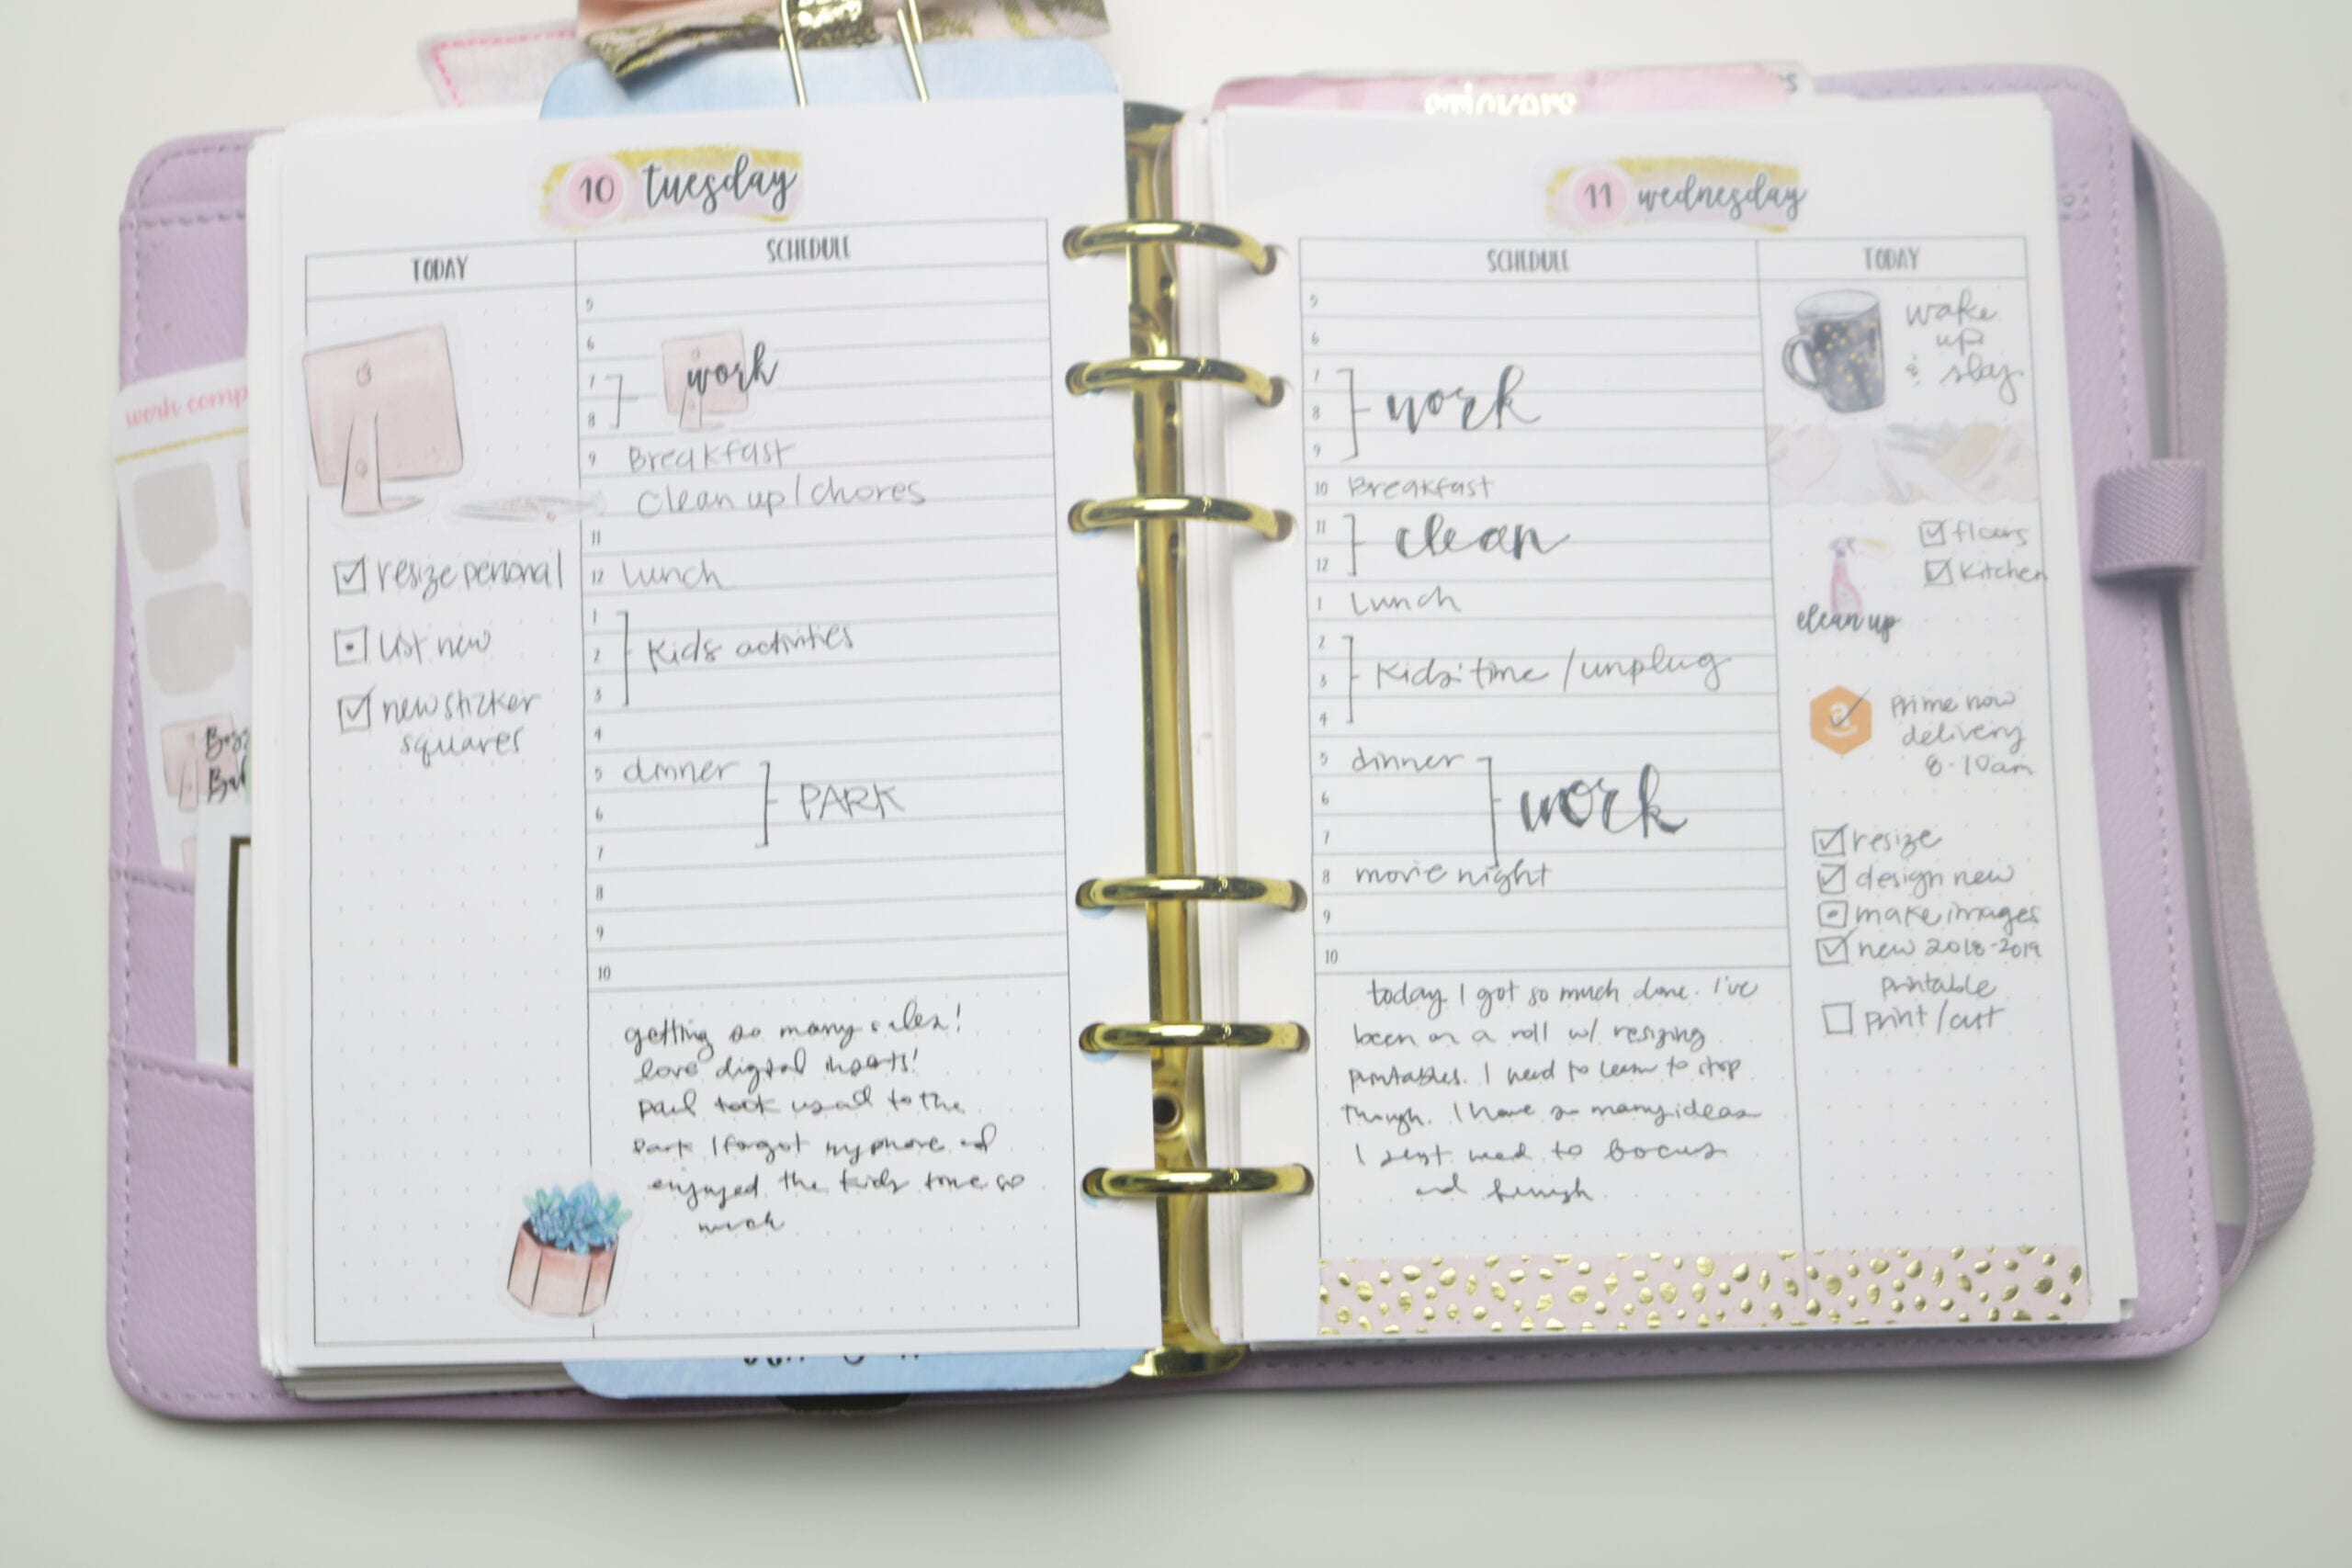
- Daily Planner Printable
- I use a day on a page printable with a timed schedule to plan out the rest of my week daily.
- This is where I schedule out when I will do all my tasks and write down any events again.
- I plan the night before so I can jump out of bed and know exactly how I need to start my day to be productive.
- But I still check my schedule every morning to see if I need to reprioritize anything.
- Another great thing about a daily planner is that you can prepare and end the day on a good note by journaling.
- If you don’t know what to write you can take notes from The Five Minute journal:
- In the morning you can write 3 things you’re grateful for, so I like to read it over every night.
- At nighttime, you can write down 3 things that made today great and 2 things you could have done to make it better.
- By doing this you will always start your day right and end the night stress and worry free!
- If you don’t know what to write you can take notes from The Five Minute journal:
- This printable is great as well because the side box fits Erin Condren stickers! So I can decorate and plan while still being functional!
How to Print:
- First, decide which planner size you need, then if you’d like smaller spaced dots (4mm) or normal spaced dots (5mm). I give this option because, for smaller planners like a6 and pocket, smaller spaced dots will allow you to do more with habit trackers and such.
- To print choose the size of your planner and the layout you’re most comfortable with printing with.
- For best results, save the file to your computer first and then print using Adobe (Windows or Apple) or Preview (on Apple).
- “Spreads” are 2 pages per sheet with crop marks. (Note: A5 spread can only be printed on a4 sized paper not letter as it would not fit)
- “True Size” is 1 per sheet and can be printed on pre-cut paper – see more about how to print on pre-cut paper here.
- These printables all include crop marks
- Be sure to print at “actual size” or “100%” so your crop marks won’t show when printing on pre-cut paper
- Trim using the crop marks if printing spreads
- Hole punch on the insides where there are no dots
Downloads:
True Size
- Half-letter-small-dot-grid
- Half-letter-dot-grid
- MHP-small-dot-grid
- MHP-dot-grid
- A5-small-dot-grid
- A5-dot-grid
- Personal-SMALL-dot-grid
- Personal-dot-grid
- Personal-Wide-small-dot-grid
- Personal-Wide-dot-grid
- A6-dot-grid
- A6-small-dot-grid
- Pocket-small-dot-grid
- Pocket-dot-grid
Spreads
- half-letter-small-dot-grid-spread
- half-letter-dot-grid-spread
- MHP-small-dot-grid-spread
- MHP-dot-grid-spread
- A5-dot-grid-spread
- A5-small-dot-grid-spread
- Personal-SMALL-dot-grid-spread
- Personal-dot-grid-spread
- Personal-Wide-small-dot-grid-spread
- Personal-Wide-dot-grid-spread
- a6-dot–grid-spread
- a6-small-dot-grid-spread
- Pocket-small-dot-grid-spread
- Pocket-dot-grid-spread
[amazon_link asins=’B00BJH0M3I,B07F6TX1RS,B00KMDW1Y8,B074P98D2B,B002U381U6′ template=’ProductGrid’ store=’wwc045-20′ marketplace=’US’ link_id=’f9f21297-8bdb-11e8-bb49-df9c00ec11cb’]
So will you be creating your very own BUJO/PLANNER? Which will go with?
Thank your, tank your so so much for the digital dotgrid!!!
Hi! So excited I stumbled upon your site and this particular post. THIS is exactly what I’ve been contemplating doing. I switched to a tul discbound planner last year and I love it and now want to try bullet journaling with it. So this is perfect. Thank you so much for sharing 🙂
Yay! I love having a discbound notebook, so I can take out or put in pages as I please!