
Hi, everyone! I have been wanting to share this wonderful tutorial with you all for so long! I originally found this idea from Robyn Lott on YouTube but she no longer posts anymore and had taken the video down, unfortunately. I love having custom sized pen holders for all of my pens. The ones they sell in stores usually are way too small and most importantly can only be used for one notebook (because of the super strong adhesive!) This binder clip/elastic pen loop is great because it’s transferable. You can use it for any of your multiple notebooks and planners. You can even customize the size of the binder clip to fit thick hard covered notebooks or use a tiny binder clip to fit your thin laminated covers. I just bought medium sized ones which fit both! This DIY is super affordable and is really, really easy to make!
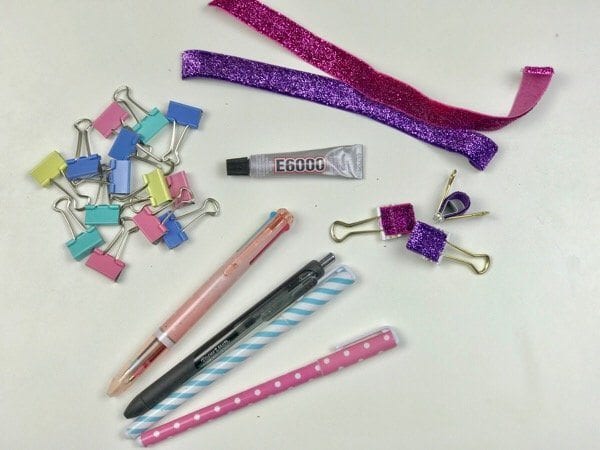
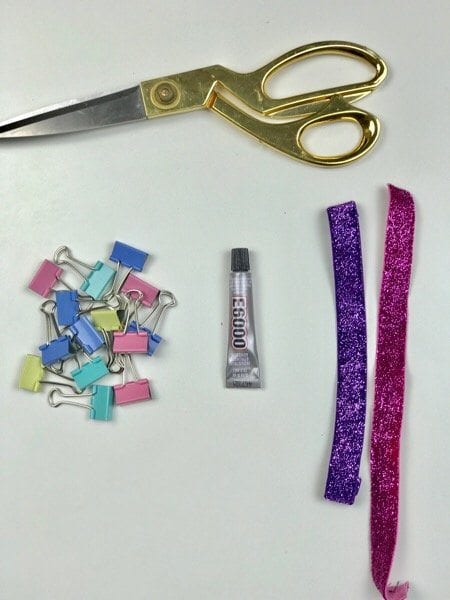
Supplies Needed:
– Binder Clips
(pastel binder clips I used were from here)
– Elastic
– E6000 glue
or glue gun
– Scissors
– Pens
How To:
- Grab the pen you would like to make a pen loop for. Take some elastic and loosely measure around the pen and leave a little slack, not too much though (remember this is elastic so it will stretch to fit your pen. Better to have a smaller pen loop than a loose one in which your pen can fall out of).
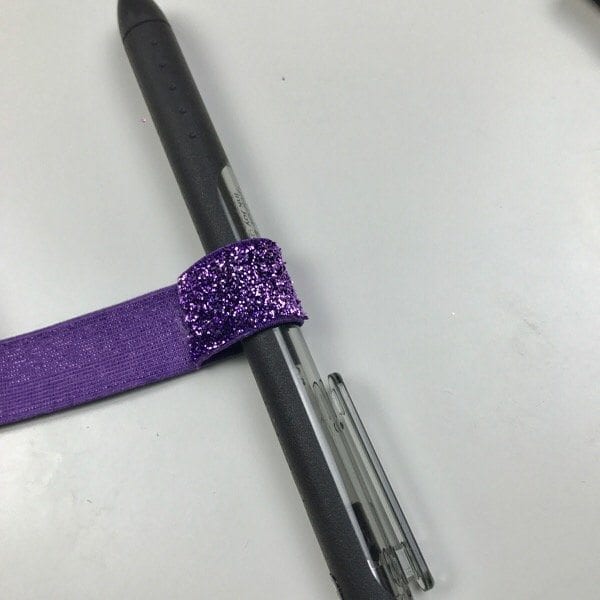
For my larger pens they measured just under 5cm, and for my skinny pens they measured just under 4cm.
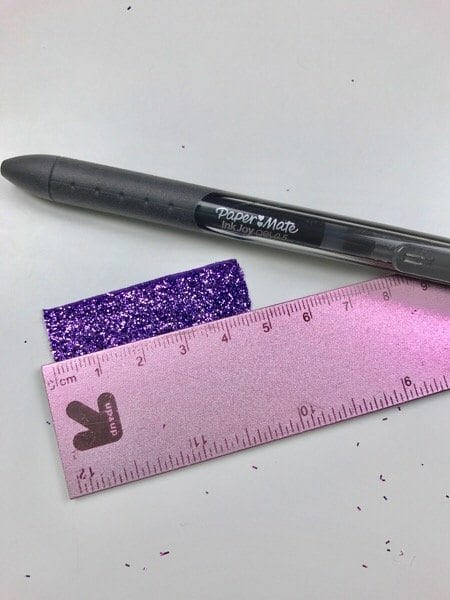
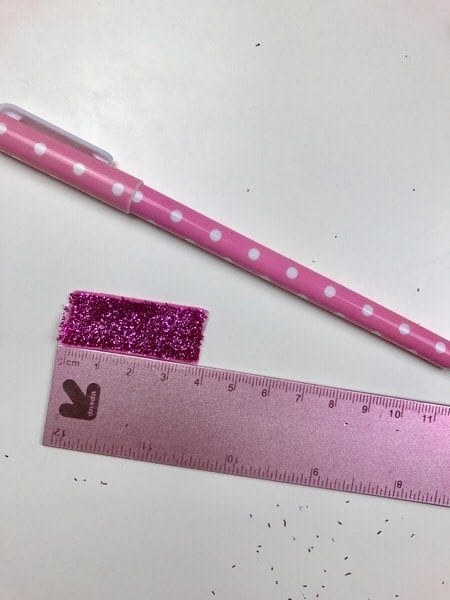
- Cut where you measured.
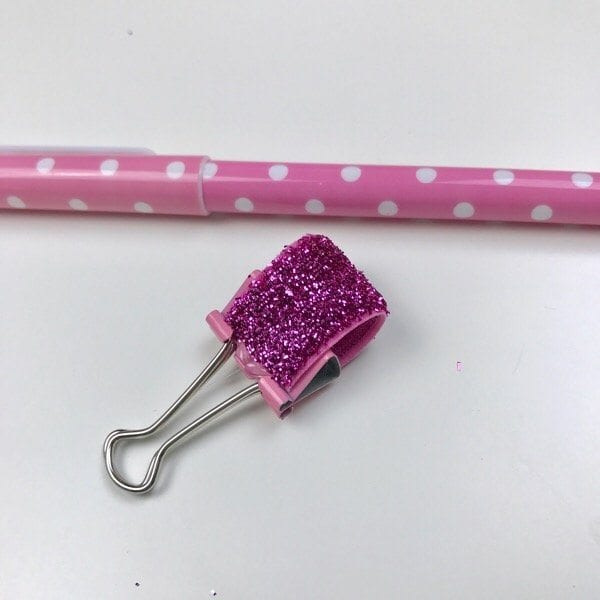
- Grab a binder clip and place some glue on both sides of the clip (make sure the prongs are down).
- Get the cut elastic and place one edge on the binder clip and the ither edge on the back side of the clip.
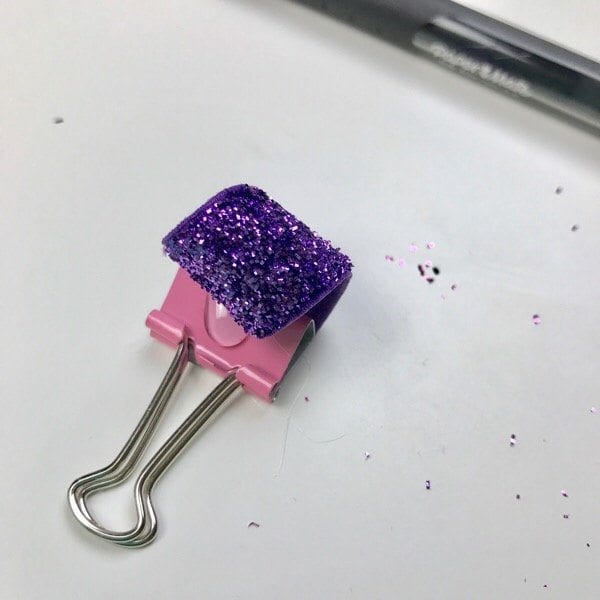 Press lightly and flip the prongs of the binder clip to hold the glue and elastic together and let dry.
- After it is dried you can use it on your planners and/or notebooks by simply clipping it to the back!
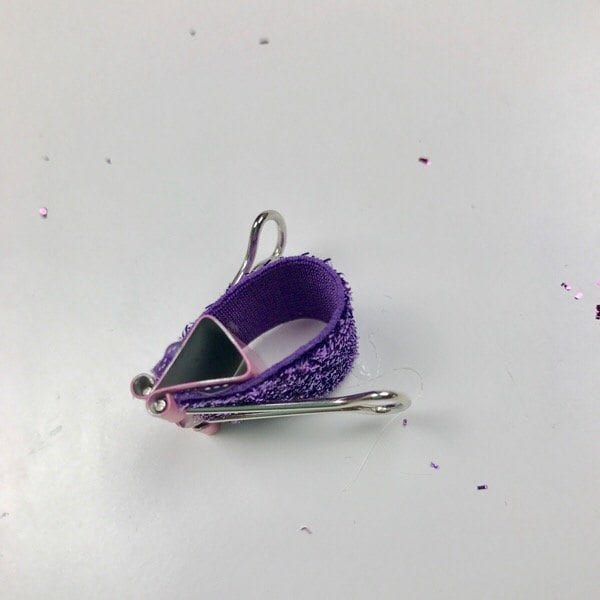
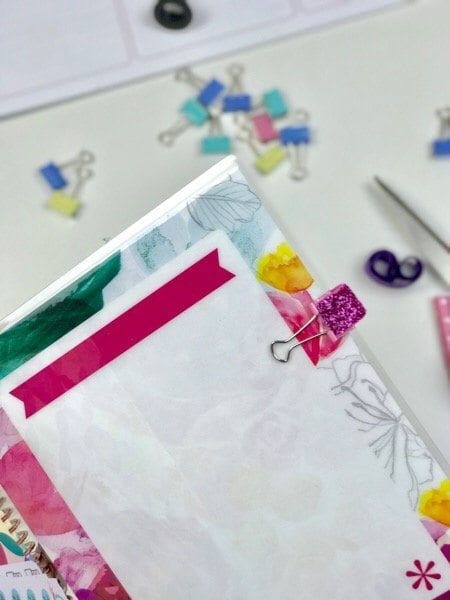
& that’s how it is made! Super easy DIY elastic binder clip pen loop! Now you can always have your pen on you whenever you’re planning or writing in your notebook. Here is how the final product looks:
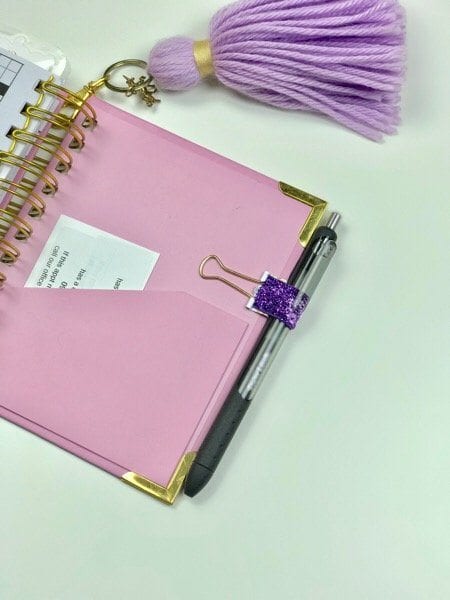
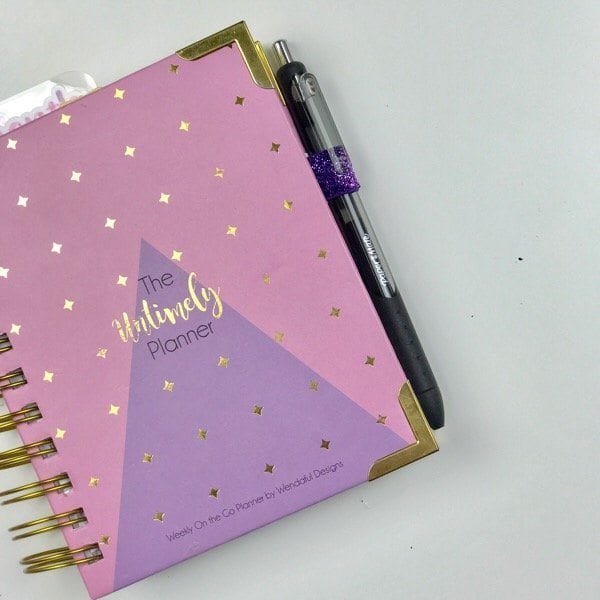
When you attach it to your notebook or planner this is what it would look like:
 This is perfect if you bought the untimely planner which i’ve designed myself. It is the perfect on the go planner. Learn more here. Or if you’d like to buy one now shop here!
Here is what it will look like on an Erin Condren back cover.
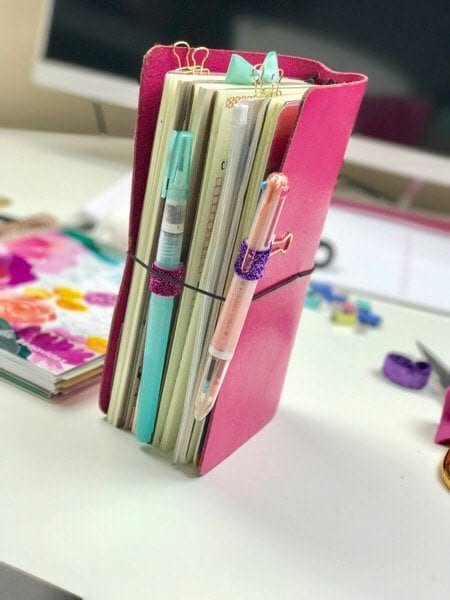
 & how I use mine in my foxy fix! It does leave indents in the leather but I don’t mind. If you don’t want to ruin your leather you can always attach it to one of your inside notebooks and not the leather itself.
I hope you guys enjoyed this post and have fun making these super useful pen loops for your planners! For more DIY’s be sure to check out my other blog posts here.
Your idea for a pen loop is just what I’ve been looking for. I have just started making my own notebooks and notebook covers and couldn’t decide how to attach a pen holder. Thanks to you, I have an answer now! Thanks Wenda.
I love this! You just saved me $5 haha. I didn’t have glue so I used double-sided tape instead. I also cut the elastic from one of my toddler’s boxers. Hope it holds up. Thank you again for this cool life hack!
This is perfect! Thank you so much for sharing.
Its a nice post keep sharing the valuable information like this
thank you ! wonderful trick/idea. Thank You, Thank You !!!!
This is fantastic
Just what I am looking for.
Looks so easy to make too!
Quick question – how wide is the elastic?
The elastic I used was about half an inch wide! It’s a really easy project anyone can do and it’s so useful!
Love this! I’ll have to try it. You make it look so easy.