
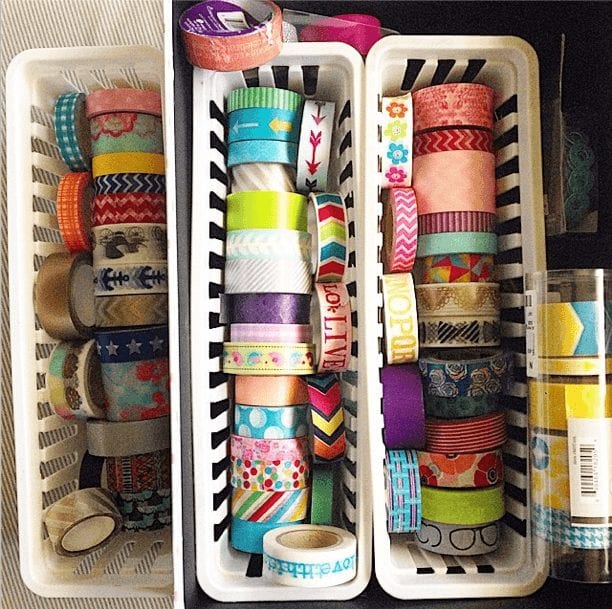
When your washi tape collection grows, you wish you can take them all with you everywhere with you. But carrying several rolls in your bag or pencil case can get bulky quick and seems a little ridiculous. Many people take just enough samples to carry with them on the go. Or maybe you’d like to give some of your washi tape away to your penpals or friends to use, but don’t want to pay for extra shipping! Read on to see how and what to make washi card samples.
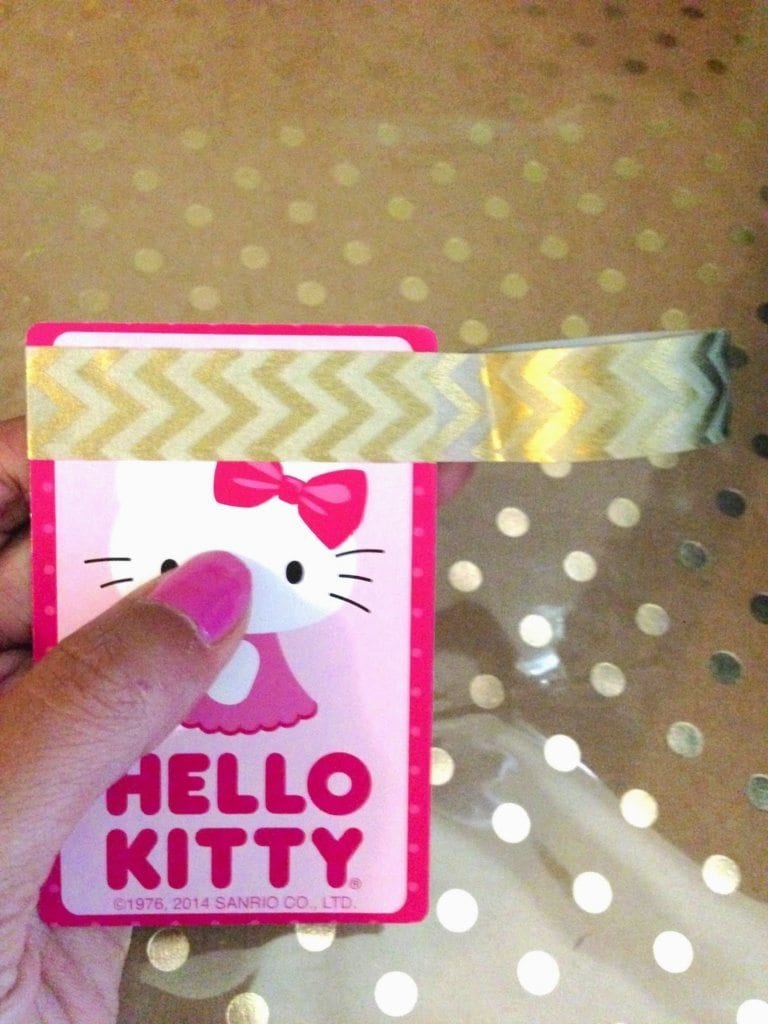
To make washi samples simply wrap your washi tape around a flat plastic card. There are a number of things you can put your washi samples on. Some things that people have used have been:
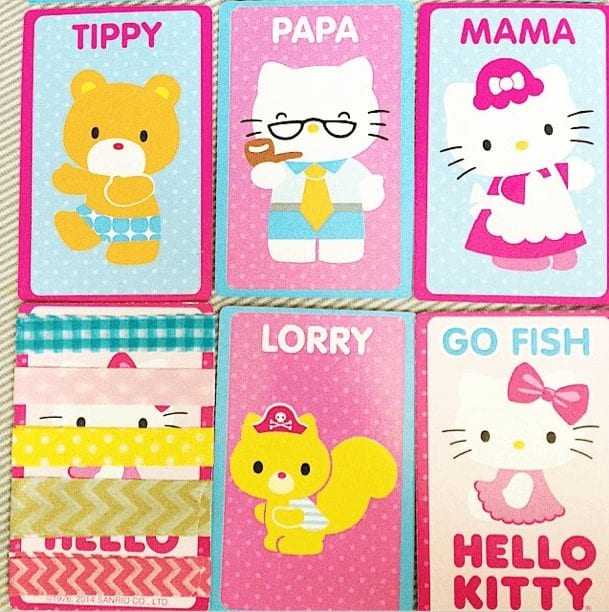
- playing cards (Target has cute hello kitty ones that I use, it’s perfect and is more than enough)
- old gift cards (start saving them now!)
- laminated cards
- business cards
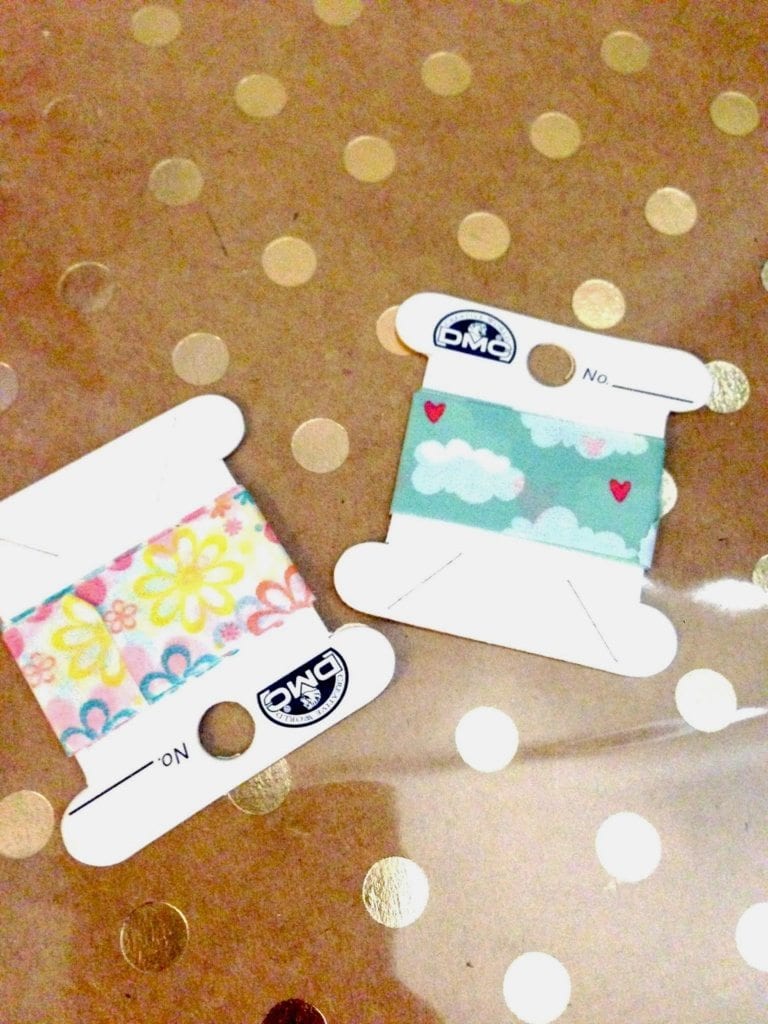
- plastic bobbins
- laminated narrow plastic flyleaf
- These can be made by laminating a laminating sheet and cutting it to fit your planner’s height and making it narrow by cutting the width in half, then hole punching the side to fit your planner. You can then slit the holes to easily take it in and out without opening the rings
Basically anything plastic and small enough to put into your planner’s pockets. If you have a laminator you can make anything you want into a washi card holder!
The next step is choosing which samples of washi tape you want to have with you. This can get tough if you have tons to choose from. If you have the time you can totaally do it all.
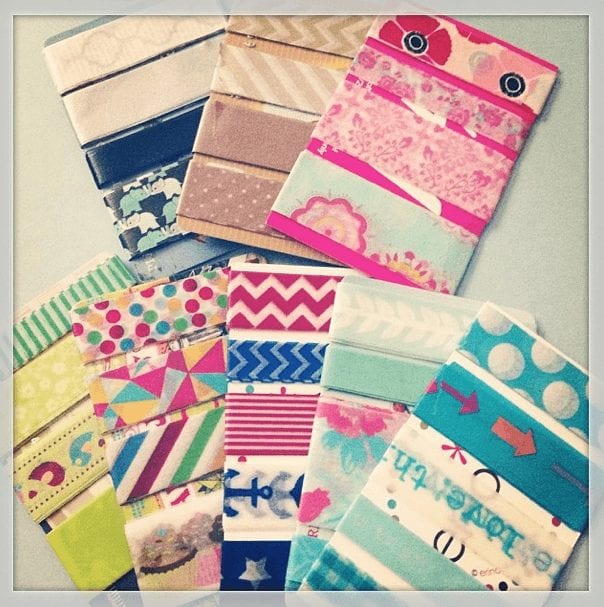
Then you should group each kind of washi sample on each card. You can easily fit about 4 different washi tapes on each card (depending on the average width). I like to put similar washi tapes on each card like by color (pastels, metallics, blacks), by themes (sailor, florals, chevron, skinny), or even just by your favorites or good combos. It is totally up to you.
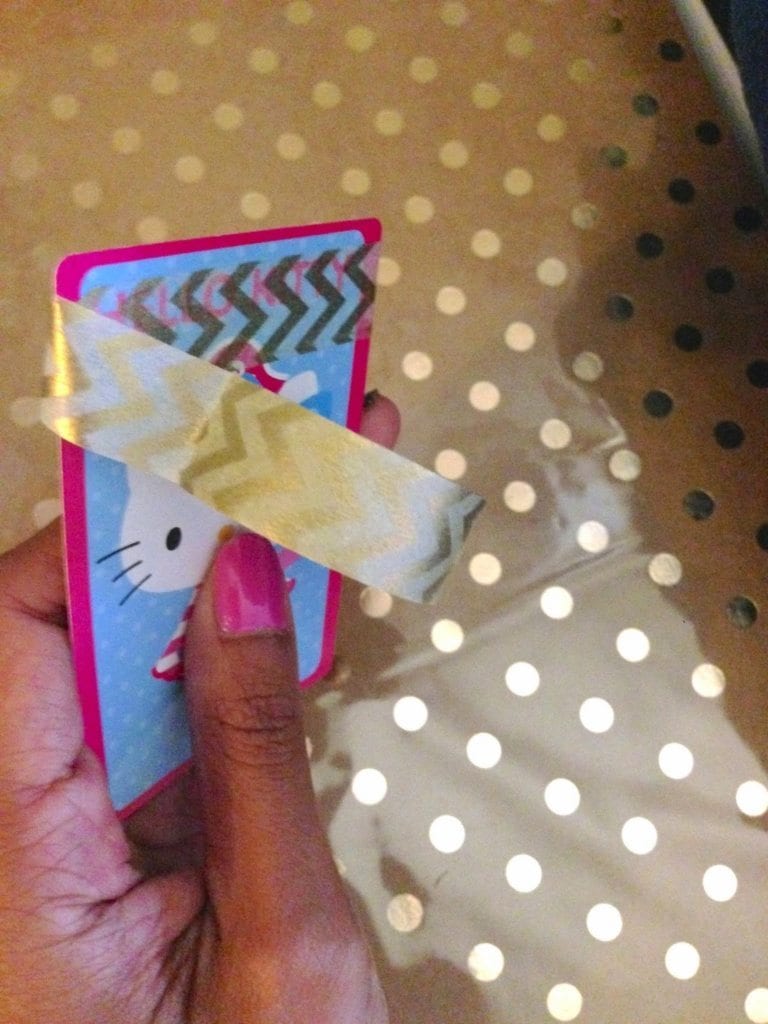
After that comes the hardest & longest part: Peeling the tape and wrapping it as neatly as possible around the card. How do we do that? By peeling a few inches at a time from the roll and placing it on the card and wrapping it straightly and neatly on top then peeling some more and repeating it around and around and around again.

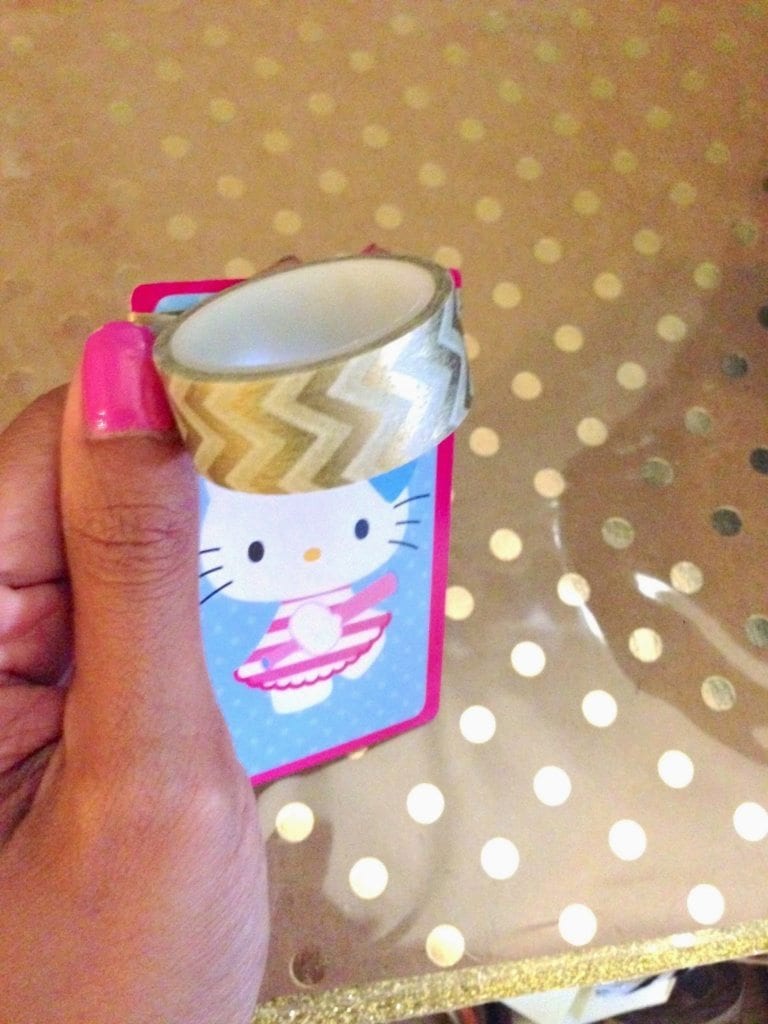
I would suggest wrapping it around the card about 8-10 times so you have enough tape to last you a while (because wouldn’t it suck to do this process all over again in a week or two?)
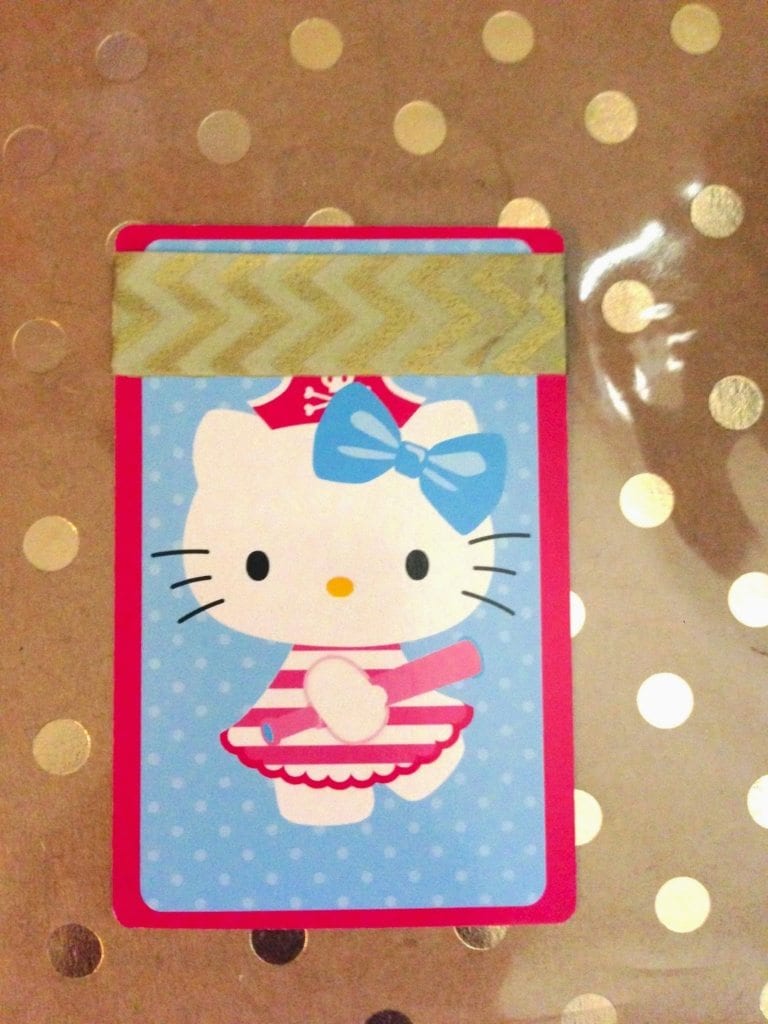
After that you should have a bunch of cards with 3-5 washi tapes on each! You can put them in your card slots in your planner or the back pockets.
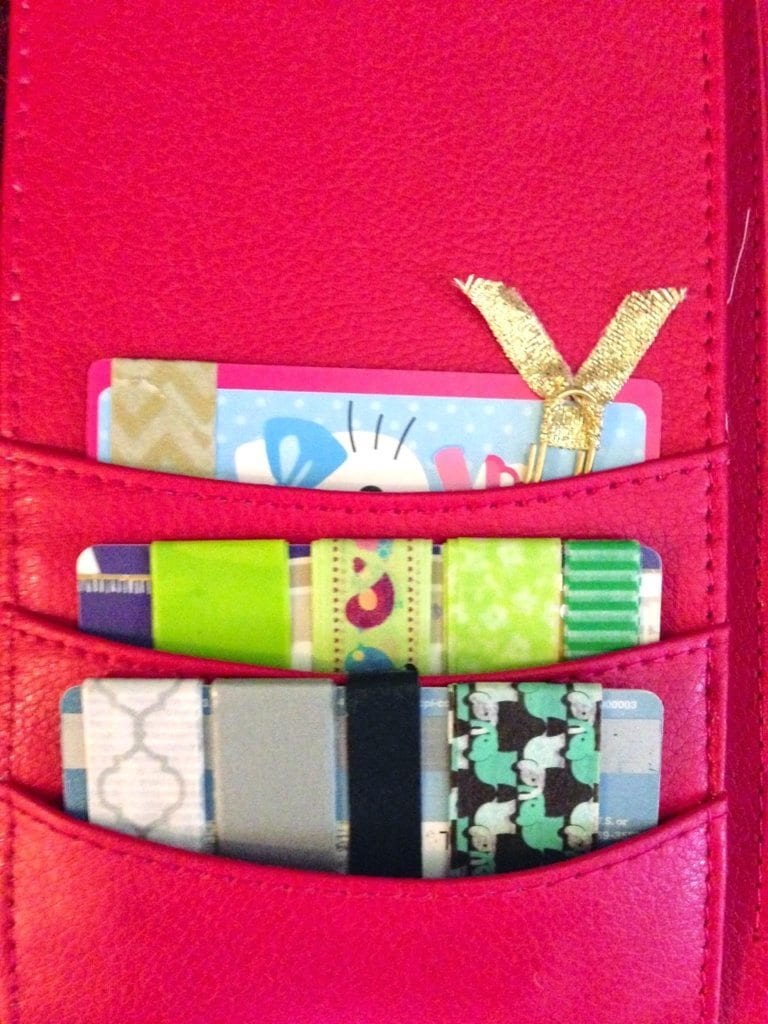
To use your samples, simply peel and cut just like you would from a roll, except now your washi is flat and portable!!
Hope this was easy to understand and have fun decorating your planner everywhere you go!

This has saved me so much space in my planner pouch. Thanks, Wenda!
Thank you so much for this! Now I know what to do with that pack of playing cards I bought “for crafting.” 🙂
Such a simple and yet super useful idea! Love it ♥ ♥ ♥
Harvard Card Systems specializes in high quality custom plastic card printing and gift card manufacturing. Our core products include membership cards, loyalty cards, hotel key cards, gift cards and multipack card packaging
Get details @ http://www.harvardcardsystems.com/
This is such a fun and practical tip. I love this, especially for swaps! Thank you for sharing 🙂
This was extremely helpful! Just finished making mine with 2 TJ Maxx gift cards:) Thanks for the tip!
thanks, i have to do it, but i havent yet