Today
I am going to show you all how easy it is to make your own Erin Condren Weekly
Square stickers. I can obviously keep providing you with new ones every now and
then, but wouldn’t it be nice to make your own, a full sheet of your favorite
quotes? Or your favorite designs? We all don’t live by the same quotes and all
have different styles and tastes.
Down
below is also a word file you can download…
below is also a word file you can download…
Many
people in the We Love EC group on Facebook make them, that’s why I thought it
would be a good idea to make this blog post for my followers on Instagram who
is not in the group.
people in the We Love EC group on Facebook make them, that’s why I thought it
would be a good idea to make this blog post for my followers on Instagram who
is not in the group.
How
To Make Erin Condren Weekly Squares:
To Make Erin Condren Weekly Squares:
Step
1: find pictures of your favorite quotes or backgrounds and
save them all to your computer. Or if you want you can just copy each one from
the website directly and paste it into Microsoft word so you don’t have to have
all those files on your computer.
1: find pictures of your favorite quotes or backgrounds and
save them all to your computer. Or if you want you can just copy each one from
the website directly and paste it into Microsoft word so you don’t have to have
all those files on your computer.
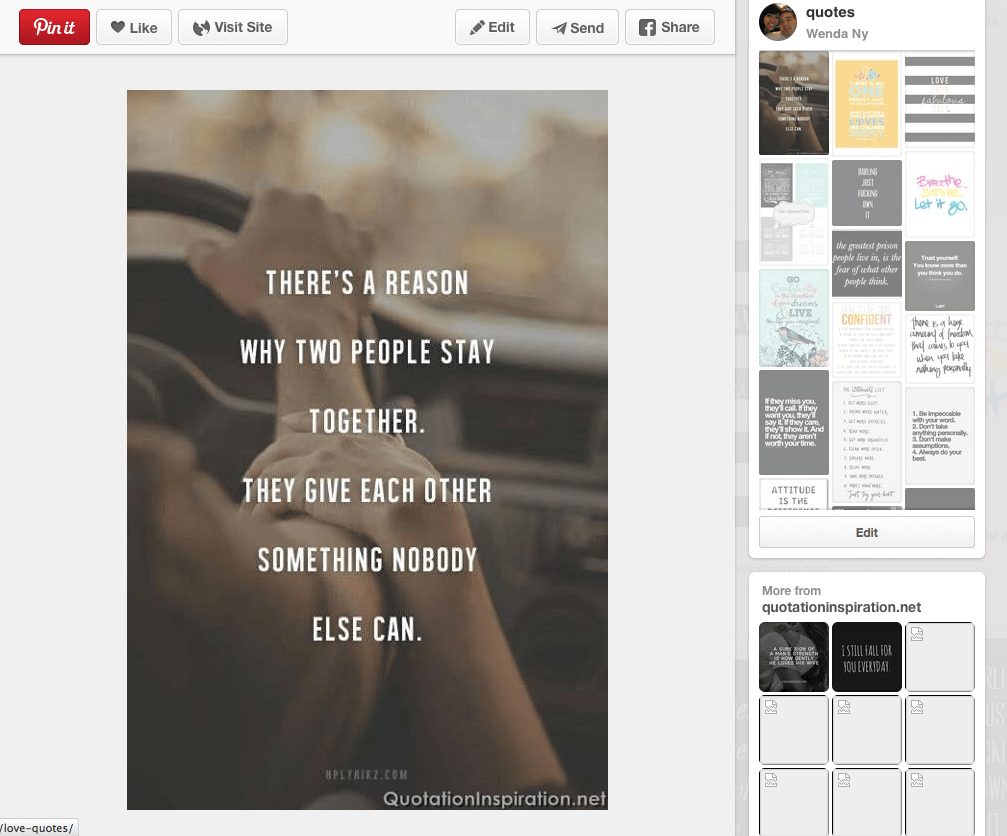 |
| I use Pinterest for all of my pretty quotes images |
Step
2: Open up Microsoft word
2: Open up Microsoft word
Step
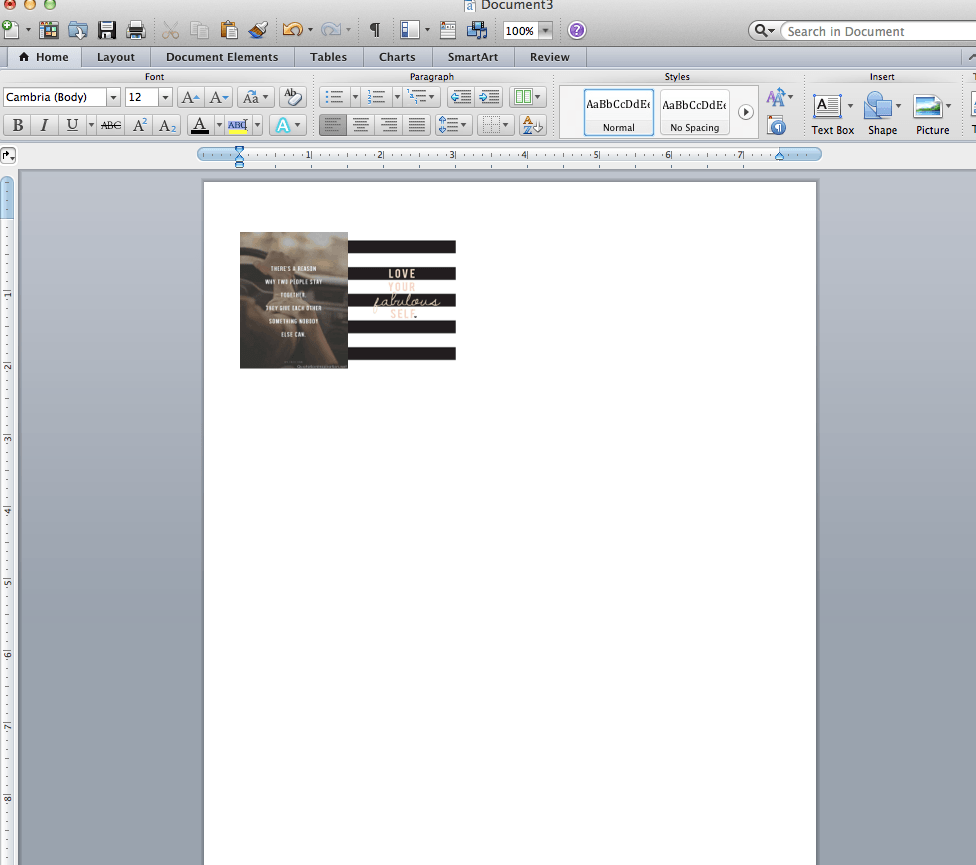
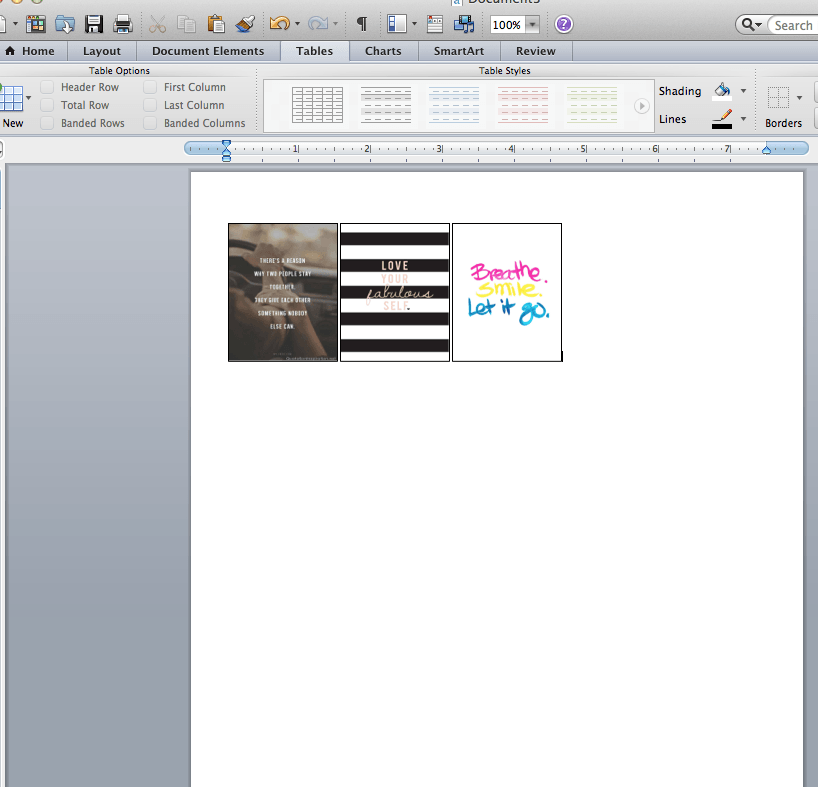
3: Paste the picture file into Microsoft word, and make
sure the wrapping of the text is “in line with text” (as you add more
pictures the pictures will be lined up perfectly next to each other, you want
it close like that so you won’t have to cut the extra white borders out.
3: Paste the picture file into Microsoft word, and make
sure the wrapping of the text is “in line with text” (as you add more
pictures the pictures will be lined up perfectly next to each other, you want
it close like that so you won’t have to cut the extra white borders out.
 |
| Copy the image you would like |
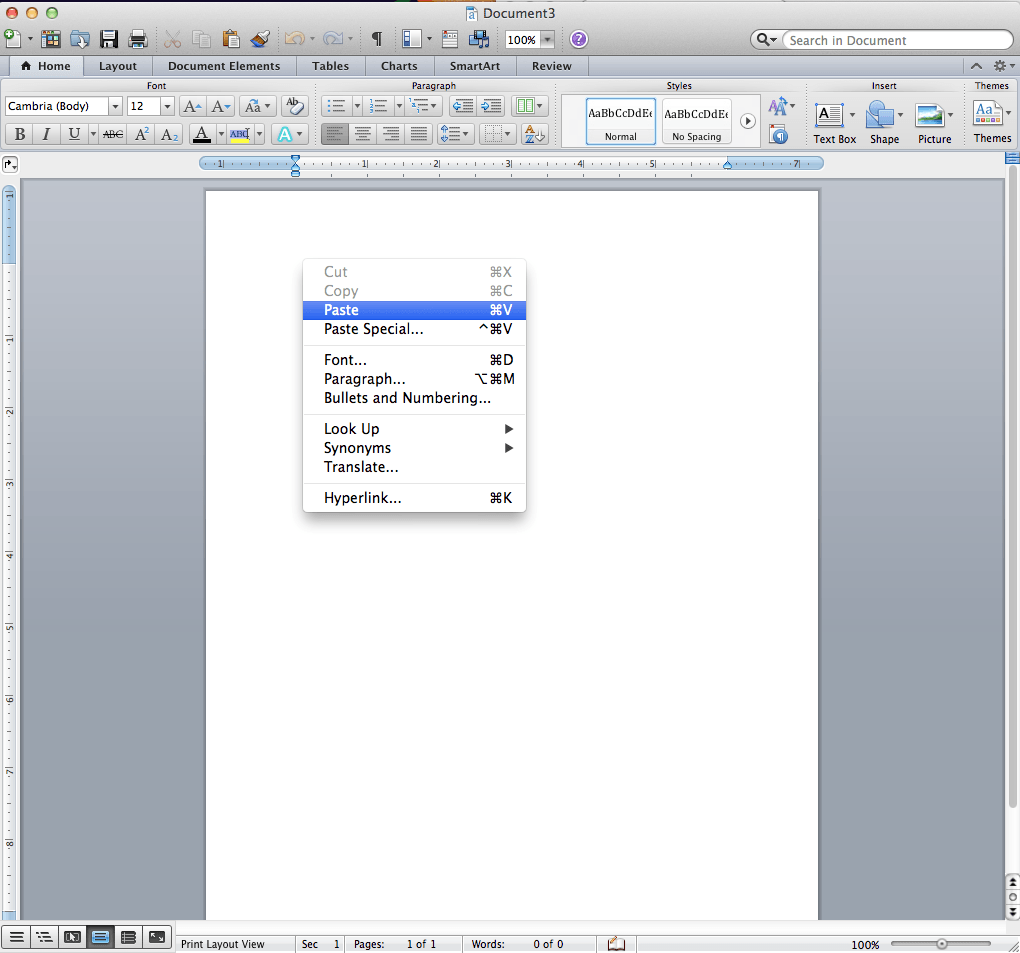 |
| and Paste it into Microsoft Word |
Step
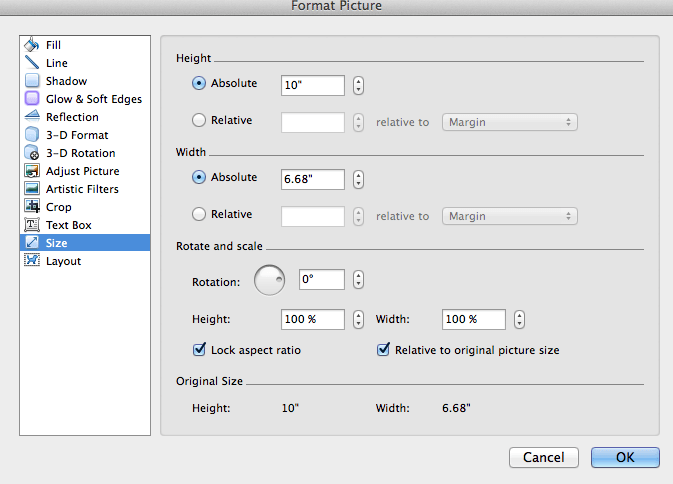
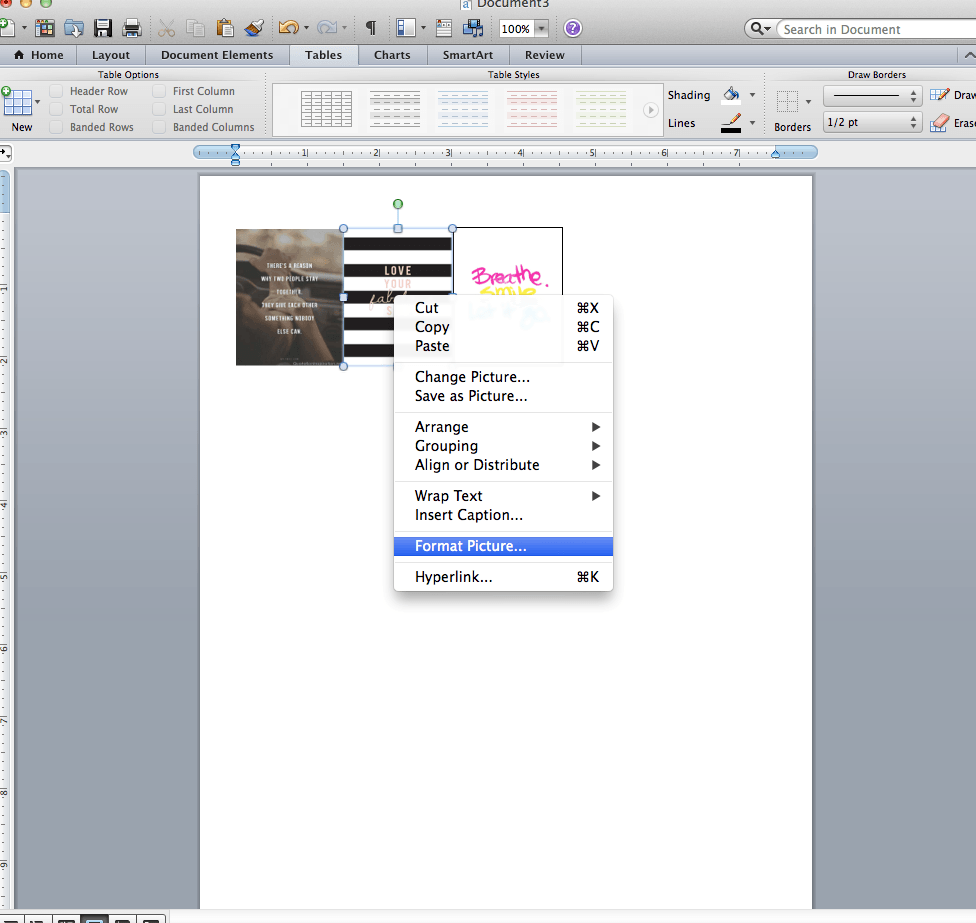
4: Resize the picture by right clicking the image, click on
format picture, click on resize image and change the height to 1.9 inches and
the width to 1.5 inches. Be sure to uncheck the box that says “lock
aspect ratio”
4: Resize the picture by right clicking the image, click on
format picture, click on resize image and change the height to 1.9 inches and
the width to 1.5 inches. Be sure to uncheck the box that says “lock
aspect ratio”
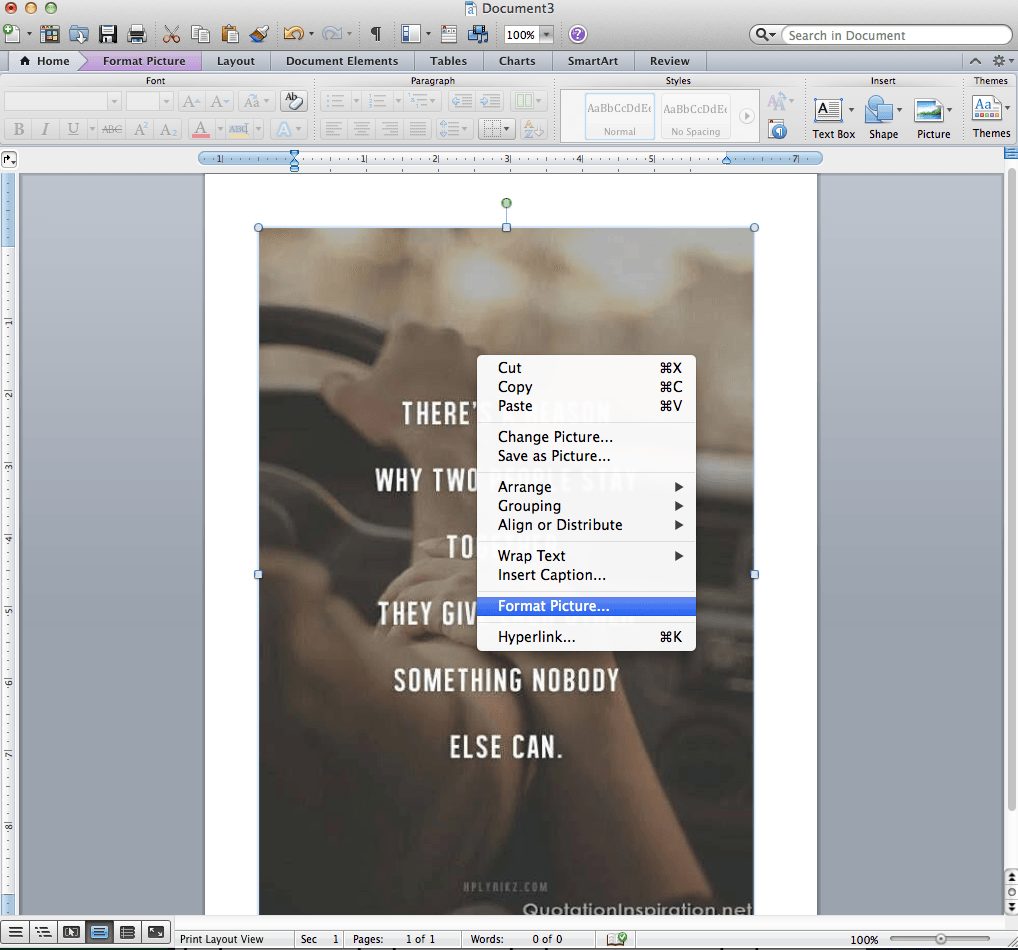 |
|
| The image will be big when you paste it in, to resize it right click>format picture… |
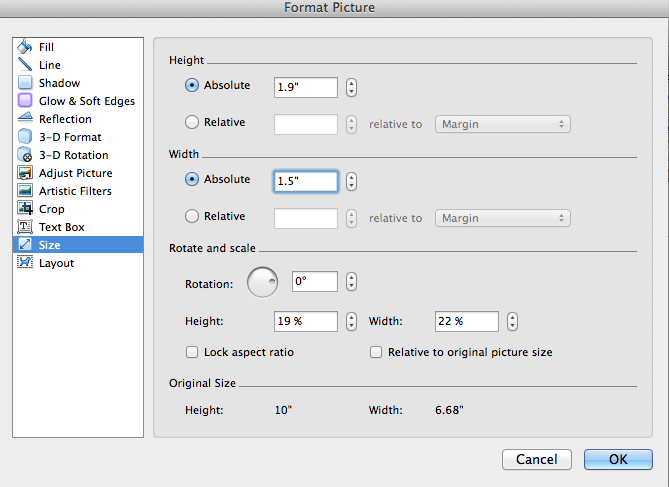 |
| to change the size, uncheck the box”lock aspect ratio”, and change the height to 1.9″ and width to 1.5″ |
Step
5: Repeat for all images you want. This is the hard part, if
any of you know of an easier way please let me know. But for now this is the
only way I know how to make it.
5: Repeat for all images you want. This is the hard part, if
any of you know of an easier way please let me know. But for now this is the
only way I know how to make it.
Optional Step:
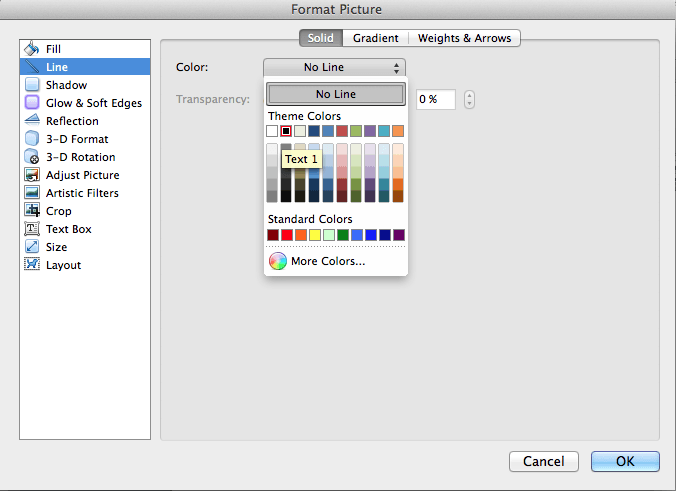
If you want you can also put a border around each image so you can see where to
cut exactly
If you want you can also put a border around each image so you can see where to
cut exactly
- just right click>format picture
- then click on “line”
- choose a color
- and press okay
|
Step
6: go to file>reduce file size to make the file smaller
6: go to file>reduce file size to make the file smaller
Step
7: save as PDF or word, whichever you prefer!
7: save as PDF or word, whichever you prefer!
Step
8: print on sticker paper! Or print on regular paper, cut it
all up, and use your sticker maker or adhesive of your choice to stick these
beauties in your planner!
8: print on sticker paper! Or print on regular paper, cut it
all up, and use your sticker maker or adhesive of your choice to stick these
beauties in your planner!
Some
great places to get quote images and backgrounds:
great places to get quote images and backgrounds:
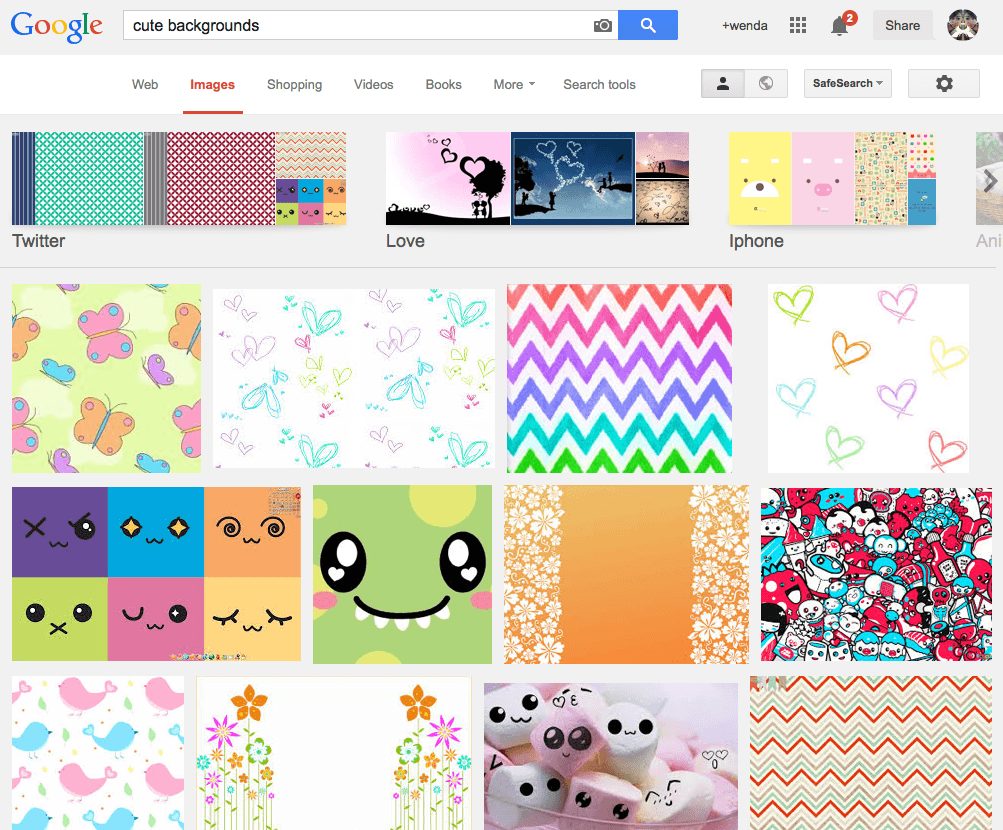
Google
Images
Images
-backgrounds
-cute
backgrounds
backgrounds
-patterned
backgrounds
backgrounds
Or
make your own!
make your own!
Happy
planning!
planning!


Can got do the same thing with the happy planner?
Thanks for the tips!! This will be much easier than guessing! Any idea if there is a program on a tablet that it's possible to do this?
is there some sort of sticker printing paper you can get?
This is SO crafty! Thanks for taking the time to share with us and other EC fans!
Thanks, Wenda!
The Erin Condren Team
erincondren.com
You can paste all your photos and then resize them all at the same time by hitting ctrl+a.
I've tried that you can't select all the pictures at once.