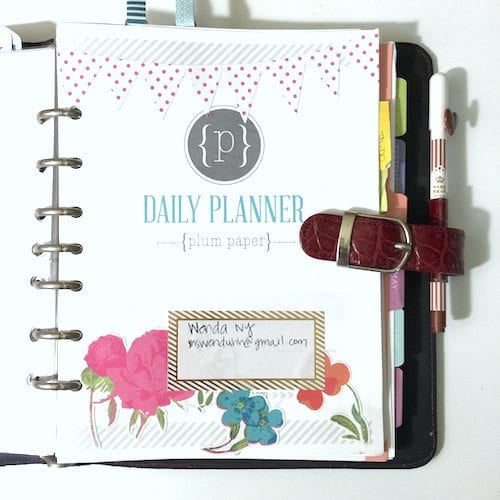
Hey everyone! So remember how I put my Erin Condren Planner into a Kikki-K before, well I decided to do it again but this time with my Plum Paper Planner. I wouldn’t do it with my Erin Condren since I write my memories and such in that. I would like to keep that coiled so I can look back on it and see all of our memories and plans like a scrapbook!

My Plum Paper Planner is my business planner, however. I use it to track my expenses, my revenues, sales, orders, customs, etc. It’s not something I need to keep coiled and look back on.
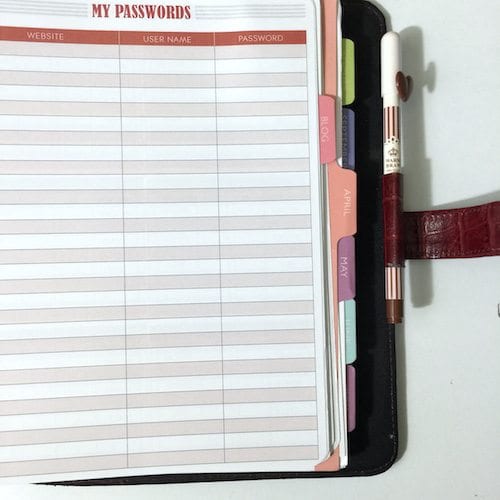
I constantly use the shopping section in the “home bundle” add-on. But I hated that it was in the back. I refer to it often and wanted to access it easily.
I also wanted to take out some of the home sections since it is no longer a home planner for me, just a business planner for my blog and etsy shop.
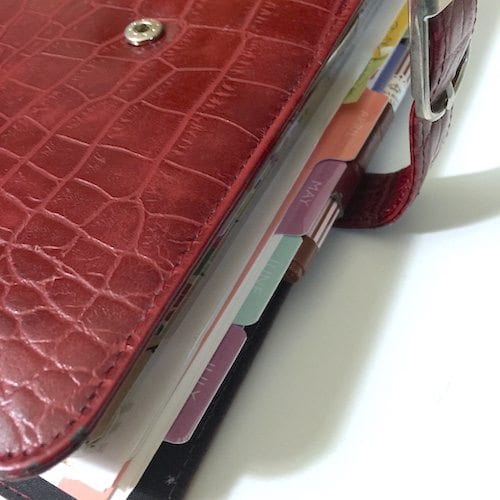
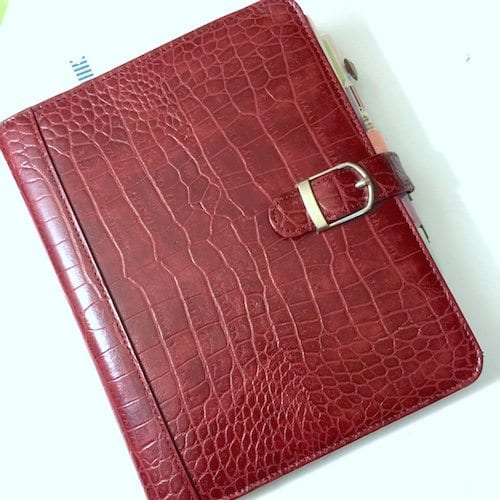
So I thought why not uncoil it and put it into my daytimer? I have been wanting to use that daytimer since I’ve bought it and now I can! It looks so chic and professional for a business planner!
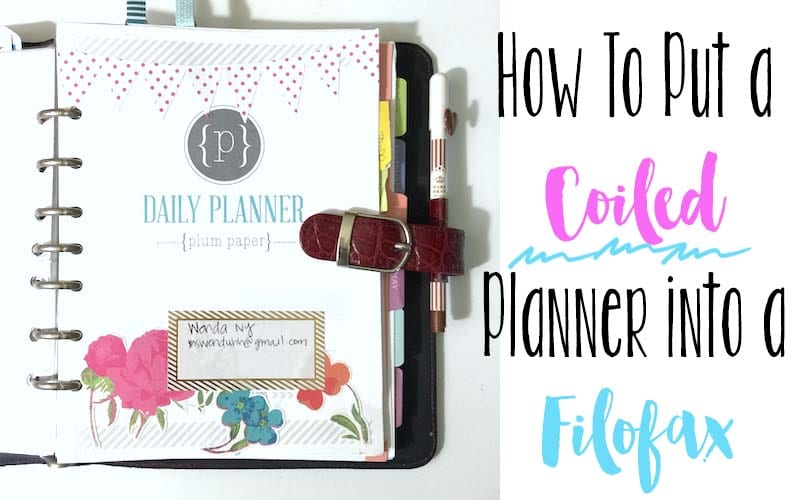
So here is a video on how I put my Plum Paper Planner into my Daytimer! I bought this 7 hole puncher from amazon! If you have a Filofax or Kikki-k I highly recommend buying this 6 hole punch from amazon as well!
[amazon_link asins=’B01DJH659U,B001GR6BCM,B00006JNWX,B06XDSSKBJ’ template=’ProductGrid’ store=’wwc045-20′ marketplace=’US’ link_id=’b34fa685-10fa-11e8-b74e-d31980236f30′]
Oh, & I didn’t have to uncoil my planner! The method I used in the video doesn’t require any tools! Uncoiling a planner is a lot of work and very trying on your hands. All you need is a ruler and an Exacto knife! Watch the video to see how easy it was! This process took me about 30 mins to an hour top! Super easy!