
I get a lot of questions on how I print my inserts for my planner, so I thought I would show you all how I do it. I have also used this method to print printables that weren’t resized and some have worked perfectly while others were a bit skewed, and sometimes the lines were just too tiny to go from A5 to pocket! Anyways, I have been a Mac user for years and have no clue about windows!
If you are on Windows, Philofaxy has an excellent tutorial for that here.
Printing Instructions for Mac:
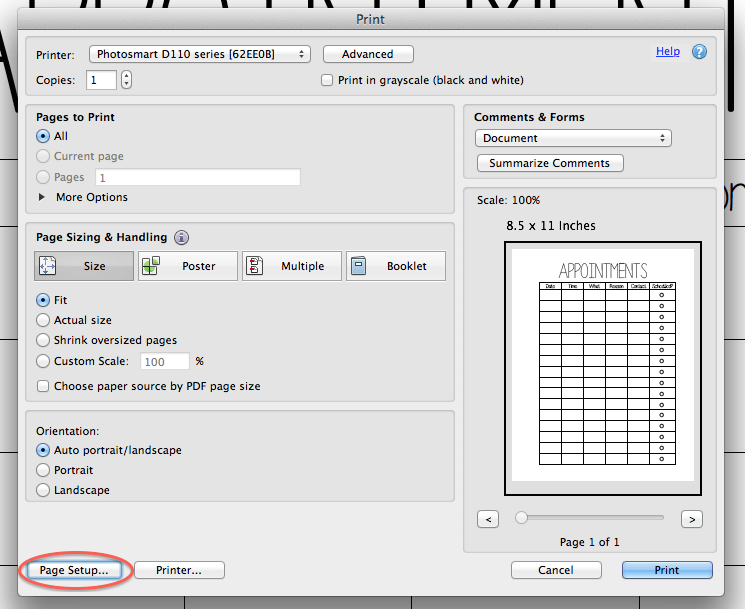 |
| adobe print – click on page setup |
Step 3: This screen will pop up click on paper size
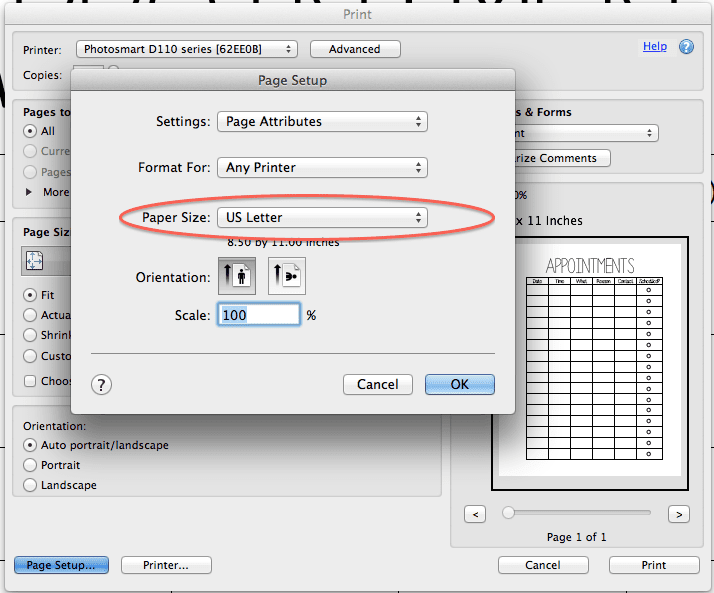
Step 4: Create a custom paper size by clicking on “Manage Custom Sizes” (unless you have an A5, there should be one set there already)
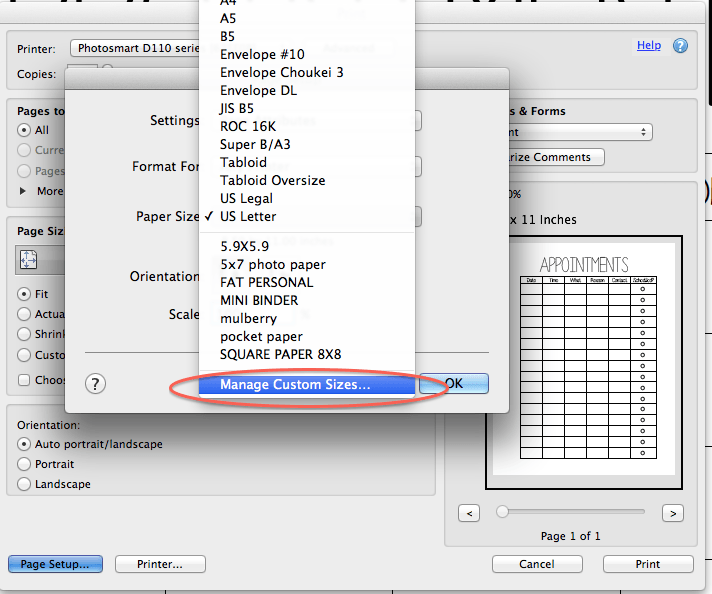
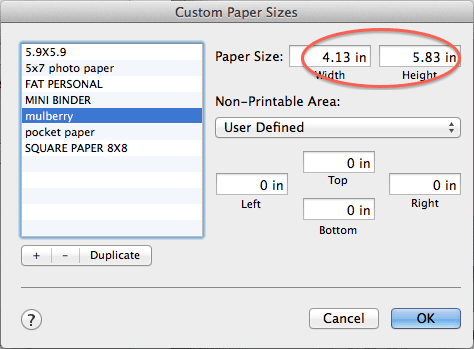
Step 5: From here Preview and Adobe will be the same; this screen will show just click the “+” sign and label the size as a5, personal, a6, or pocket
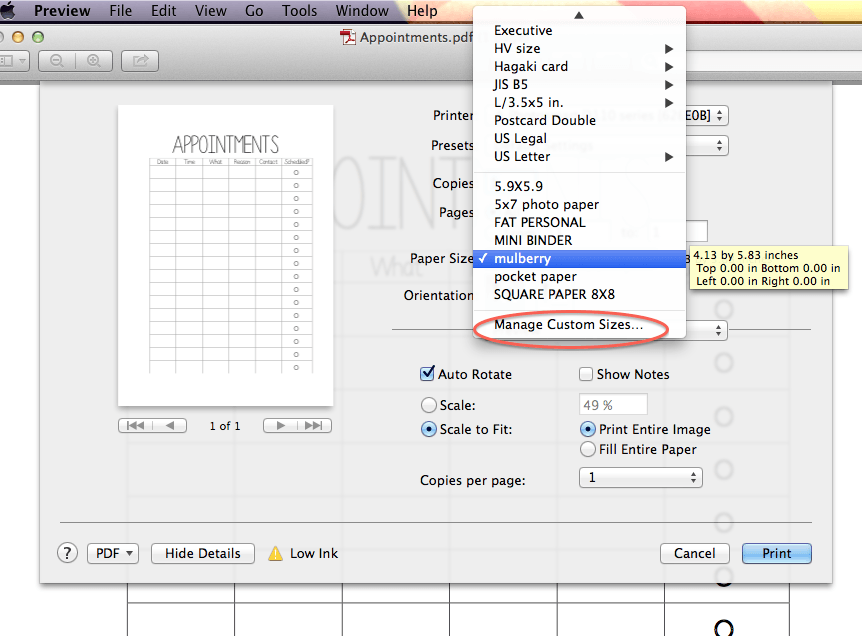 |
| from preview |
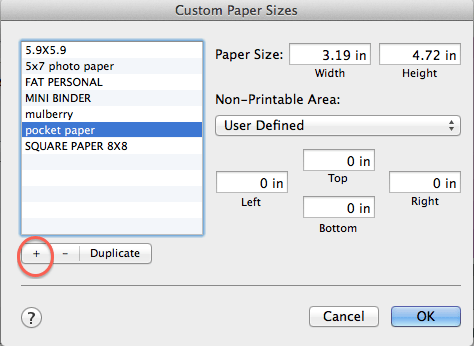 |
| click + sign to add a new size |
A5 – 5.83″ x 8.27″
Personal – 3.74″ x 6.73″
A6 – 4.13″ x 5.83″
Pocket – 3.19″ x 4.72″
A5 – 148mm x 210mm
Personal – 95mm x 171mm
A6 – 105mm x 148mm
Pocket – 81mm x 120mm
Step 7: Be sure to print “scale to fit”
Step 8: Print x amount of copies of first page (or odd pages first if printing more)
Step 9: Flip and put upright back into printer
Step 10: Print x amount of copies of 2nd page (or even pages)
& that’s it! Hope this helped you out! Thanks for reading!!

Hi Wenda! Thank you for these beautiful inserts! I love the design. I would appreciate it if you could let me know how I can print it with a Microsofot System. I have no Mac and I have no idea how it works.
I listed another website in the post, I think it was philofaxy’s.
Will this work for Kikki-K's personal planner?
I have a pc and want to print the personal on letter size…instructions? LOVE, LOVE the insert!!!!!!!!!
I've been needing to learn to print double-sided. Thanks for this, can't wait to give it a try!
Do you have instructions for a PC? Thank you very much
Thanks for this! I wrote the instructions you linked to for Windows, but now I have a Mac, so this post is really useful 🙂
Thanks for your instructions! I've always found printing for Filofax so tricky, & in the past have wasted lots of time, paper, ink & then run out of patience. I've had a Mac for a while now & haven't even attempted it, so thanks for these 🙂