

-
-
How to Organize Your Website Tasks in the Most Efficient Manner
-
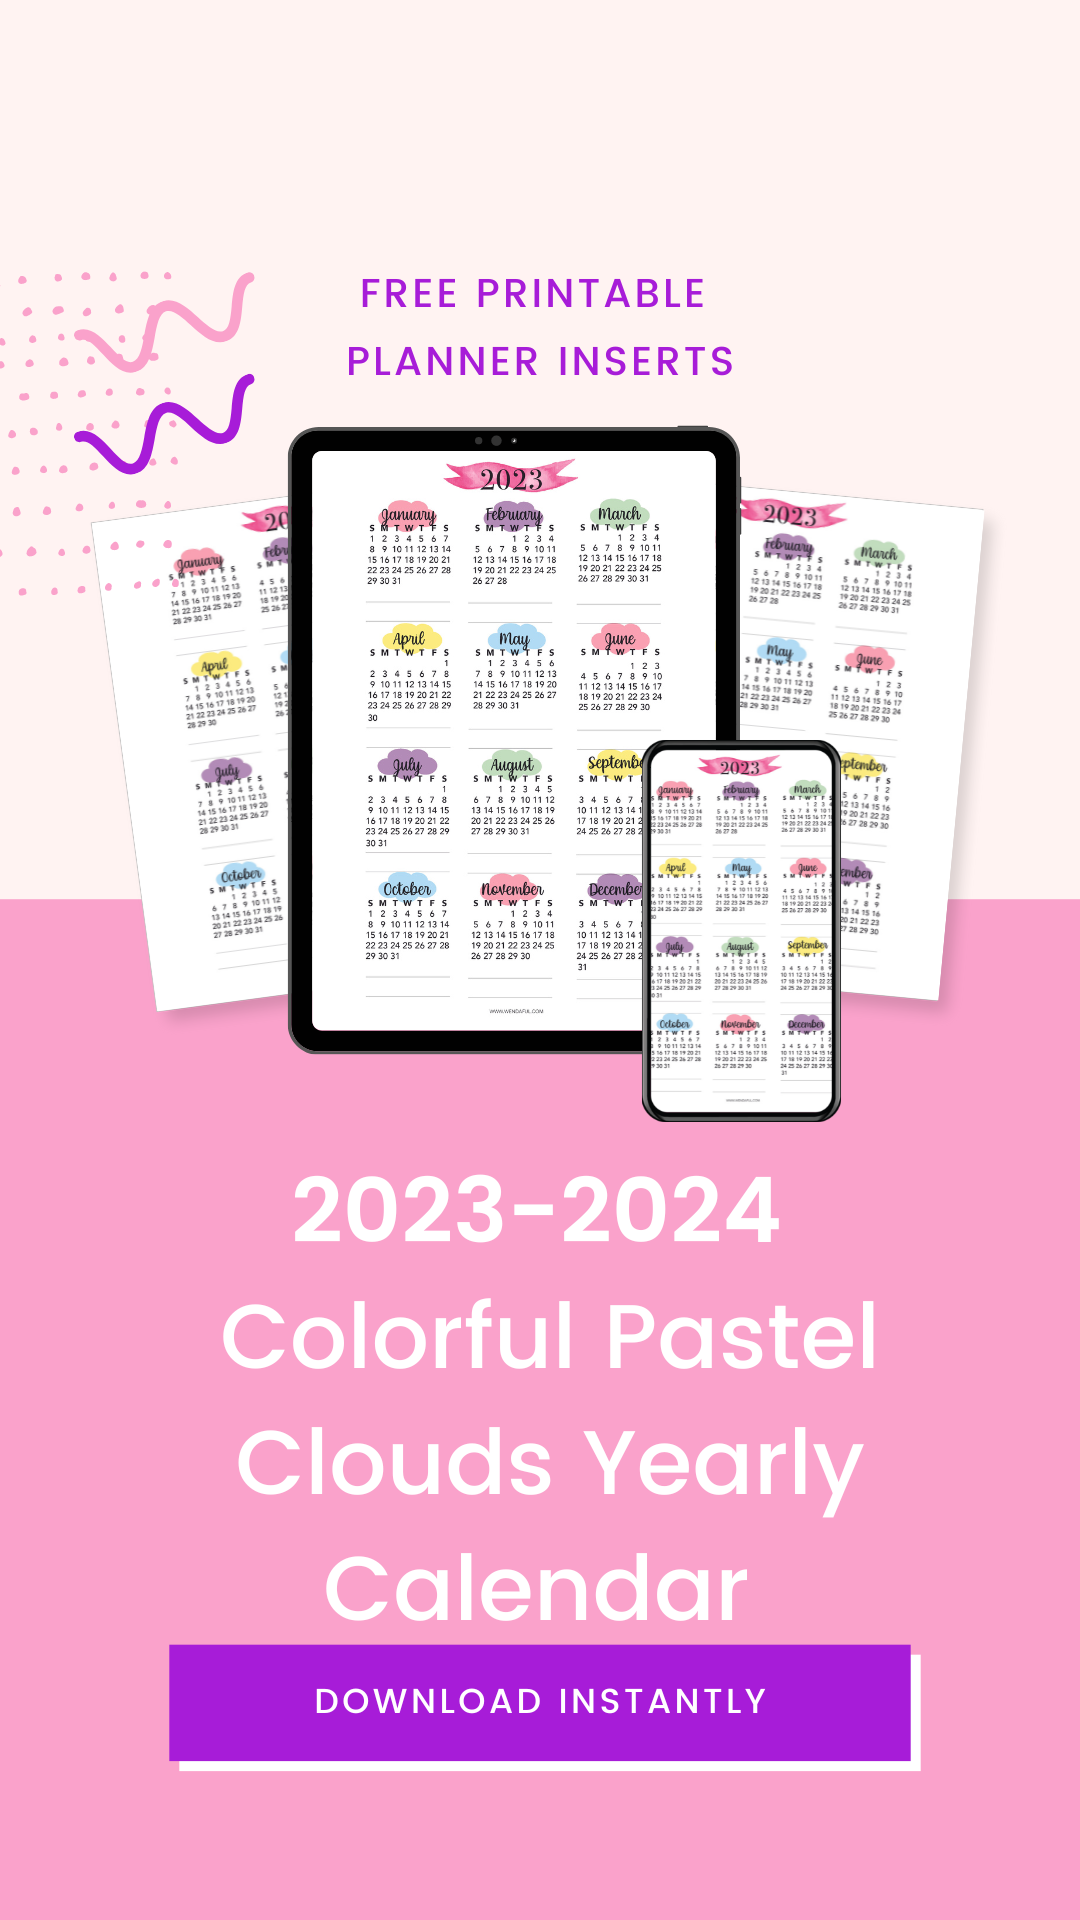
Free Printable 2023-2024 Colorful Pastel Clouds Annual Calendar Inserts
-

5 Reasons Why You NEED to Use a Habit Tracker
-
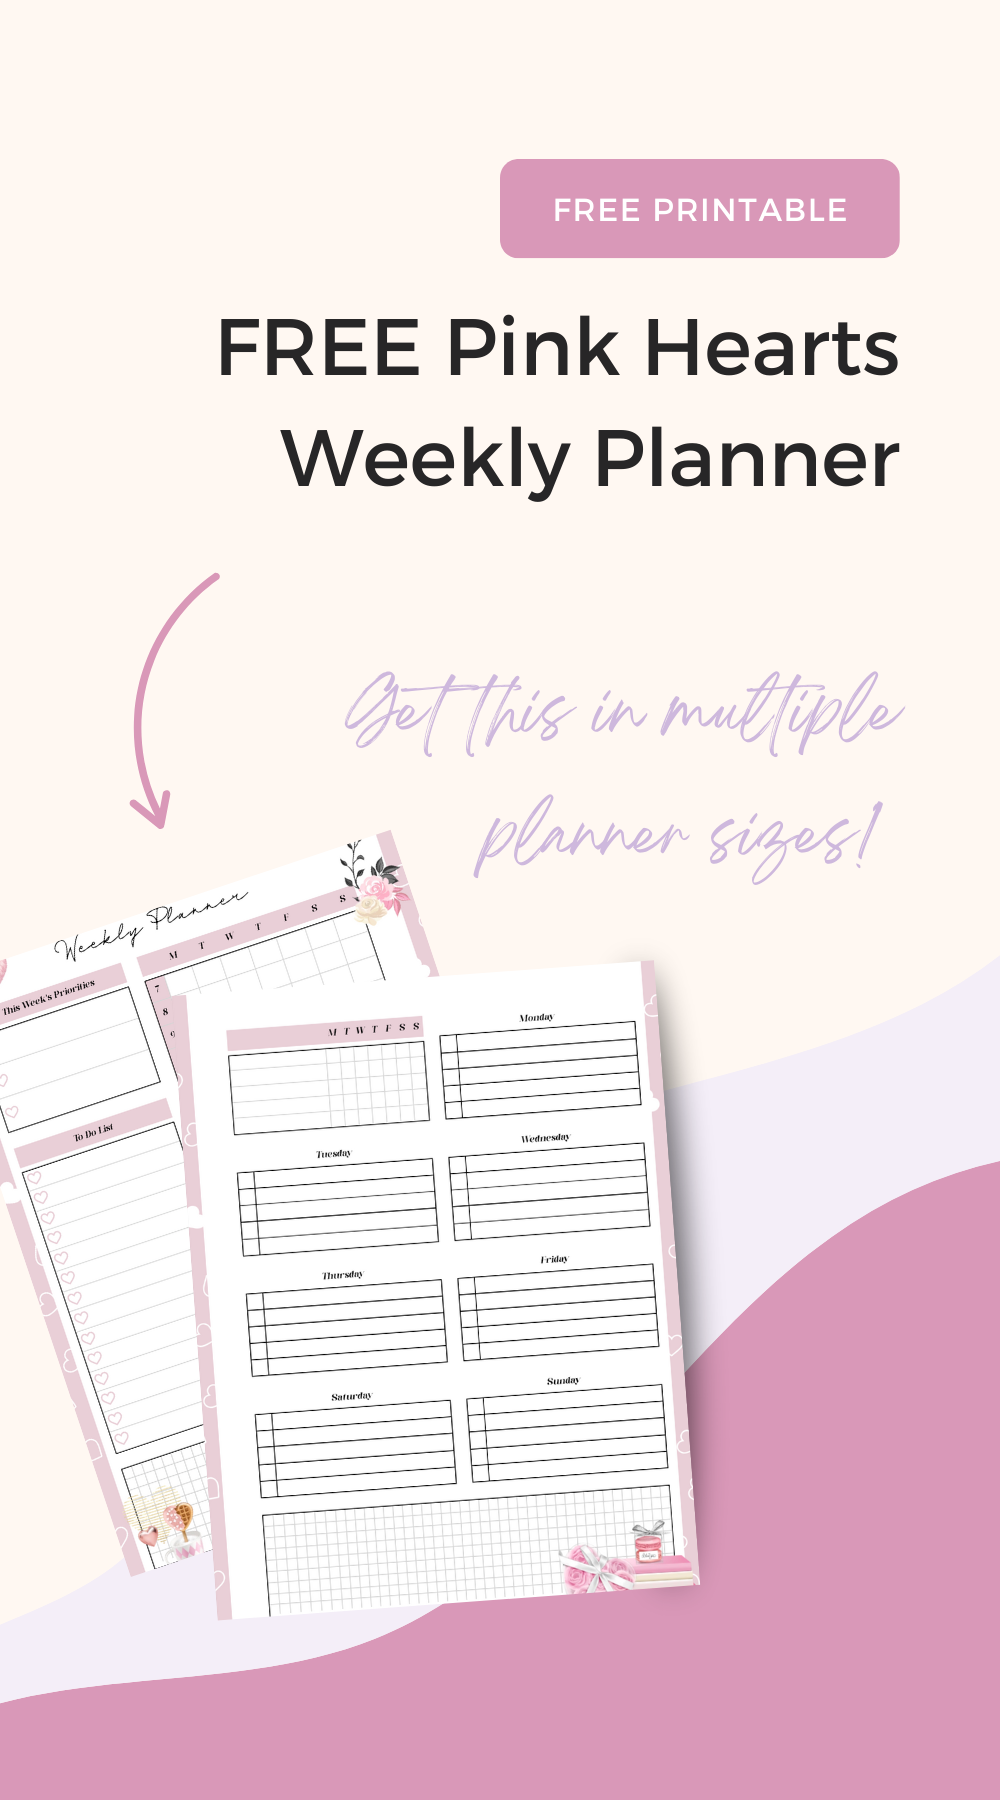
Organize Your Week with a Pop of Pink: Download Our Free Printable Pink Hearts Weekly Planner
-
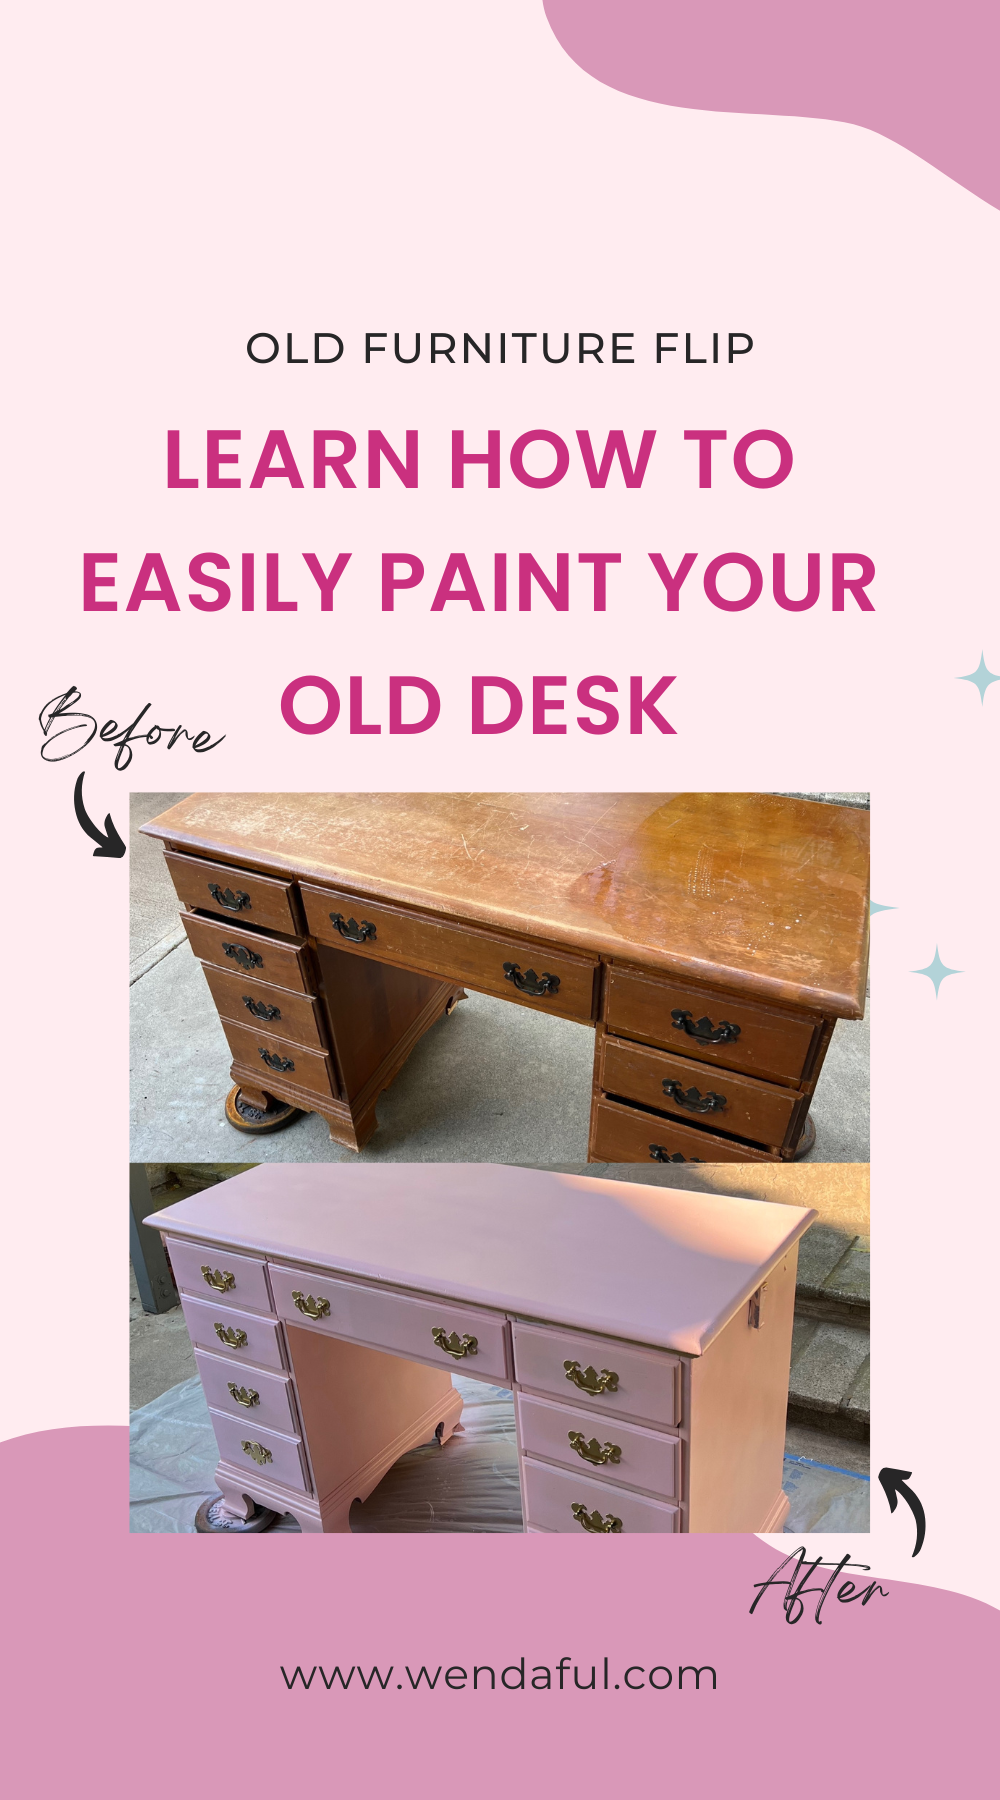
How To Turn Your Old Desk Into A Lovely Vintage Pink Desk In Just A Few Easy Steps