I post a lot of free printable stickers on my blog. All are listed on the bottom of this post. I also have explained how I make them into stickers but I don’t like posting it again and again on every sticker printable post I make. So here is an in depth tutorial on how to turn my printables or any you find and make them into stickers for your planner!
Depending on what you have available to you, here are three options on how you can make your stickers, and the pros and cons of each.
Option 1: Sticker Paper
Print using full adhesive sticker sheets. You can find these label sheets at Walmart, office supply stores, some arts & crafts stores or Amazon
These are easy and perfect for making stickers. It can be hard to peel off the sticker after you cut them though. Luckily I have a quick and easy tip for that problem here.
Another drawback for this is the price and availability of these sticker sheets. It can get quite expensive buying lots of sticker paper. Most come in a pack of 10 for about $12! They also aren’t sold in most stores like Target! But if you scour the internet you can probably find a way better deal , but then you have to wait for shipping..
Option 2: Sticker Maker
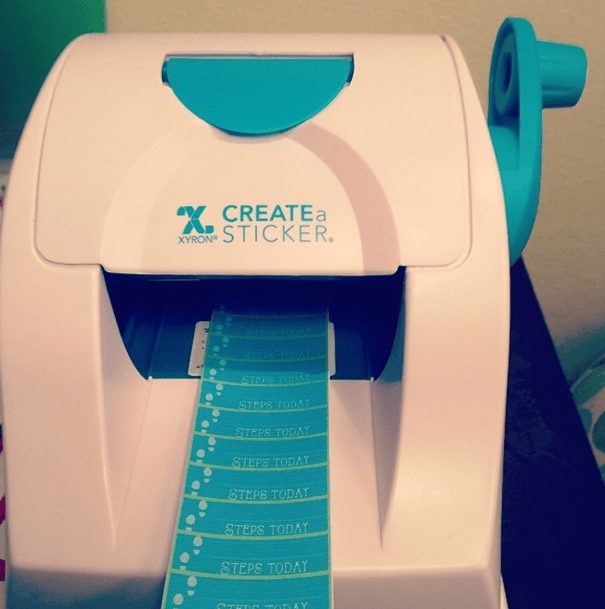
Print on either white paper or cardstock paper, if you’d like them more sturdy, and run by rolling them through your sticker maker. You can get the little X Xyron sticker maker for about $6 with a 40% coupon from hobby lobby, Joann’s or Michael’s. If you need help with how to use the small Xyron sticker makercheck out this video by Itsaplannerthing!
I love using this method! The only thing is the cartridge is only 20ft long and sometimes it goes in crooked so cutting it one by one can get a little tricky. But it is easy to peel and very user friendly! Cartridges are only $7 too after coupon.
Option 3: Glue Stick/Adhesive
Print on regular paper and simply use some adhesive such as double sided tape, glue dots, or a
glue stick.
Save all your printables and cut them out into strips and use when you need them by just adding some adhesive!
This is so easy and simple. But you would have to carry around adhesive with you at all times to use a sticker.
Cutting:
I recommend using a paper cutter and cutting each section first on the
edges then using scissors for the more detailed sections. I like to keep
a strip without cutting them until I use them so I don’t have a bunch
of tiny stickers everywhere.
Take a look here for some of my printable planner stickers:
Decorative colorful patterned flag stickers
Event flags stickers
Heart checklists stickers
Custom planner stickers – (pay day, anniversary, exam, date day)
College stickers -(quizzes, hw, final, read, study etc.)
Custom mom planner stickers – (appointments, cleaning day, football, payday, bill due, anniversary, workout, early dismissal, garbage day, holiday, shopping, cheer practice, birthdays, and mommy time)
Banner planner events stickers
EC planner stickers – (H20, Laundry Days, Appointments, Workouts, Grocery Shopping, To Buy, Mommy Time, To Write)
Daily workout stickers
30 day fitness challenge stickers
Steps fitbit tracker stickers
Colorful check box flags stickers
EC squares – hearts/lines
EC squares – health/fitness
EC squares – school/work
EC squares – banners/todo


Hi! Great post! But I think it's worth mentioning that at Joann's (not sure about other crafts stores, yet) you are not allowed to use a 40% off coupon on sticker machines or other scrapbooking machines. I just checked online with a current 50% off coupon I have from Joann's and they would not apply the discount to the Xyron sticker machines. Perhaps in person at the store the cashier may be able to cheat and apply the discount, but typically their computer system will automatically prevent the coupon from being applied to excluded categories. =(