
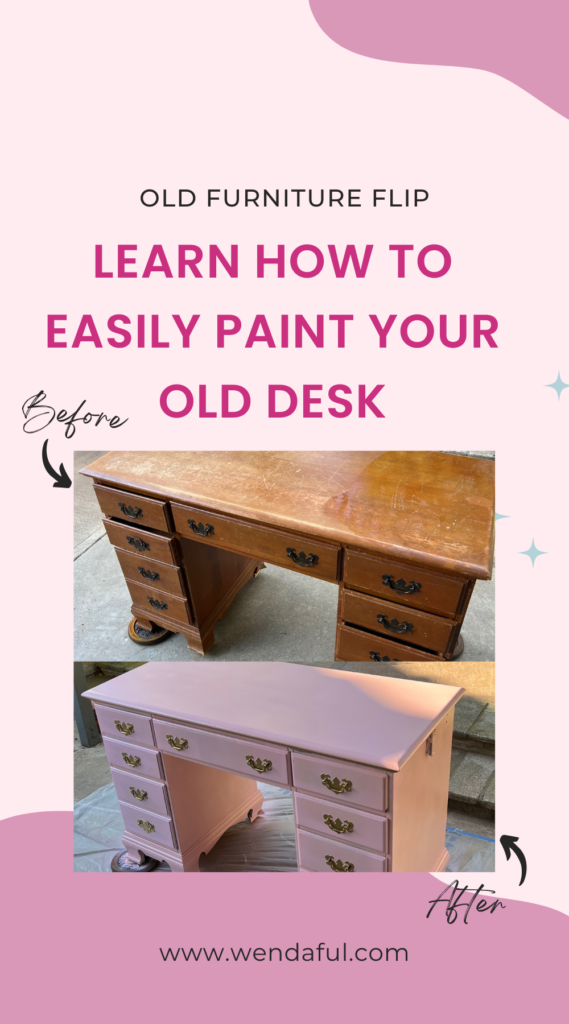
Vintage desks are always a popular choice for any room, and there’s no reason your old desk can’t be turned into one too! This tutorial will show you how to flip an old vintage desk into a beautiful pink vintage piece in just a few easy steps.
I found my desk at a thrift store. It was in pretty good condition. The thrift store had about 5 other desks that looked similar and they were all around $35! What a steal! Another place to find an old desk would be facebook marketplace!
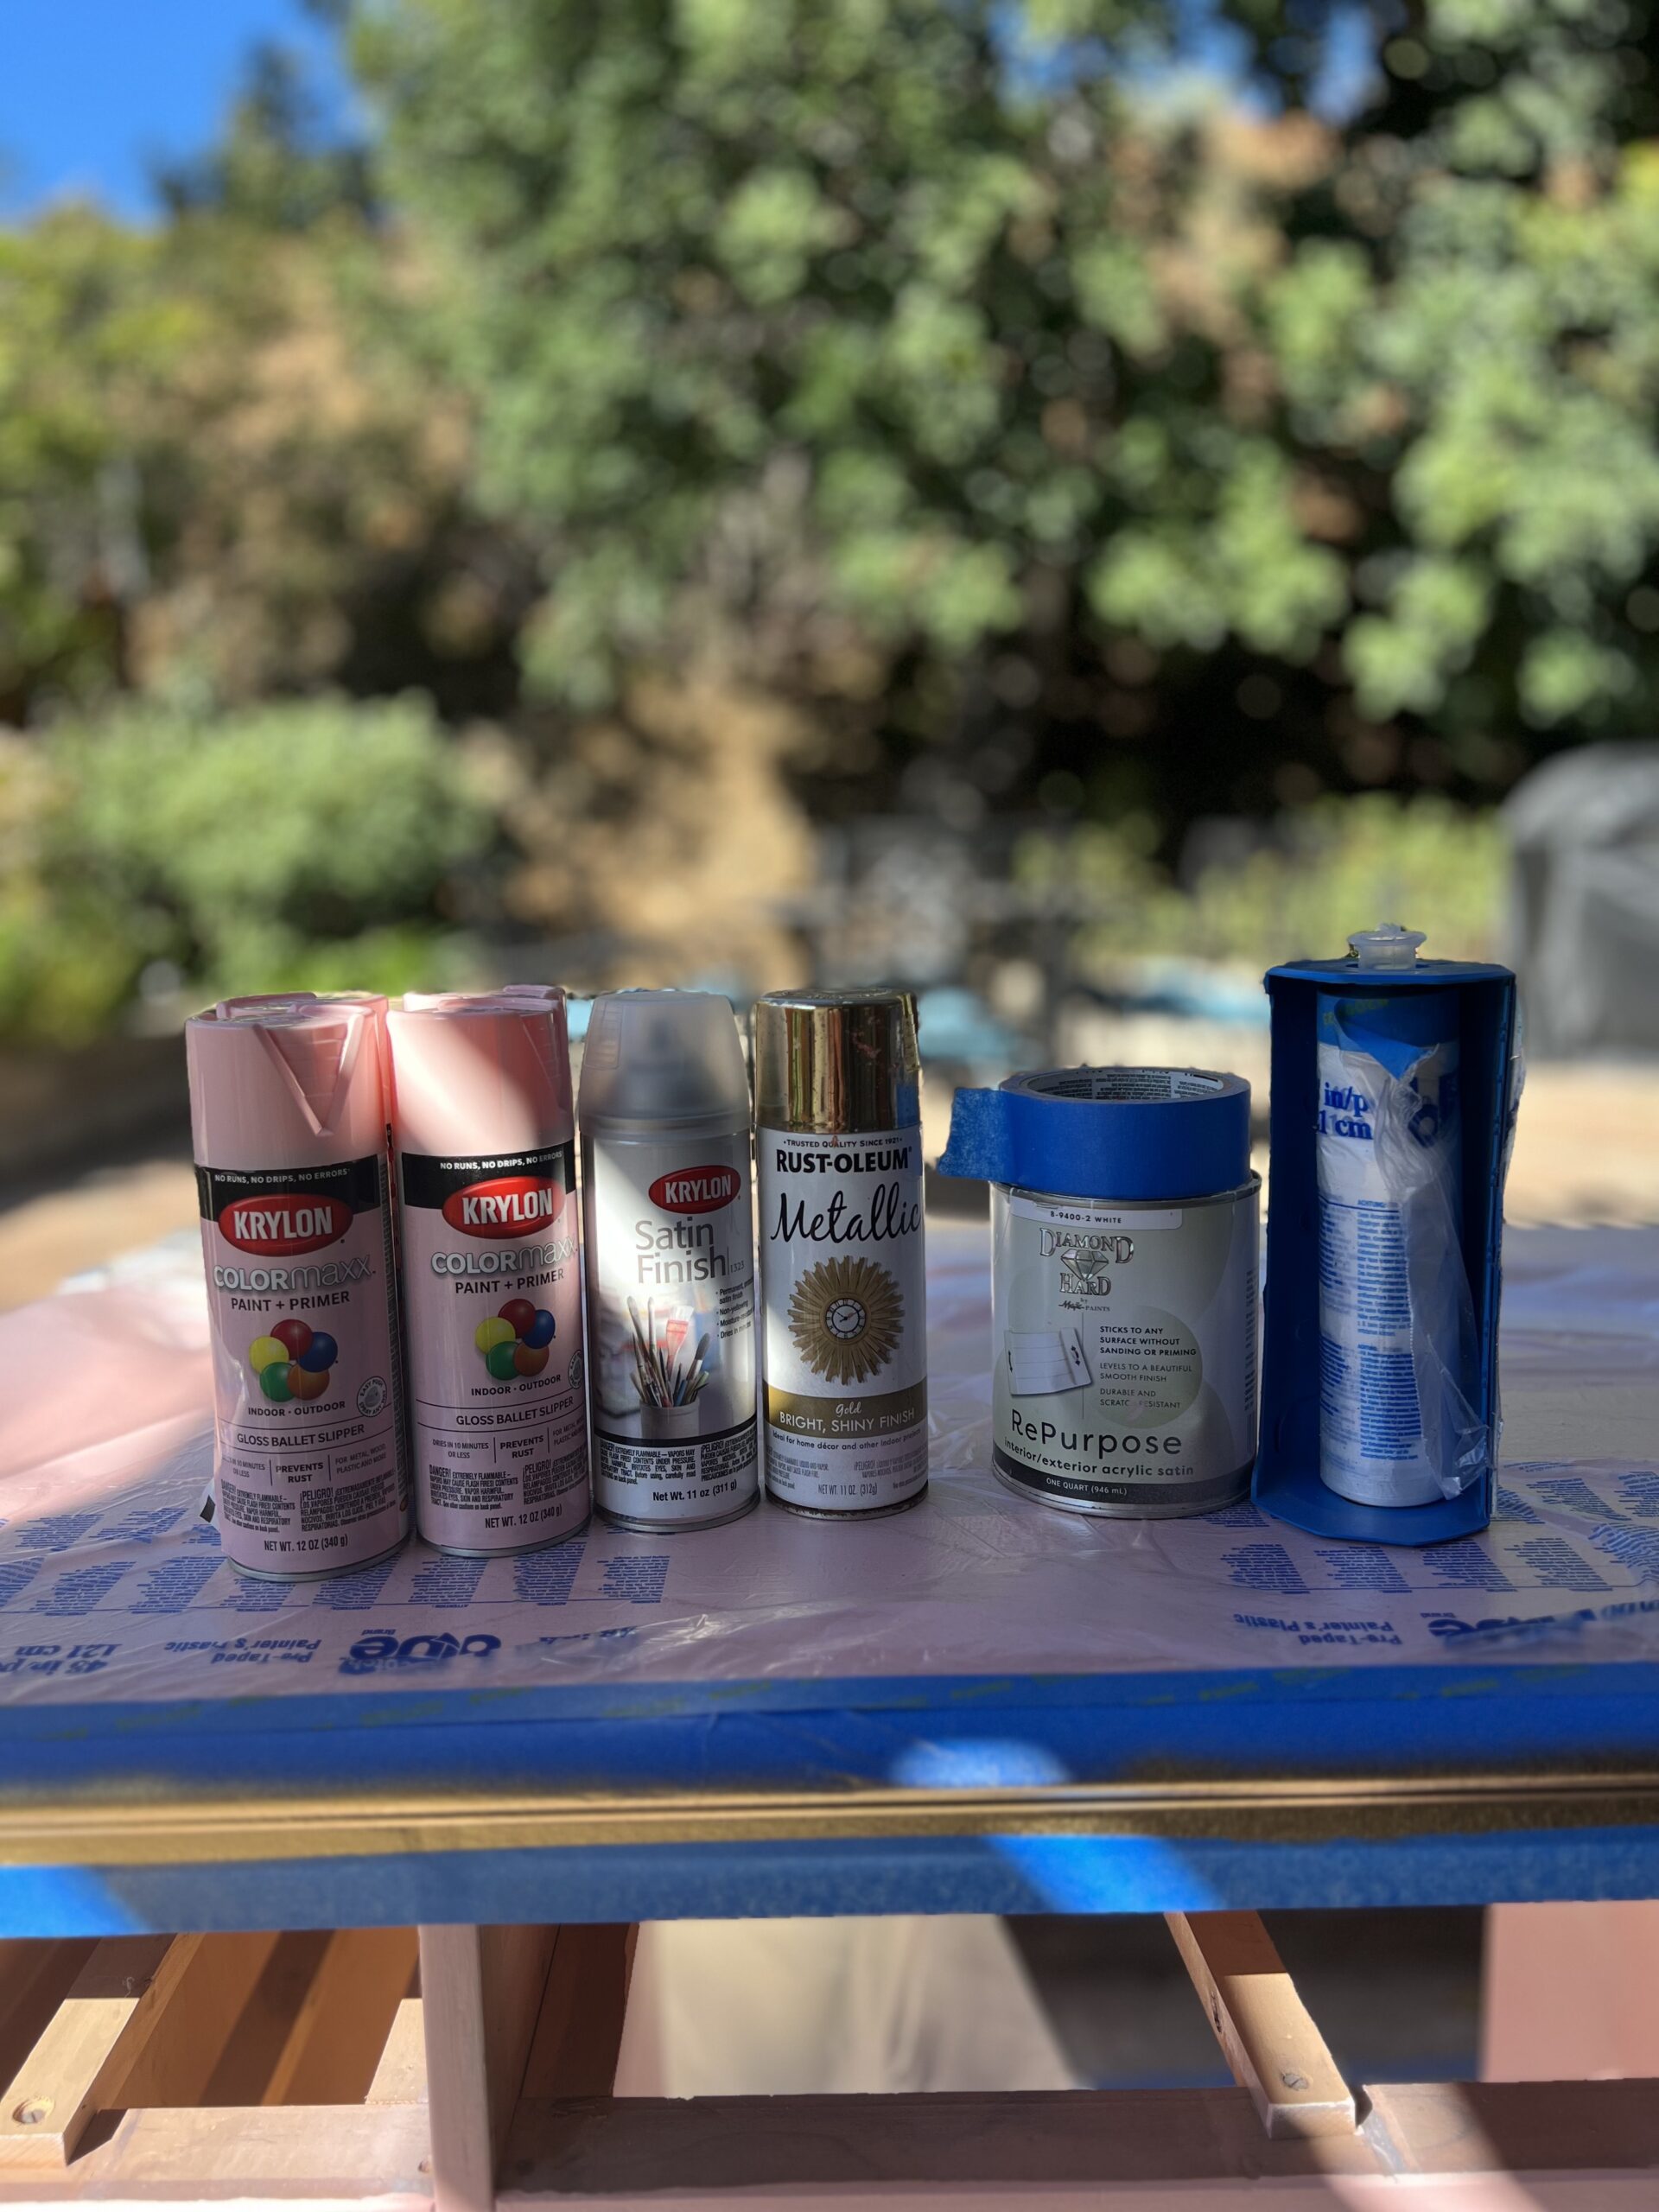
Here is a list of all the materials I used:
- Old desk you can find for free or for cheap! (Mine was $35)
- 4 Cans of Krylon Spray Paint in Ballet Slipper (around $6 a can with Michael’s coupon)
- 2 Cans of Krylon Satin Finish ($11.99 each)
- 1 Paint Brush ($10)
- 1/4 can of Repurposed white paint and primer ($14.99)
- 1 Can of Rustoleum Gold Metallic Spray Paint for the hardware ($8)
- Masking Tape
- ScotchBlue Pre-Taped Painter’s Plastic with Dispenser (optional or you can use tarp) – ($15)
TOTAL COST ESTIMATE: $120
TOTAL COST FOR JUST MATERIALS WITHOUT DESK: $85
I had half of these products on hand already so I only really needed the spray paint and finish. My total cost was only around $82! That’s a steal for the desk of my dreams!
How to Easily Flip Your Old Desk:
Watch the whole process on Instagram here in under 1 minute!
1. Start off by placing your desk in an open area where you can work. Slap down some tarp or plastic so you can prepare where you will work.

2. Then start cleaning up the desk. I used a wood oil soap and a sponge to scrub the desk clean. I also wiped the inside of all the drawers and the bottom of the desk. I had it elevated on some old weights so I can be sure to paint the underside too.
3. After that you will need to remove any metal hardware. Unscrew them all and be sure to save them in a baggie so they don’t get lost!
4. If there are any visible bumps you can try sanding them down. I didn’t really sand anything down because I didn’t have any on hand. But luckily my desk was in okay condition.
5. Next I added some gold metallic spray paint to all the hardware and placed it to the side.

6. I then started spray painting the drawer fronts with the pink spray paint. I had to use 3 coats to really cover up the wood.
After that I decided to use the white paint to first cover up the brown desk, then only had to use 2 coats of the pink spray paint to paint the rest of the desk. With the repurpose furniture paint, it says no primer or sanding is required it seemed to be thick enough to fill in a lot of the blemishes. Im glad I took this extra step because it saved me money from buying more cans of spray paint and I noticed the paint isn’t peeling or scratching off neither. I was moving my monitors a lot around the desk and the paint seems to be withstanding all of it!

7. Once the paint was completely dry I added another coat of satin finish to seal it in.
8. Finally, I added a final coat of metallic spray paint to trim (I had to tape everything up to make sure I didn’t get gold anywhere else) and put everything back together.

The paint did peel a bit here, but I think it was because I didn’t put enough satin coat here. So be more generous with the satin clear coat!

The coat definitely did help because with moving all my monitors around on the desktop I didn’t notice any scratches or anything!
Here is the final result:

& Here is how I styled it in my office!

This was a pretty easy DIY. I think opting for spray paint made it look much more uniform. I never liked the look of brush painting whenever I did them myself so I knew I wanted something easier.
Other DIY projects:
Free DIY Calendar Magnets with Silhouette America
DIY Home & Family Planner with Avery Products
Avery Printable DIY Cleaners Labels & Recipes
How To Build a Modern Headboard | DIY
Thanks for reading! I hope you found this old vintage desk tutorial helpful. If you have any questions or comments please leave them in the comments below!
Thank you Wenda! I’ve been wanting to do something with my old beat-up desk and painting it was just too much prep work. I never thought about using spray paint, so this just might get me to go ahead and give it a try! The results of your finished desk was gorgeous!