

Floral stickers are beautiful and makes decorating your planner so pretty! There are lots of pretty floral washi out there and I love using them in my layouts! But there are only so many and can only be used to decorate the edges since they’re thin. I like using floral stickers for the bigger boxes, circles and more! I also like stickers over washi because it is usually a lot thicker and not opaque. The colors are just more vibrant! I love Etsy for floral stickers but it can get super pricey! To save some money I made my own instead.
DIY Floral Scrapbook Planner Stickers
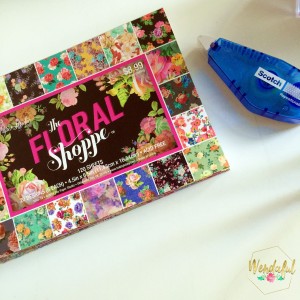
So this is what I came up with! I found this pretty small paper pack at Hobby Lobby. It was $8.99 but they were having a 50% off sale that week on Paper Studio products. It includes 20 different designs and each sheet is about 4.5 by 6.5 inches. There is a total of 120 sheets! The paper is thin so it makes sticking to your planner easy. Now I will never run out of decorative floral designs for my planner each week!
 To make these stickers you will need:
- a pack of pretty patterned paper from any arts and crafts store
- a reposition-able tape runner or glue stick (my favorite is the blue recollections brand from Michael’s – not pictured here though)
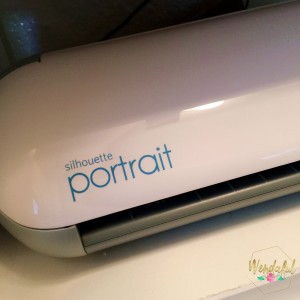
- and a Silhouette America cutting machine (e.g., portrait, cameo, curio)
Place one or two sheets onto a Silhouette mat, and cut them out (using the files provided below). Make sure that the way you place your papers onto your mat matches what you see on the computer screen. You can use the “reveal mat” feature to see the measurements on the mat on screen. When you cut these use the “copy paper” settings unless your paper is more of a cardstock then use that option instead. After cutting it, take a repositionable tape runner and use that to stick it to your planner.

I am including two silhouette studio files for you here:
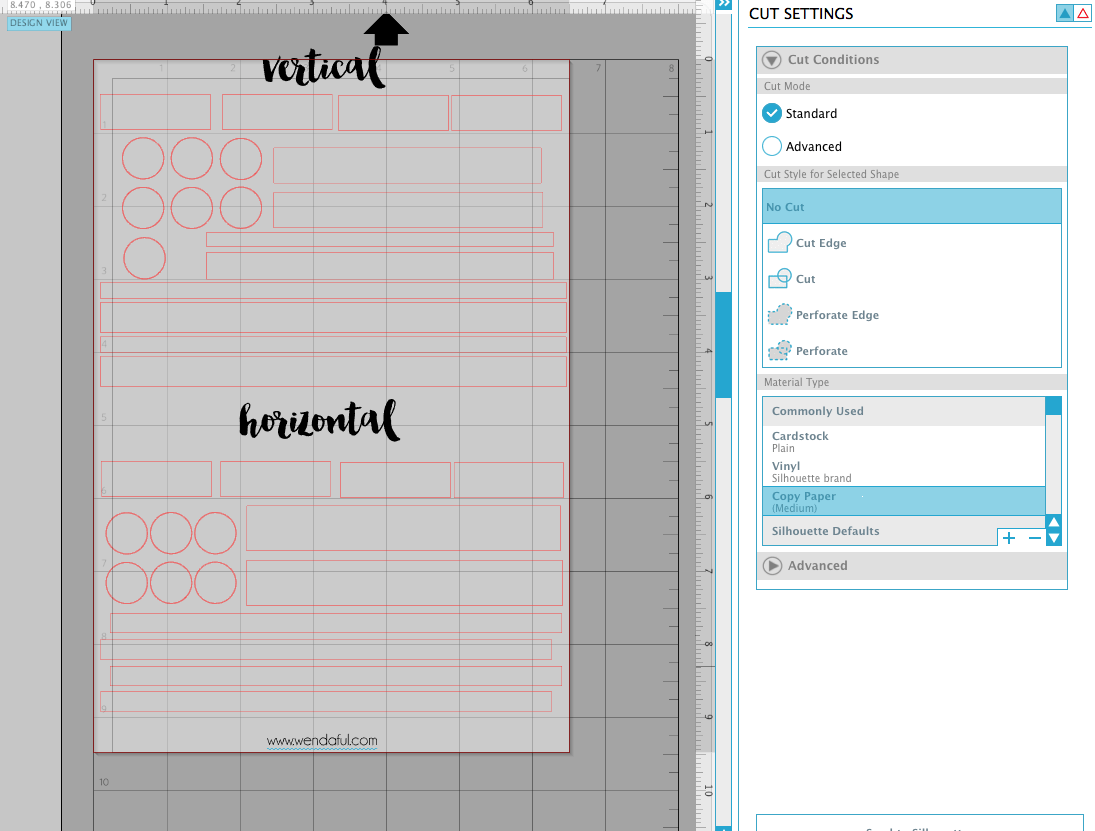
You can use these to cut out the strips and circles for decorating your Vertical or Horizontal erin Condren planner
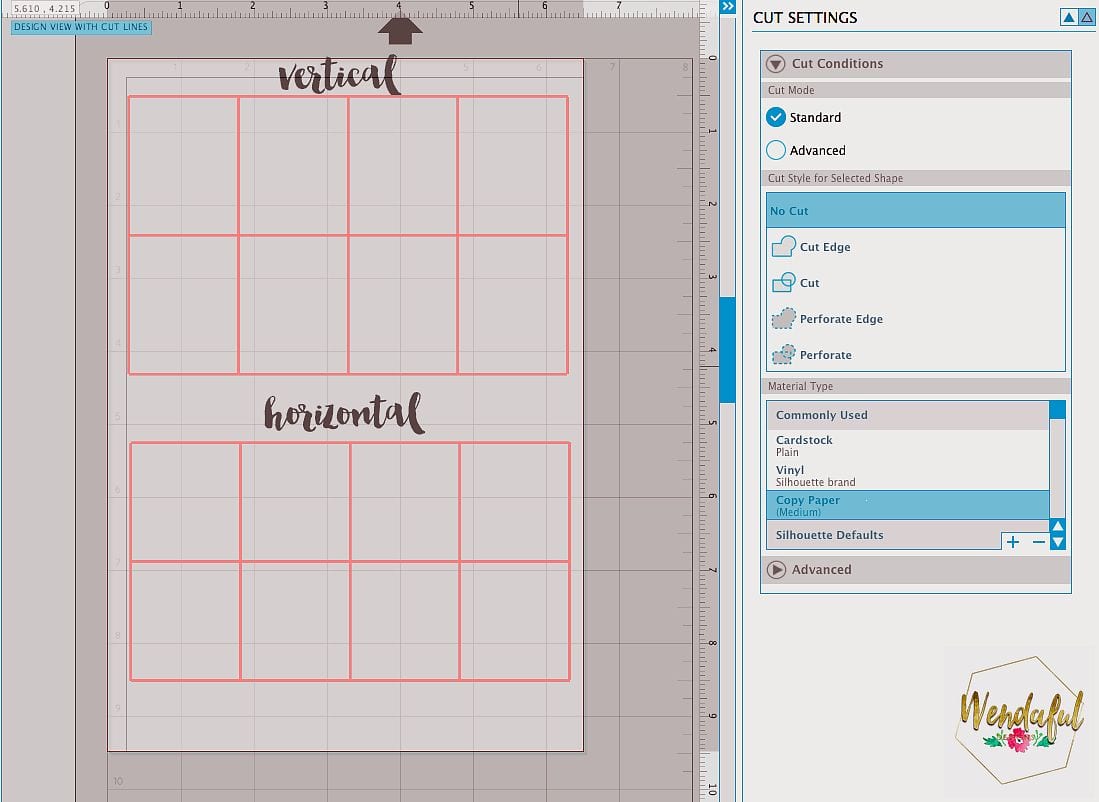
& Use these to cut out squares that fit both the vertical or horizontal planners!
Adjust them to the size you need or delete whichever you don’t!
I placed them so that you are able to place two sheets at once to save time.
Final Results:
This is what the final results look like in both my hourly and horizontal Erin Condren planners!
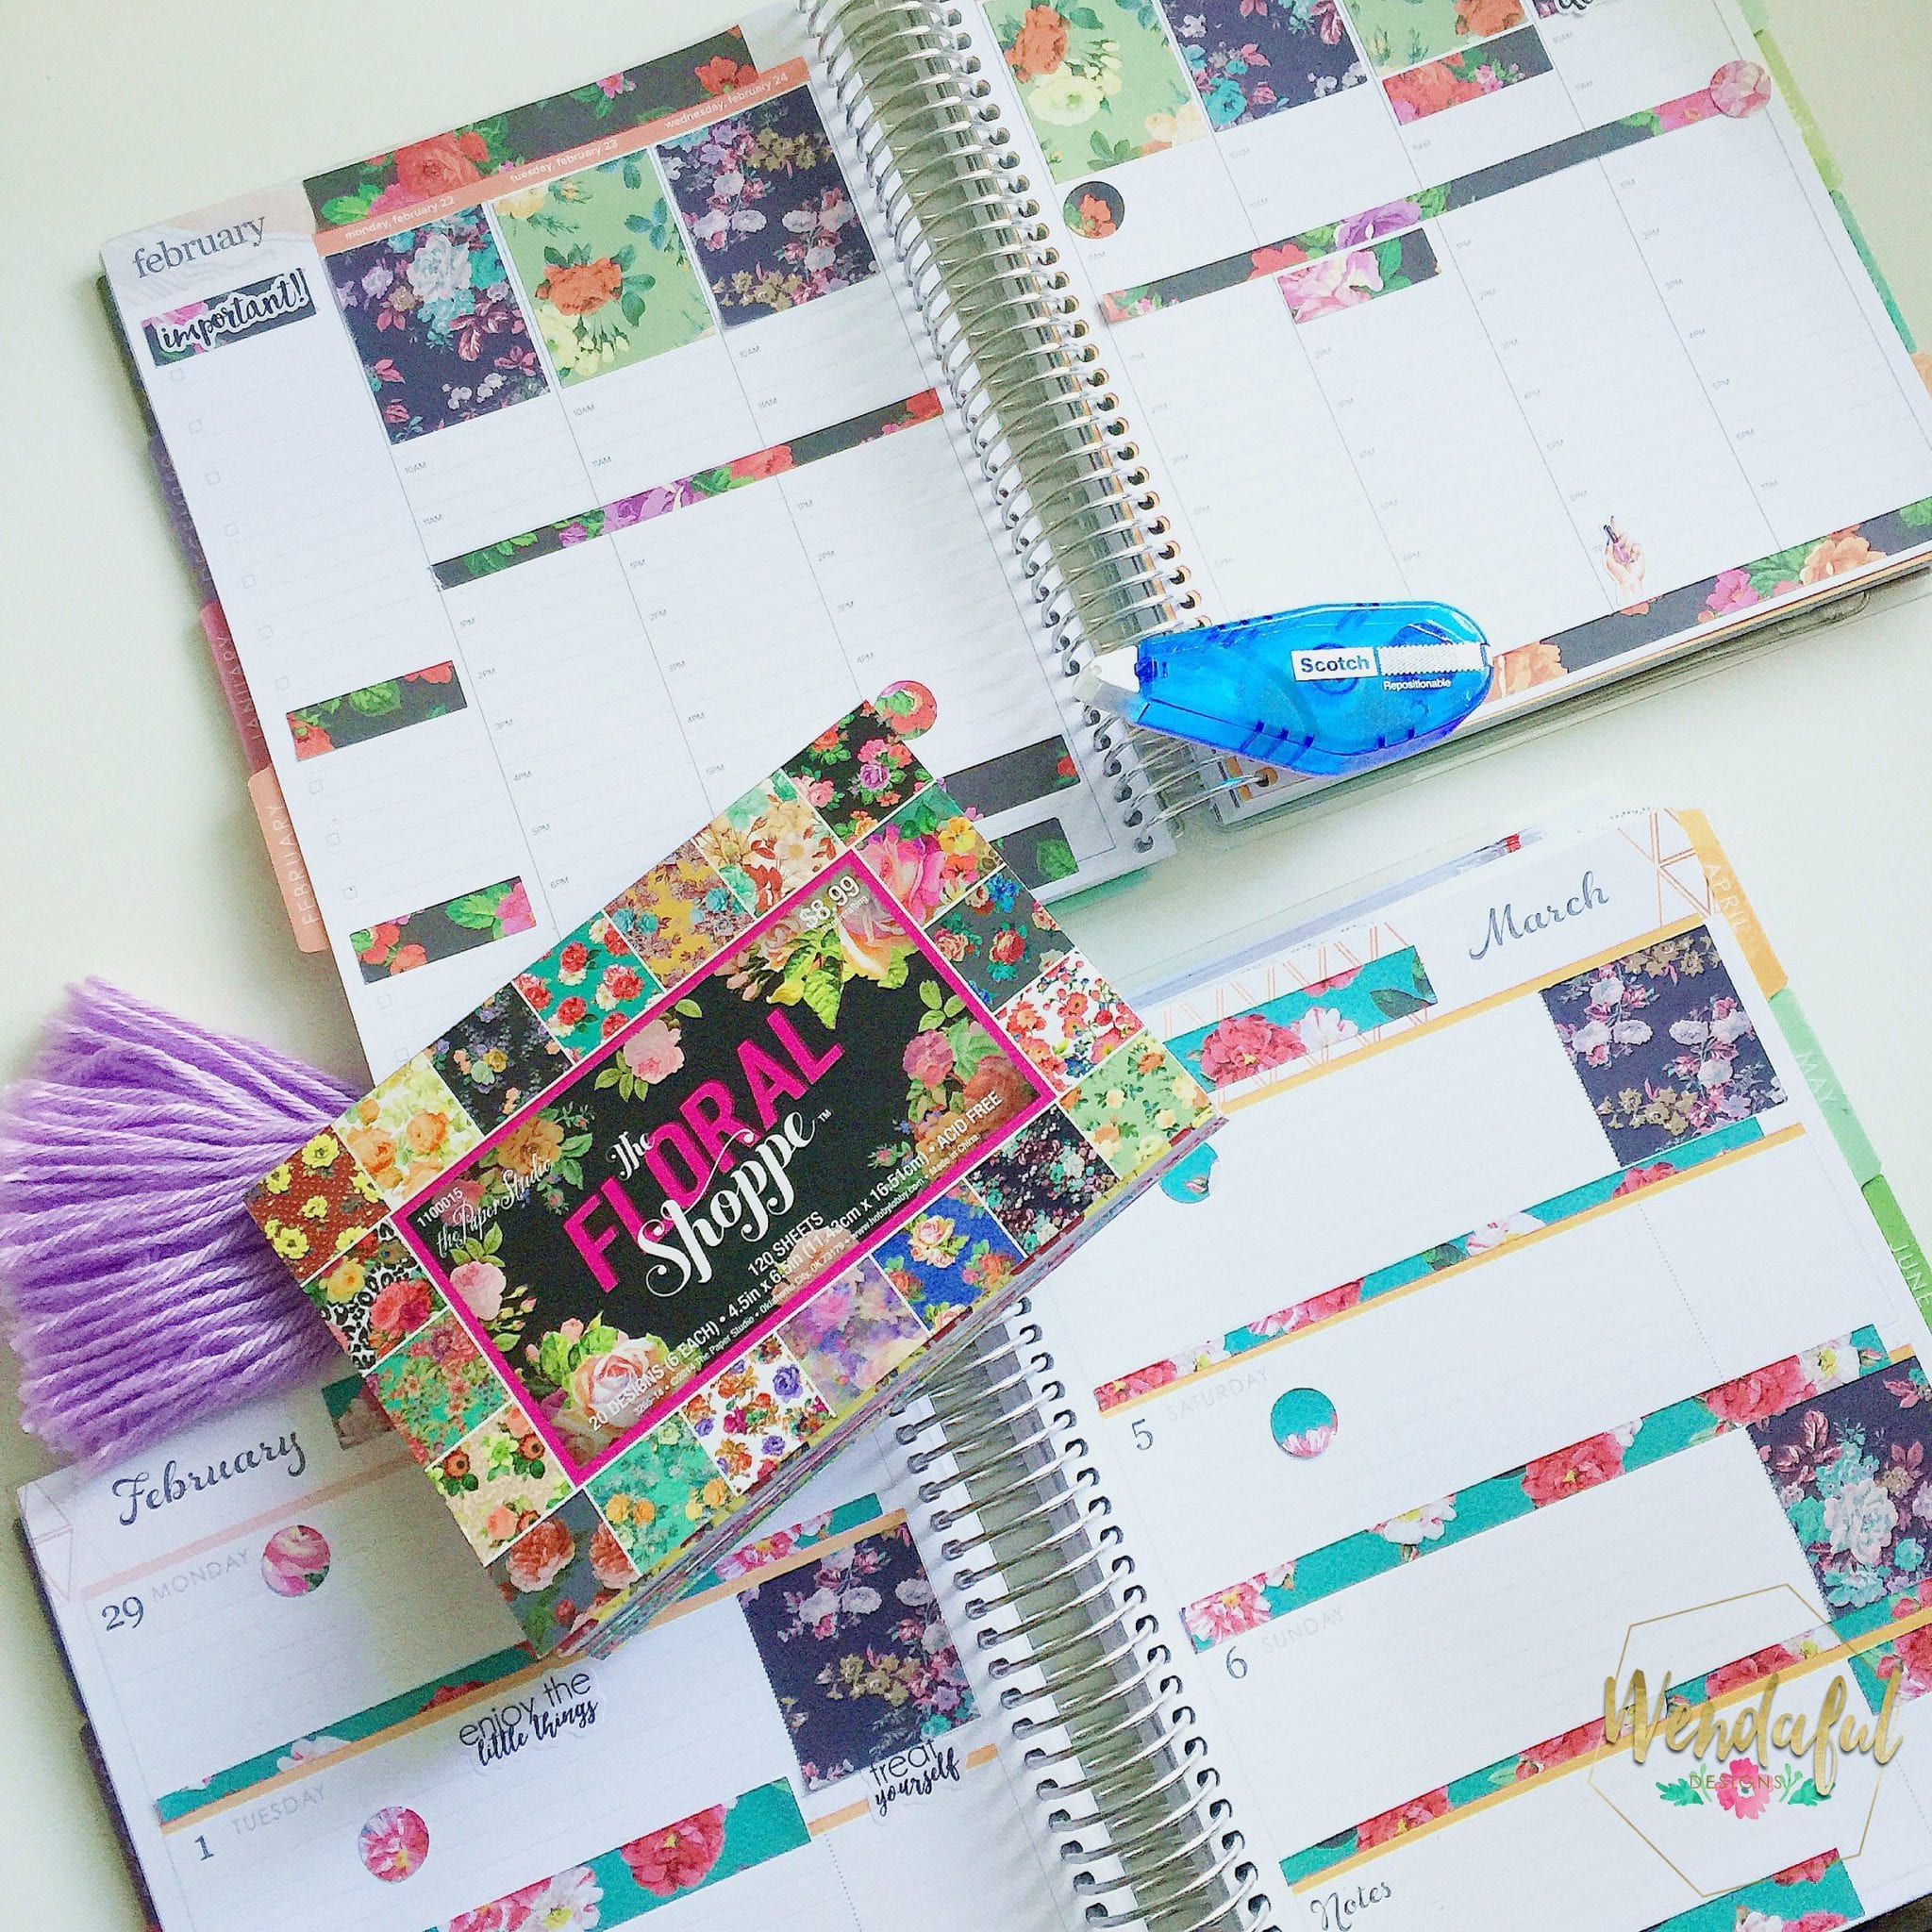
Isn’t it gorgeous!? and wasn’t that super easy?!
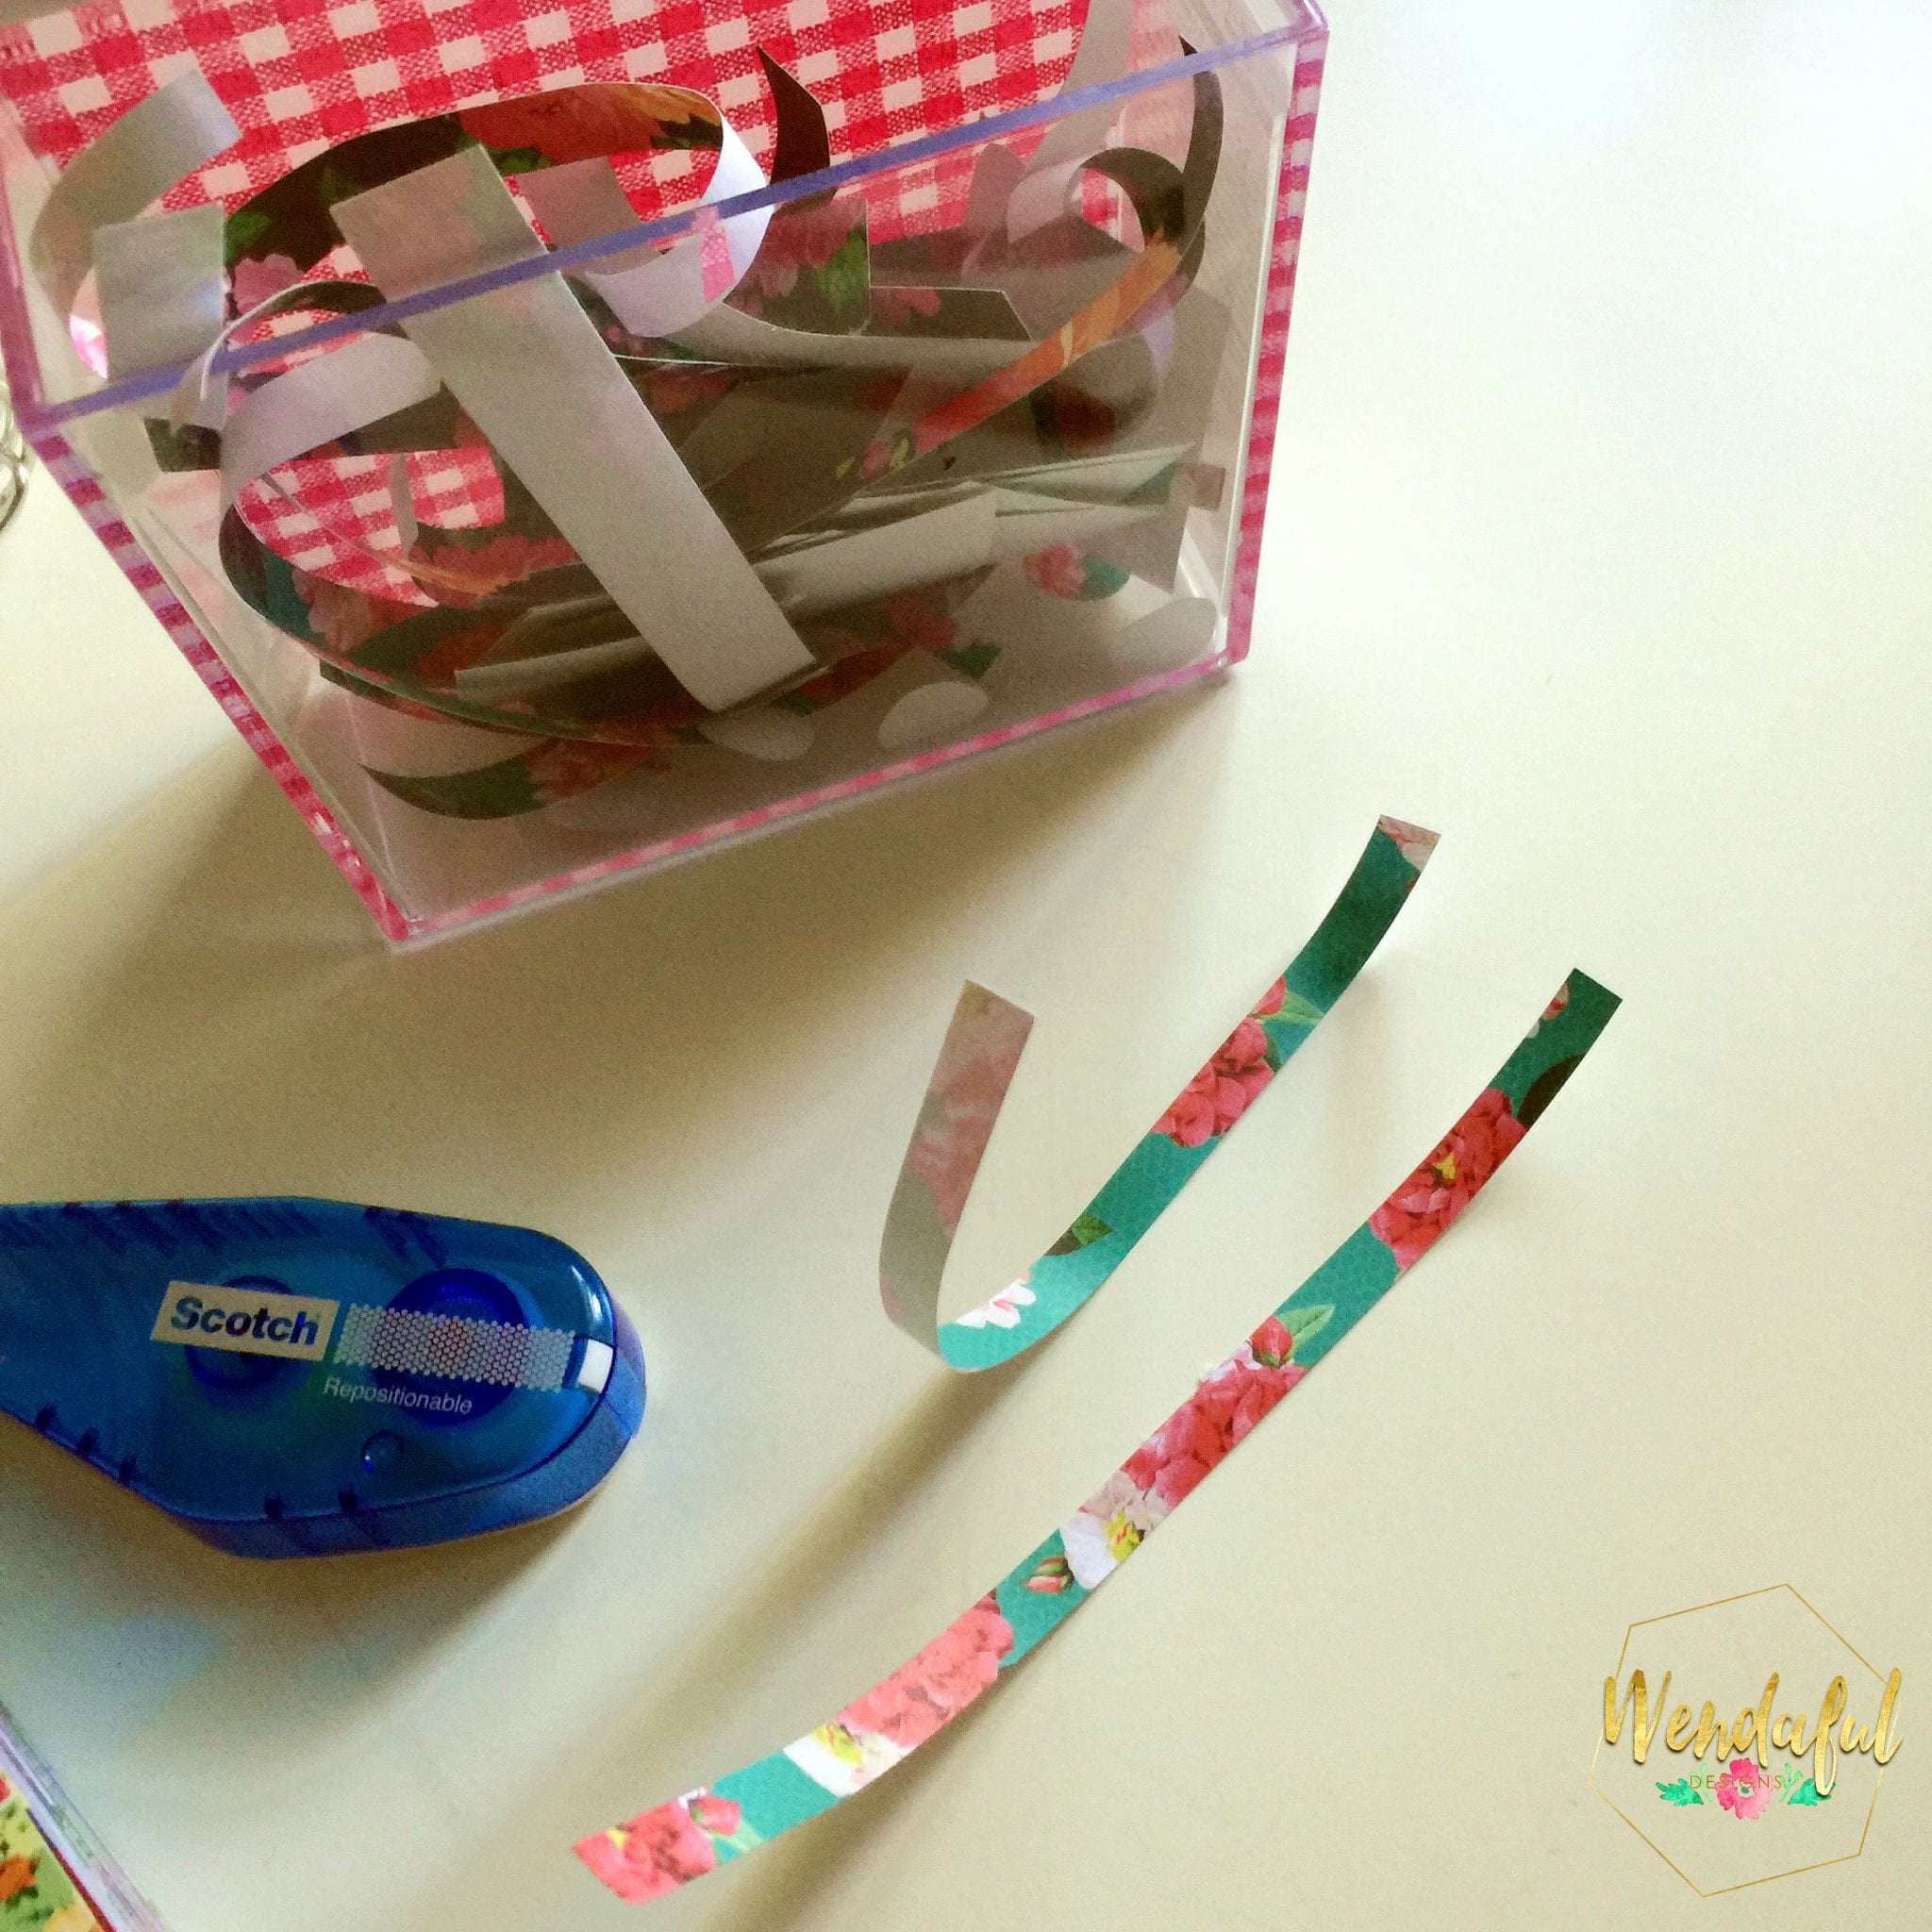
Sure there’ll be a mess of scrap looking papers but just put it all into a cute container and save it for next time!
I hope you enjoyed this post! Please tag me in your creations @wendafuldesigns #wendaful
where are the silhouette studio files? I cant seem to find it
Where’s the silhouette file? I cant find it!
they are linked right under each image in the paragraph just below silhouette image