

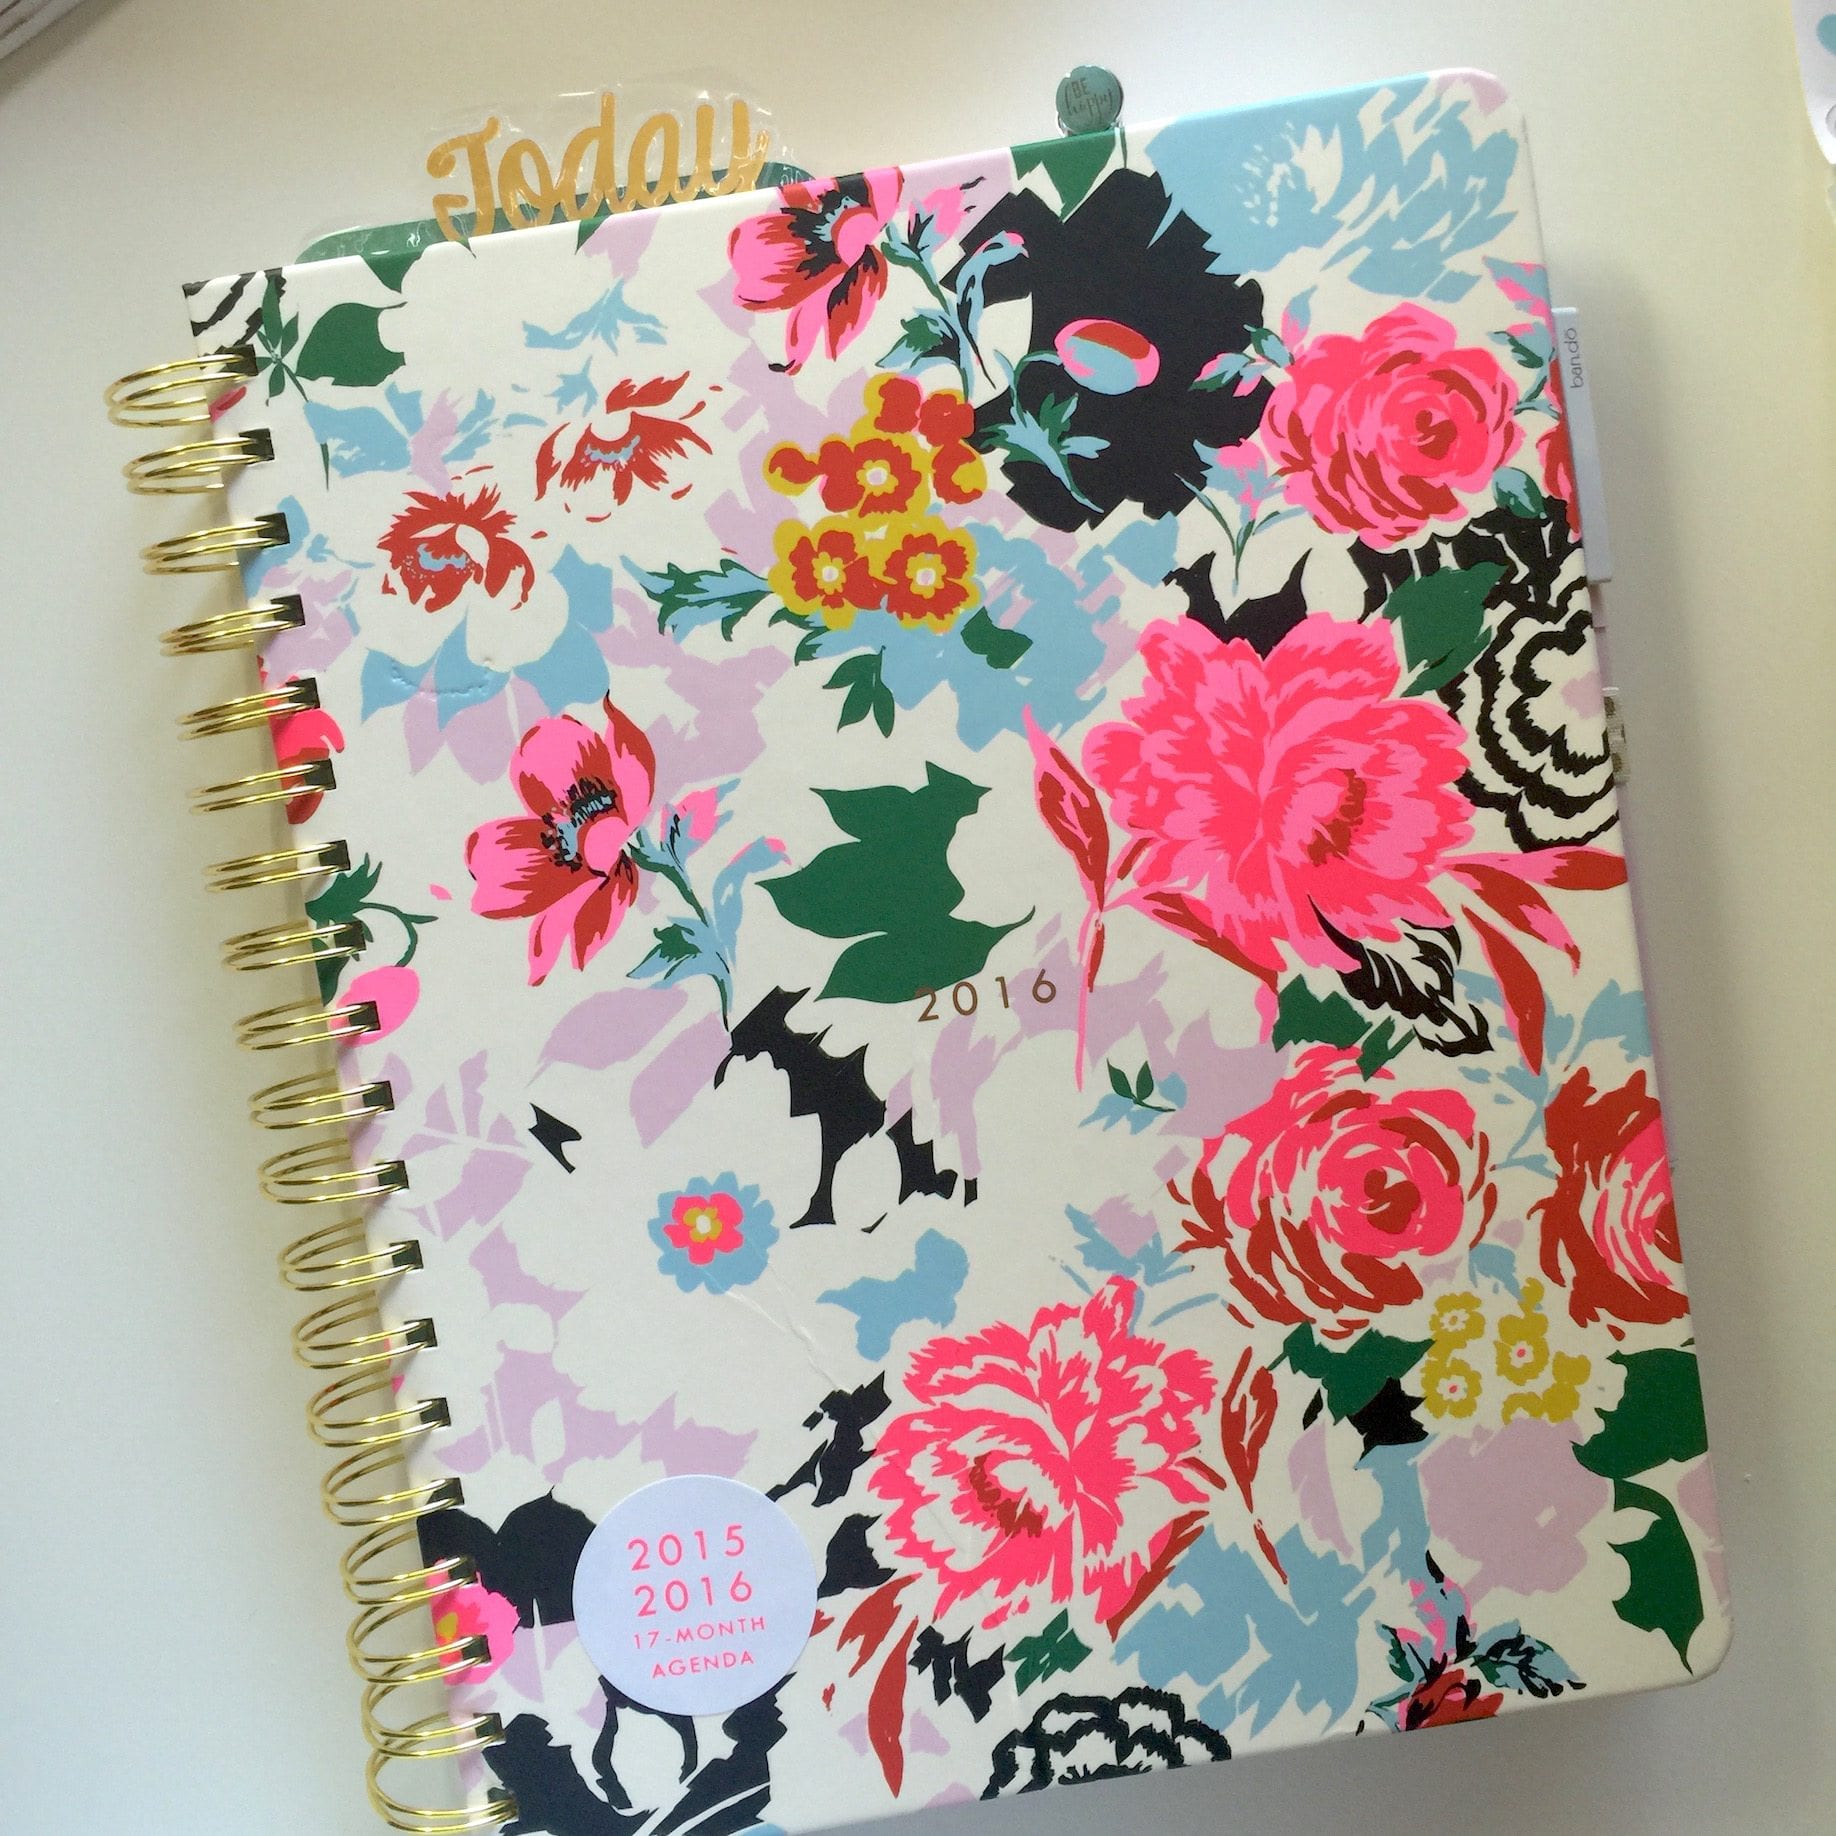
So the Bando Agenda started this week! To see my full review of the Bando Agenda check out my previous post here! Setting up a new planner is always so much fun! Today I will be showing you how I prepare my planner for use! Planning successfully will help you have a successful year! Having set goals and dates lets you feel more in control.
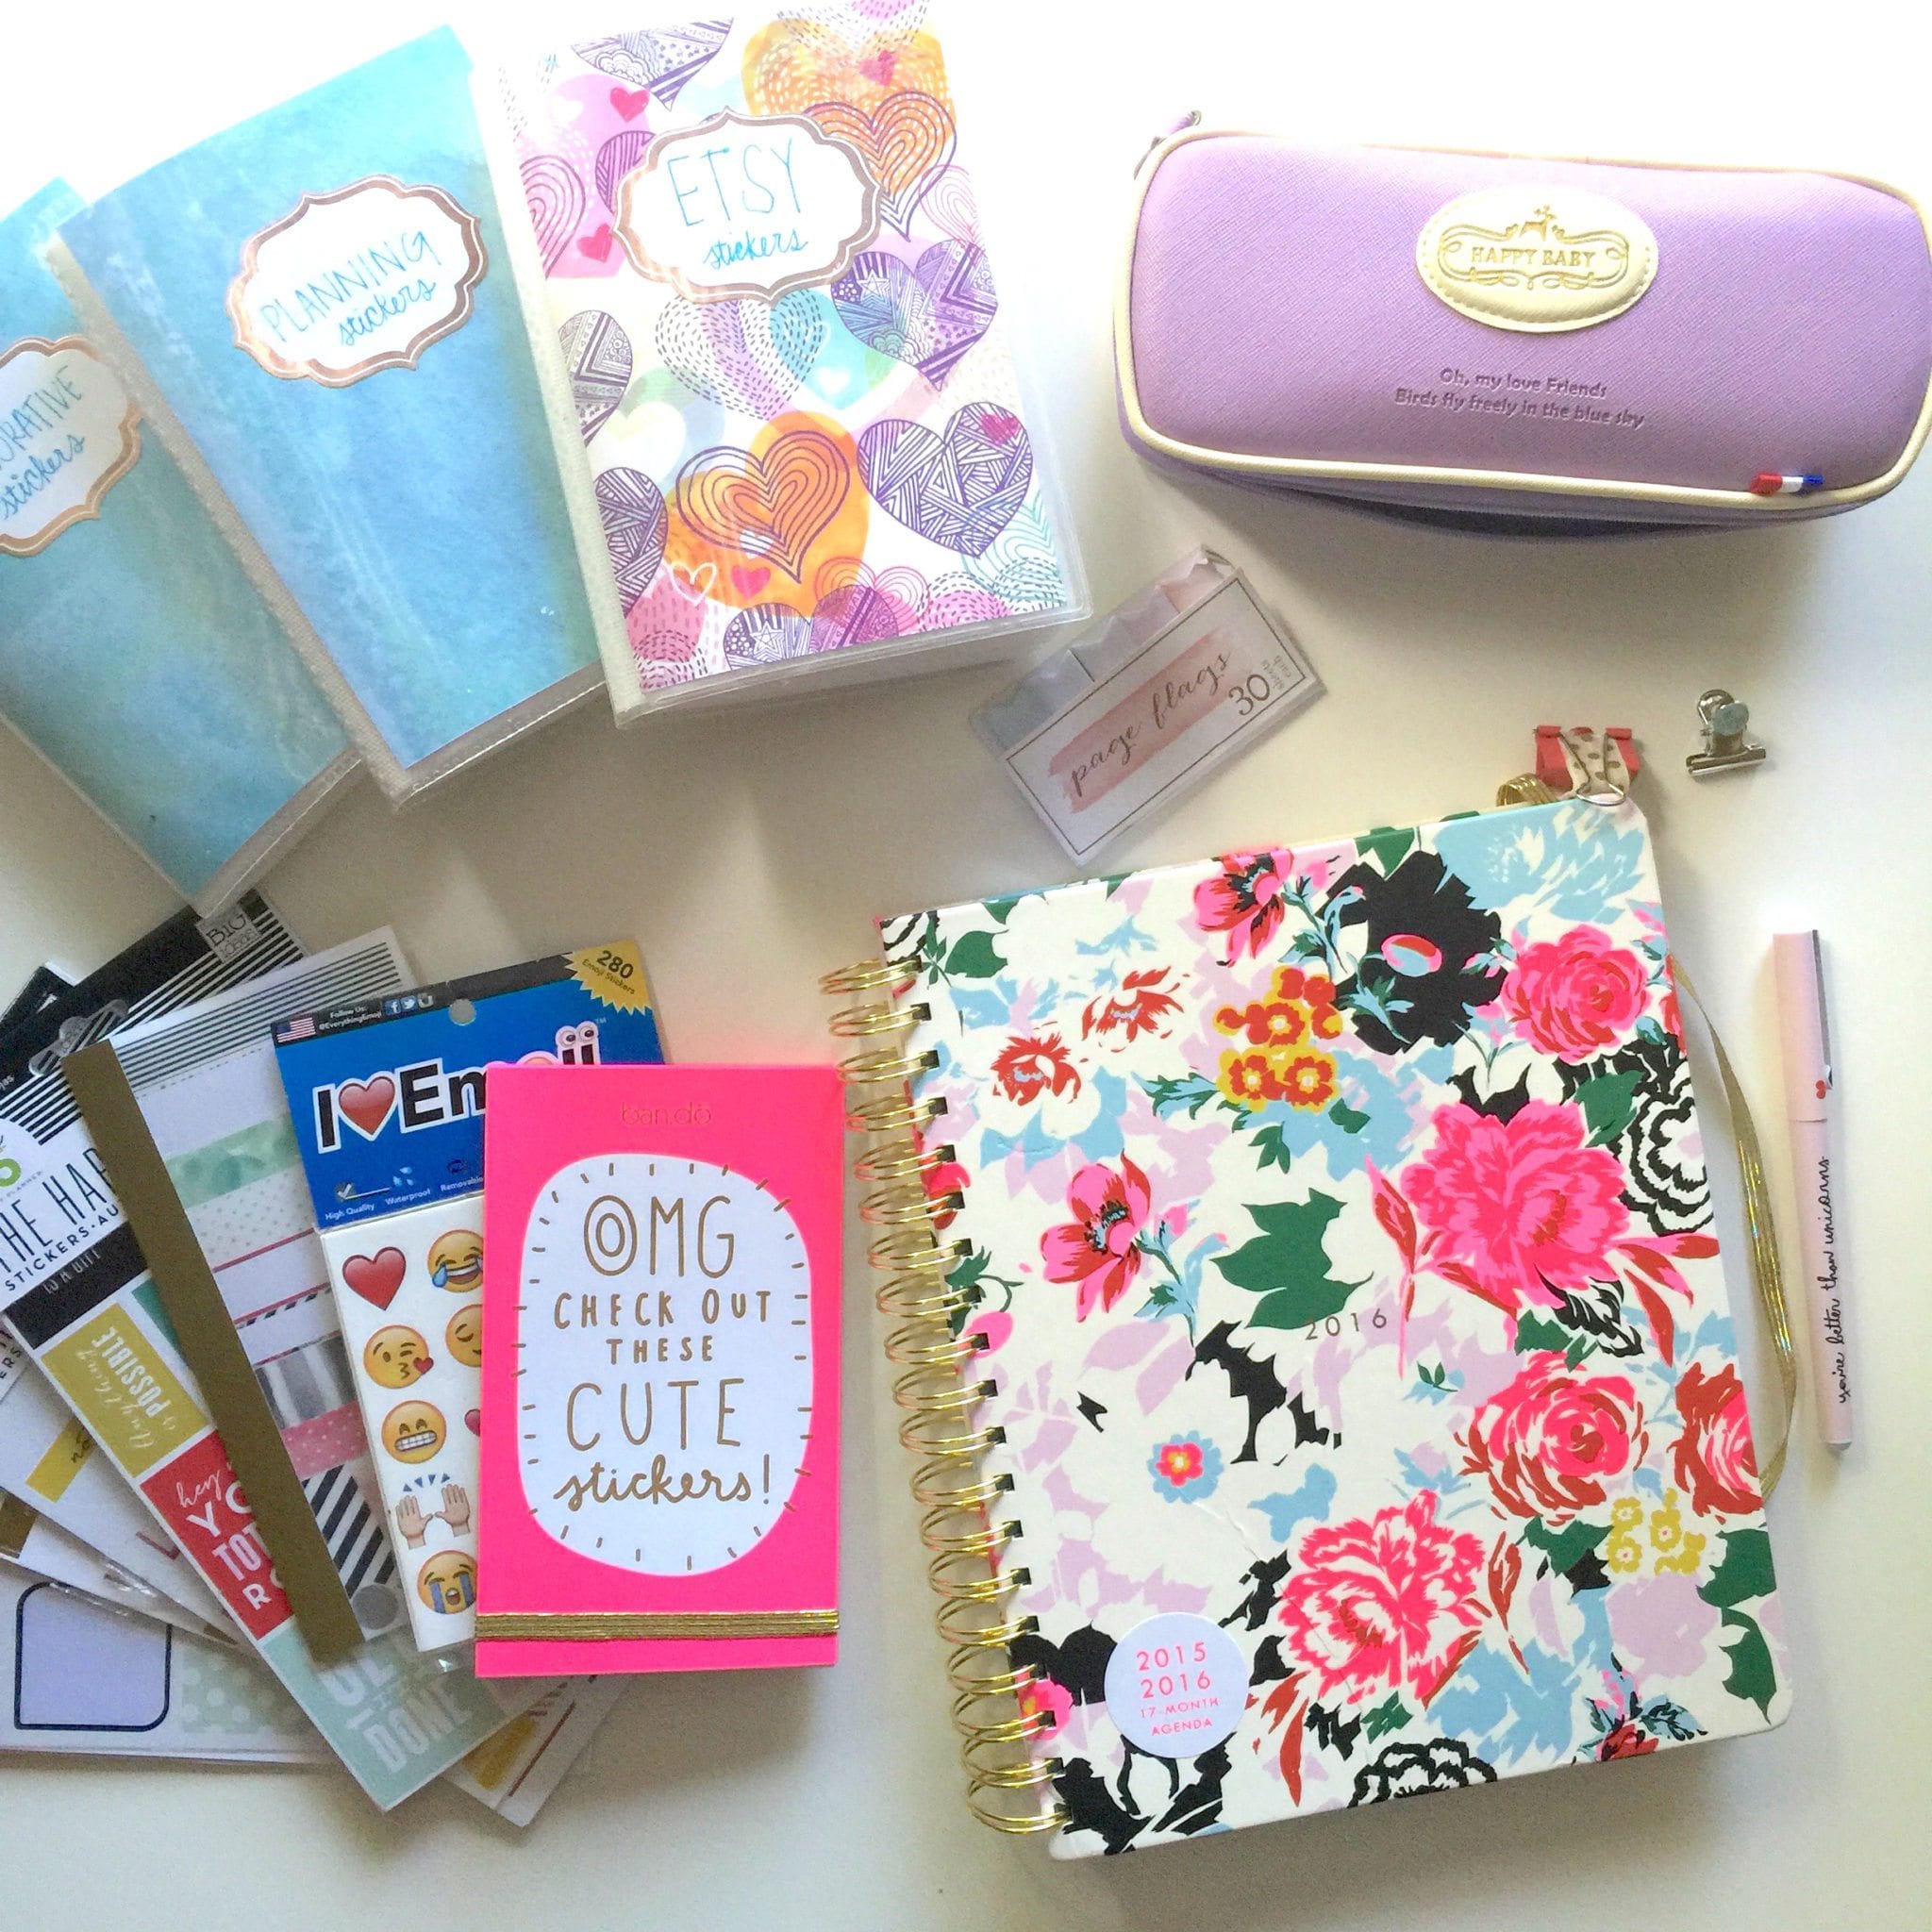
Above are all of my main tools for decorating and planning! As you can see I only really use stickers. I just love how easy it is to use. My favorites are from various etsy shops, Mambi, Heidi Swapp, Emojis and Bando!
Things you absolutely need for your planner:
- Stickers!!
- Paper Clips/Binder Clips
- Pen Loops
- Today Markers
- Stamps
- Washi Tape
- A good pen
- Post it notes or Page flags
- Colorful Pens (staedtlers or flairs work well!)
Decide what sections you would like to have. If you have a ringed binder, decide on inserts you’d like (monthly, weekly, daily, lists etc.). If you have a coiled binder think about what you’d like to keep track of in the notes section and make some header labels (washi tape and markers is one way to do this).
Table of Contents
Accessories
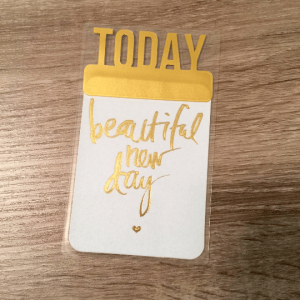
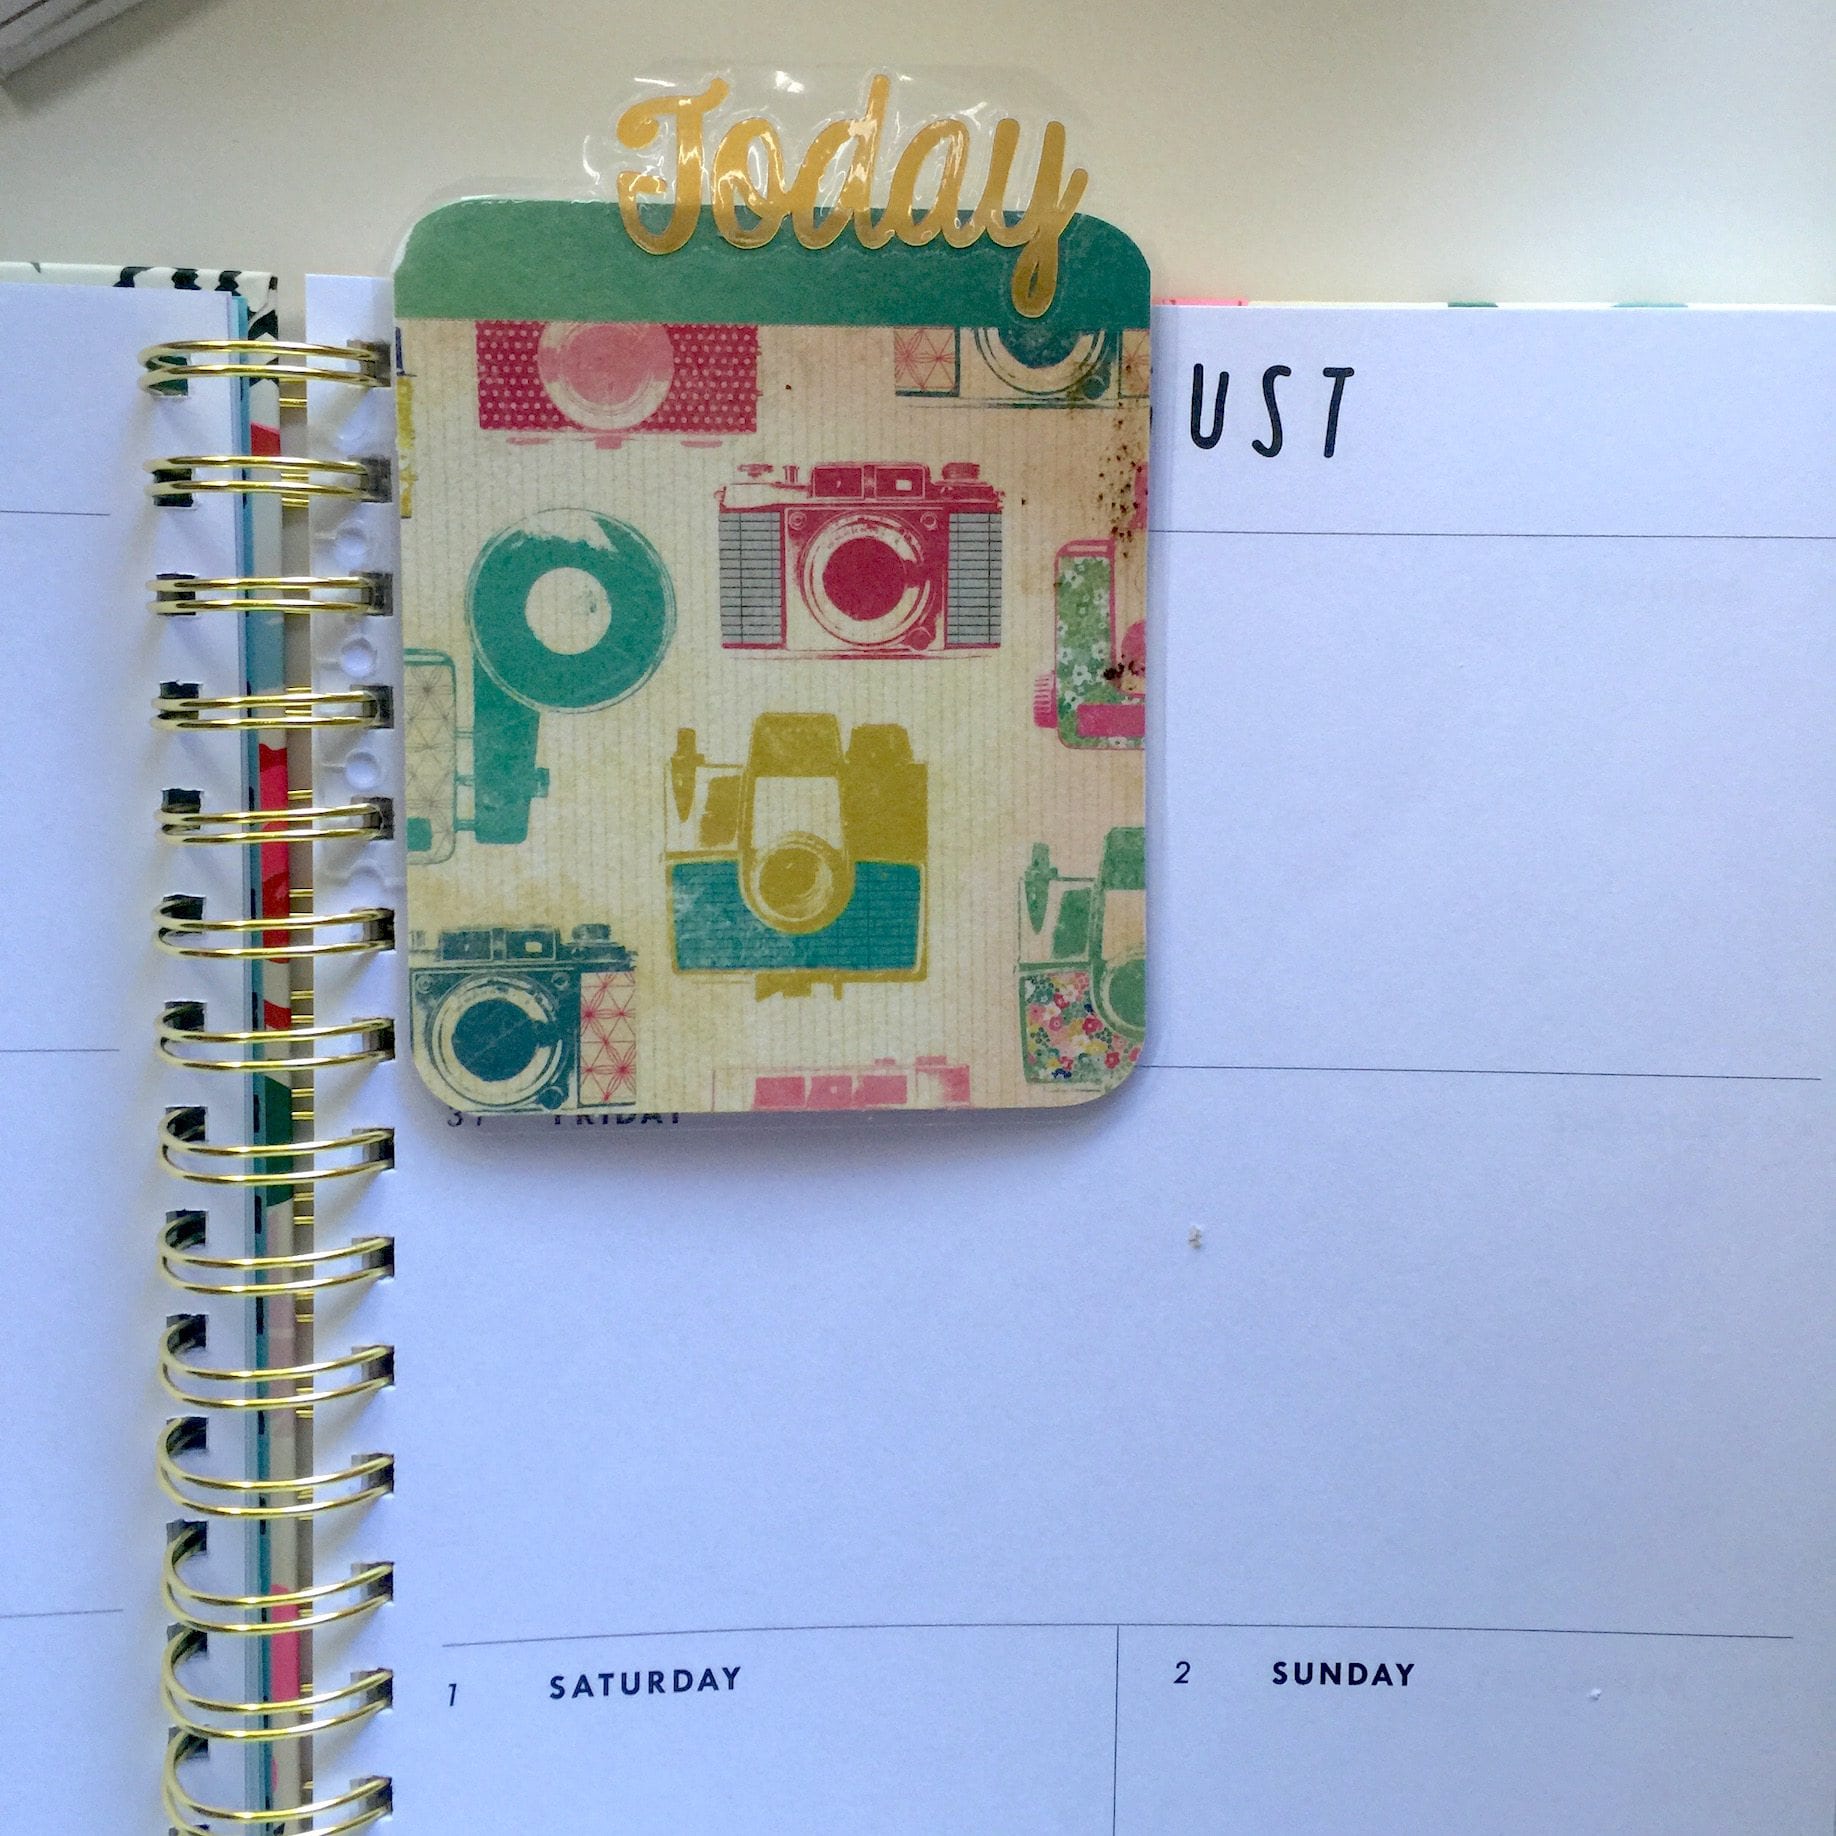
The first thing I do with a new planner is attach a pen loop! I learned this quick and easy DIY pen loop from Robyn Lott on Youtube! It’s so great because I can switch it from planner to planner easily, and I can make it to fit any pen I want! For this planner I am using my ballpoint Bando pen. It’s writes smoothly and quickly and is cute! 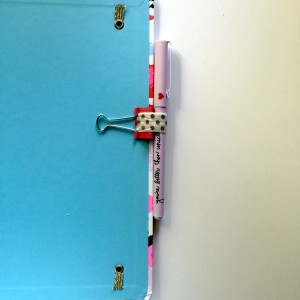 To mark my spot in my planner I absolutely need a today marker! It makes flipping to my week so easy. I made these with my silhouette machine and just attached a coil clip. I have some up in my shop as well here!
Monthly
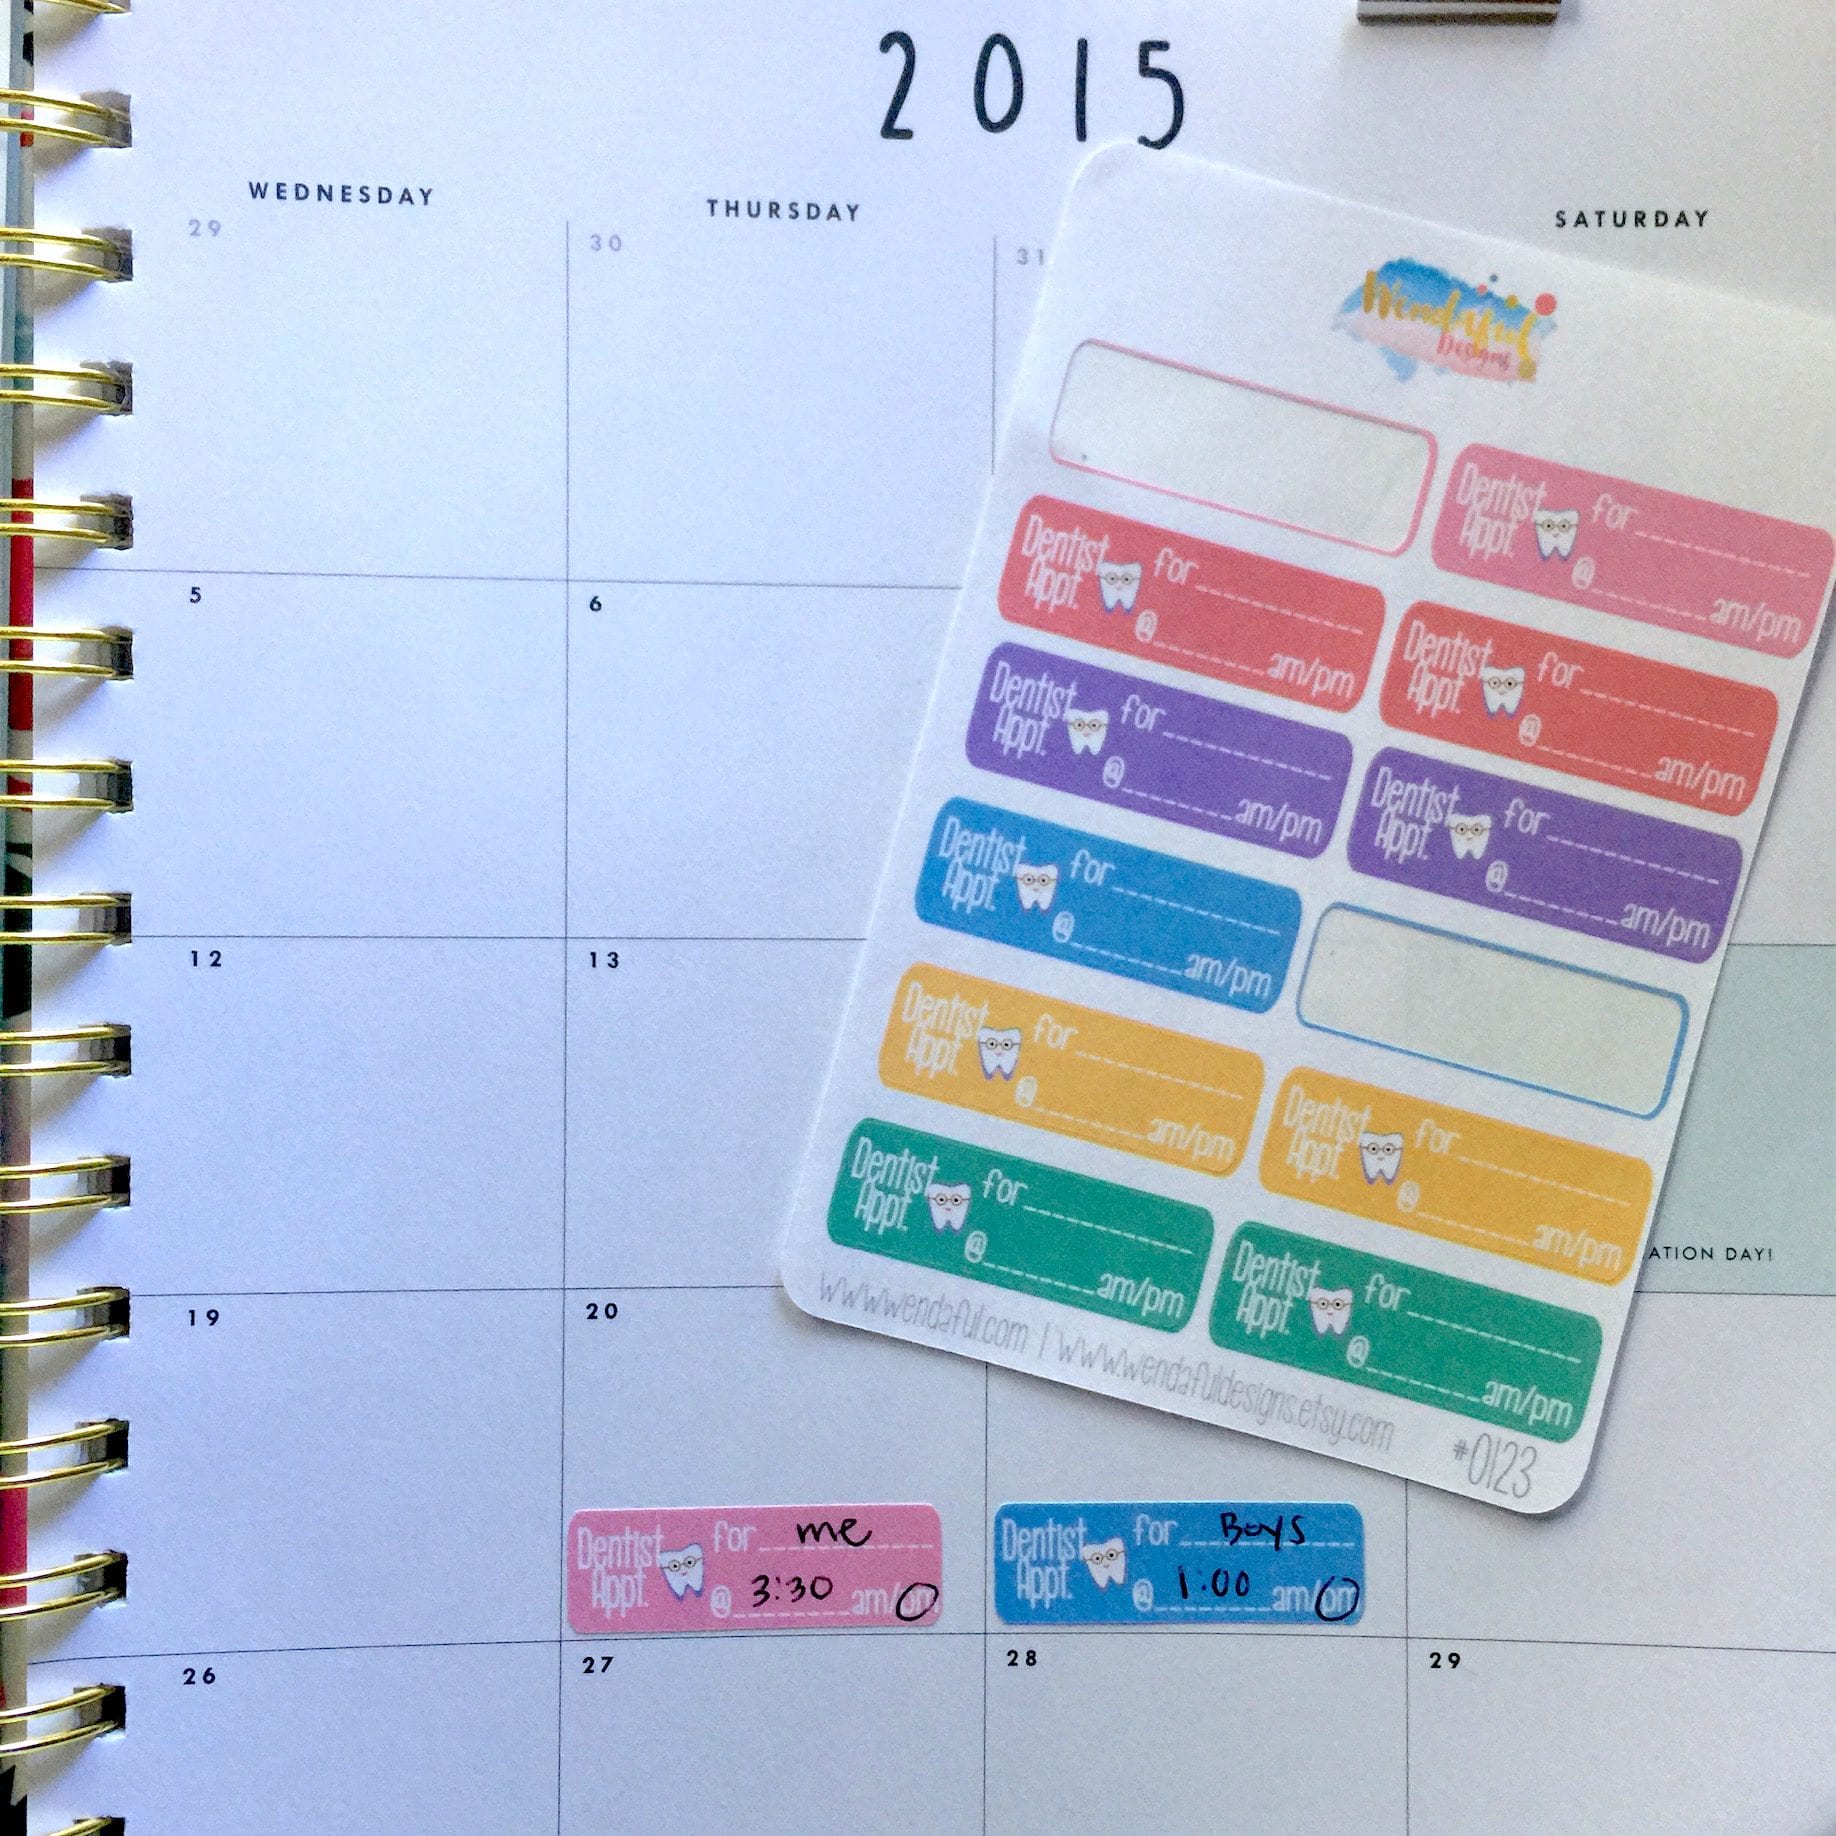
The next thing I do in my new planner is mark down all of my important time sensitive appointments.Write down appointments, parties or events, birthdays etc. If you don’t want to commit to it, use a post it note or page flag. I mark appointments in my monthly view of my planner, and when it comes closer to the date I mark it in my weekly as well. That way it’s impossible to look over! I either use page flags or write it down very small because I like to decorate that appointment with stickers once I get to that day or week.
 I use the monthly view to track all of my bills & due dates. I love using these little stickers to mark how much is due and when. When it is paid, I just check it off.
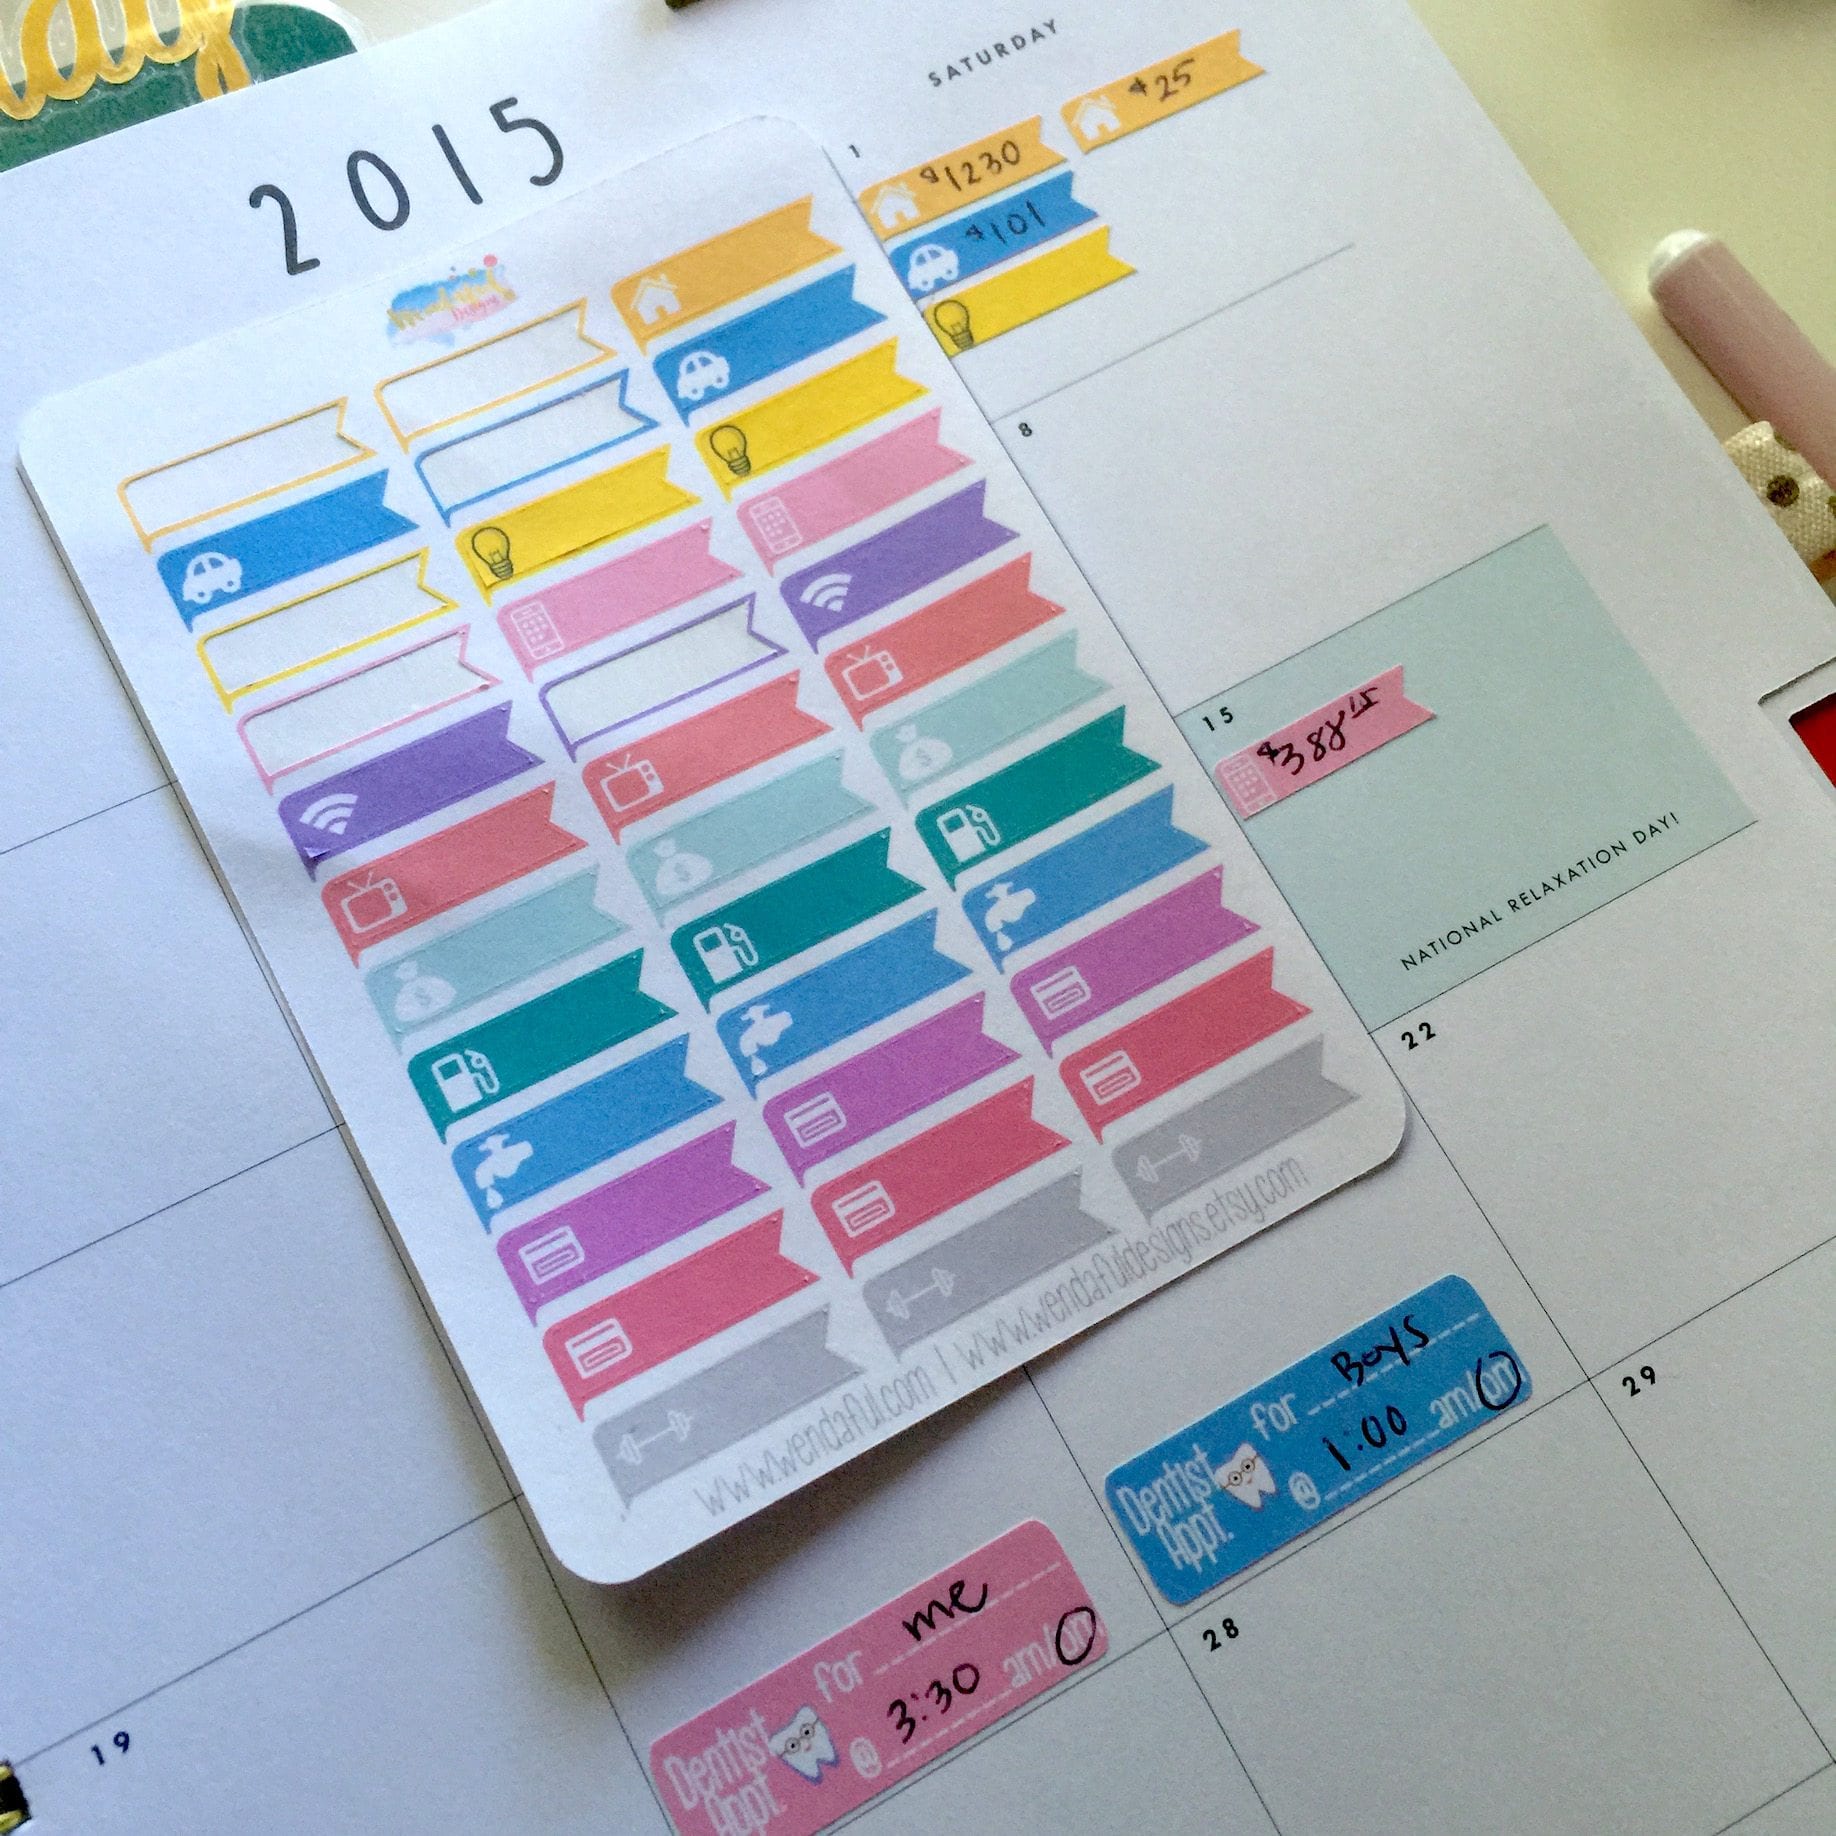
I also have this large monthly bill sticker from oh so pretty planner Just to make sure I get all the bills paid! 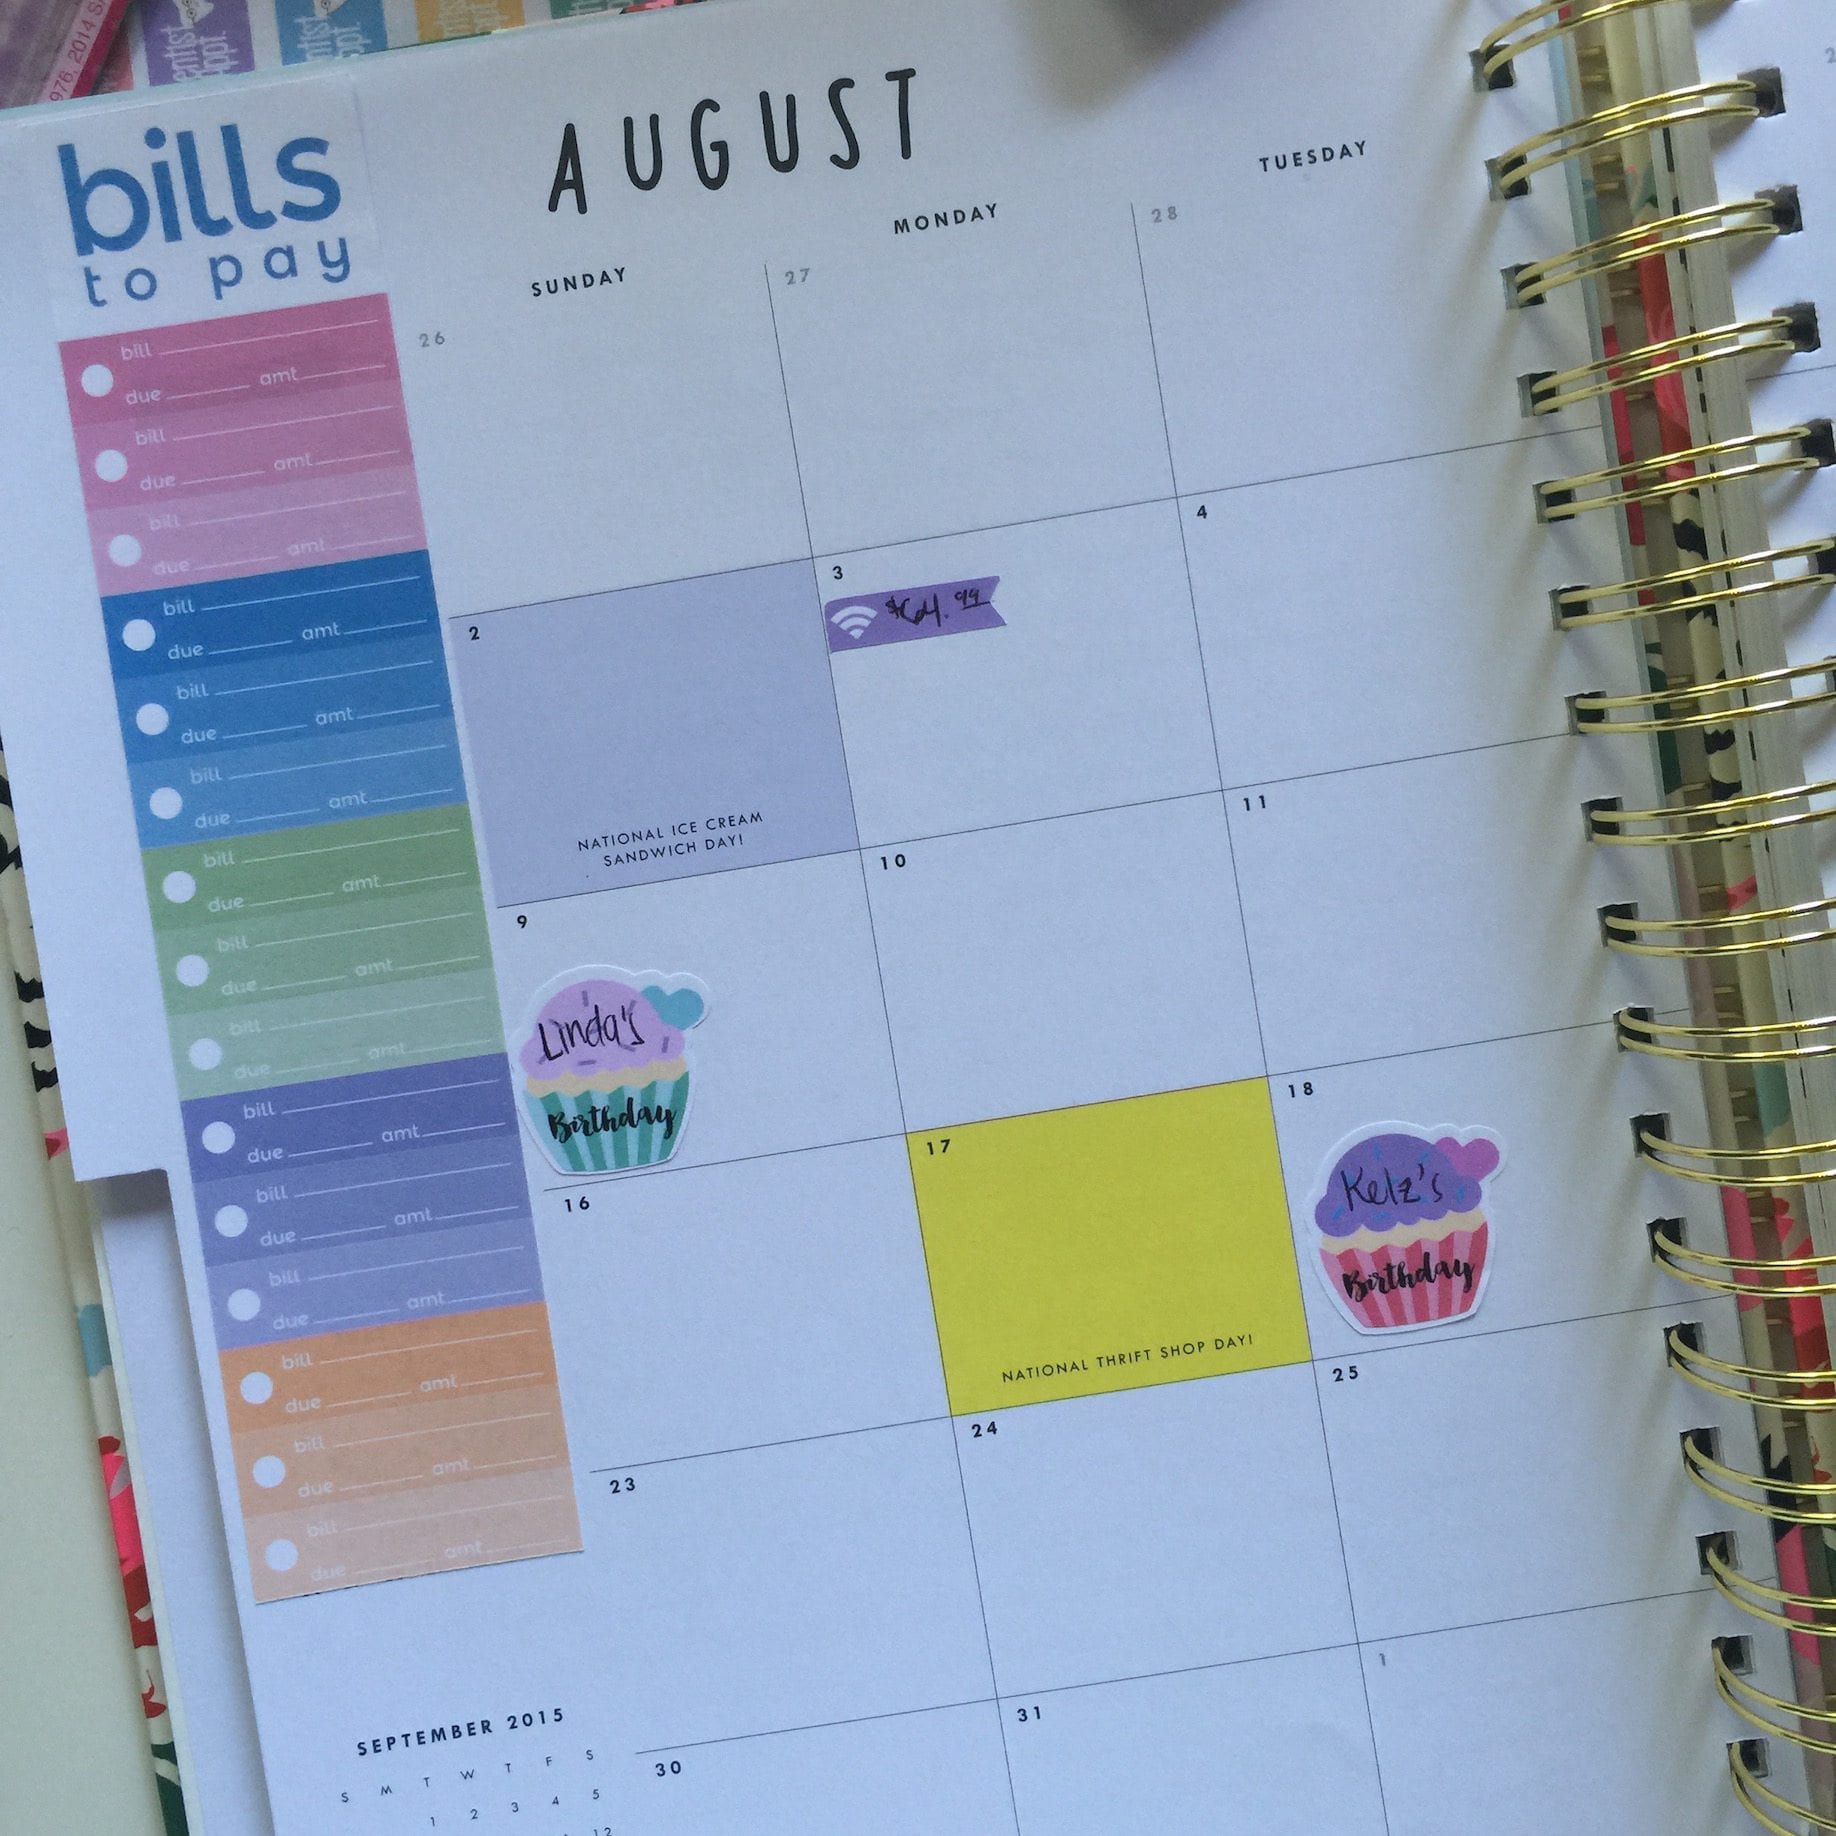
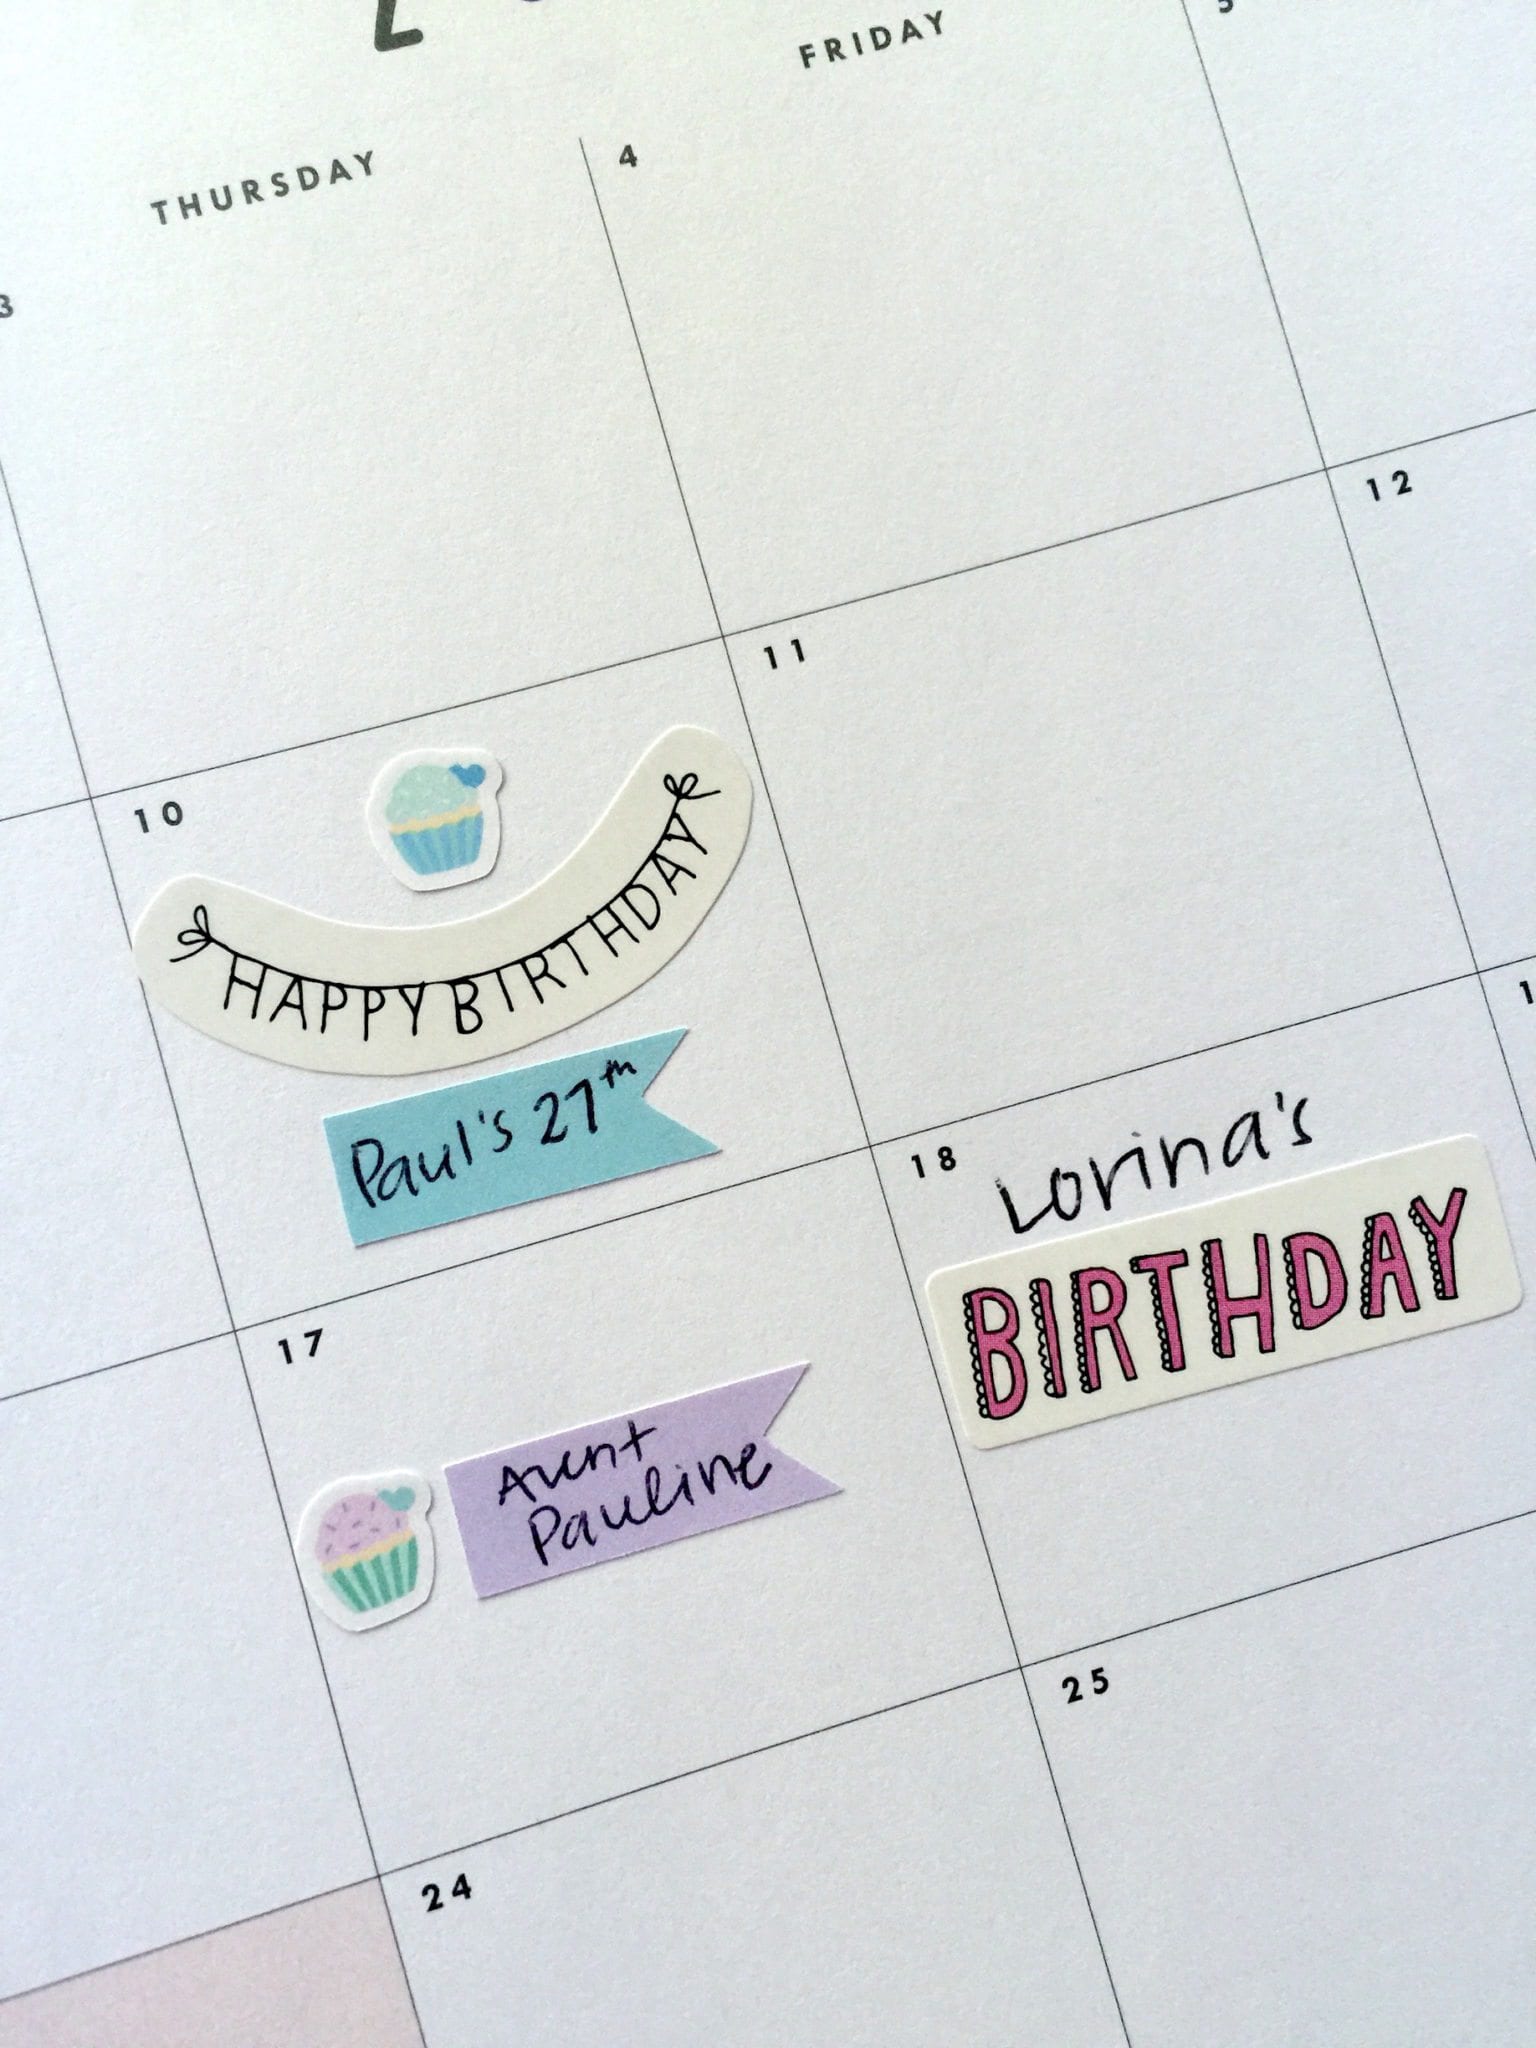
Then I go through each month and mark down everyone’s birthdays! There are so many different kinds of birthday stickers in the bando sticker book, it’s so fun to decorate birthdays with!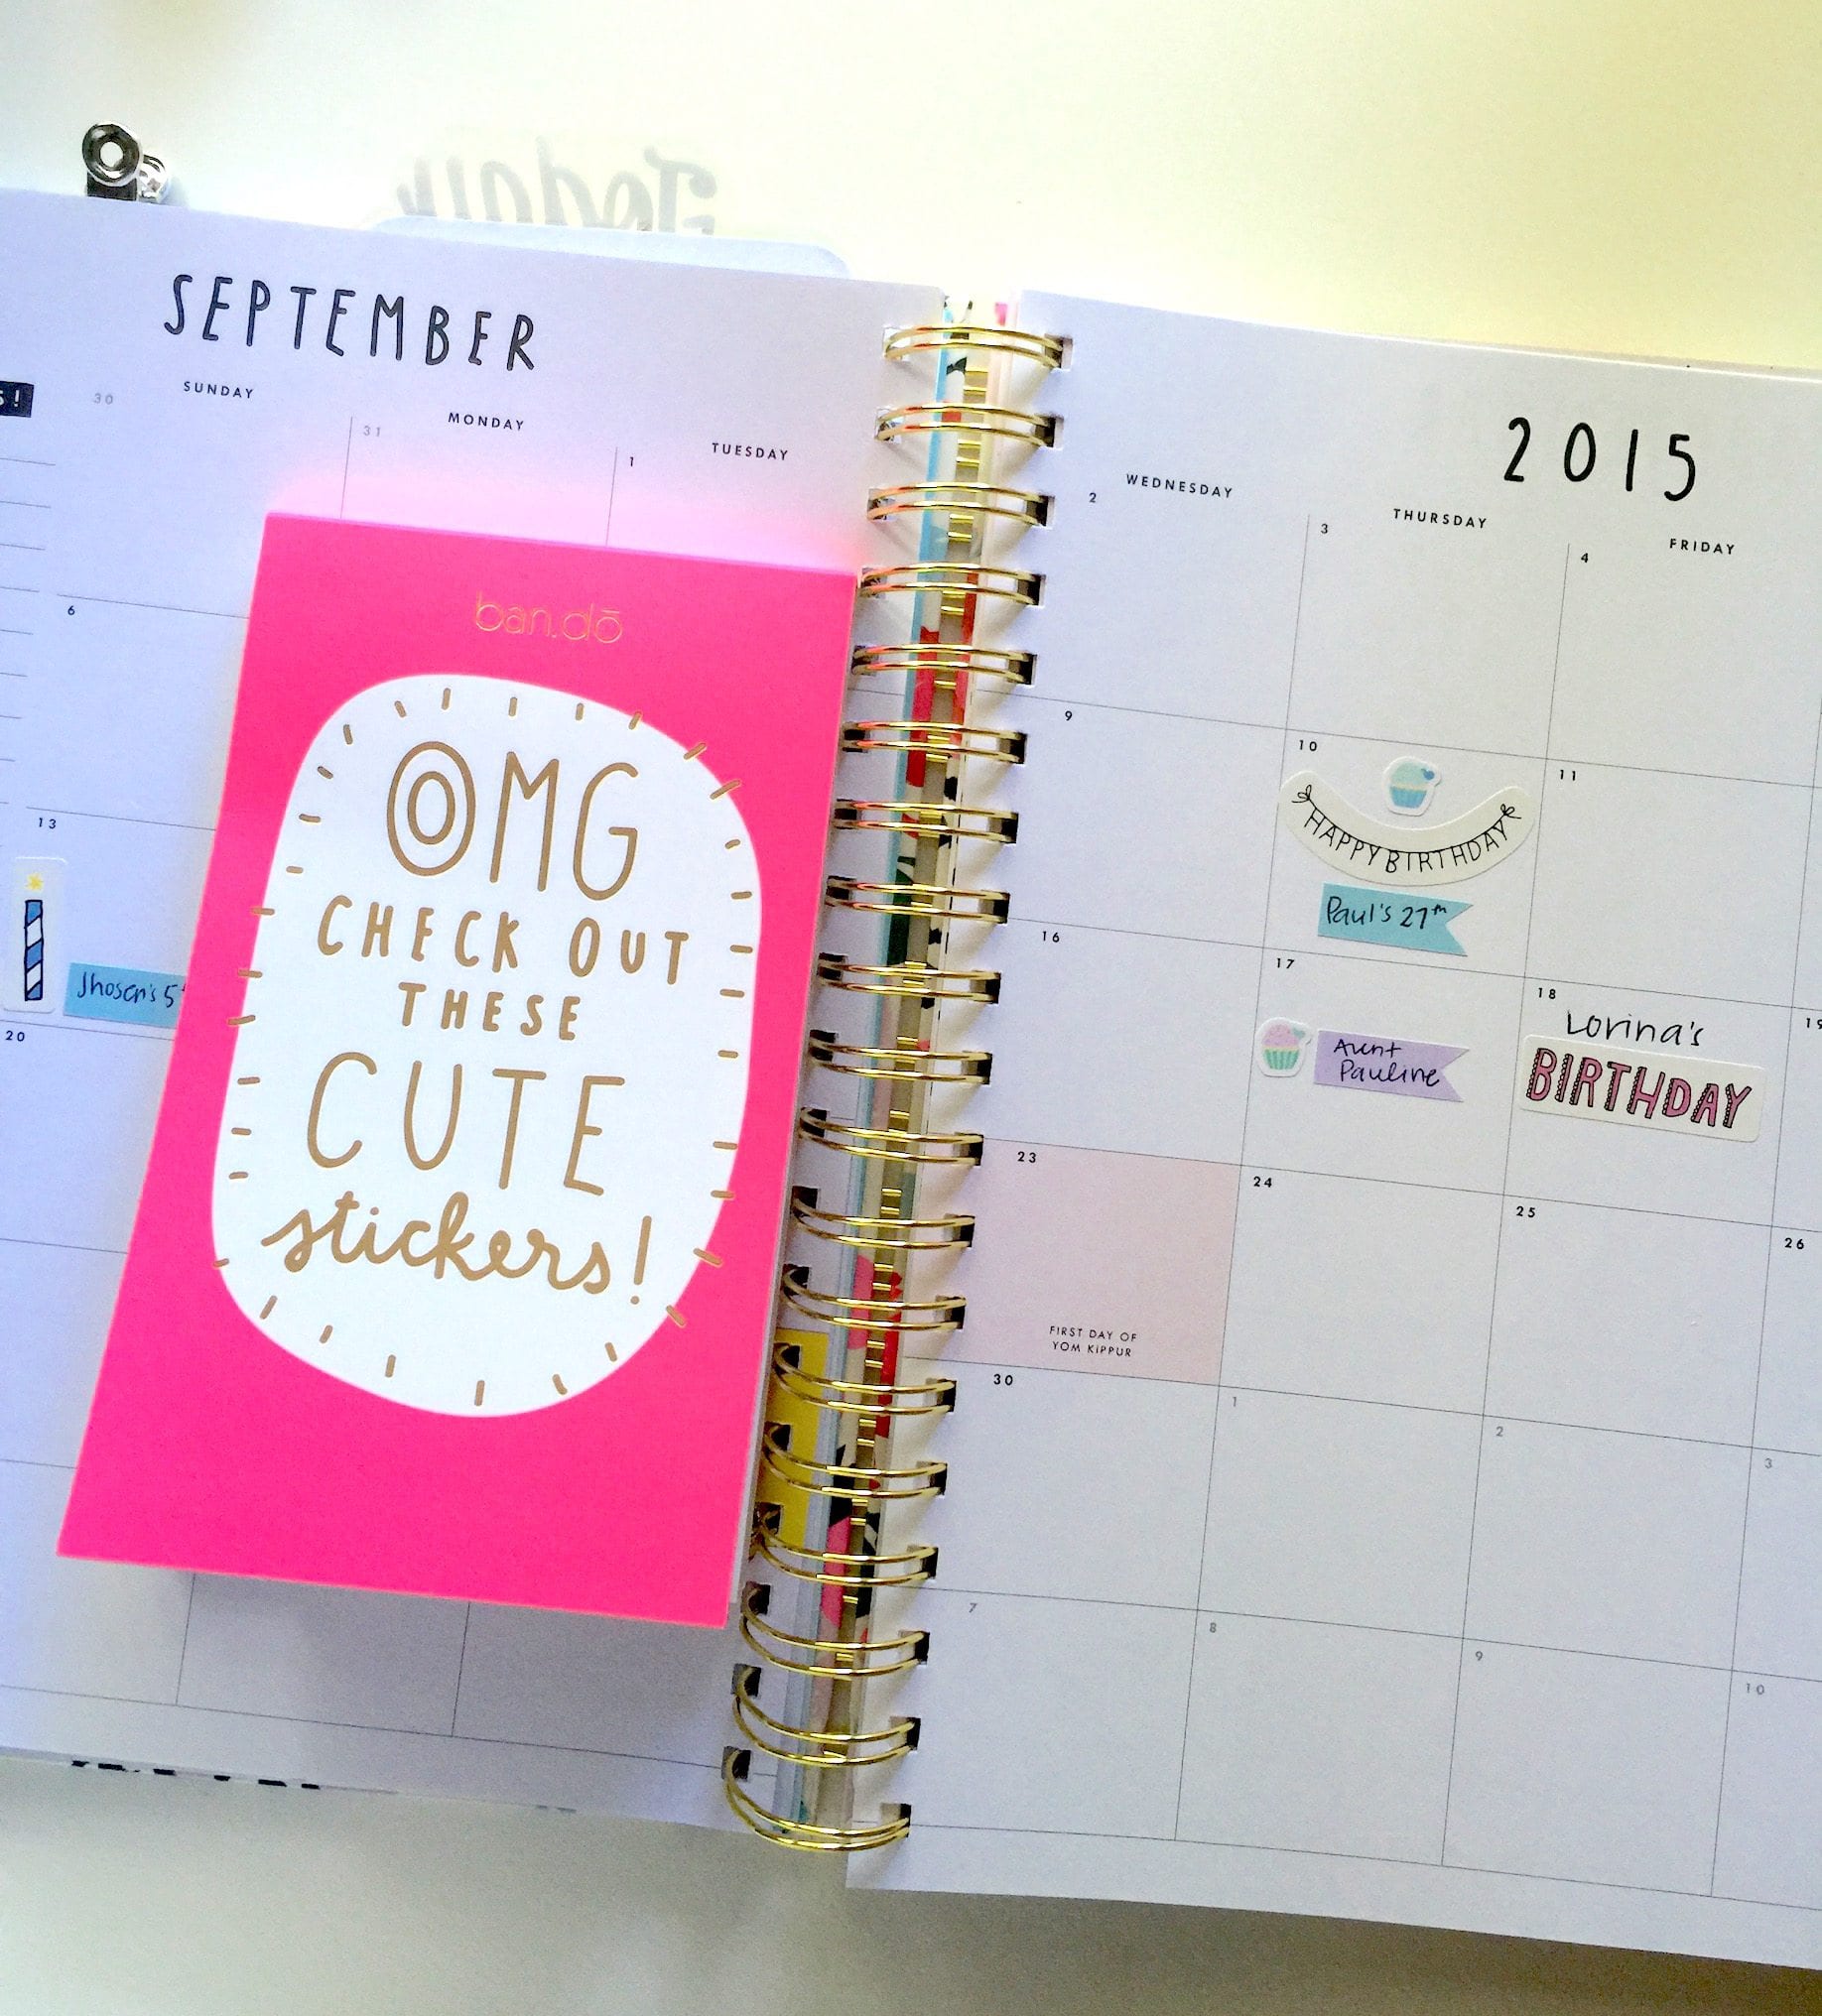
I also check our pay day schedules and mark them all using these cute stickers from Obsessed With Cute! It’s nice to see when we get paid! 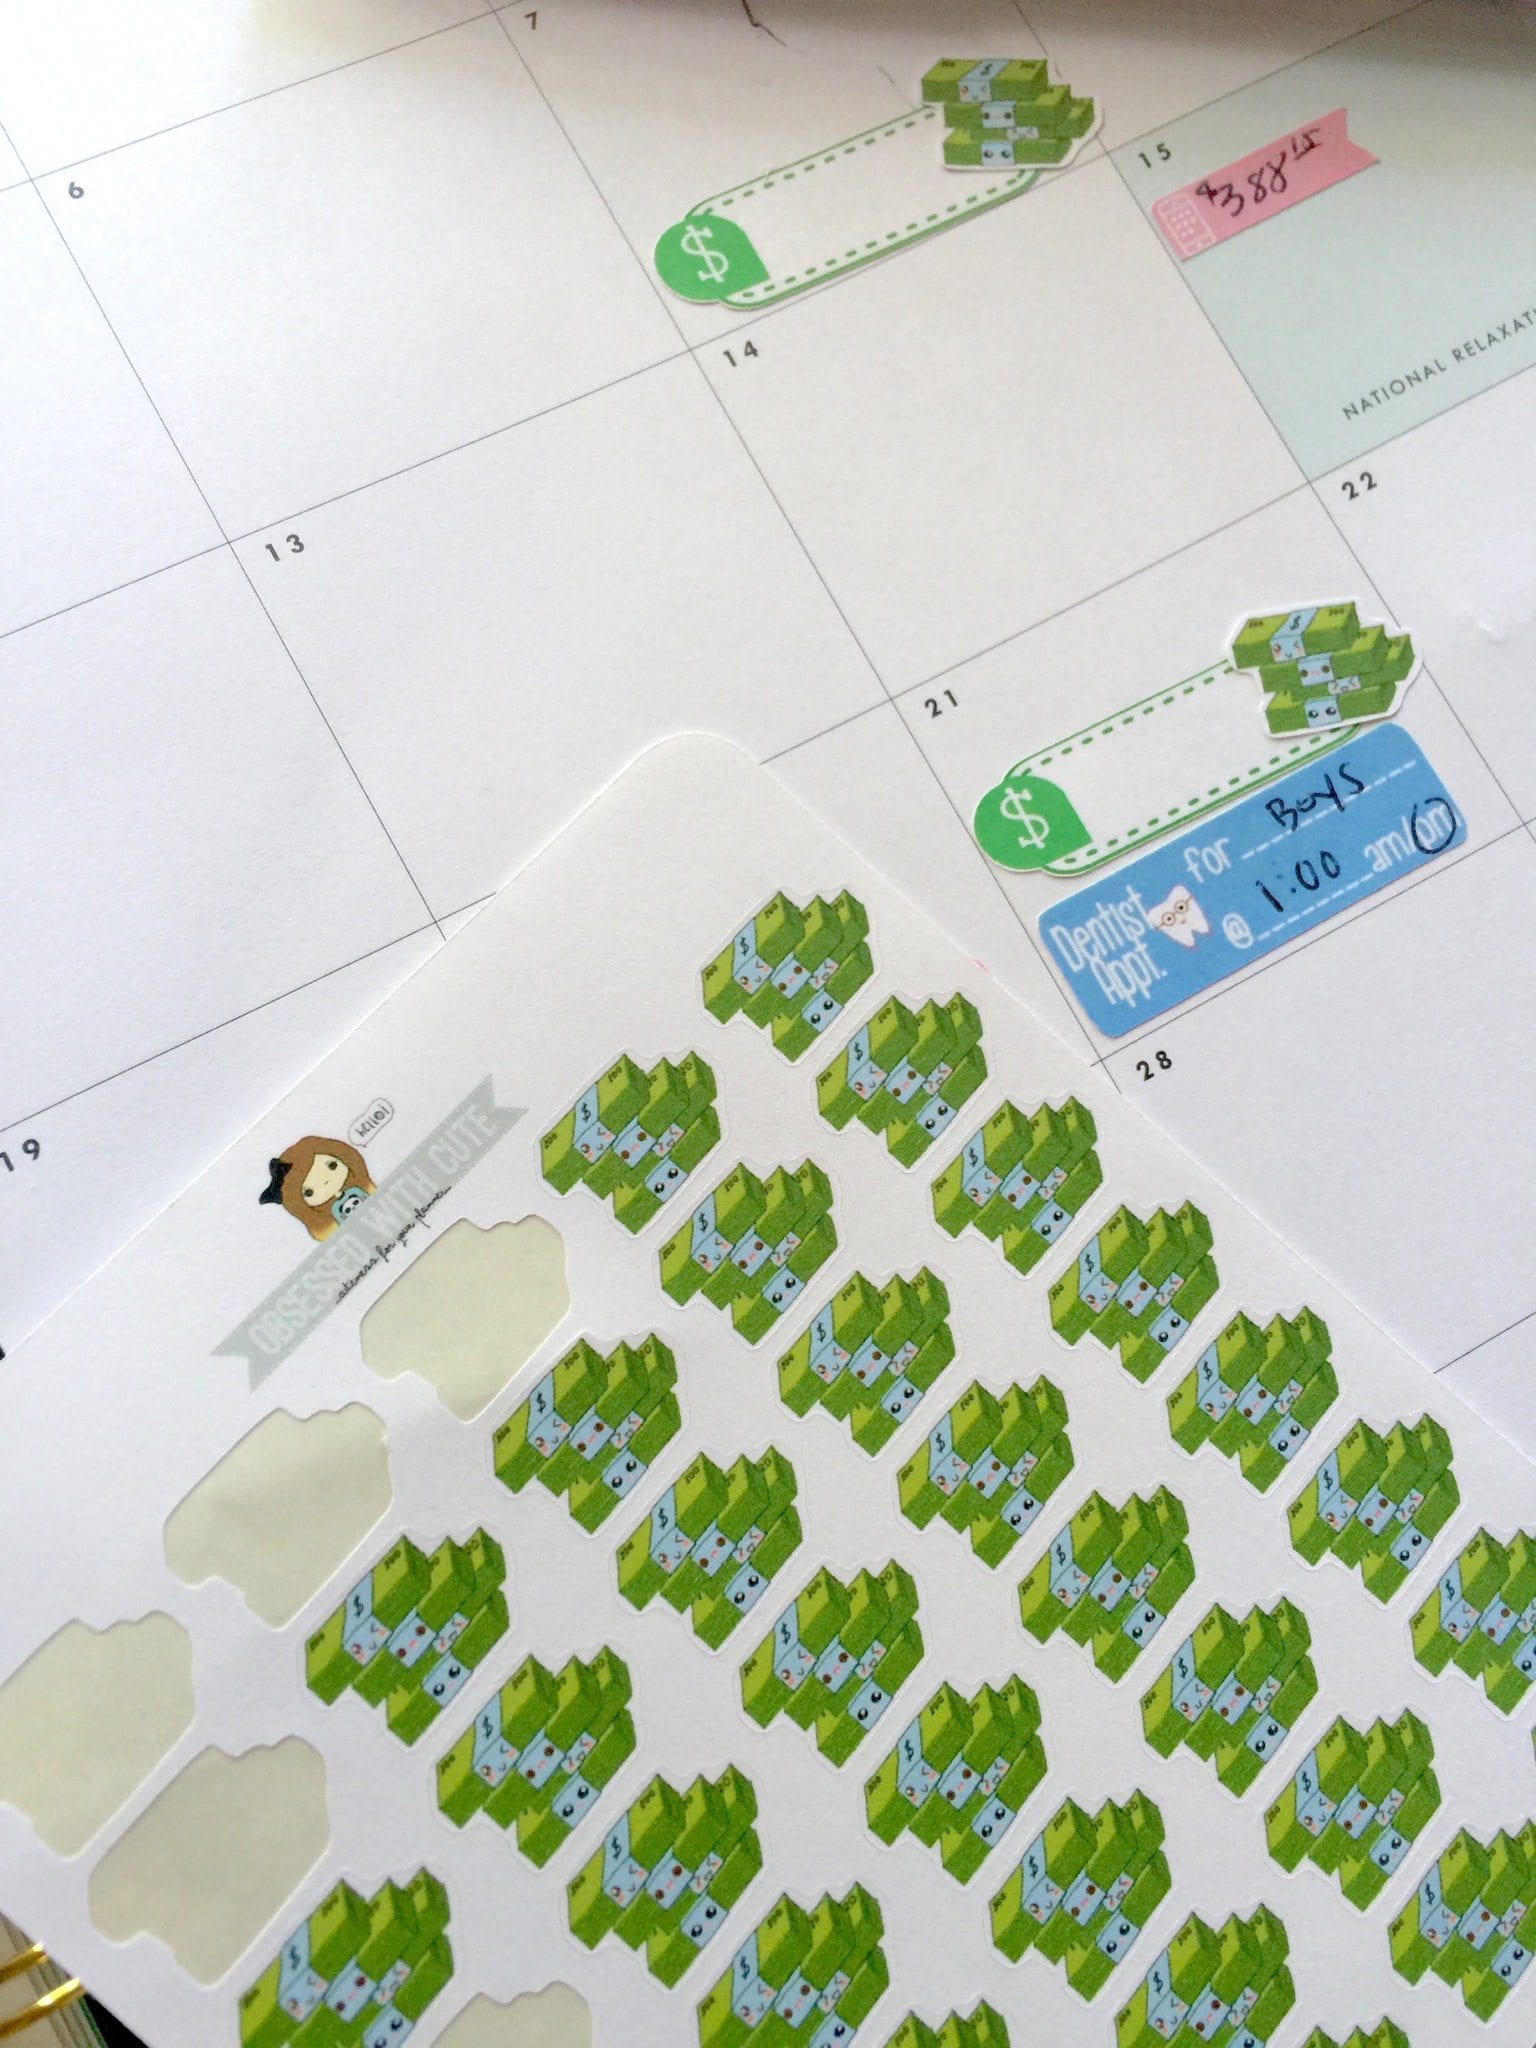
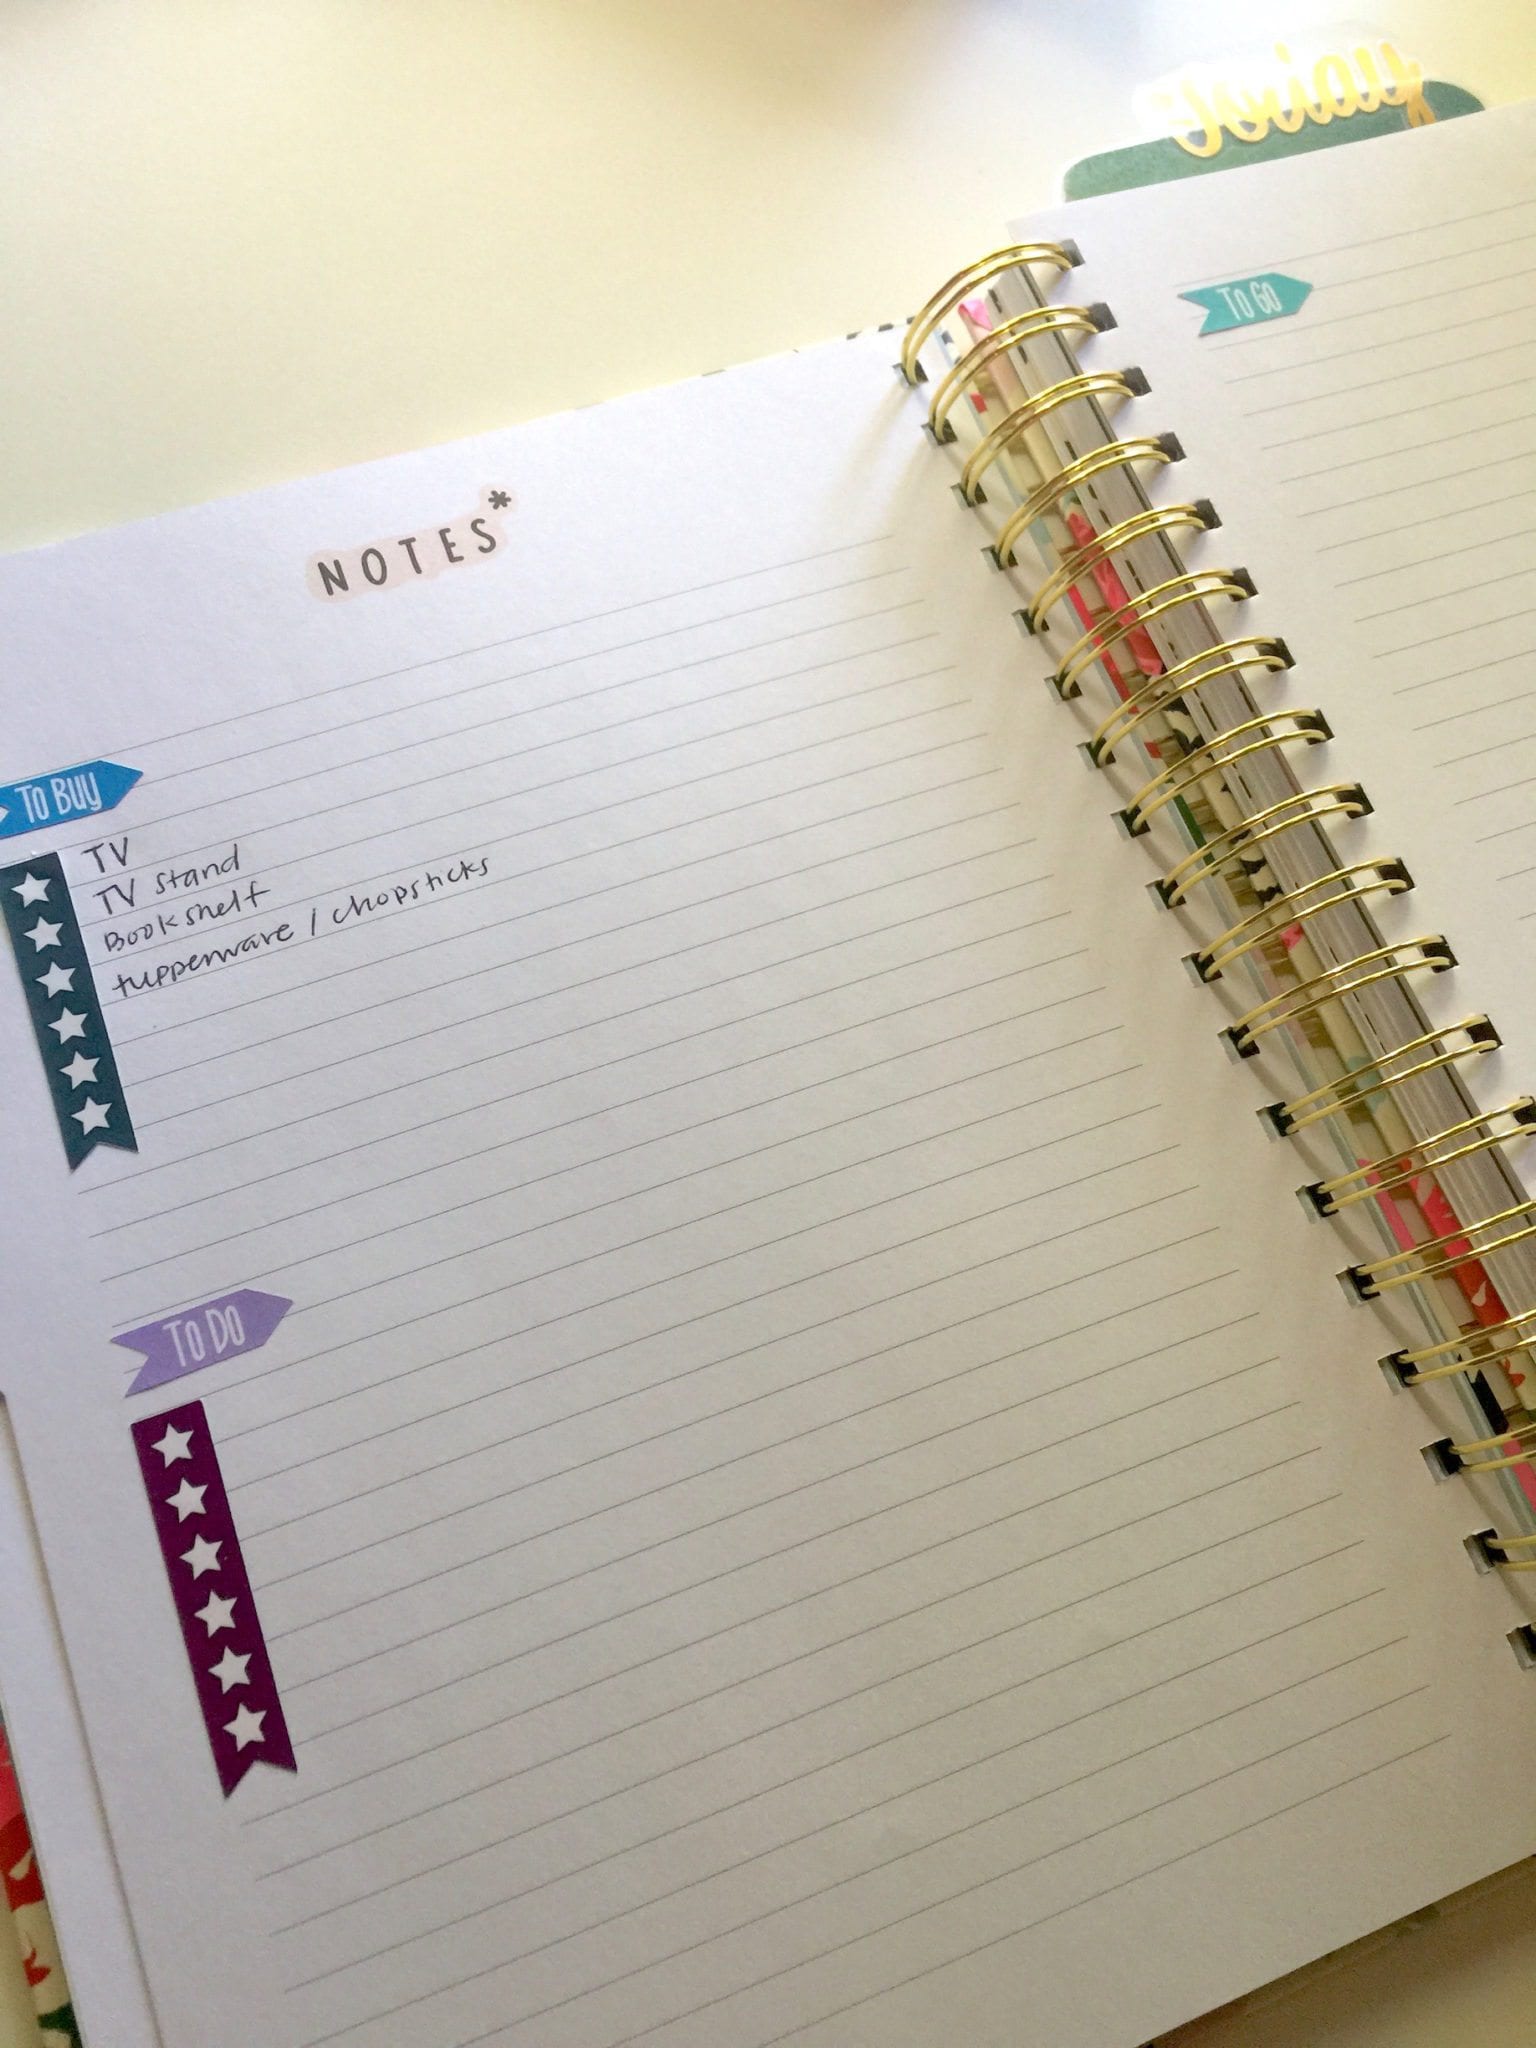
Notes
In the notes section of my planner (which is before each month in the Bando Agenda) I write down all of our goals for the month. Things I want to buy, to do, or to go! I may also use it for big house cleaning projects I want to get done. I like to use the notes section to write down things I need to reference all the time. This can be contact information, restaurants, quotes, grocery lists, websites, budget, finances, etc.
Weekly
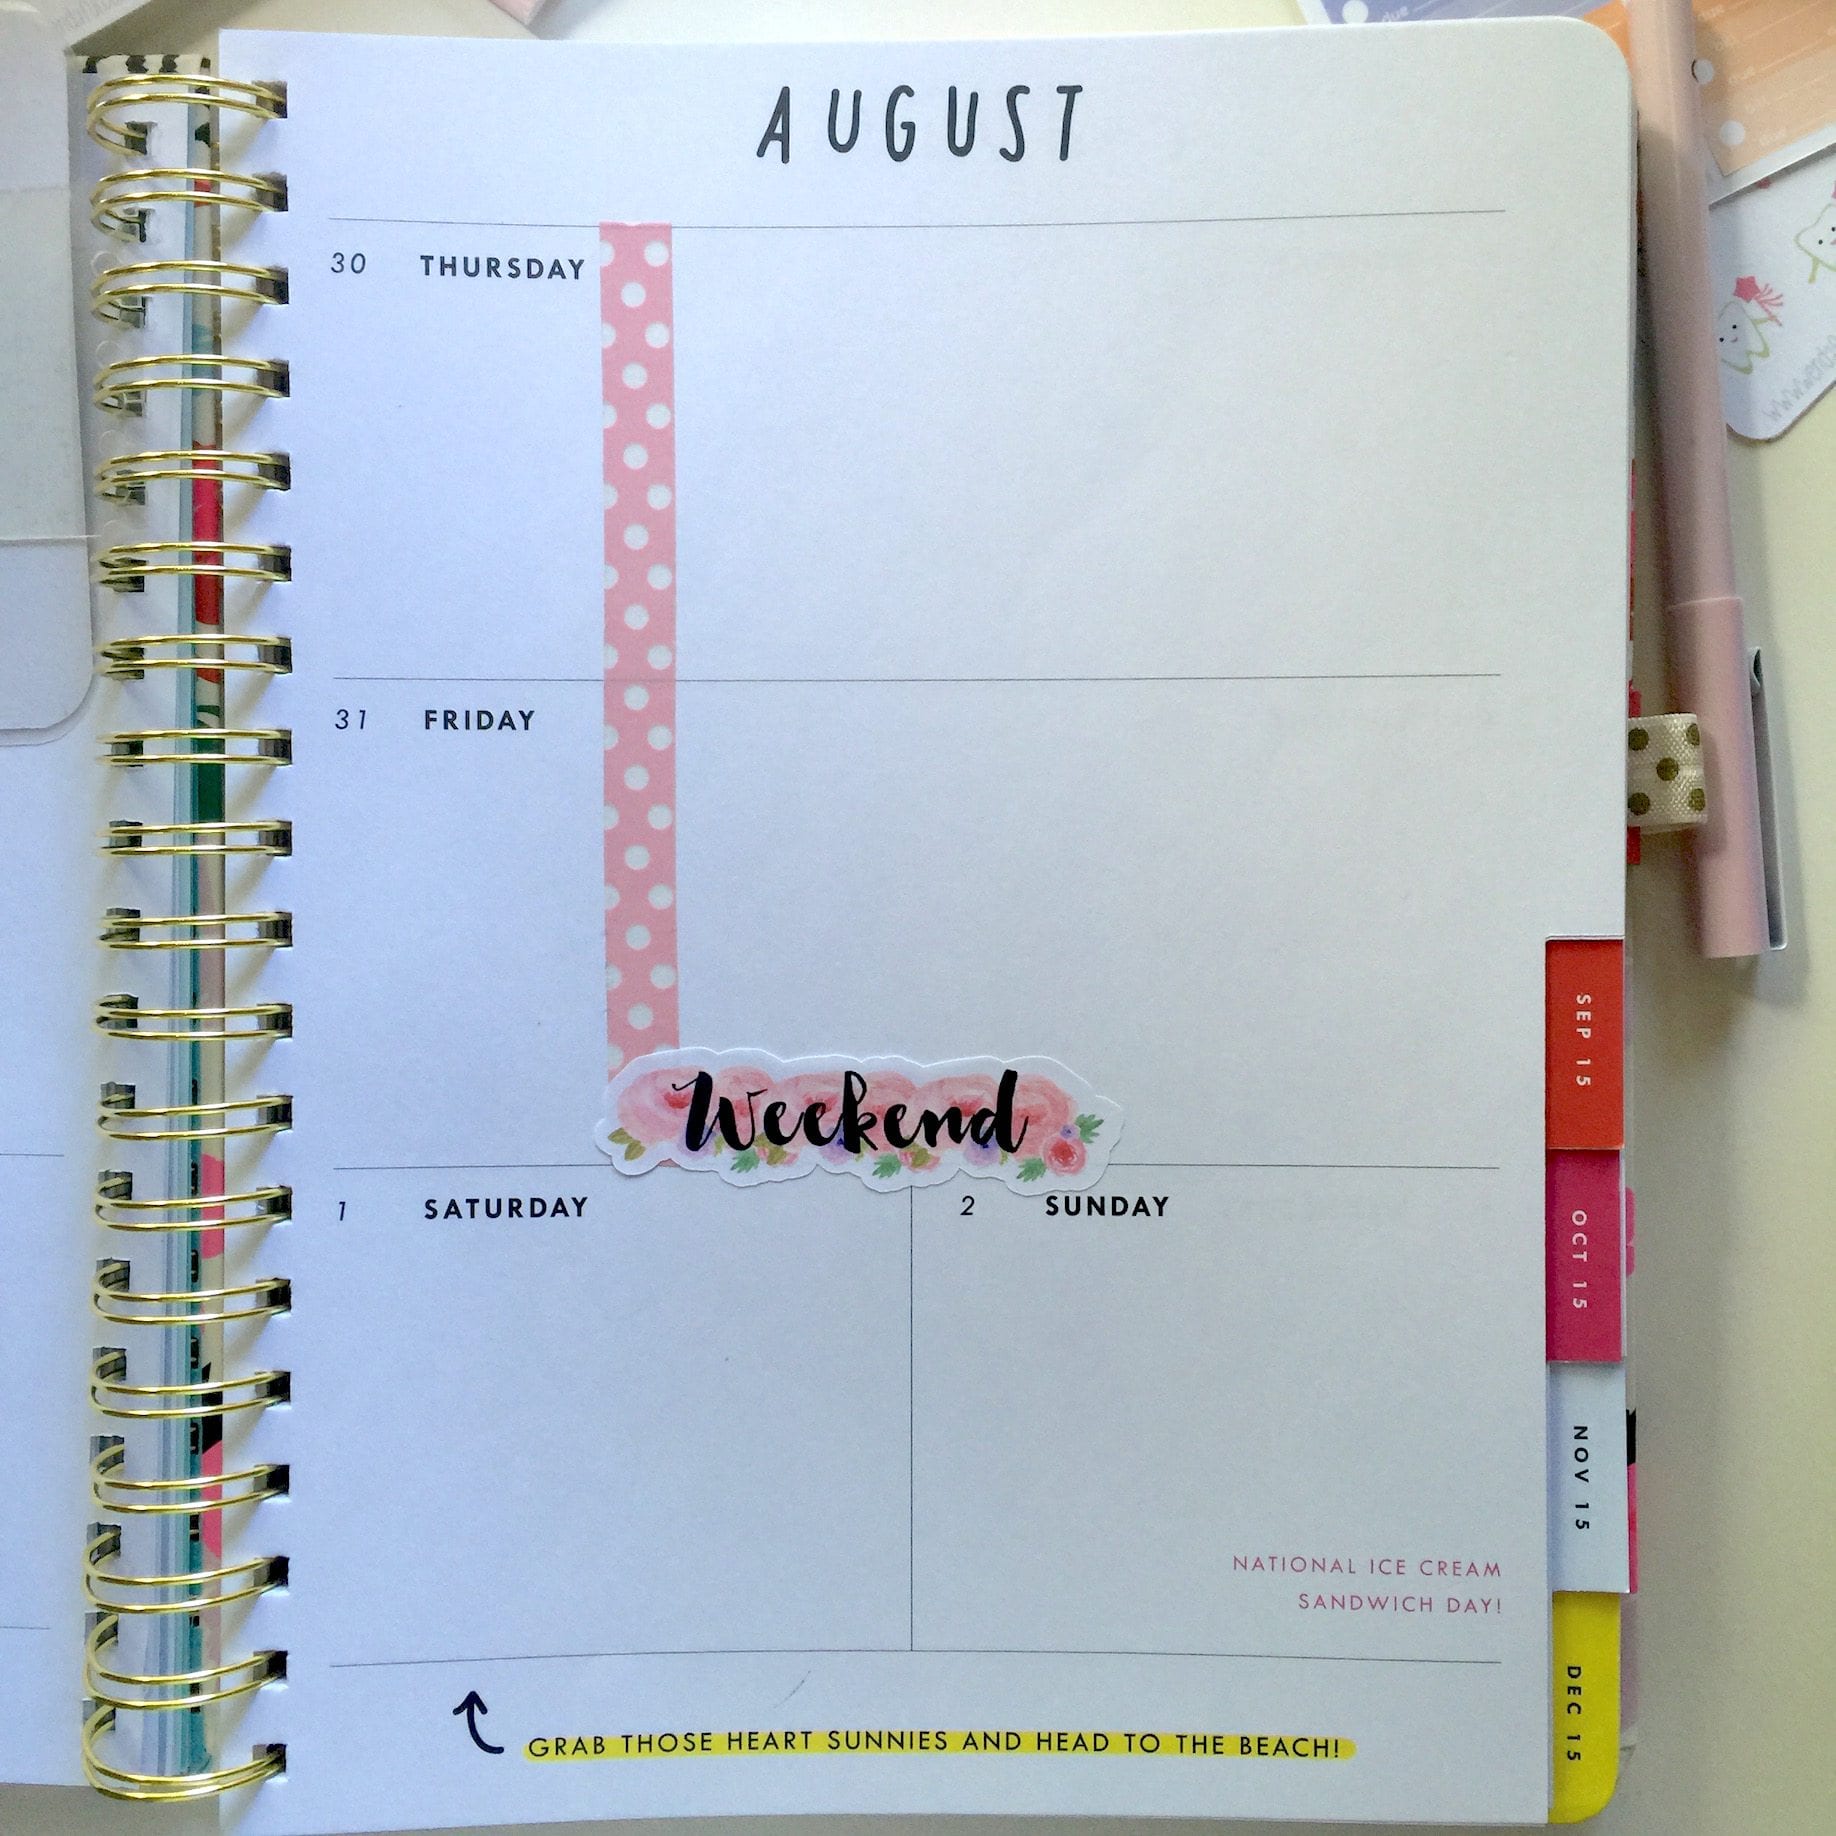
After I’ve filled out my months, on to the weekly! I don’t plan ahead for weeks as much. I only do that for the week before. For this planner I like to use washi tape to separate the large blank box so I can have designated spaces for weather, meals, etc. I like my to do list separated from my events. And of course I always have to use a sticker to celebrate the weekend!! 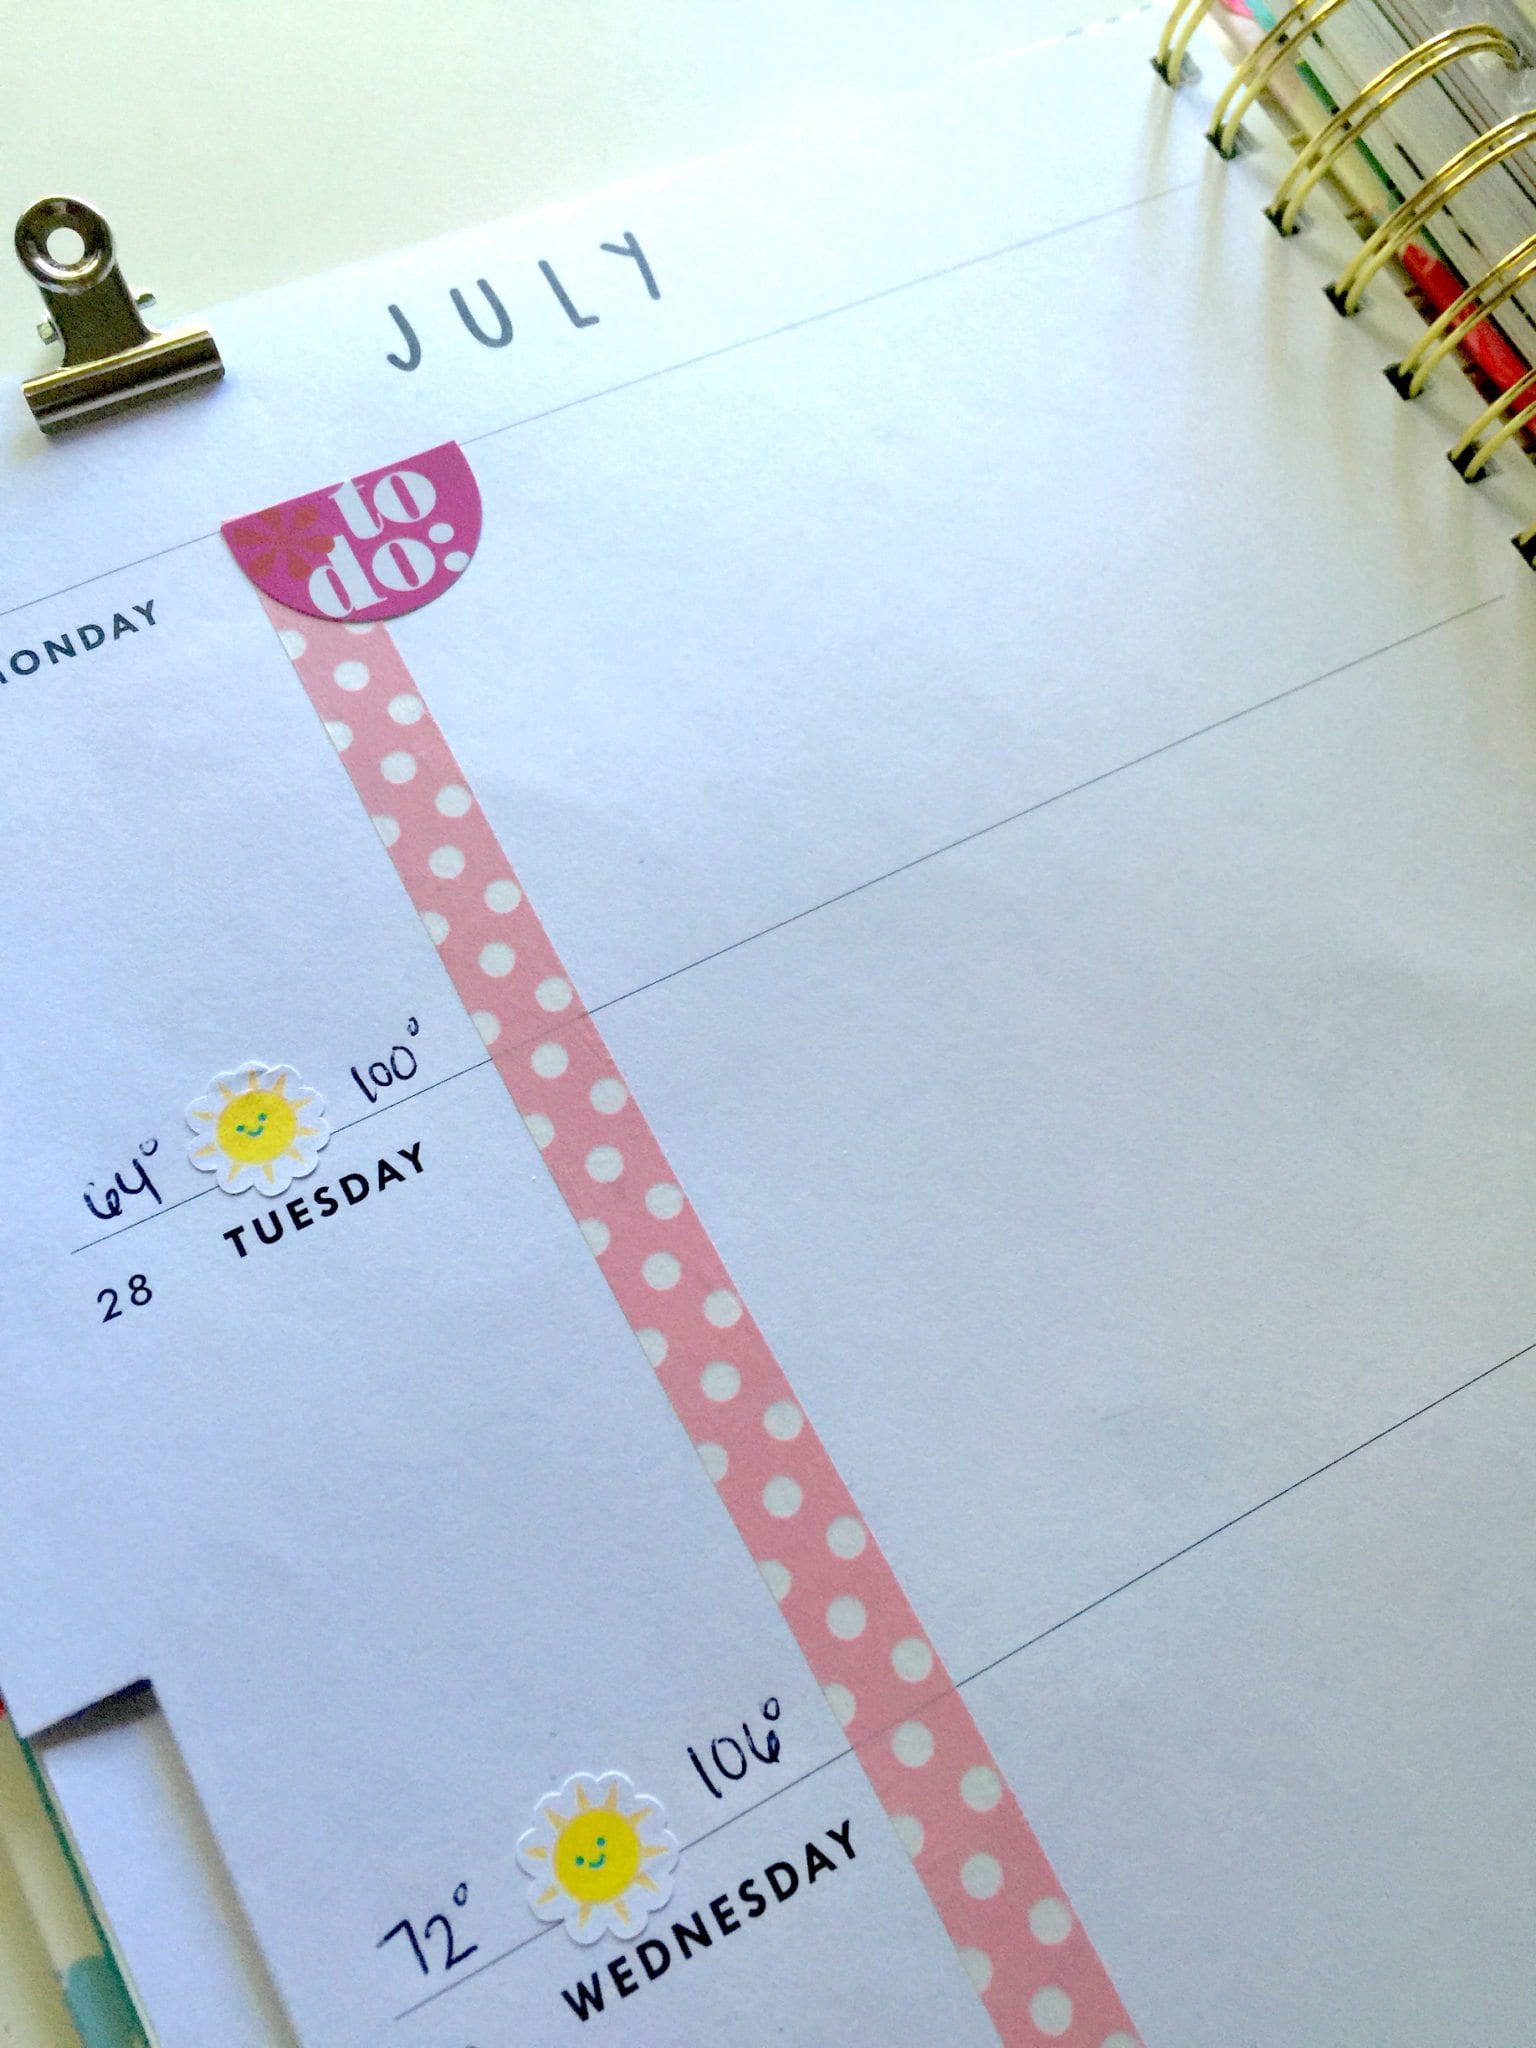
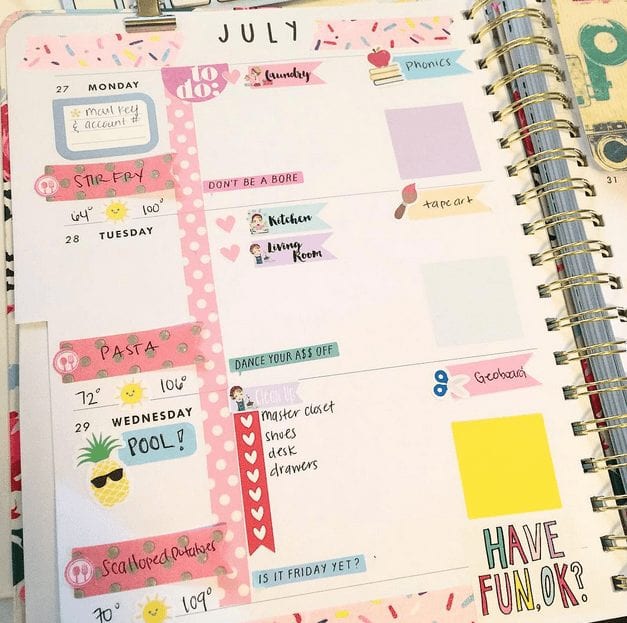
 As the week develops I fill it in more and more with stickers and activities I need to do and it turns into a beautiful mess!
Personalize
Use tabs or paper clips to mark your spots or to quickly find a section in your planner.
Use a pouch or folder insert to store loose items such as coupons, receipts, or stickers.
Finally, splurge a little on yourself and get some washi tapes, paper clips, page flags, and stickers to make using your planner fun and enjoyable.
I hope you enjoyed this post and it helped you set up your new planner!
these are amazing ideas, I love how beautiful and artistic your blog looks 🙂