
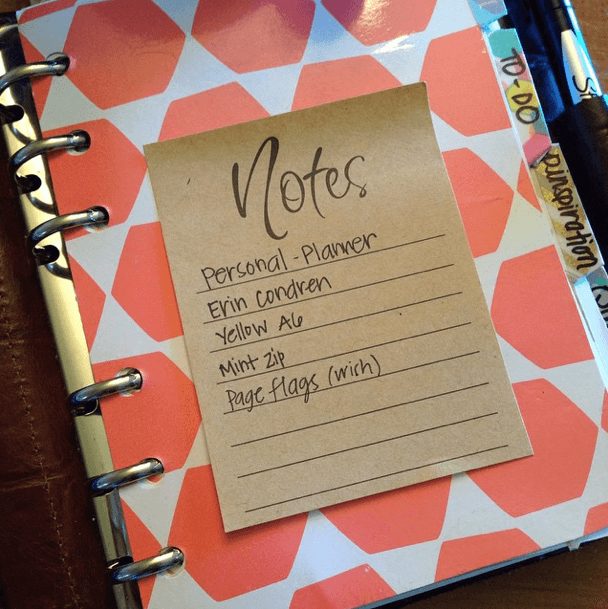
Hello everyone! I really wanted to show you what was inside my personal planner. I am currently using both my mulberry agenda and my erin condren planners. I am in between planners and can’t decide how to use them! It had been working perfectly for me for months, but now I feel like it’s just not productive anymore. I was thinking about using the mulberry as my everyday planner and just the erin condren as a journal/memory/scrapbook, but I really enjoy planning my weeks in my EC at the same time. The Mulberry is the perfect size for me and I love carrying around, but it’s so hard to decorate and make cute since it’s so tiny, and since I’ve changed inserts. Maybe I should just go back to my original inserts instead where I was using the day on two pages. Right now I am using my day per page (because I wanted to waste less paper). ahhhh I am stuck in a rut! Any suggesstions? Anyways on to the planner setup, before I switch it up completely…(will post an updated setup if and when I am happy with that).
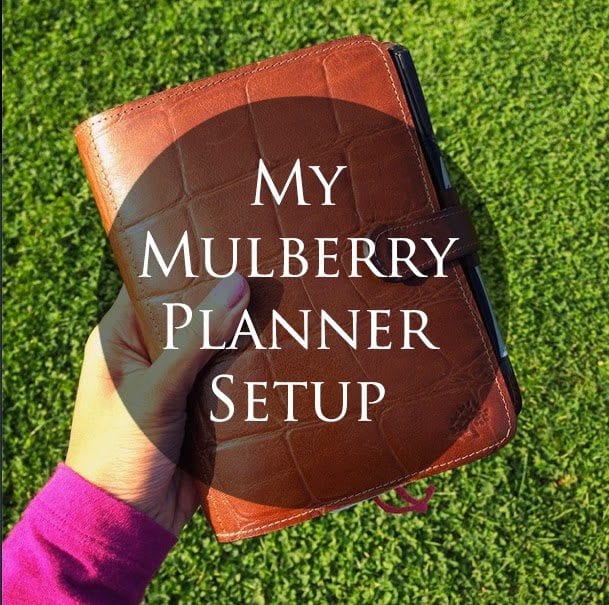
This is my Mulberry Oak Croco Planner. I use it as a personal take everywhere planner. It is the perfect size – A6. About 5×7 inches paper size is about 4×6. It is shorter but wider than a Personal Filofax. It’s all leather and feels soft and amazing. I luckily found it at a thrift store for only $1.99. No way would I be able to actually afford this planner at regular price. I like to use this planner as my brain dump and go to planner for all of my running ideas.
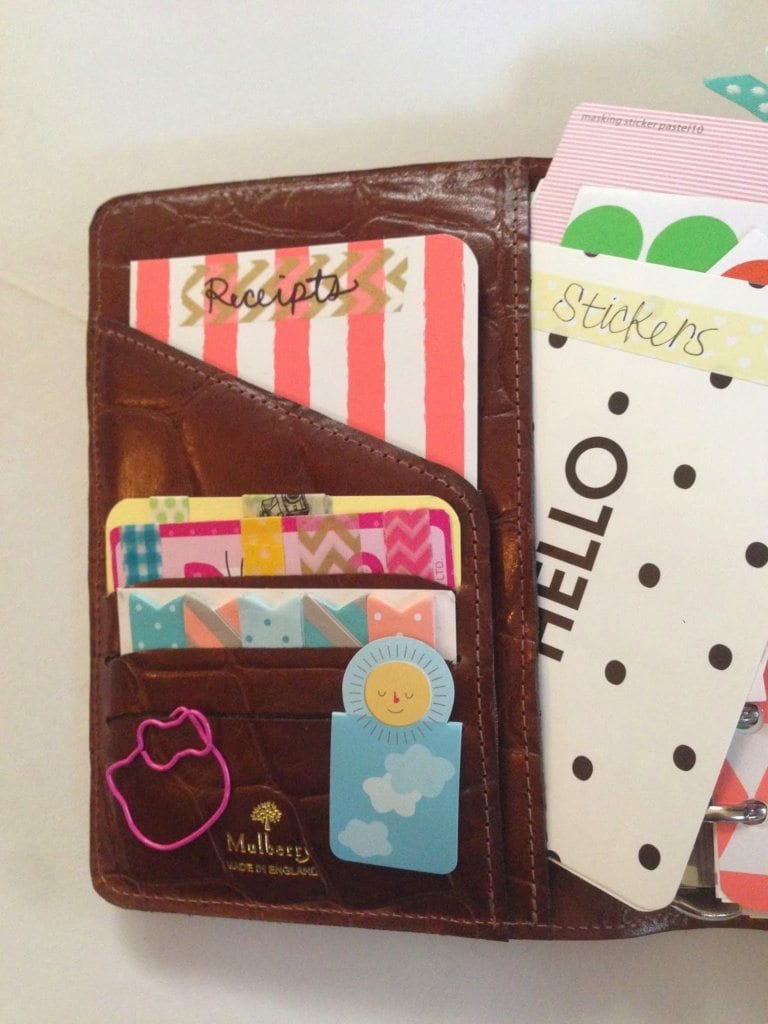
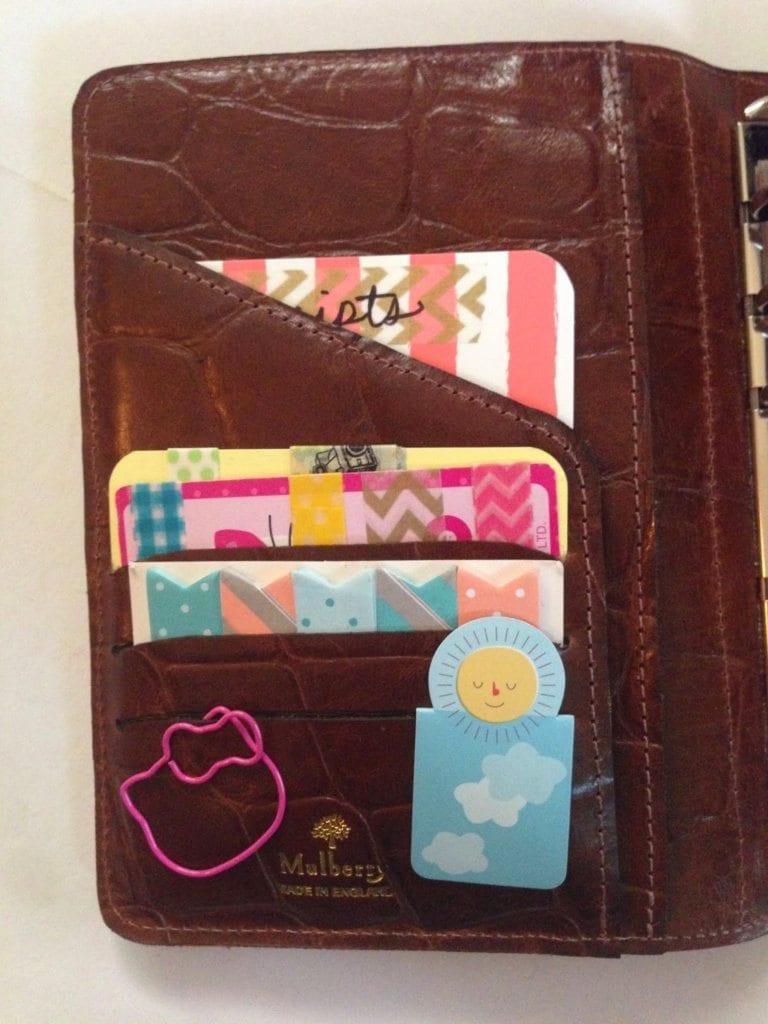
Front Pockets: Here I have my stickers in a target note card. I no longer keep that receipts folder in here though. I also keep a few samples of washi tape cards, page flags, and paper clips in the front pockets.
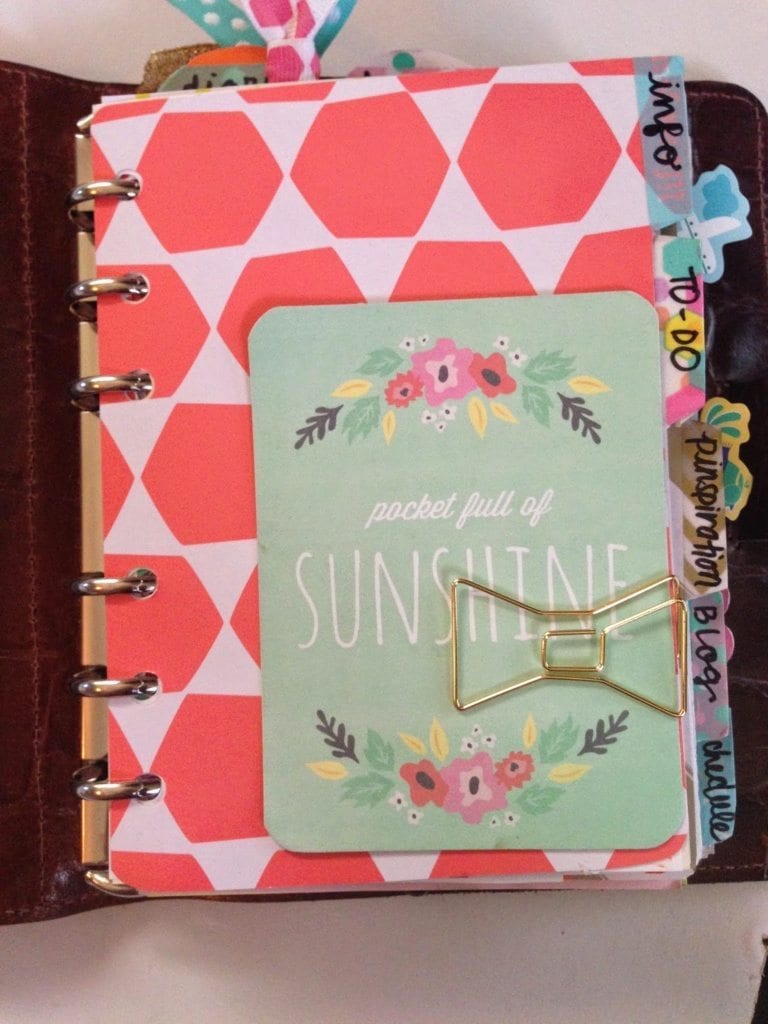
Dashboard: This is my current dashboard, I just placed a cute project life card with a cute Kate Spade paperclip. On the back of this I have some sticky notes for quick notes!
I also sometimes use my dashboard to keep track of my online purchases to remind myself to check the tracking on these purchases.
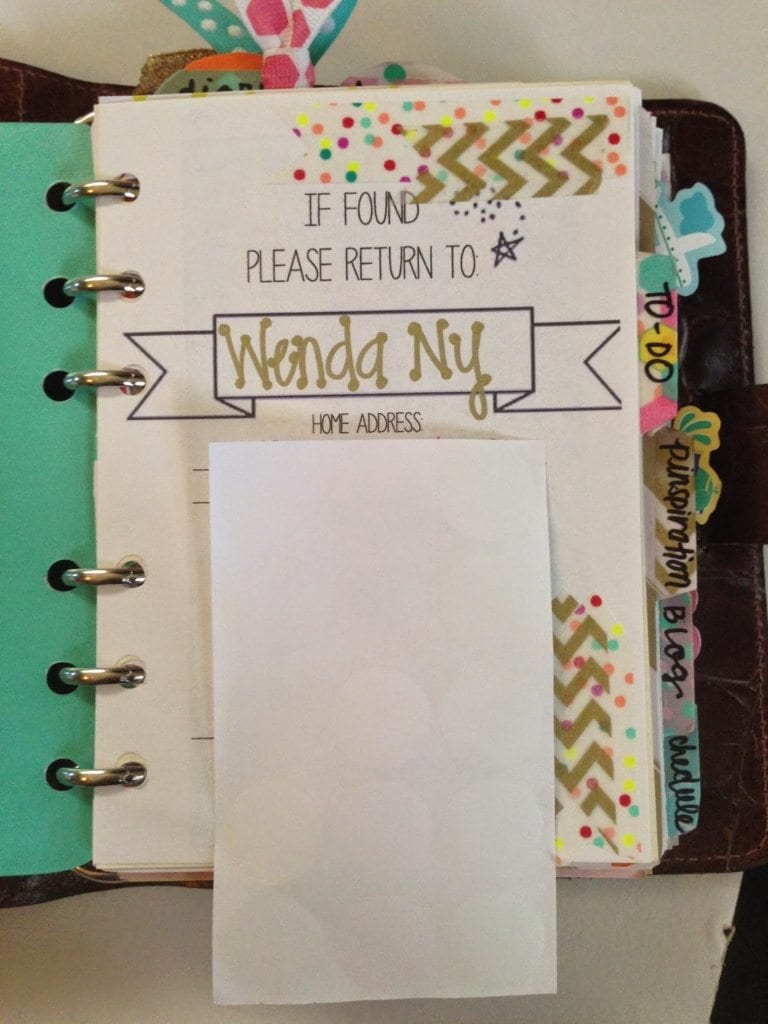
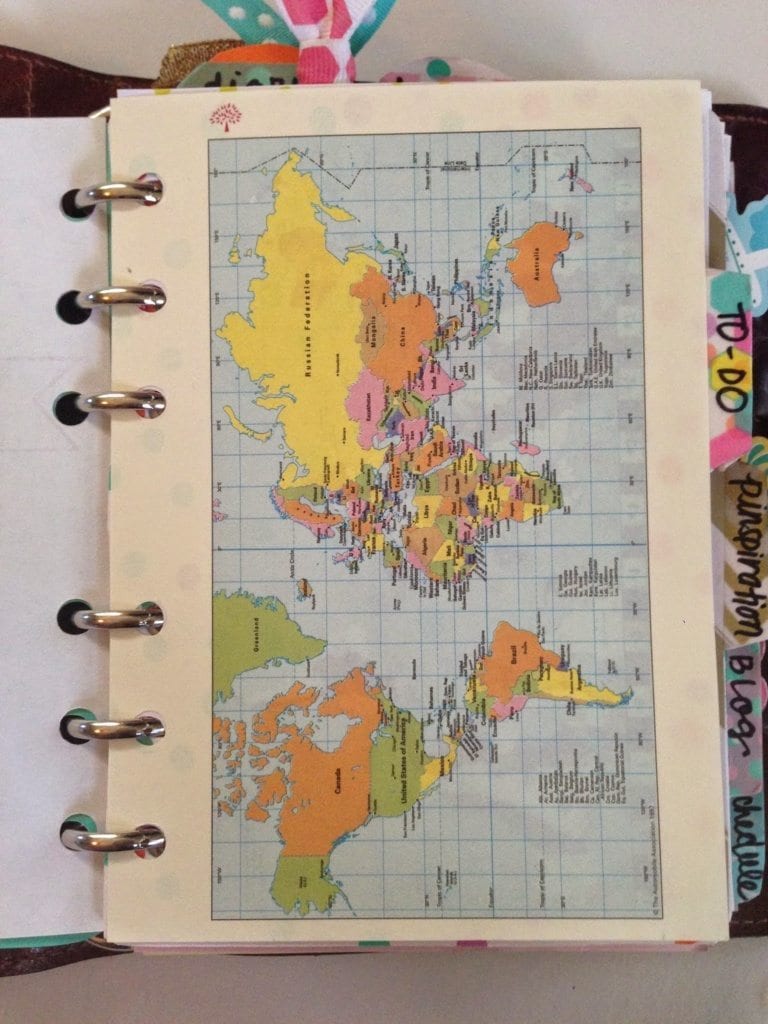
My First Tab – Info: In this section I just have my basic info page in case anything happens to this planner and some maps that came with the Mulberry.
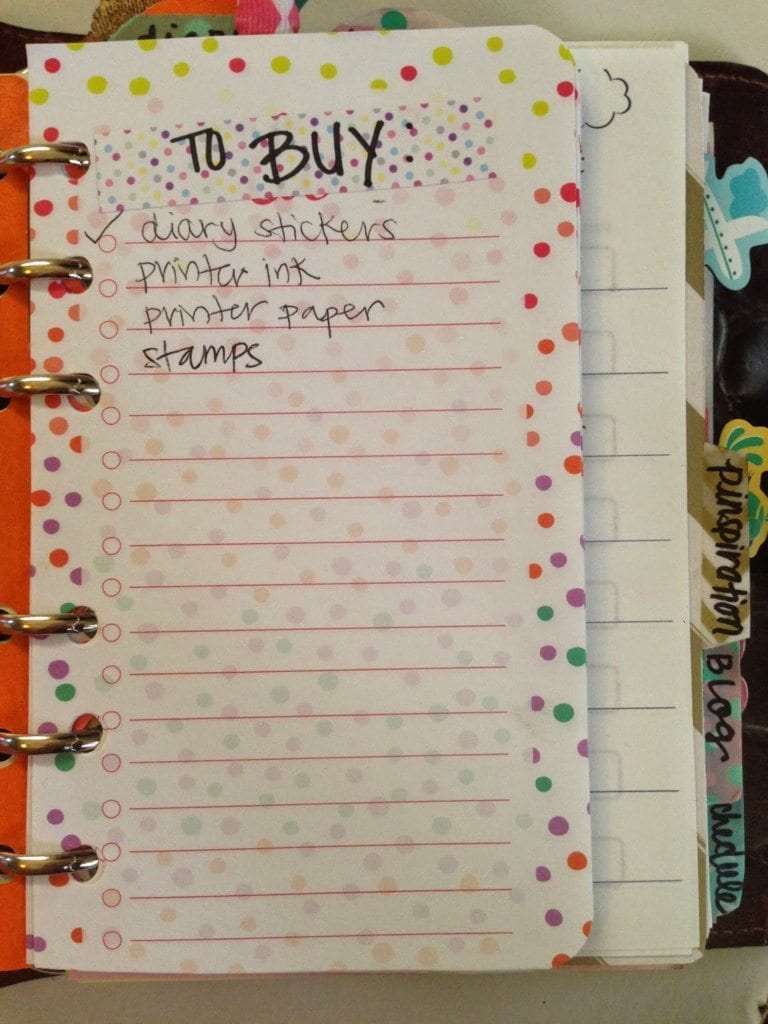
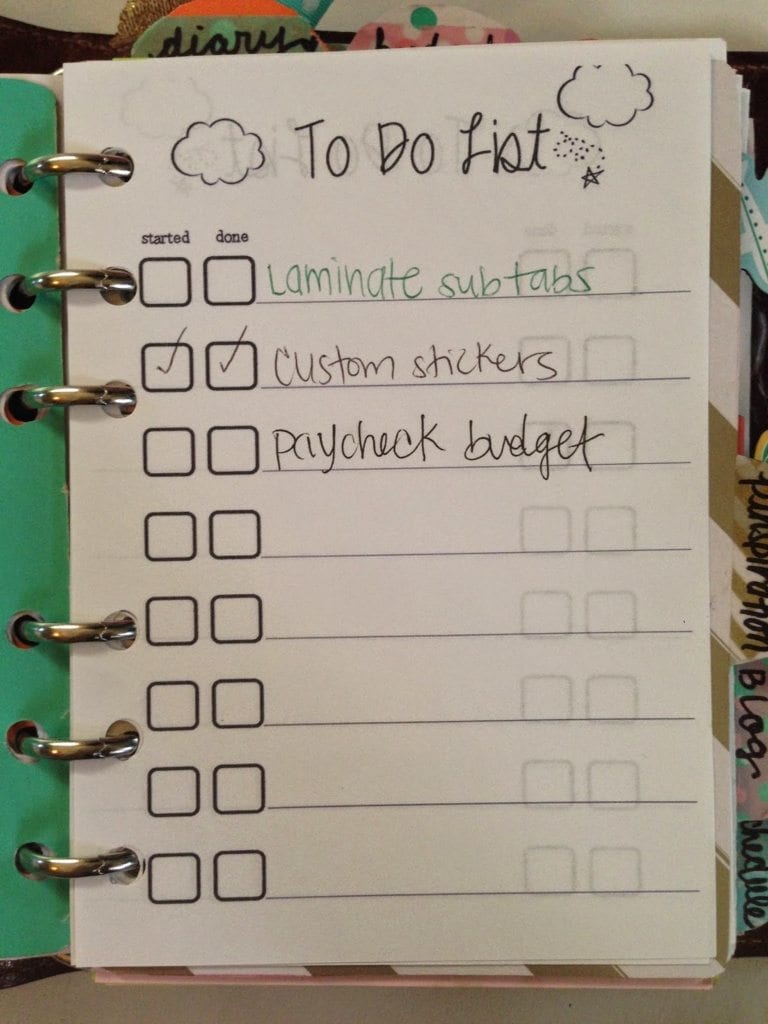
Second Tab – To Do: In this section I have some To Do Lists, and I trimmed and hole punched some Notepads to make other to-lists.
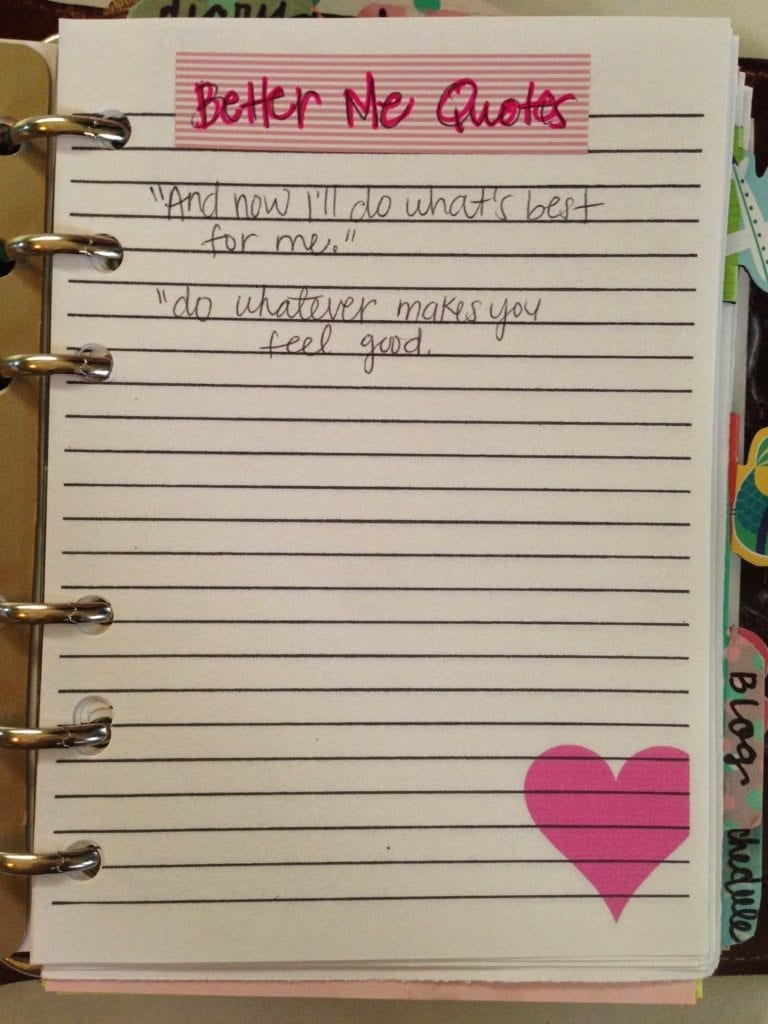
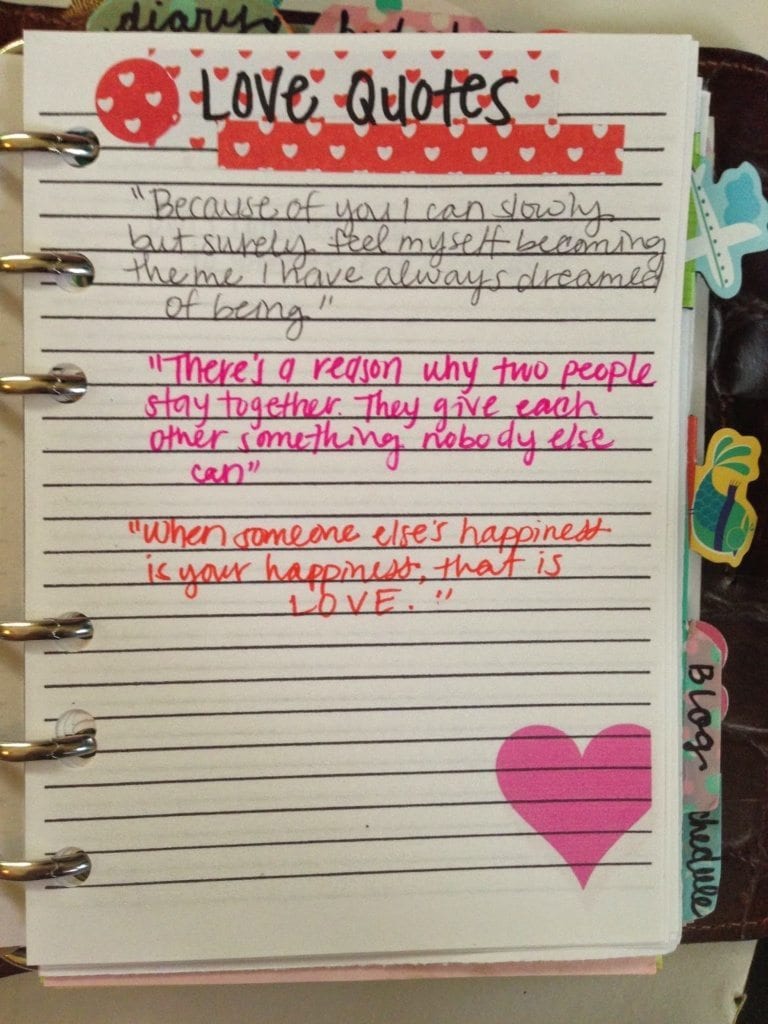
Third Tab – Pinspiration: In this section, I have some quotes (categorized by type), and some blank note papers so I can write down some ideas I see on Pinterest.
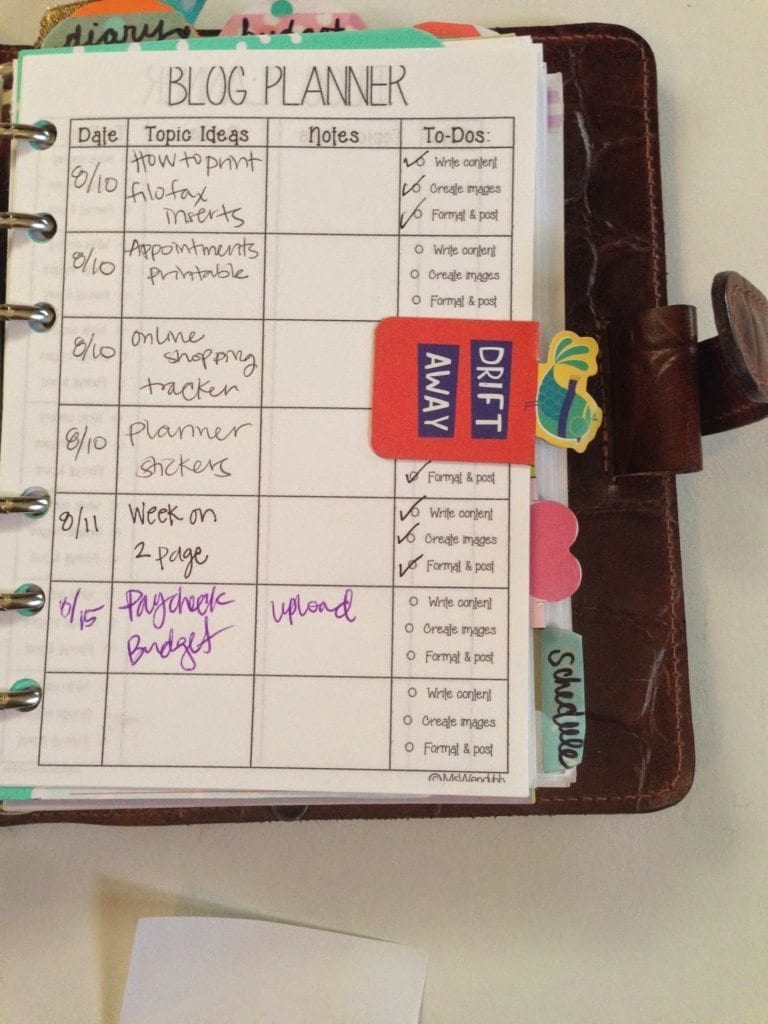
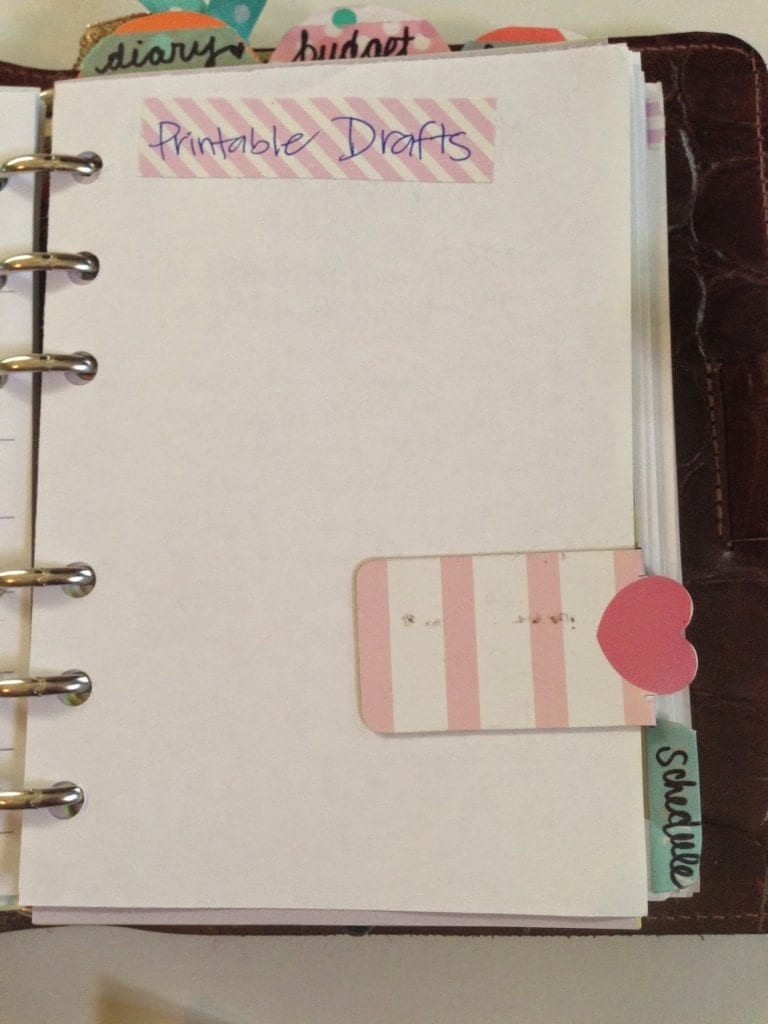
Fourth Tab – Blog: In the section I jot down my ideas for my blog, try to plan my posts, and also where I sketch out my printable drafts.
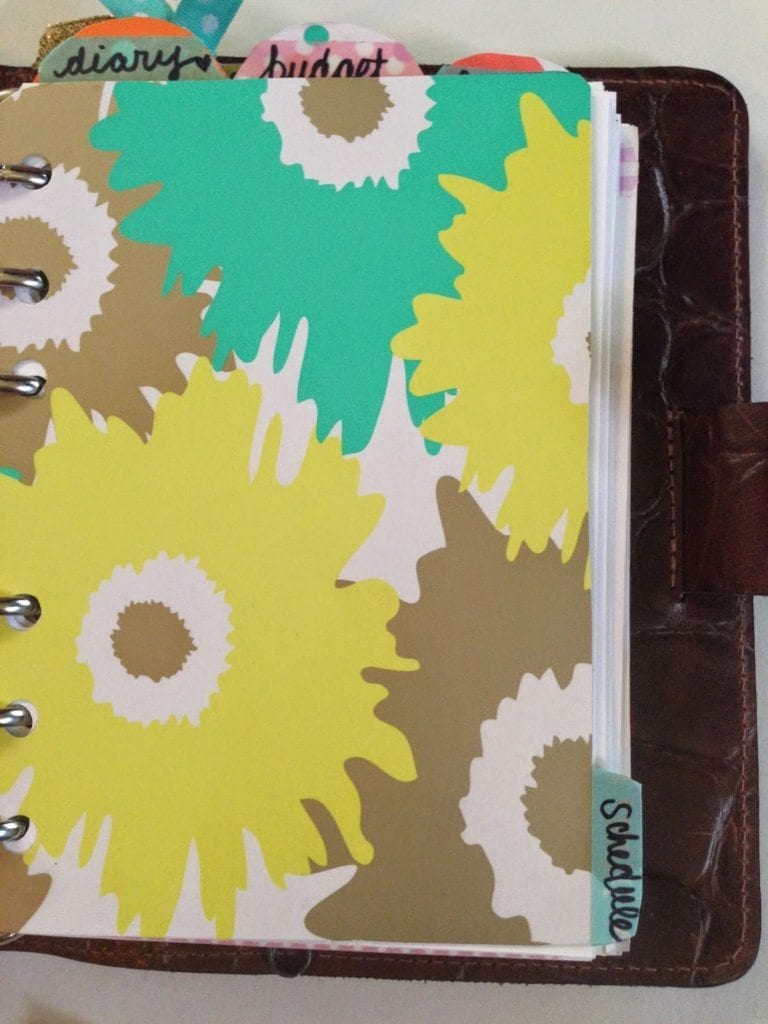
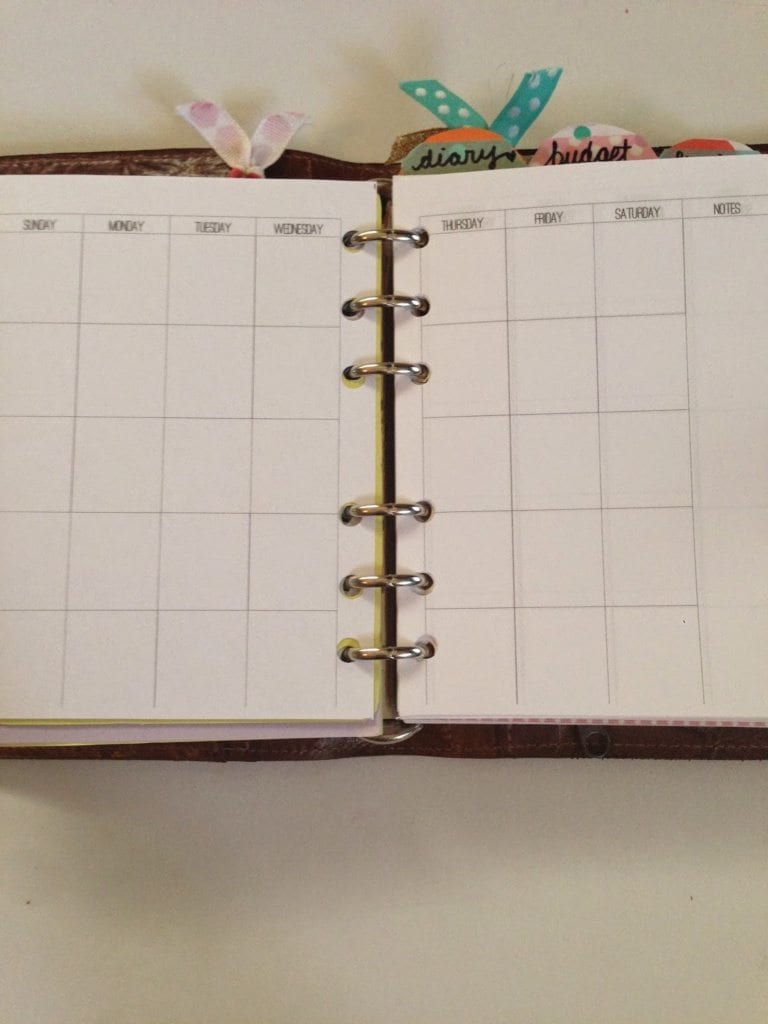
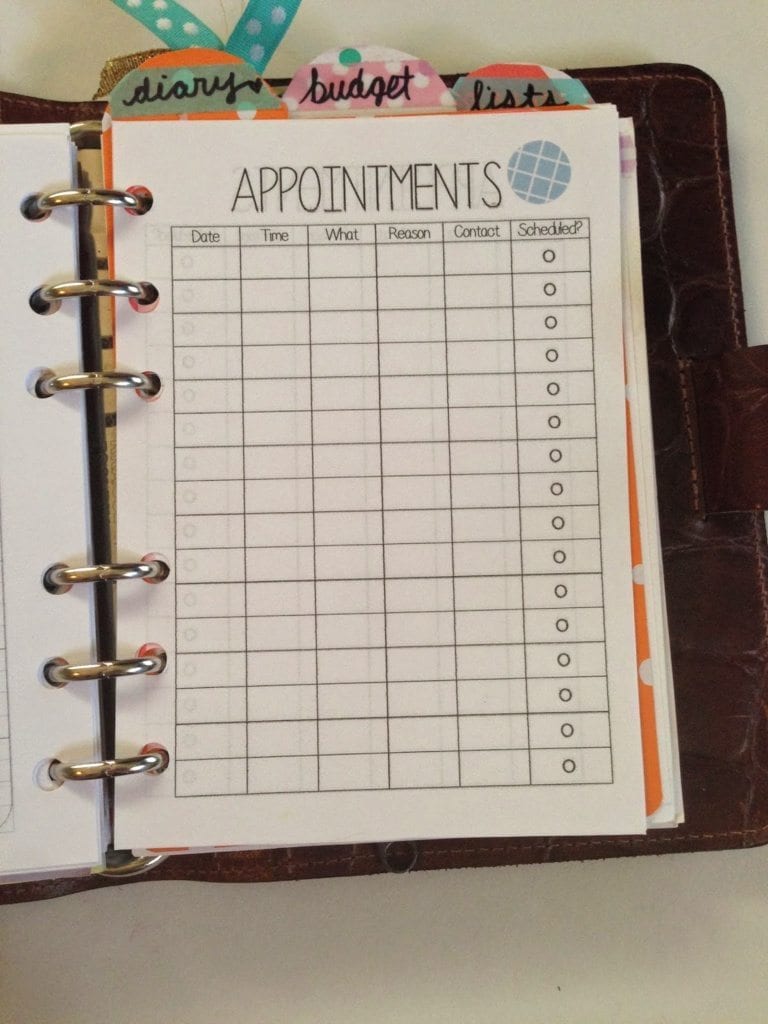
Fifth & Last Side Tab – Schedule: In this section I have some month on two page inserts that I printed from Winter Victorian on Facebook, and also an appointments printable, where I write down quick appointments before scheduling it into my calendar. I love this system for jotting down a quick appointment!
Top Tabs! I have a lot of tabs! I use washi tape and a permanent marker to write my sections in case I want to ever change it out.
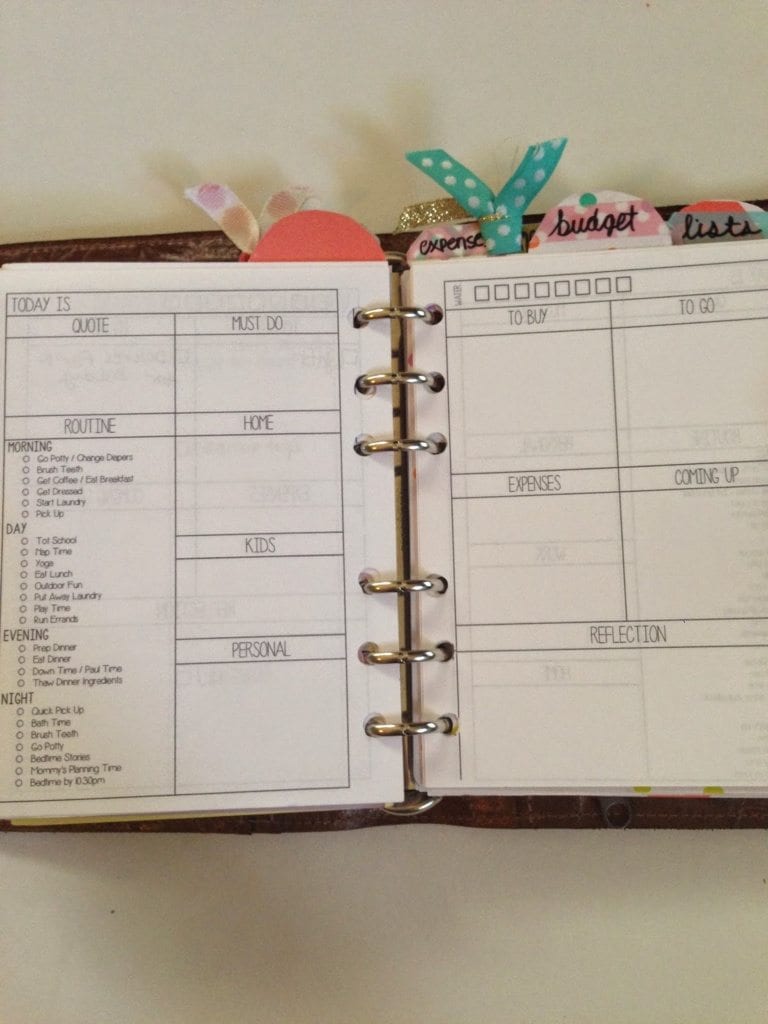
My First Top Tab – Diary: This section houses my daily pages where I plan every night before. I love these pages!
I actually don’t have that budget section anymore since I have a wallet planner now, so I will just skip that section.
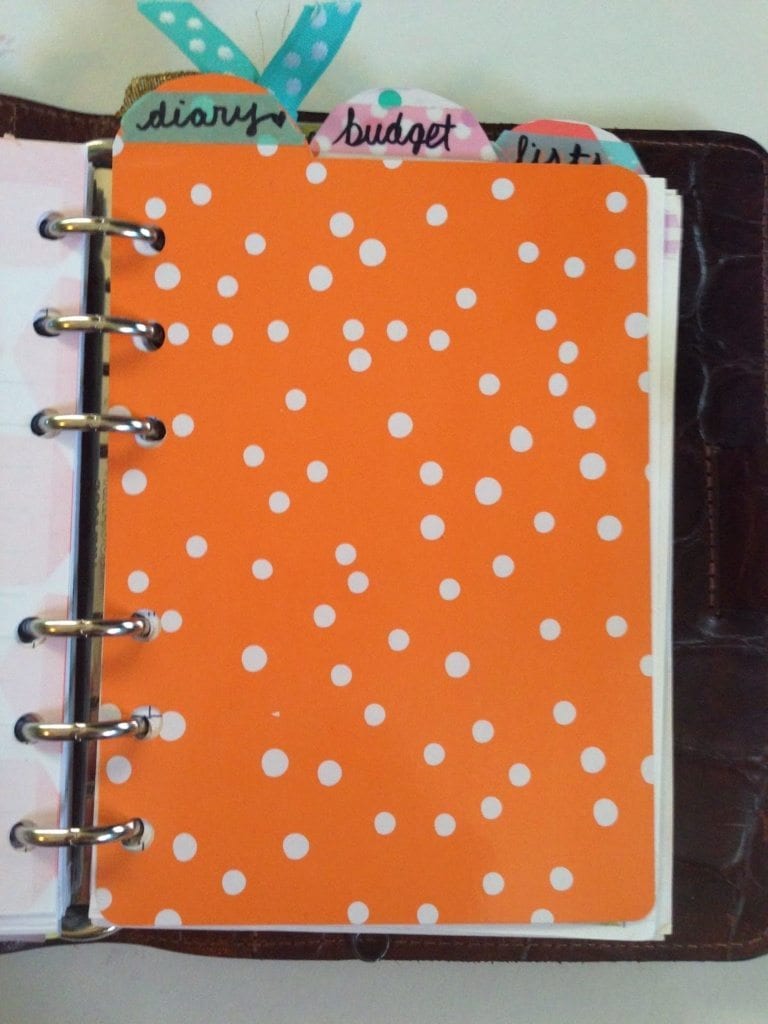
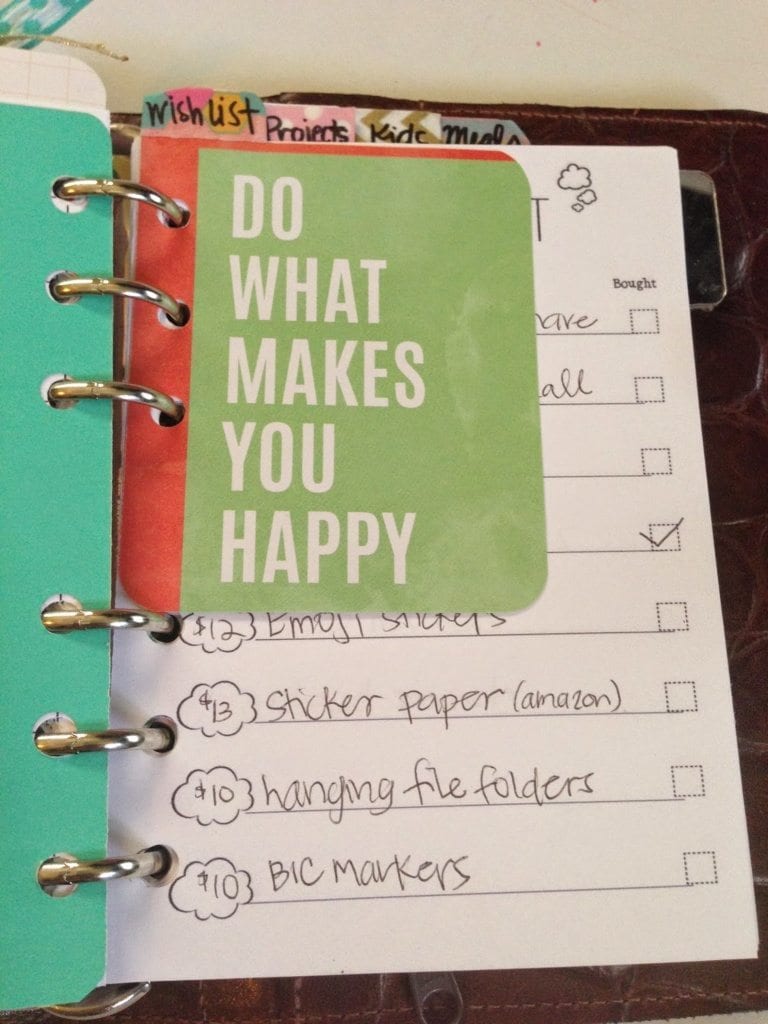
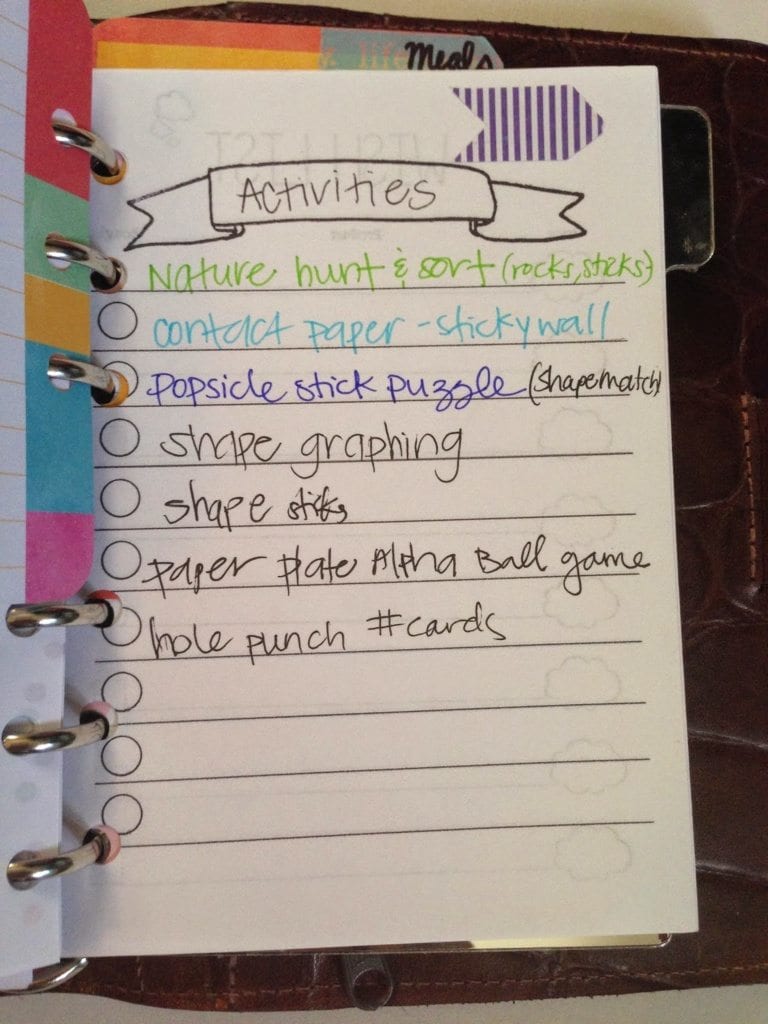
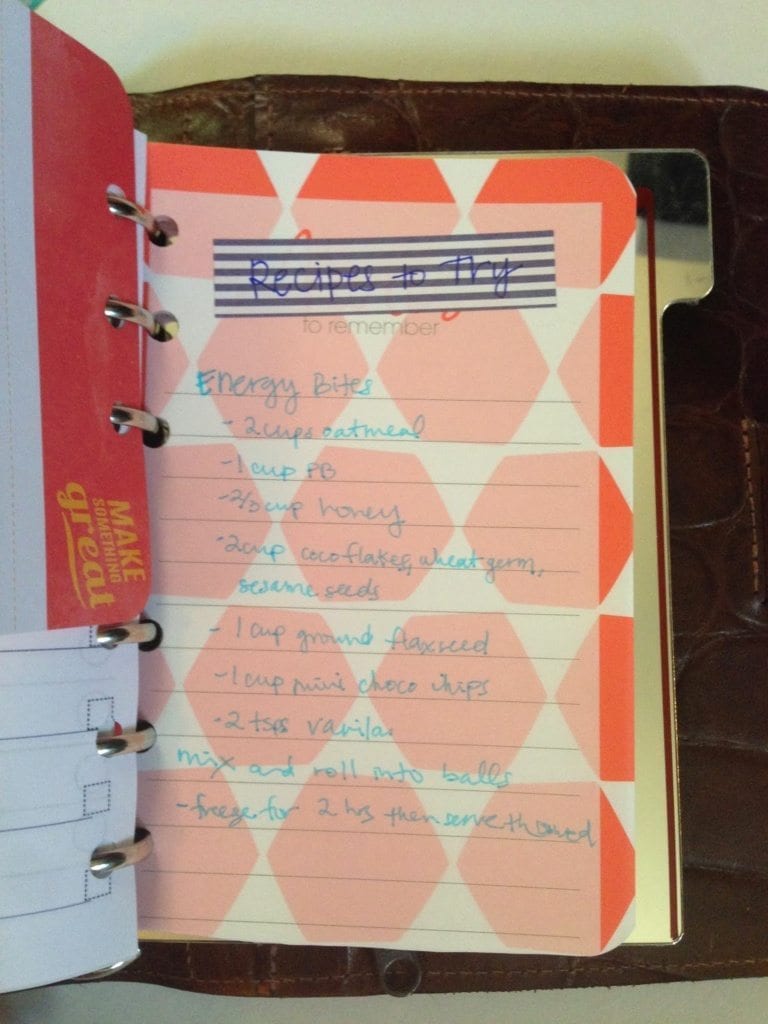
Lists Tab: In this section I have my lists. I have wishlists, projects, kids, and meals. I used project life cards to make sub-dividers. I love being able to quickly go here and find an activity to do with my kids or meals that I must try eventually.
So I hope you enjoyed this post. No planner setup is ever the same or perfect for everyone. I am constantly changing mine up to better suit my needs. This post is just to help you get some ideas for your planner setup.
Tag me on Instagram @wenduhh_plans or #mswenduhhblog


This work is licensed under a Creative Commons Attribution-NonCommercial-NoDerivatives 4.0 International License.
I've been debating going to a DO2P set up, and stop journaling as much. I like your pages, as there is plenty of room for information, and it all has a specific spot!
Love the oodles of color and pattern you have going on throughout your planner!!
The Mulberry planner is lovely and you're so lucky to find it at a thrift store! I am now a housewife so my days are not as busy that it requires a full DO2P. But I really like the activities and shopping list pages in your planner.