The first thing you need for your new planner has to be a new set of cute dividers! The ones that they usually come with are just plain and simple, and us planner addicts like everything to be cute with personality. You can definitely find tons of Etsy shops who provide and sell pre-made dividers for planners, but sometimes they aren’t the size that you want, or the designs just aren’t your style. Today I will be showing you how to make your very own dividers easily!
For this tutorial you will need the following items:
Set of stock dividers to use as a template
Designed cardstock papers
Paper Cutter
Small Scissors
Pencil
Hole Puncher
Laminator
If you already have these items on hand, creating dividers will be so easy and cheap for you! & you will be able to change up your dividers whenever you like!
Video Tutorial
Here is video tutorial or you can read below for a written tutorial with pictures.
Tutorial (with Pictures!)
Step 1:
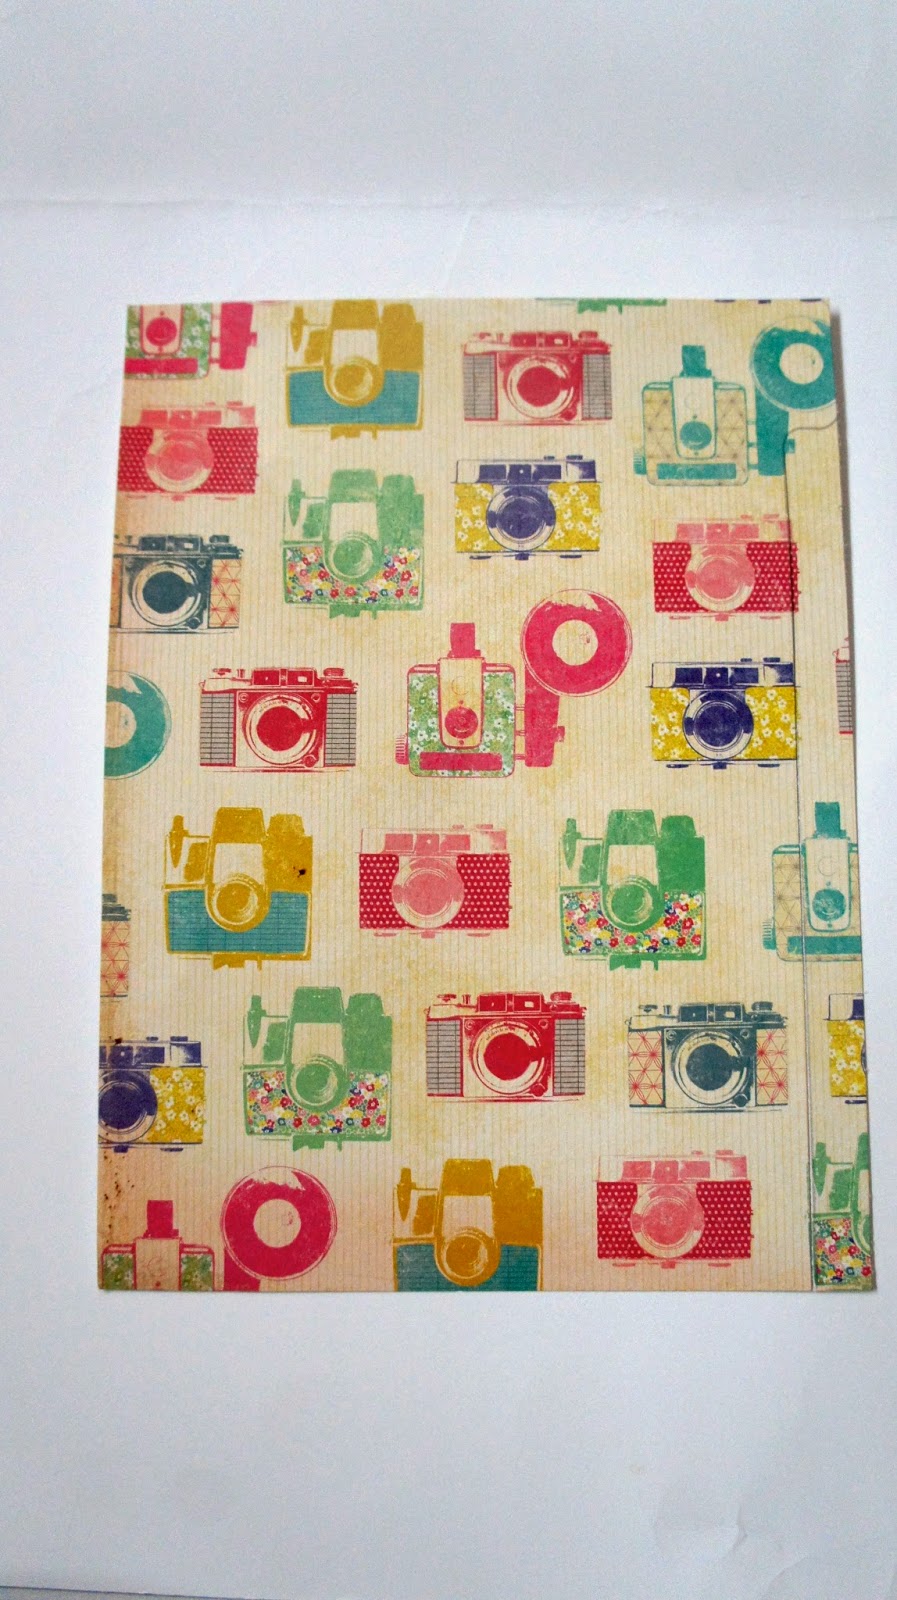
Gather your set of stock dividers and choose the same amount of cardstock papers in the designs of your choice. Organize the designs in the order you’d like them to be in your planner. Also turn on your laminator so it can heat up and be ready.
Template Dividers & Card Stock Papers
Step 2:
One by one, take your dividers and use your pencil to trace them onto each card stock paper.
Trace Dividers
Step 3:
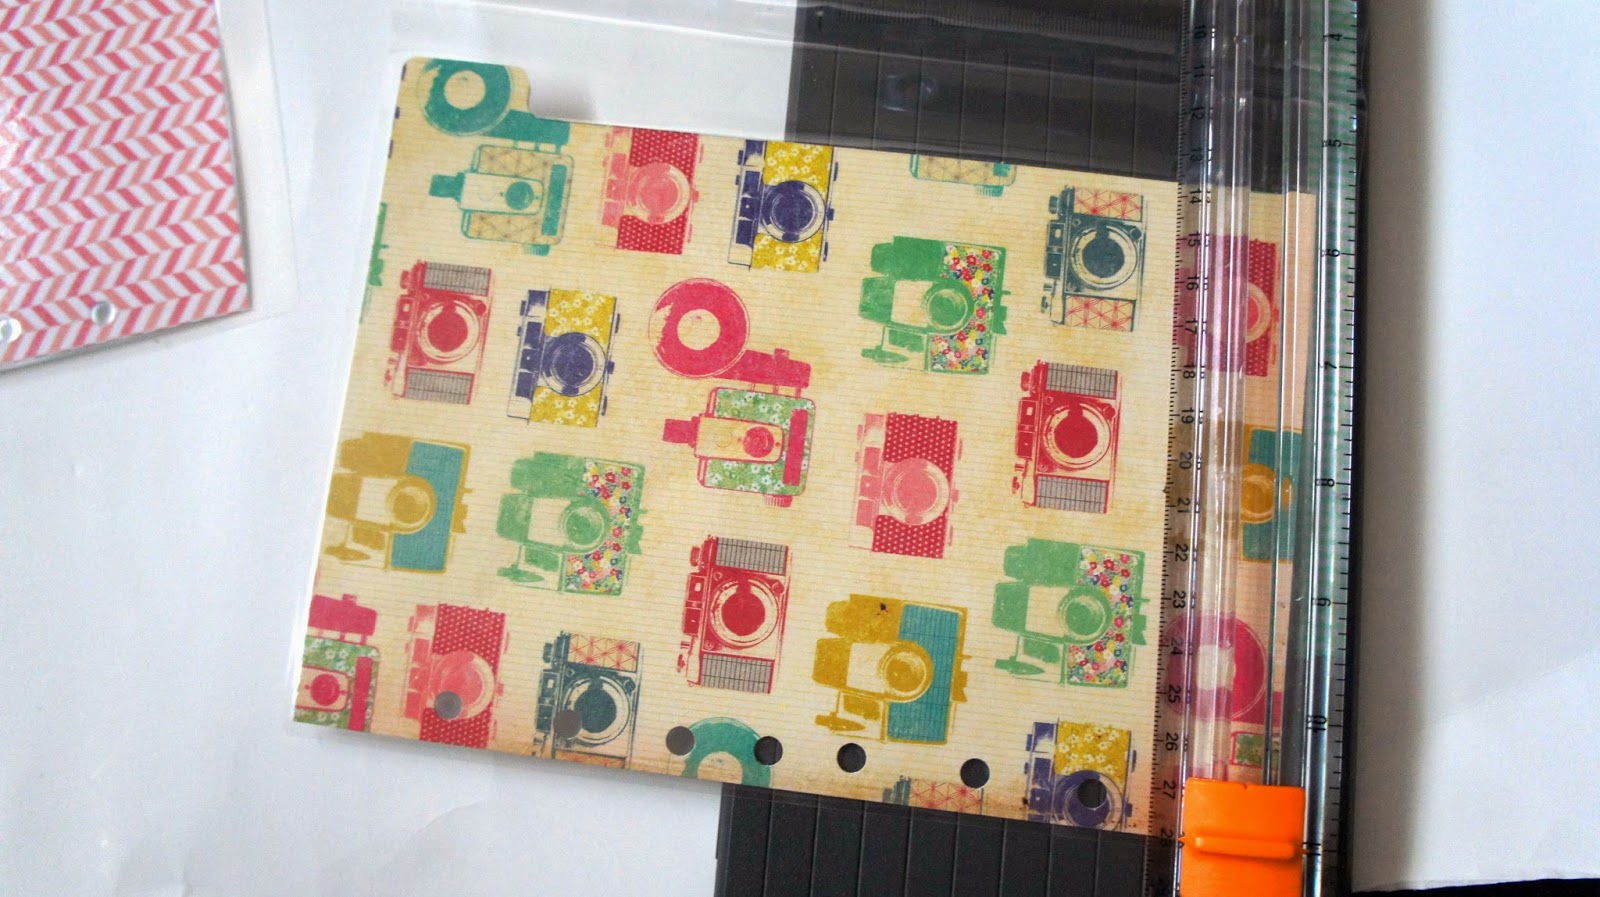
Trim each card stock paper with your paper cutter, being sure not to cut off the tabs
Use a Paper Cutter to trim along the traced line
Trimmed Paper, leaving the tabs
Step 4:
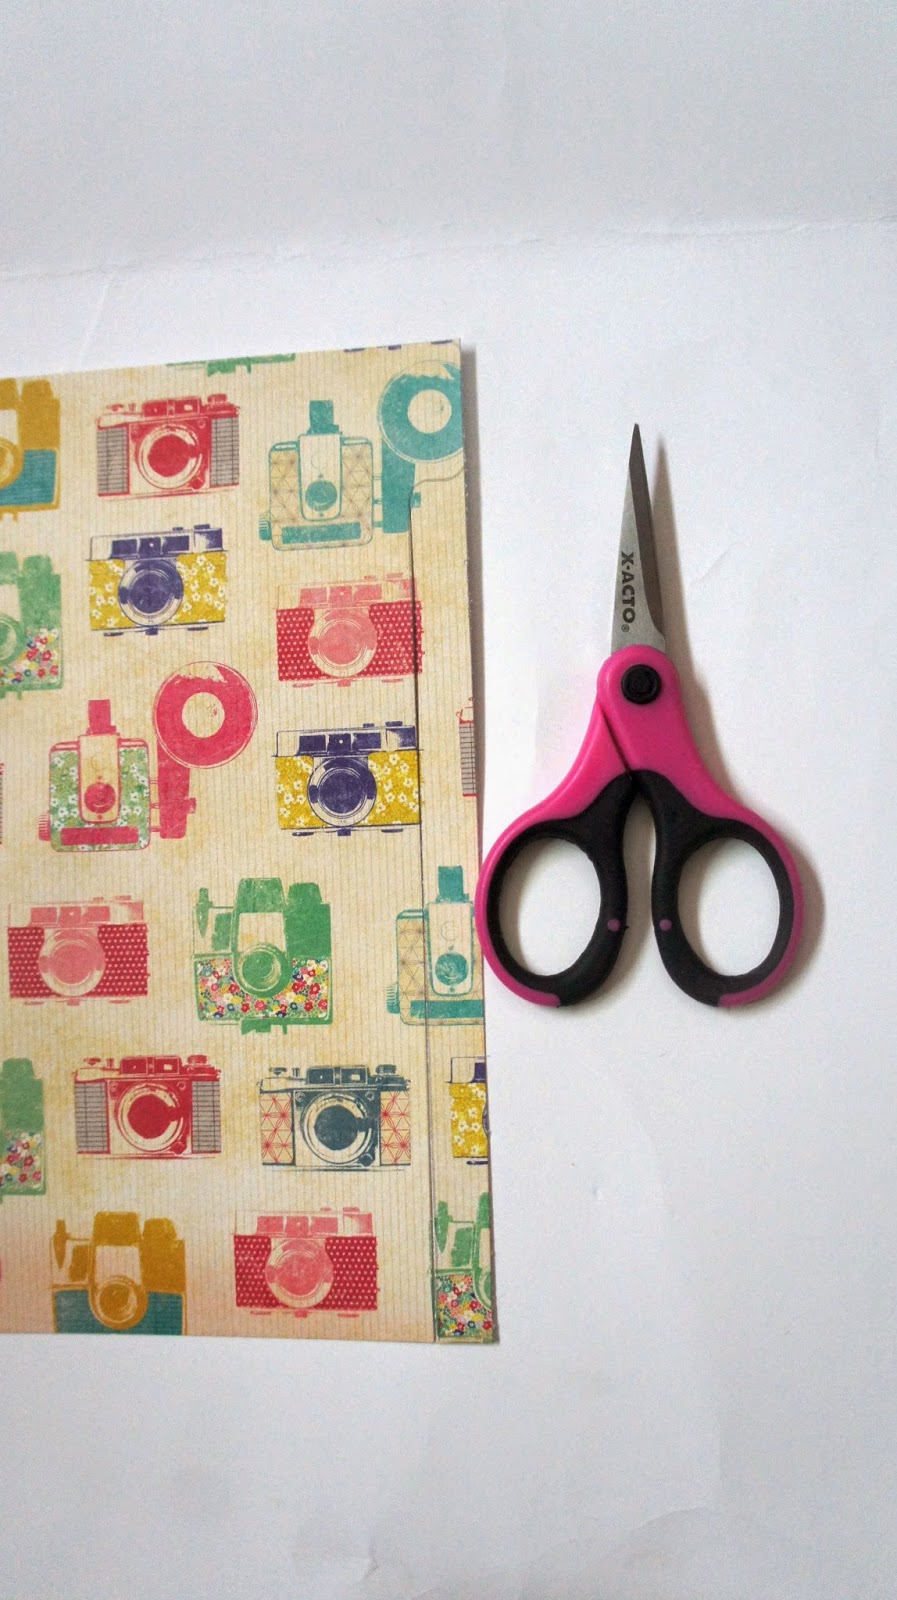
Get your small detailing scissors and cut around the tabs
Use scissors to cut around tabs
Step 5:
Erase any pencil marks on your paper
Step 6:
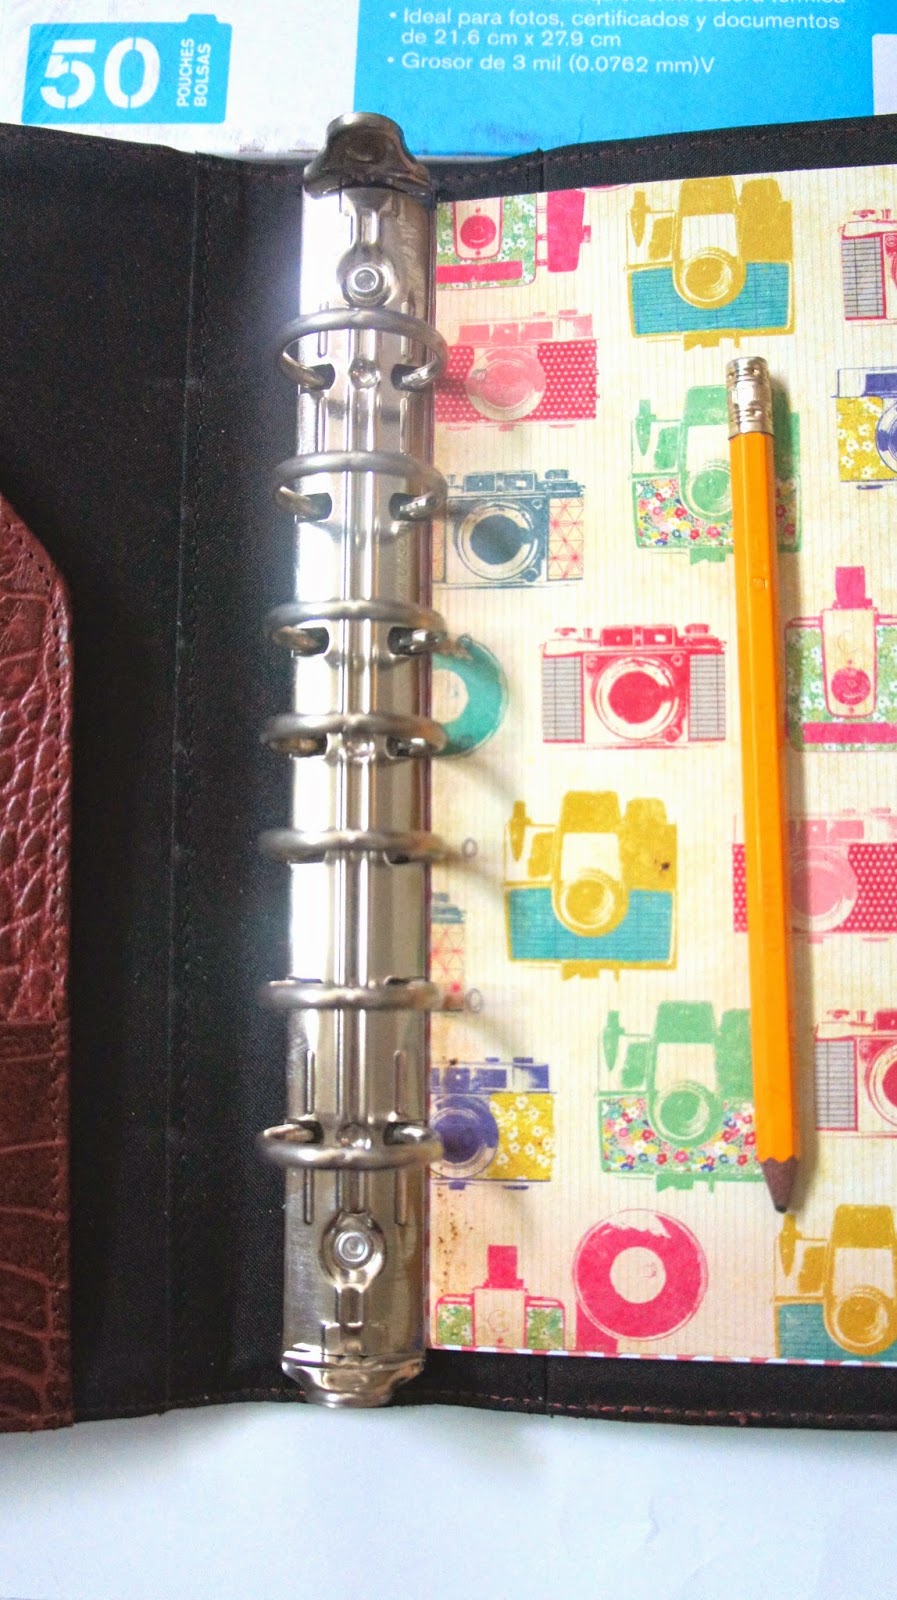
Take one of your dividers as a guide to mark where you will need to hole punch it. In my case I was using a daytimer with no dividers so I just placed it next to the rings and marked each spot where I needed to hole punch it.
Mark where you will need to punch holes with a pencil
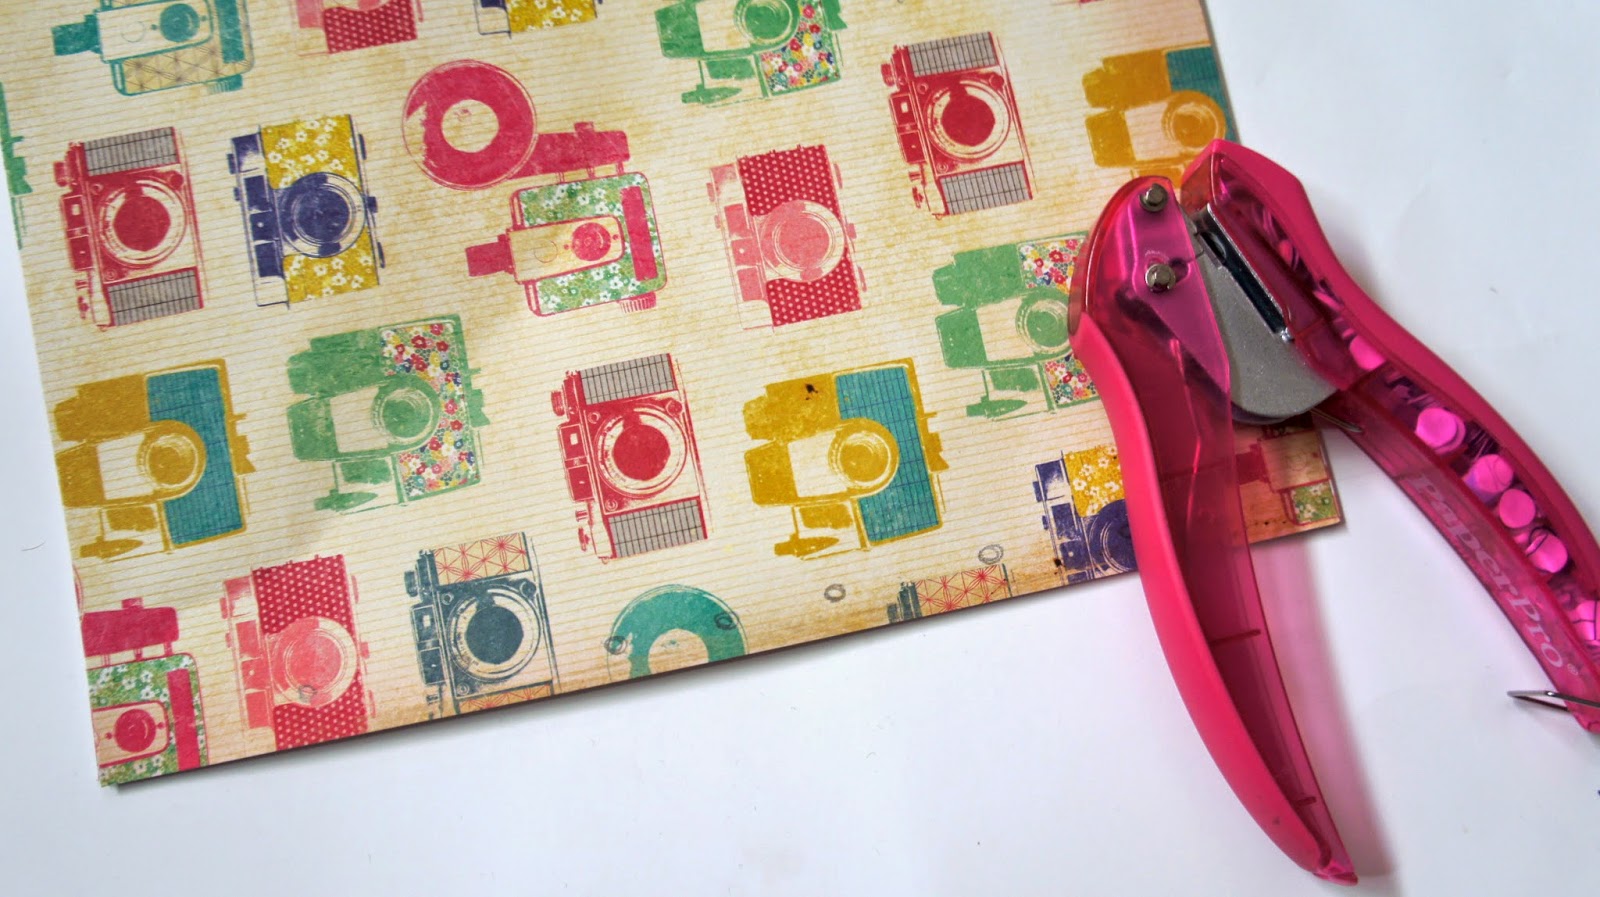
Step 7:
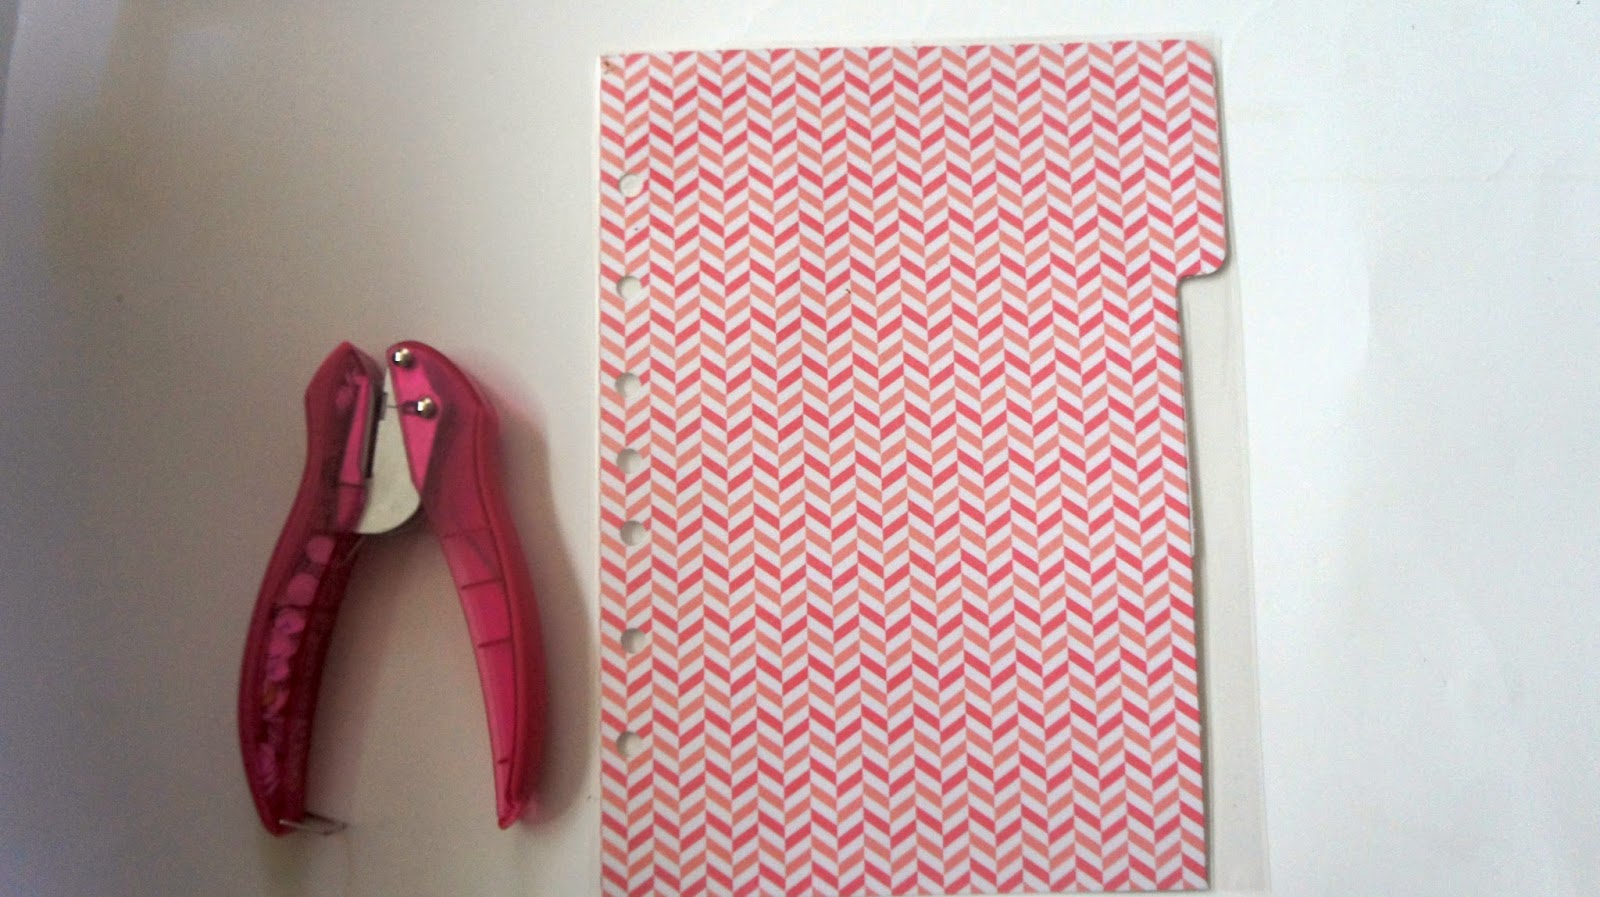
Hole punch each divider using a single hole puncher. If you have a 6-hole puncher for your planner, this step will be so much faster!
Hole punch dividers
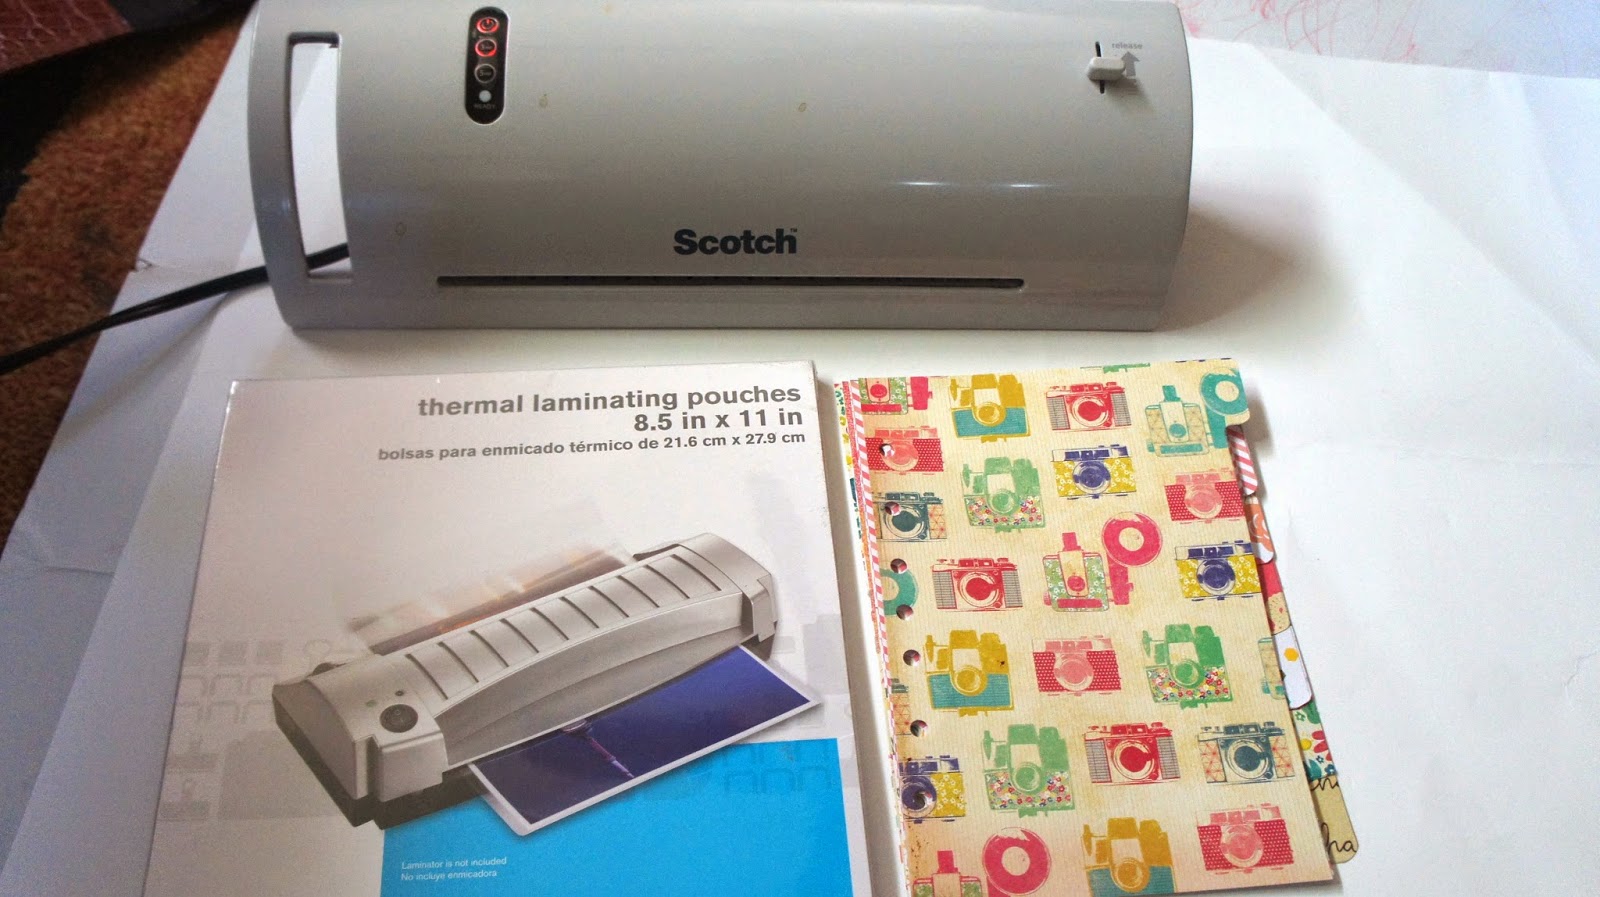
Step 8:
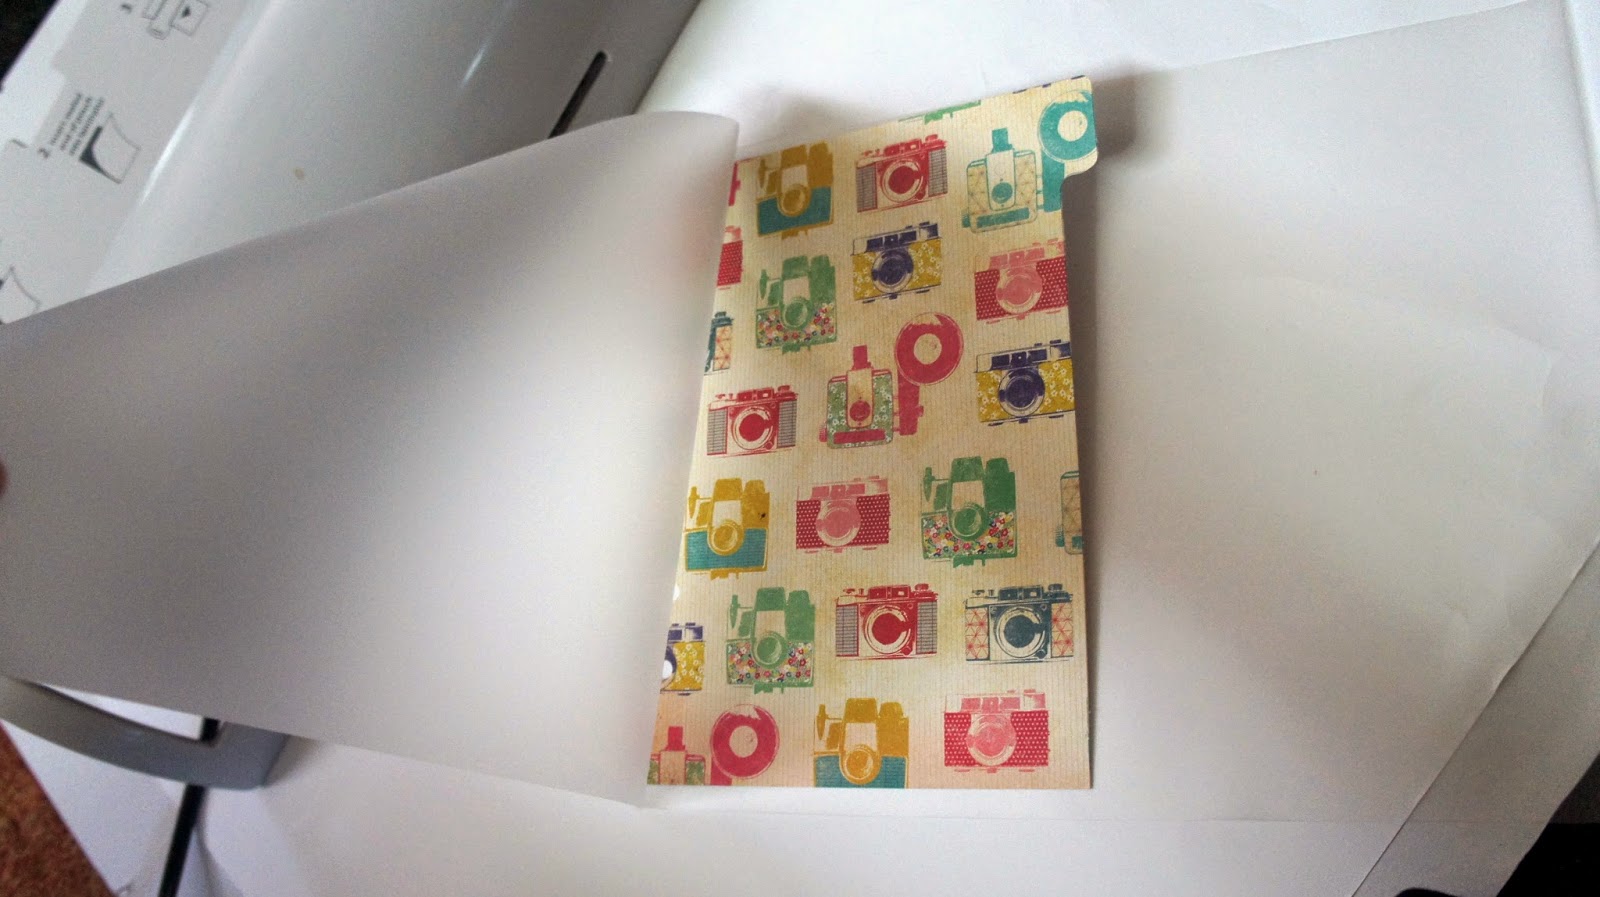
Laminate each divider by placing your paper inside of the laminating sleeve, one by one. Be sure to insert the folded end into the laminator first. Laminate using the thicker mil setting so you can be sure it is thicker.
Laminating sheets that I use
place divider as close to the closed/folded part
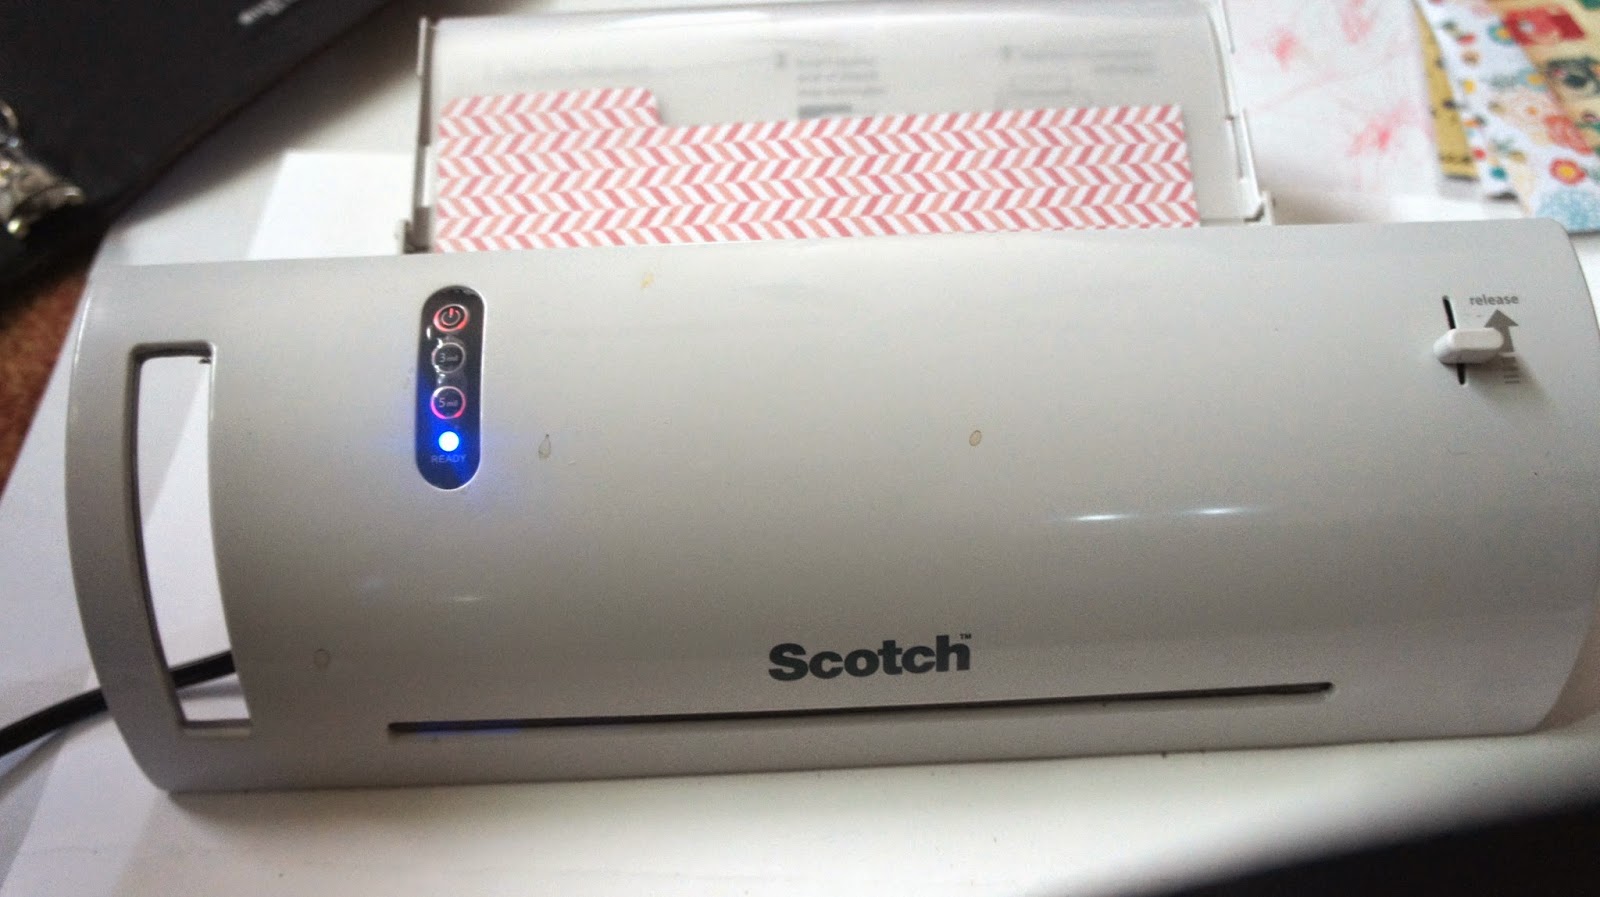
Place folded part into laminator first, using the thicker mil setting
Don’t pull it out, just wait for it to finish on its own
Step 9:
Trim the laminated sheet around your divider and use your small scissors to cut around the tabbed part again.
Trim laminated sheet
Trim around the tabs
Step 10:
Hole punch the holes again!
Hole punch holes again
Step 11:
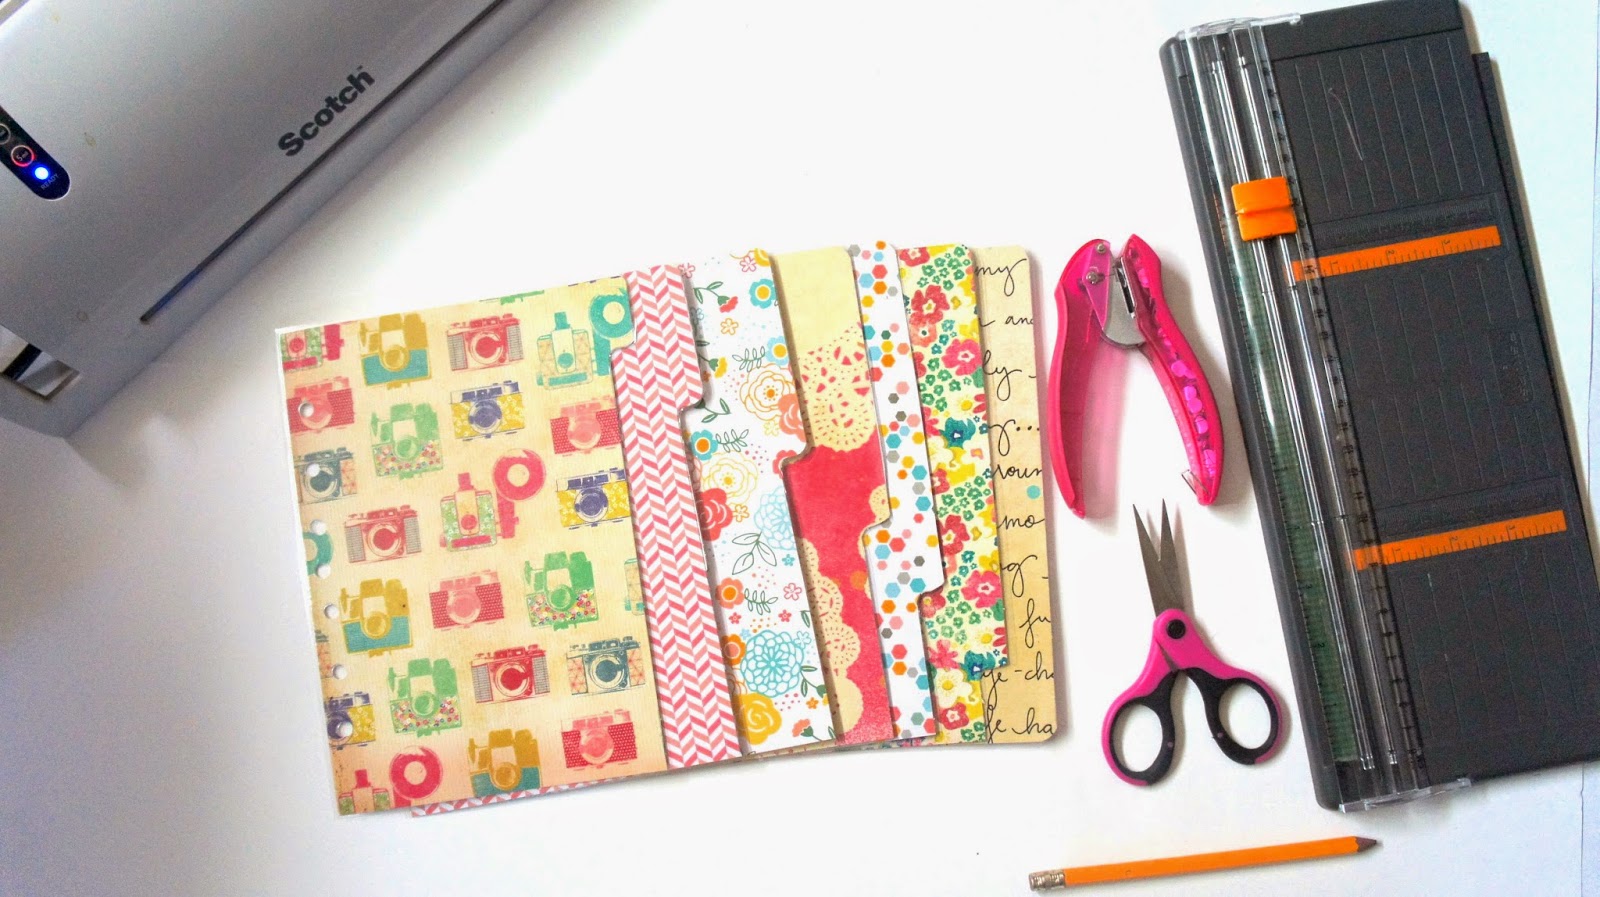
Place all of the dividers inside of your planner and use washi tape, stickers, a label maker, or a permanent marker to label your tabs!
Finished Dividers!
I hope you learned something from this and happy planning!
Enjoy your very own handmade dividers!
Welcome to the Wendaful planner blog! I'm Wenda, a mom, planner addict, and blogger who shares free planner printables and tips on how to live a happy, productive and organized life!
1 Comment on How To Make Filofax Dividers
Your tuitorial for making laminated dividers for your Filofax are so good. Would I do it the same way with my 8 1/2×11 3 ring notebook? I plan to use cardstock or why can't I use a pretty pastel folder as a divider, cutting it the way you showed? Would that work for my notebook? I waited too late to buy my planner and the one I had chosen was sold out the day after Christmas. It shows out of stock on Staples website, so I printed off some Free printable calendars and will temporary use that. It will be a nuisance to have to remove each page from the sleeve protectors to write on it but until I can find another one at Staples, I'll make it work!


Your tuitorial for making laminated dividers for your Filofax are so good. Would I do it the same way with my 8 1/2×11 3 ring notebook? I plan to use cardstock or why can't I use a pretty pastel folder as a divider, cutting it the way you showed? Would that work for my notebook? I waited too late to buy my planner and the one I had chosen was sold out the day after Christmas. It shows out of stock on Staples website, so I printed off some Free printable calendars and will temporary use that. It will be a nuisance to have to remove each page from the sleeve protectors to write on it but until I can find another one at Staples, I'll make it work!